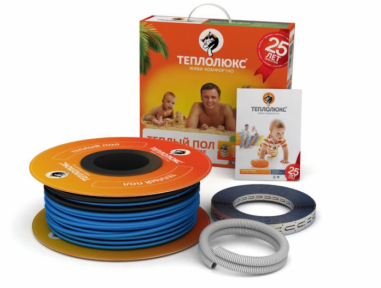
When choosing productive and inexpensive heating devices, it is worth paying attention to the warm floor of the Heatlux. The products of the Moscow-based company Special Technologies and Systems are suitable for the climatic conditions of all regions of the Russian Federation, are characterized by ease of installation and an extensive assortment.
Brand Information Teplolux
 Teplolux heating devices and electric floors have been produced since 1994. The head office and production facilities of the company are located in the city of Mytishchi, Moscow Region. You can purchase products in the online store and offline points.
The geography of comfort salons includes such cities as Moscow (Varshavskaya, Teply Stan, Kashirskaya, Medvedkovo, etc. metro stations), Reutov, St. Petersburg, Kazan, Vladivostok, Novosibirsk. A total of 25 retail outlets operate, where products are delivered from the factory.
Scope of application
Teploluxe heating systems are distinguished by quality, durability and a long operating period. Products can be used in several places:
- under a covering from a ceramic tile - on a special adhesive composition;
- in wet rooms - a shielded two-core braid protects wires from damage;
- in small and cold rooms;
- in regions with interruptions in gas supply or in the absence thereof;
- in apartments and the private sector as a primary or secondary heating system;
- during the off-season, when the main heating is turned off, but the room is still cool.
The manufacturer claims that the life of the equipment is about 50 years. Warranty issued for 20 years.
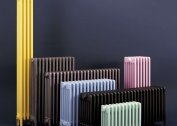
Varieties of products on the market
The main unit of the warm floor is a heating two-core or single-core cable of various diameters.
Types of devices by design
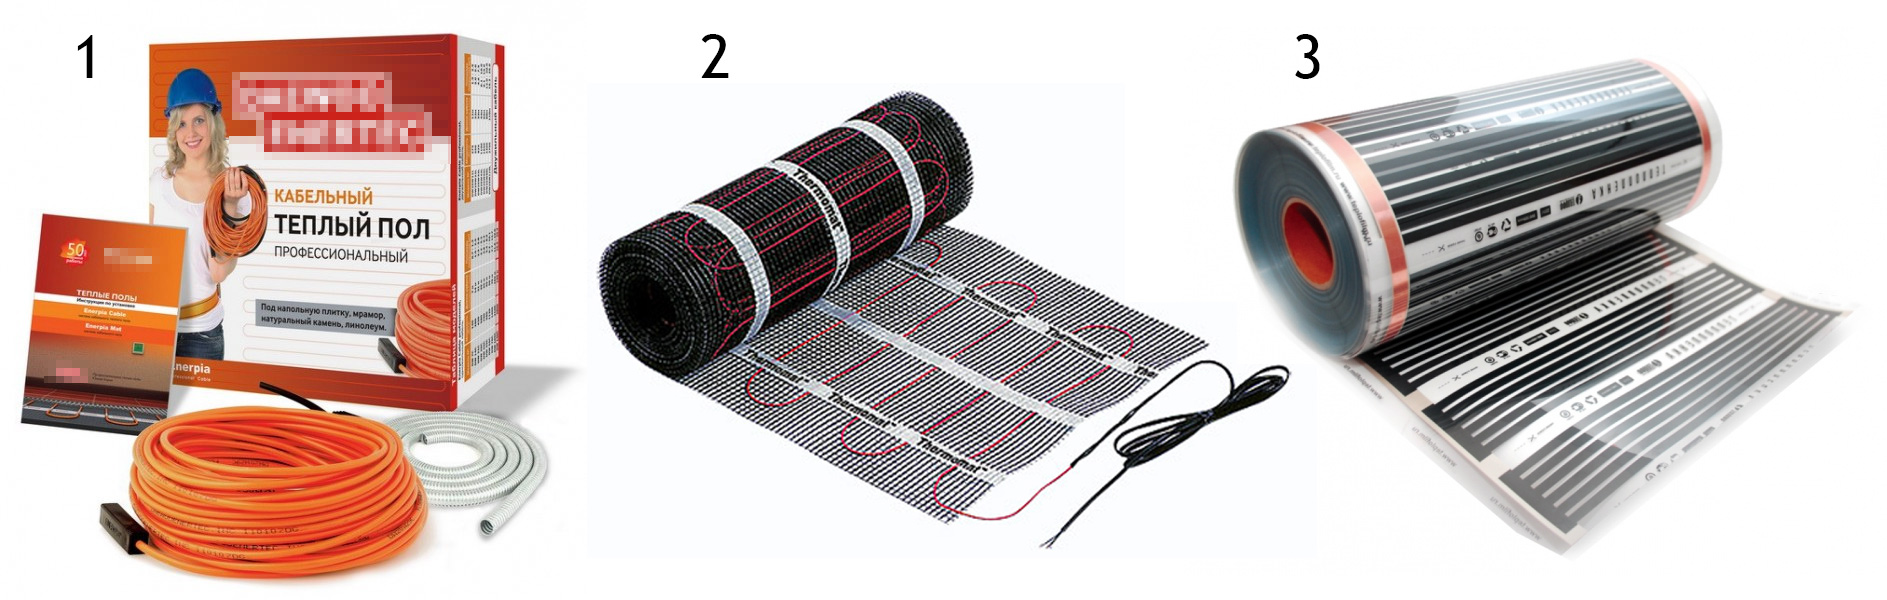
There are several device options available to consumers:
- Cable systems. Suitable for rooms with complex geometry, mounted in a screed 3-5 cm thick. The use of a heating cable - heating only cold flooring or the entire room.
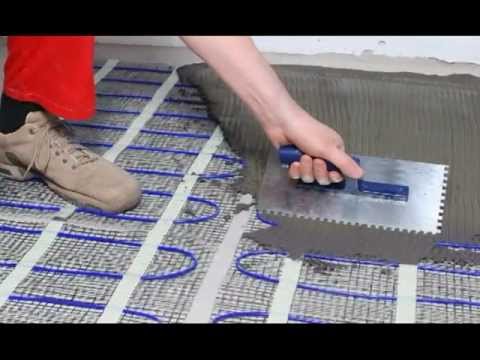
- Mats Stacked under the tile, consist of a fiberglass-based cable. Thanks to the minimum glue thickness of 5-8 mm, a height difference is eliminated, the heating rate and uniformity of heat supply are ensured.
- Carbon film. The infrared floor is represented by a carbon element-heater inside the canvas from the lavsan. The design saves up to 70% of energy, but it is not recommended to install it on the extreme floors. The kit is represented by infrared film, mounting cables, tape and clips.
To control communications, a temperature sensor is designed, which is purchased separately.
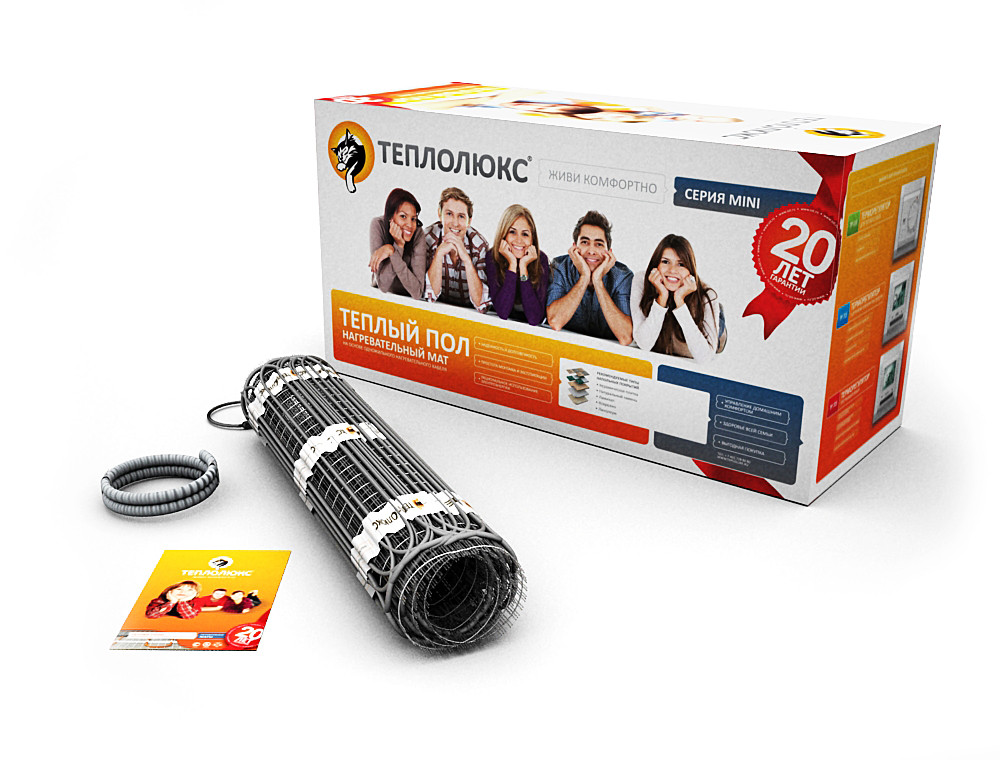
Product series
The electric type of underfloor heating is available in several series.
Thermal Suite MiNi- ultra-thin mats for rooms with low ceiling heights. Heaters are mounted on a small screed or adhesive. Heating power - 150 W / m2.
Thermal Suite Standard - cable devices with single core heaters. Complete with mounting tape and tube for a temperature sensor.
Systems Tropix made on the basis of a two-core cable on a fiberglass mesh. Suitable for wet rooms.Power of communications - 200 W / m2, thickness - 3 mm. Features of a heating mat of the Teplolux brand of the Tropix INN series:
- aluminum-lavsan shielding to increase resistance to electrical and electromagnetic effects;
- multi-wire type of cores - the risks of breaking contacts are reduced;
- cross-linked polyethylene insulation sheath - ensures durability of use.
Reliability of connecting elements of the system is achieved using a pressed mini-clutch.
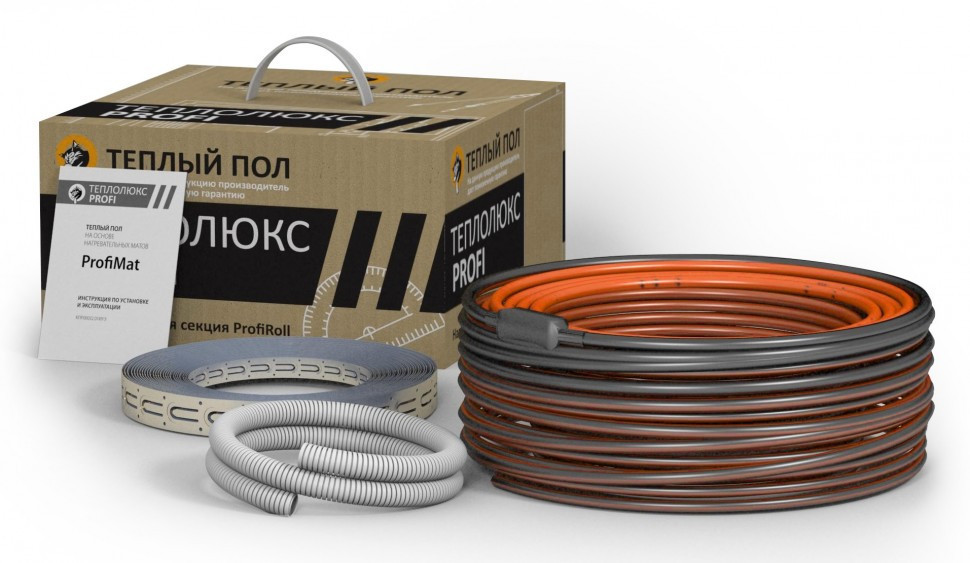
Ruler Profi includes 16 items, but the following are popular among Russian consumers:
- ProfiMat. Powerful thermomats connected for the main heating. Produced on the basis of a two-core cable. As a finishing coating, tile, carpet, parquet, linoleum and laminate are allowed.
- ProfiRoll. Cable sections with installation wire, connecting and end sleeves. Two heating cores are protected by double-layer insulation, shielding. Linear power is reduced for a smaller installation step and to prevent the “zebra effect”.
The manufacturer provides a lifetime warranty on the Pro series.
Thin sheet mobile underfloor heating specifications
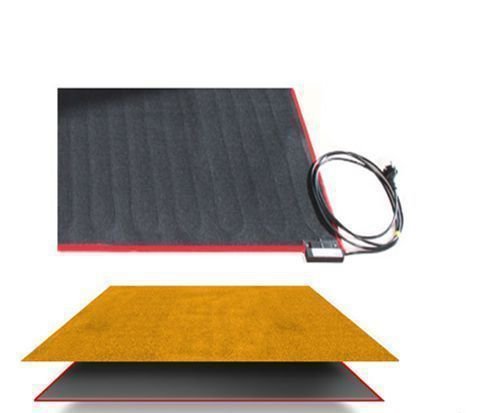
Express coating can be used in a summer residence, in an apartment or in a private house. The main elements of the devices include a plug, a thin heating cable and a thin felt lining. Due to the design, mobile systems simply fit under the carpet and are included in the network.
From the rest of the Thermolux products, products are distinguished by:
- appearance - they look like a small rug with a heater in a protective case and a mounting wire 2.5 m in length;
- the possibility of heating rooms of 2.8 m2 - mats 200x140 cm with a power of 300 W;
- use in rooms with a square of 5.04 m2 - heaters 280x180 with a capacity of 560 watts;
- operation as auxiliary heating during the off-season;
- transportability and compactness;
- ease of care and storage.
It is allowed to install mobile floors under carpets with a small pile, lint-free and tufted products.
Elements of a standard system
Regardless of the modification, Teploluxe products include heating sections, mounting tubes and sensors. The first are made in the form of cable segments with one or two cores, equipped with lugs for inclusion in the electrical network. Corrugated nozzles with a diameter of 16 mm are equipped with plugs, designed for temperature sensors.
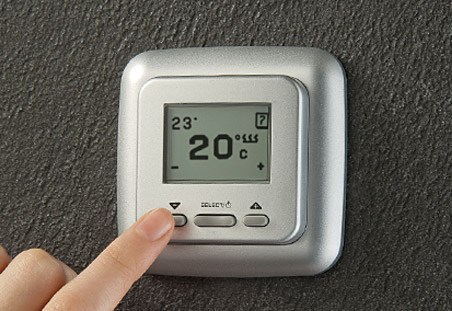
A sensor or regulator for a warm floor Teplolux is a device with which the programming of temperature values and energy supply is performed. The temperature sensor is not included in the package, but users can purchase one of the models:
- TR-115 with a switch, an adjustment knob and a signal diode.
- TR-715. The electronic version, which determines the temperature of the system and the surrounding air, is automatically turned off at the time of a malfunction. All data on the status of the equipment are displayed on the LCD.
- TR-725. With the help of the element, heating is set at the set time. Parameters can be set for a day or a week. Temperature and other factors are displayed on the LCD.
Regulators are equipped with sections, mats and films.
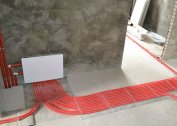
The order of installation of heated floors
Laying a warm floor is carried out in several stages.
The list of preparatory work
Before installing heating devices, you must:
- Determine the compatibility of wiring and underfloor heating by summing the capacities of all household appliances.
- Set the fuse current limit. A system with power parameters of 2 kW or more must be connected to a separate line.
- Make a layout plan.The cable must be laid according to the scheme, the mat can be cut into fragments.
- Determine the installation location of the controller - the optimal height from the surface of the warm floor, which is recommended by the Heatlux, is 0.8 m. The element is removed by 50 cm from the wall.
- Prepare the base. Installation is made on a flat, primed and clean surface.
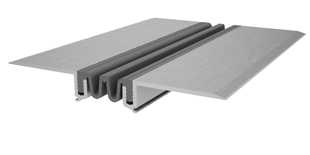
The cable must not pass through the thermal expansion joints.
Installation procedure
Before installation, turn off the electricity. Further work is carried out as follows:
- Calculation of the installation step - 5 cm should be deviated from household appliances, walls and furniture. The installation step is determined by the size of the sections times 100 and divided by the length (indicated in the passport).
- Laying sections according to the plan. The optimum distance between the turns is 80 cm.
The maximum deviation of the step is 1 cm.
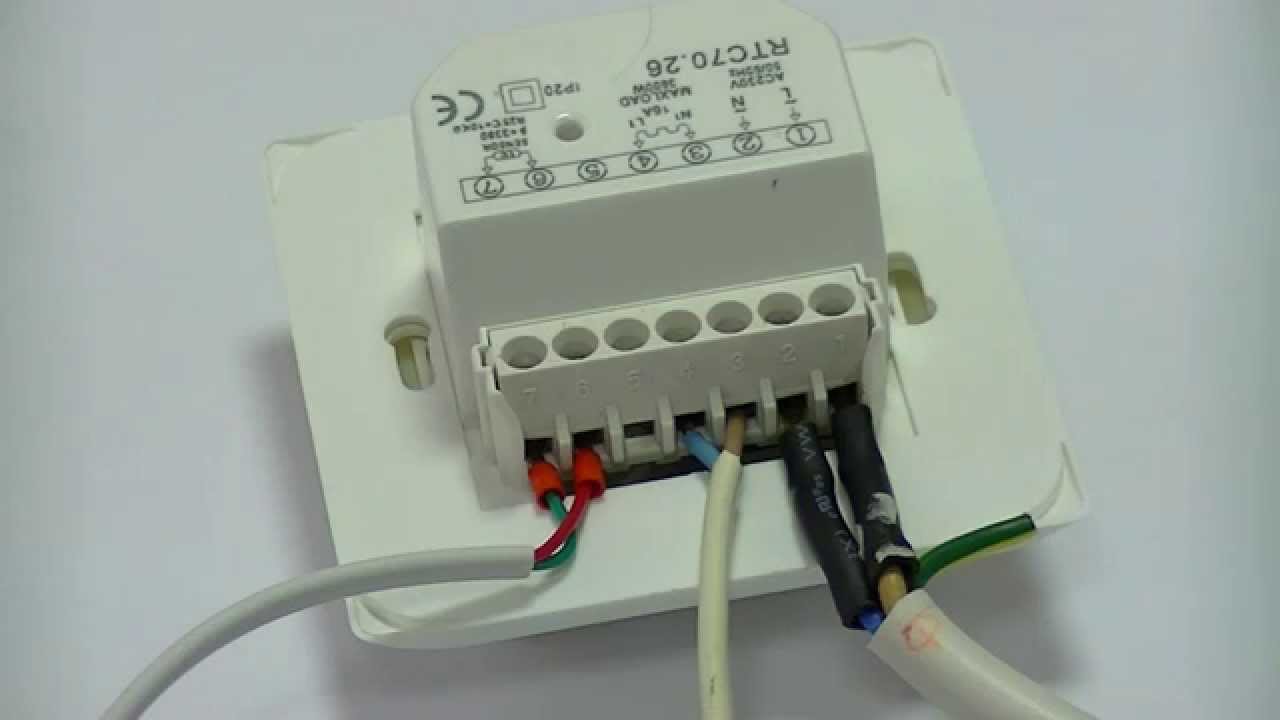
Installation and connection of the controller
To set the regulator, you need to turn off the mains voltage. Then they work according to the following algorithm:
- Marking and shtroblenie wall for installation wires and mounting pipe.
- Sensor fitting The element is placed in the mounting pipe near the end, which is closed by a plug. Inside, it should move freely - to check, you need to pull out the cable and put it back.
- Mounting the sensor. The pipe fits into a niche with a bend radius of 5 cm at the wall surface.
- For fixation density, the structure is sealed with putty mortar.
The open end of the pipe with a mounting cable is led out to the thermostat - this is easier to notice.
Final floor screed after installation
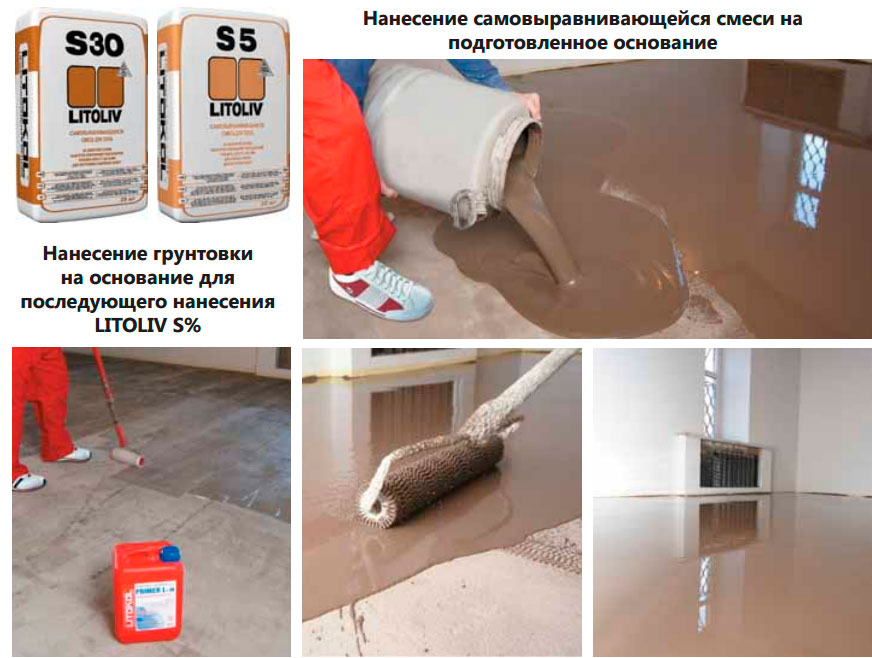
After testing the quality of the system, the final coating is laid. In the presence of materials with high thermal conductivity (tiles, stone), the mats are poured with tile glue. The layer should be between 5 and 8 mm. Bubbles are unacceptable - the structure can rise.
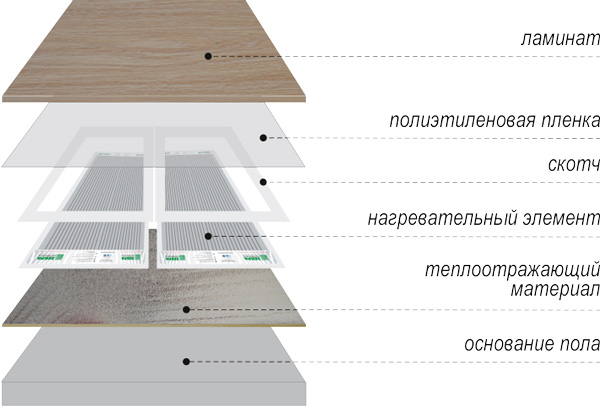
After the adhesive layer dries in a room without drafts, the surface is primed. Then the floor tile with a thickness of 5 mm is laid on the adhesive with a thickness of 5-10 mm. In the presence of carpet, linoleum and laminate, a layered scheme is used:
- The base is from below.
- Heating mats or cable sections.
- A mixture of cement and sand (thickness 3 cm).
- Substrate for finishing.
- Selected finishing material.
In apartments on the ground floor, summer cottages, the following scheme is used:
- Base for coating.
- Thermal insulation layer.
- Sand-cement screed 3 cm thick.
- Heating cable.
- Repeated screed 3 cm in thickness.
- Finish backing.
- Decorative floor surface.
When laying the thermomats, a second screed is not required - glue for the tile and the coating itself are applied.
User manual
The Teplolux brand complements the underfloor heating with operating instructions. The following points were noted in the document:
- installation only with disconnected voltage;
- disconnecting the system from the network in case of a long departure;
- lack of additional coatings on tiled or stone floors;
- heating mats rolled up cannot be included in the network;
- mats must be installed on tile glue;
- initial activation and heating takes 6-48 hours.
Test run is carried out only after the final drying of the glue or screed.
Floors of the Teplolux brand provide additional and main heating of the room. The systems are characterized by low cost, energy efficiency, heat up quickly and maintain a comfortable temperature in the off-season.