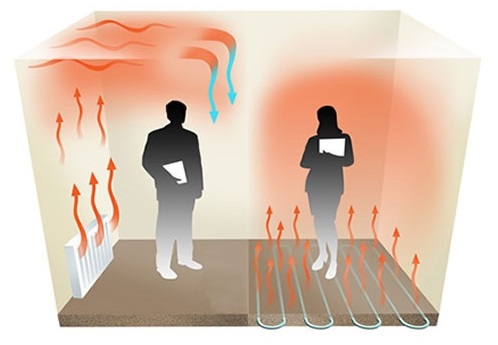
Temperature conditions directly affect home comfort. Throughout the year, optimal heat levels must be maintained. Heating systems and heaters maintain the desired climate in the apartment, but the floor remains cold. To walk barefoot comfortably, you should install a heated floor. Laying can be carried out both with the help of a wizard, and independently.
Description of electric underfloor heating
There are several types of underfloor heating. They depend on the thermostat, which is available in two types:
- mechanical;
- electronic.
The control of a mechanical device is carried out using a special rheostat. Electronic are controlled through a relay.
Electric floors are classified by type of heater into the following groups:
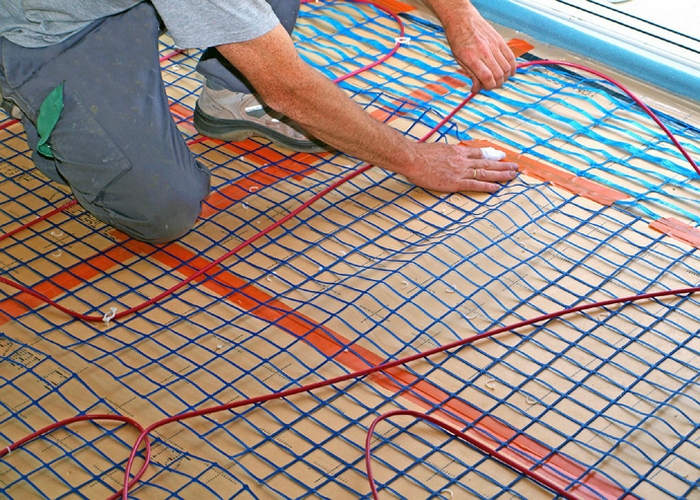
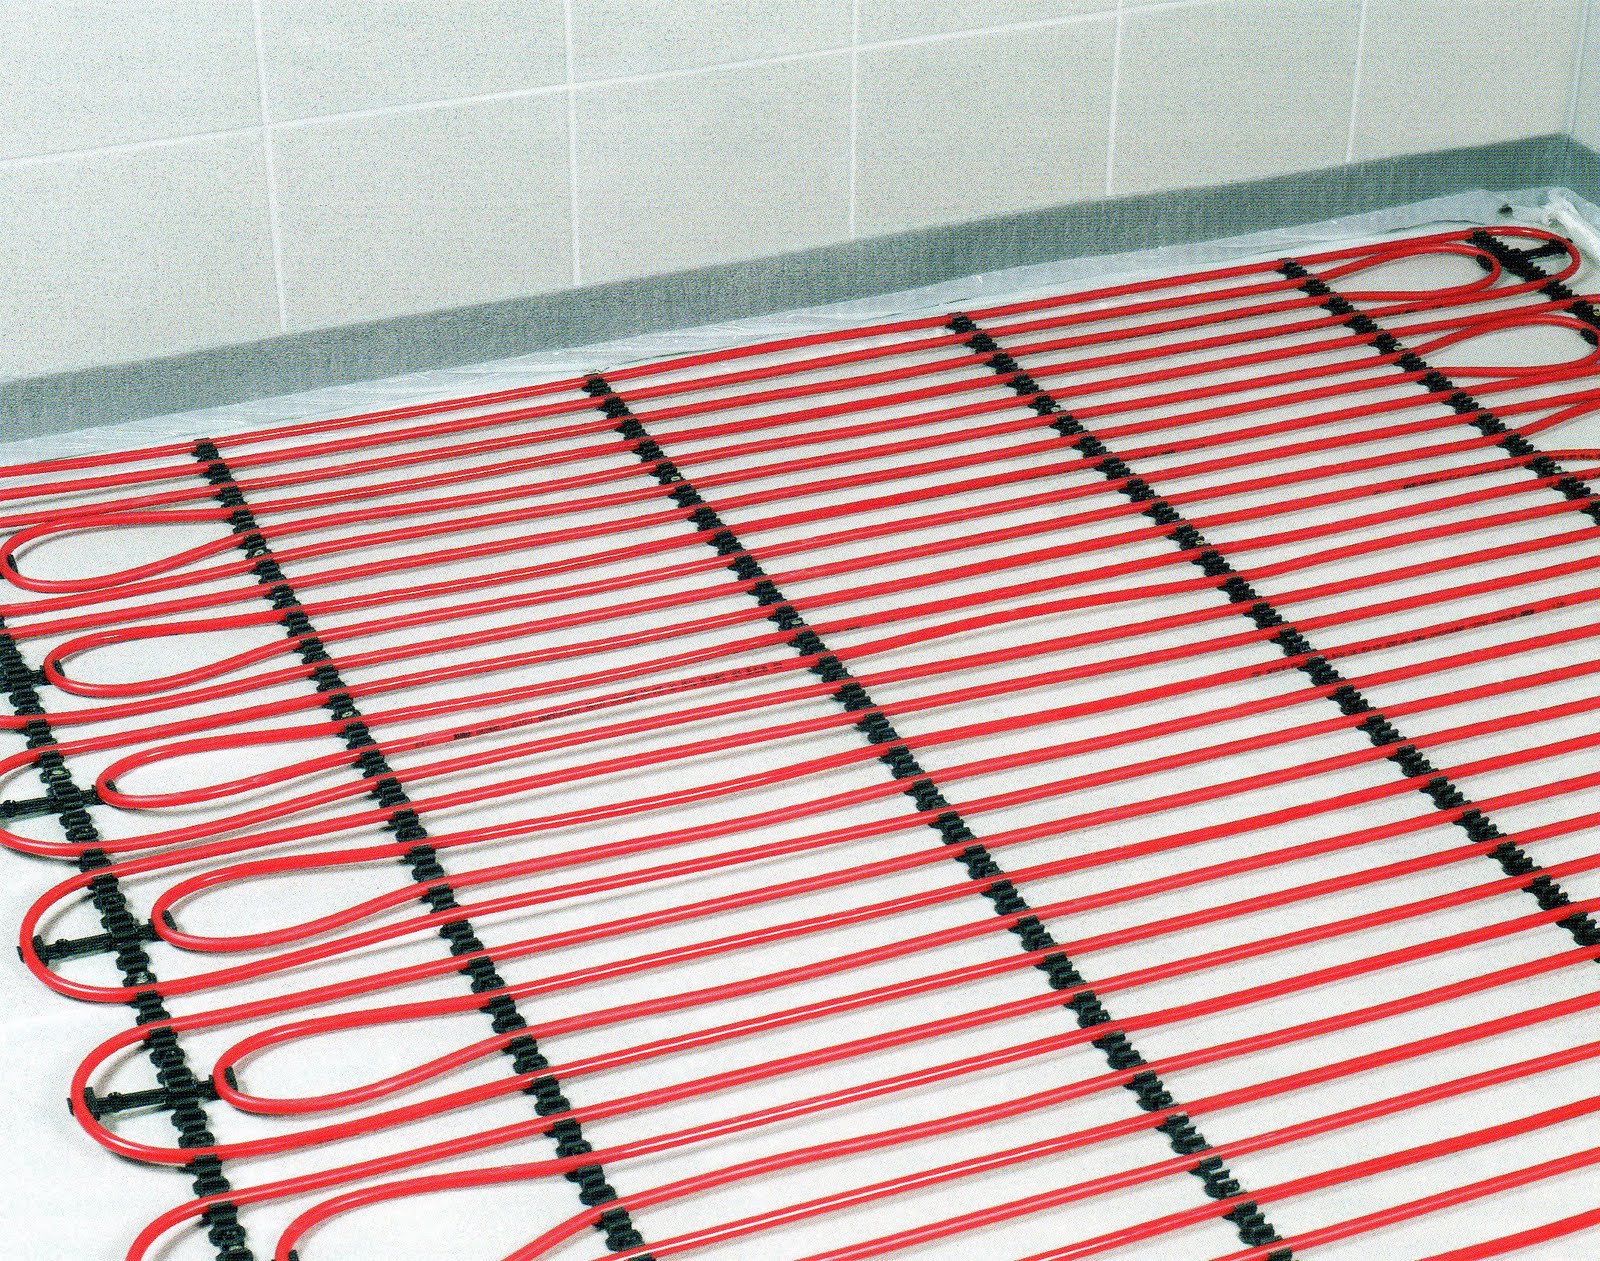
- Cable. The heat source is a cable that is housed in an insulating material. This is the most time-consuming method of heating, for installation you need to call the wizard.
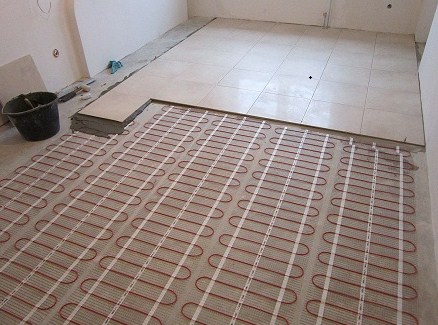
- Rod or heat mat. It consists of a cable, which is located on a heat-insulating film.
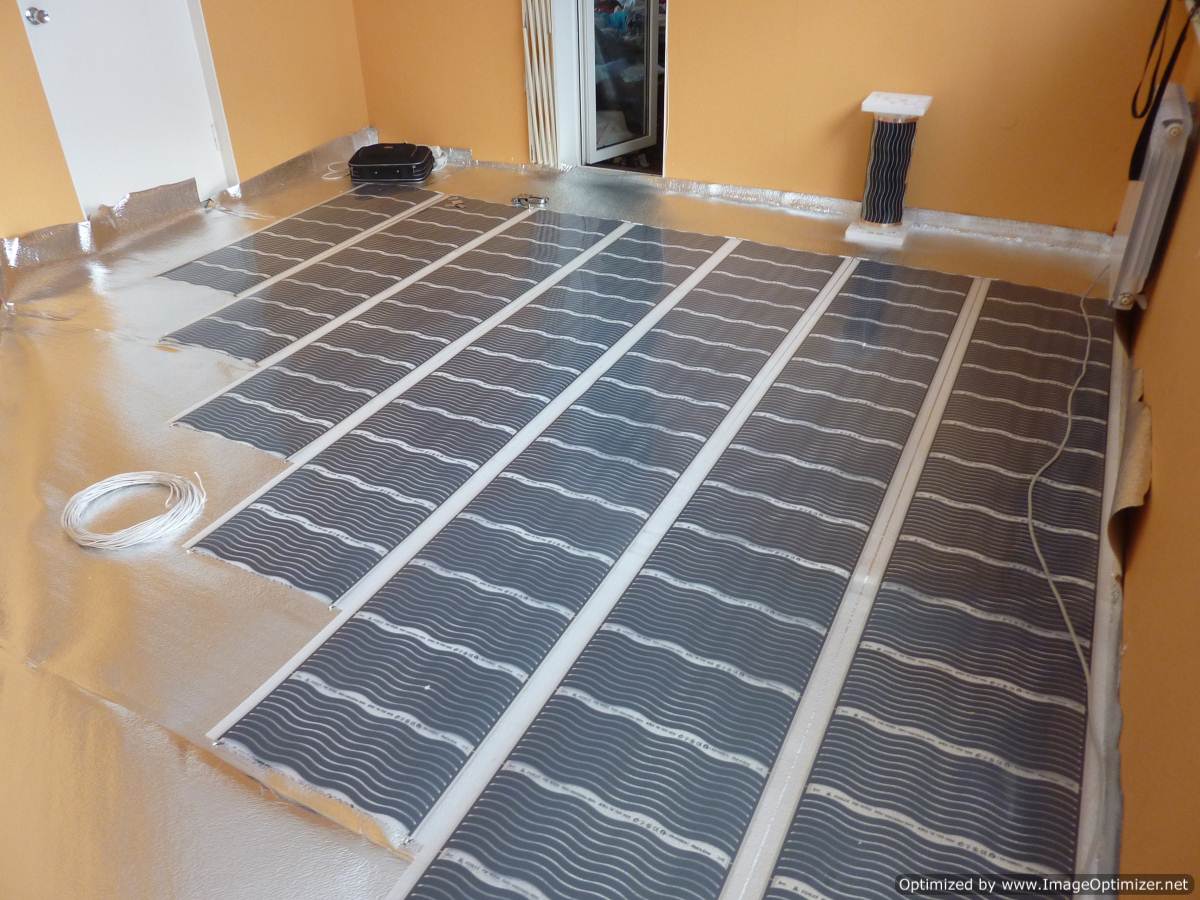
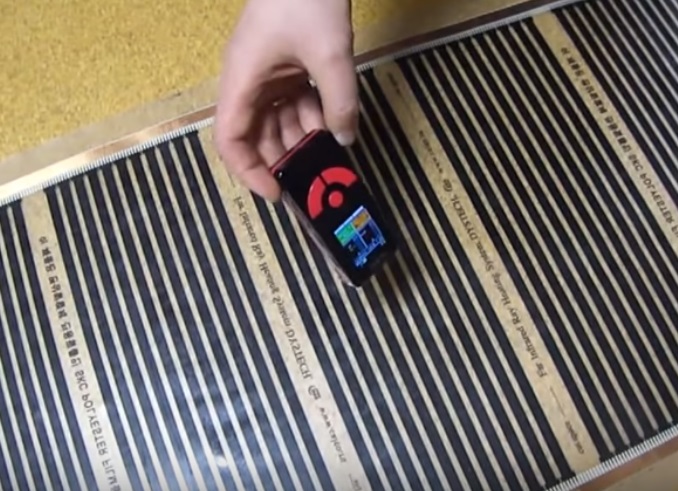
- Infrared film. A semiconductor heating strip is mounted in the fabric.
-
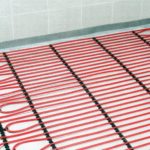
- Cable floor heating
-
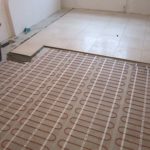
- Thermal mat
-
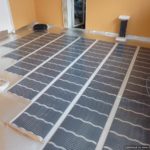
- Infrared film underfloor heating
To heat the electric floor under the laminate, a thermostat is used. It is in any circuit. You can install it yourself, following the instructions that come with the floor.
Advantages and disadvantages
Electric underfloor heating has several advantages. These include:
- use as the main or auxiliary heat source;
- uniformity of heating;
- installation on different coatings - linoleum, laminate, ceramic tile;
- the ability to control the temperature;
- environmental friendliness;
- health safety;
- long service life.
Of the minuses we can distinguish:
- cost;
- additional energy costs;
- the inability to install under parquet or wooden flooring due to the possibility of deformation;
- creation of an electromagnetic field by cables;
- installation of additional equipment for electric-water underfloor heating is required;
- risk of electric shock due to improper installation.
Installation of electric underfloor heating can be done independently. Before work, you need to familiarize yourself with the attached instructions and the connection diagram.
DIY installation
To work, you need a professional tool:
- heating system itself;
- fastenings;
- copper wire;
- connecting cables;
- RCD
- regulator;
- temperature sensor.
-

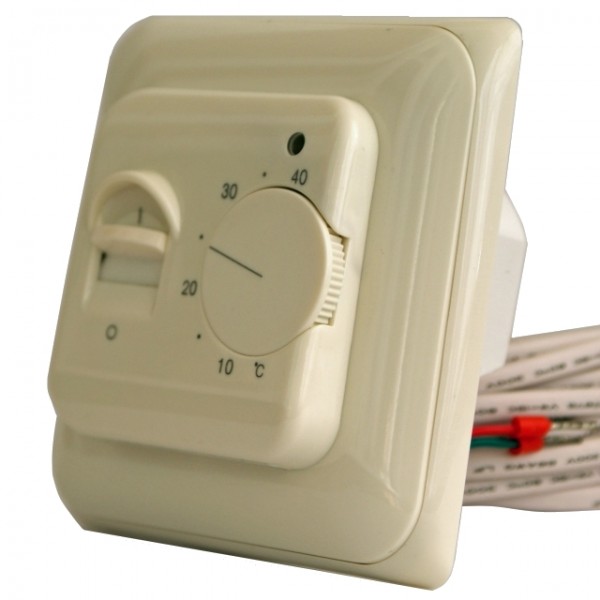
- Mechanical temperature controller
-
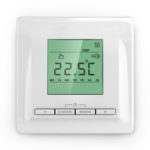
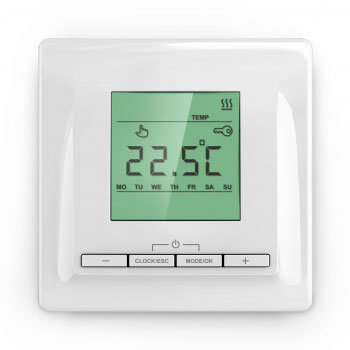
- Electronic temperature controller
The first step of installation is the calculation and creation of a floor project. It should indicate the place in which the sensor and thermostat will be placed. The surface of the floor itself must be cleaned of debris and dirt, leveled if necessary.
Step-by-step instructions for surface preparation:
- debris removal;
- alignment;
- primer for the subfloor;
- laying of a waterproofing layer;
- installation around the perimeter of the damper tape;
- laying of insulating material 3-4 mm thick for apartments in multi-storey buildings;
- reinforcing mesh coating.
For optimal heating, you need to calculate the power.This can be done according to the formula P1 = P2 * S * K, where Z1 is the power of the cable, Z2 is the heating power per 1 square meter, K is the power factor, equal to 1.3 - 1.6, S is the area of the room.
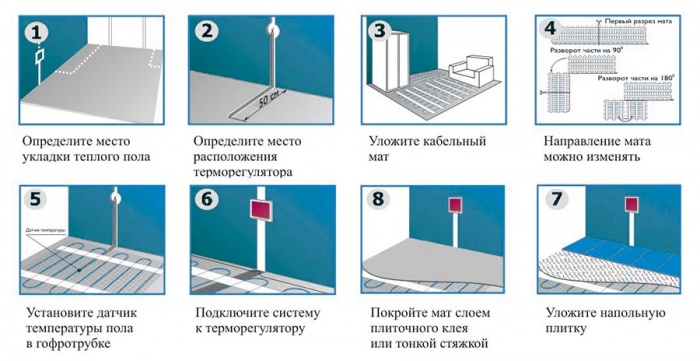
After the calculation is completed and the floor is prepared, you can proceed with the installation. Step-by-step instructions for each type of floor will be slightly different. To install the cable floor, you need:
- prepare the foundation;
- put waterproofing (in the bathroom);
- install mounting tape, lay the cable;
- lead the end of the power cable to a junction box with a temperature controller;
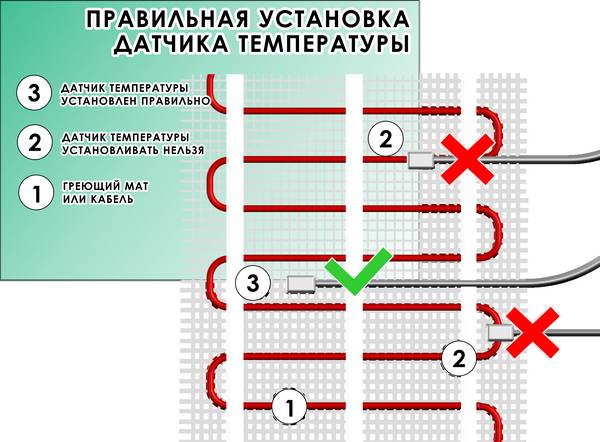
- Install the temperature sensor in the corrugated pipe.
You can only test the system and turn it on after the screed has completely dried.
The heating mats must be installed so that they are in close contact with each other. Cut the fabric so that the heating cables are not damaged or deformed. The mat is placed on a special glue, the layer of which should be 2-3 mm. The temperature sensor is also placed in a corrugated pipe between the turns of the heating elements. The second cable must be routed to the thermostat. The final stage is to check the system’s performance using a special tester. Laminate on a warm electric floor can be laid after the screed has completely dried.
Installation of an infrared warm floor begins with the installation of a thermostat in a junction box. To the shield are wires. A heat-insulating layer of not more than 5 mm thick is laid on the base. The connection points need to be fixed with tape. The layout of the IR film is carried out by heating elements down. Its edges need to be strengthened with tape so that no shifts occur. The contacts and the wire must be connected. In the second section, a temperature sensor is placed to receive information about the heating. The last step is to check the functioning of the system, laying of polyethylene film flooring and topcoat.
Electrical connection
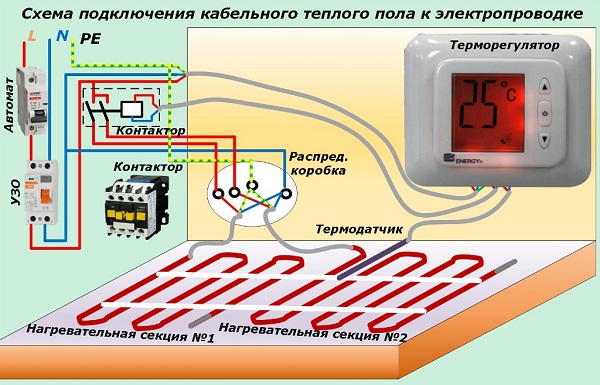
The most important stage of installation is the connection of the underfloor heating to electricity. The cables will be connected according to the following algorithm:
- checking the cable and wires for resistance with a multimeter and insulation mats through an ohmmeter;
- connection of a temperature sensor, temperature controller, power cable according to the attached instructions;
- grounding wires;
- connection to the machine or RCD, otherwise it will knock out traffic jams.
Regulation of the system is carried out using an electrical unit. They are different - electromechanical, digital, programmable. It is better to choose modern control panels that any user can manually configure.
Possible mistakes
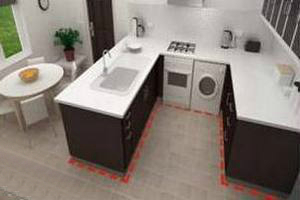
The most common problem is installing under a heavy headset. This leads to poor cooling of materials, their overheating and breakage.
During installation, do not bend or bend the cables. Then the whole system will be faulty and inoperative.
Incorrect insulation resistance control also leads to malfunctions. Differences in the declared and received value by more than 10% cannot be allowed.
An equally common mistake that novice masters often make is to fill the temperature sensor in the screed. This can not be done, the sensor should be placed in a corrugated tube and only then filled with a screed. If the temperature sensor breaks, it will be difficult to eliminate the damage when installing in a screed without a tube.
Lack of insulation of live parts when installing an IR film will lead to a power outage.