LED strips adorn the windows of many shops, restaurants and bars. Diodes shimmer with colorful lights, illuminate billboards. Luminous lamps are also used for decorating bedrooms, kitchens, and children's rooms. If necessary, to illuminate and decorate a large area, you will need to connect several diode strips, since their standard length is often not enough.
Why is it necessary to connect LED strips
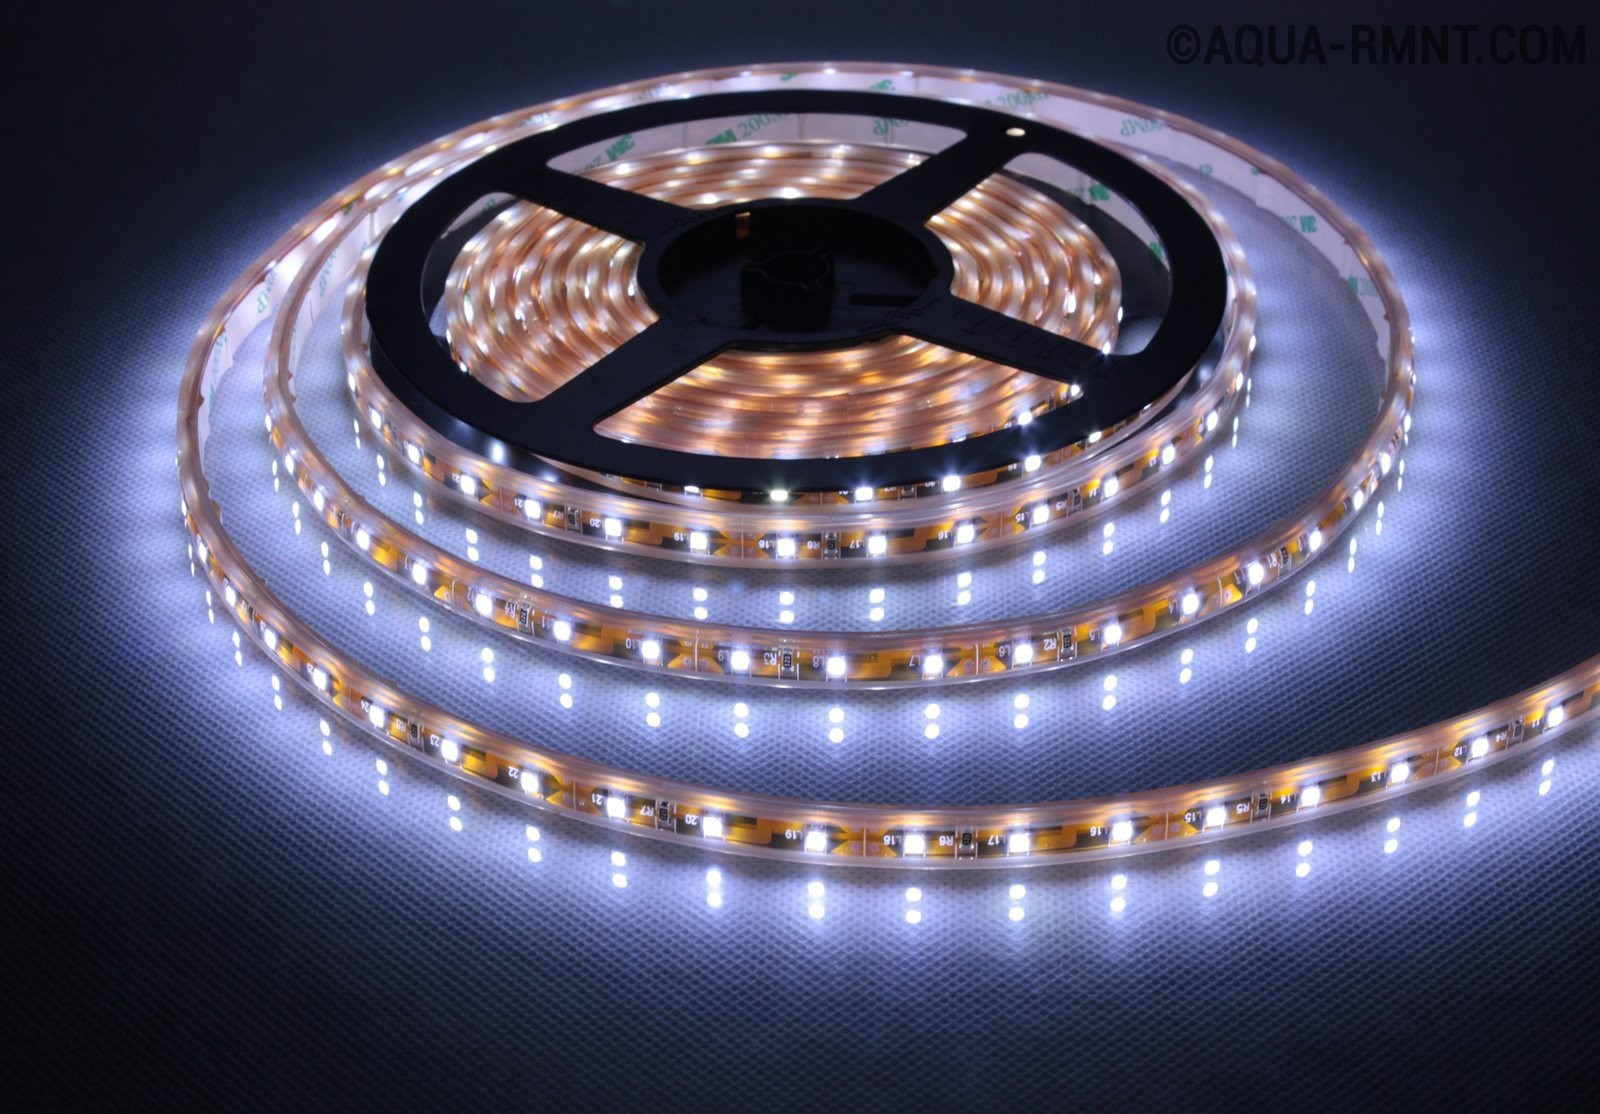
The basis of the LED strip is a flexible strip with light diodes located on it, interconnected by a circuit that goes along electric tracks. Each tape is equipped with markings for cuts, as well as small spikes that allow you to connect the wires. The reverse side of the structure is an adhesive strip that allows you to fix the device on any surface.
LED strips are usually sold in a coil of 5 meters, this is not enough to decorate a large room. Therefore, they are extended to the desired size, and then hung on ceilings, arches, shop windows and aquariums.
Connection Methods
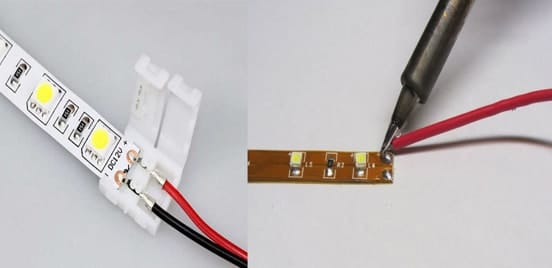
There are two ways to connect the tape: using soldering or a removable connector. Each method has its own characteristics:
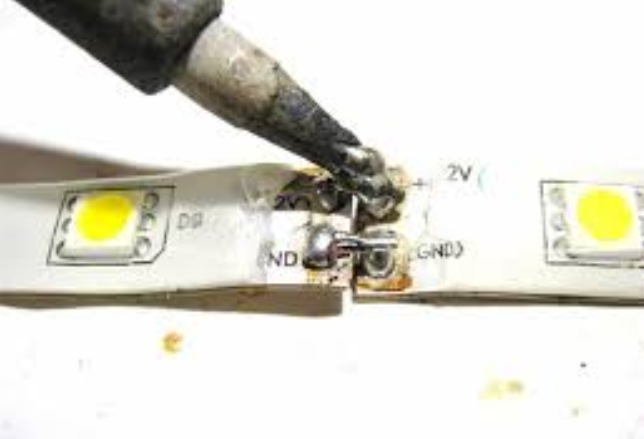
- Soldering is a budget and reliable bond. It is carried out by exposing two contacts to which the wires are subsequently soldered. After that, connect the edges of the structure.
- Connector bonding occurs due to plastic clamps. Connectors are most often used when it is necessary to connect the LED strip in uncomfortable positions, and it is impossible to solder the contacts. This method is simple and convenient, but fraught with oxidation of contacts.
Soldering is considered a more complex method of connecting a diode strip, but it is recommended to make a choice in its favor.
Solder Connection Instructions
I actively use several methods to help build up the LED design.
Wireless connection
To connect the LED strip together, you need to use the instruction:
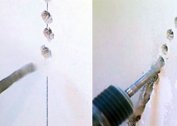
- Turn on the soldering iron and warm it to a temperature of 350 degrees. It is recommended to monitor the indicator and prevent its increase. This can damage the LED design. Before working, it is recommended that the tool be cleaned of dirt and wiped with a damp sponge.
- Place the tape on a flat surface so that it does not budge during the process.
- If there is a silicone coating on the wire, it will need to be removed.
- Pin the contacts on the two parts to be joined, cover them with a small layer of solder.
- Put one tape with an overlap on another, solder the places of fastening.
- Leave the structure for a while so that it dries.
If, after being connected to the network, the diodes began to sparkle, this indicates an incorrect arc crossing, rupture or loss of contact.
Wire connection
Another way to connect the LED strip:
- Gently cut the strip as described above.
- Prepare a wire with a thickness of up to 0.8 mm and remove the silicone sheath from it.
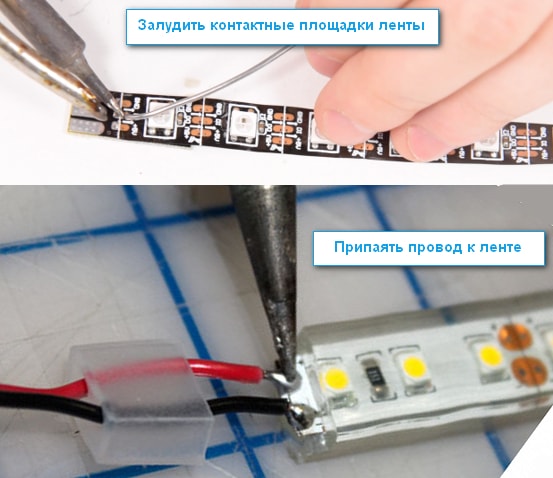
- Tin ends.
- Bend the tips at a right angle and solder them to the paired contacts.
- Repeat with the other end of the wire.
- Put on the heat shrink tubing to protect the solder points.
Soldering an LED construction on its own is difficult. Therefore, it is better to seek help from a specialist.
Plastic connectors
Connectors are used in cases where it is not possible to solder the contacts. This connection method is considered the simplest.
- Prepare sharp scissors and cut the tape with them. Before this, you should measure the distance so that on each segment there is a multiple of the number of LEDs.
- Leave the distance between the diodes so that the same size mounting pads are formed on each side.
- Open the lid and insert one part of the tape into the structure, click on the connector.
- Repeat with another segment.
The design can be connected to the mains. With successful operation, you can post a diode design to illuminate the room.
Types of connectors
There are several types of plastic connectors:
- Without bending. Used to quickly extend the luminous ribbon. The junction at the same time look almost invisible.
- With a bend. The device is equipped with 2 elements with protruding wires that help connect the ends of the tape in different directions and shapes.
There are also corner connectors. They are used only if necessary to connect the structure at right angles.
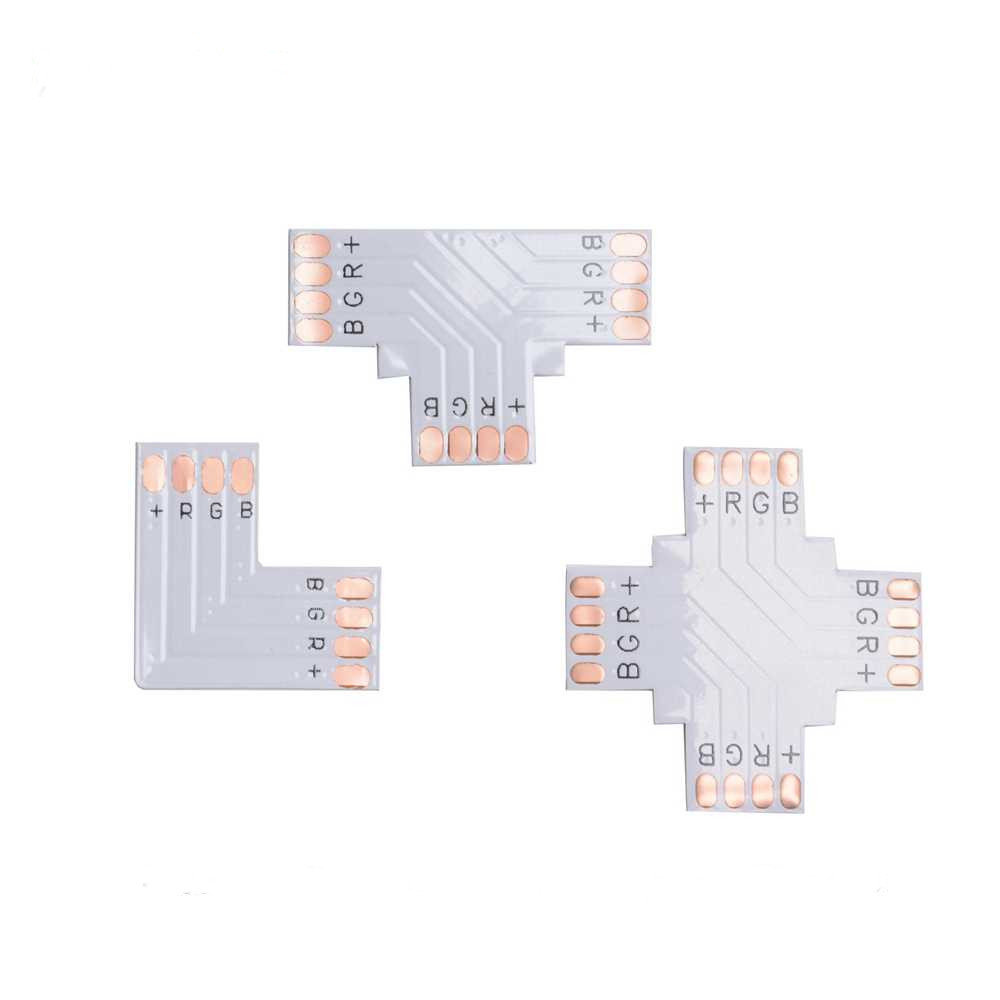
Connectors have a different configuration. It depends on the geometry of the connection:
- direct - cross in direct sections;
- L-shaped - connection of the structure at right angles;
- t-shaped;
- cruciform.
An abundance of mounting capabilities allows you to create a variety of unusual shapes from luminous ribbons.
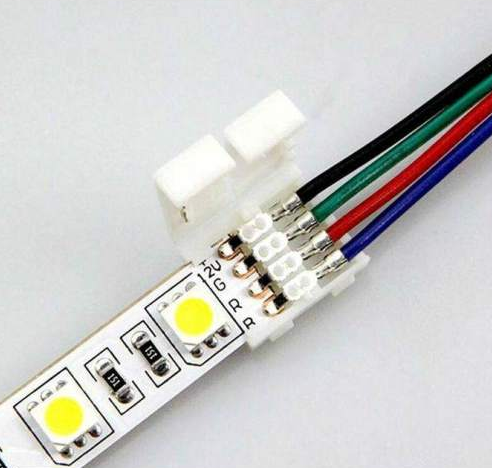
The number of contacts depends on the type of LED strip, varies from 2 to 6. For monochrome designs, it is better to use connectors with 2 contacts. Three-color RGB strips are connected by a four-pin part. To combine the RGBWW tape take connectors with 6 pins.
At home, making mounting parts is quite difficult. You need to purchase screw terminal blocks, clean them from screw insulation with a sharp kitchen knife. Next, you need to remove the protective varnish from the diode strip and cut it with scissors. Place the strips in the holes of the terminal blocks, tighten the screws. Do the same with the power wires. In those places where the tape is connected, you need to put on a heat-shrink tube, set them on fire with a lighter, until a reliable crimp occurs.
Installing a diode strip in a fast wired connector
 For the procedure you need:
- Take the two LED strips that should be connected.
- Turn the wire connector so that the white stripe is at the top.
- Pull the ends of the plastic latch.
- Insert the connector into the tape, return the latch to its original position.
You should check the reliability of fixation and connect the diode strip to the power supply. If the design sparkles, this may indicate problems in the wiring.
Tips for using and installing tape
During operation, you must rely on the following tips and tricks:
- LED strip is not considered the most reliable device. Therefore, a spike or connector connection must be carried out qualitatively. The structure should be lengthened so that it can then be disassembled in case of breakage.
- For reliability, it is better to glue strips on double-sided tape.
- When placing diodes to illuminate the ceilings, they are hidden behind a baguette or baseboard. This is necessary for uniform lighting.
The tape power supply in many cases is equipped with fans that deliver noise. The device is recommended to be carried out to rooms from where unpleasant sounds will be inaudible.
Pros and cons of various compounds
The advantages of a connector include:
- easy installation;
- various variations of the compounds;
- low cost of parts.
Of the minuses - fast oxidation of contacts, instability to humidity. It is better to focus on waterproof connectors so as not to damage the structure.
Advantages of soldering:
- mounting strength;
- availability;
- good quality;
- lack of oxidative processes.
Among the shortcomings is the complexity of the work. A person without proper preparation to lengthen the tape will be problematic.