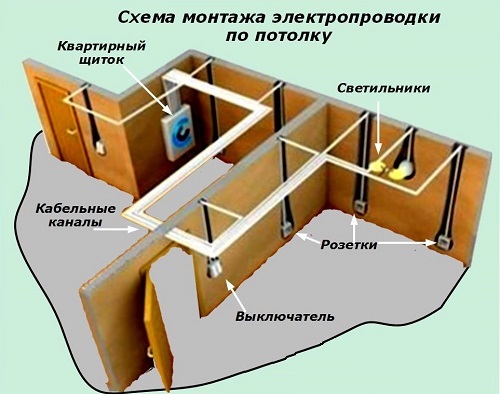
Fastening wiring to the ceiling is not uncommon; more and more recently, people, making repairs in their apartment or house, prefer this method. This is due to a large number of advantages, the main of which is convenience. However, before deciding to conduct wiring on the ceiling, you need to familiarize yourself with the disadvantages of the method.
Cost comparison
For a more visual comparison of costs, it is recommended to consider everything with a specific example.
During the replacement of electrical communications in a four-room apartment with the installation of a traditional switchboard, not equipped with several automatic machines, and when laying conductive wires in the walls and on the floor, 2045 meters of wires were required. This number includes the connection of lighting devices, outlet groups, low voltage. The standard minimum set required for new wiring.
If an electrician is drawn along the ceiling, with a similar number of outlets, lighting devices, almost 500 meters more wire will be required.
Comparison table for required supplies:
| Expendable materials | Posting on the floor, meters | Wiring on the ceiling, meters |
| NYM 3 * 6 | 15 | 18 |
| NYM 3 * 4 | 70 | 70 |
| NYM 3 * 2.5 | 610 | 810 |
| NYM 3 * 1.5 | 600 | 780 |
| NYM 5 * 1.5 | 100 | 140 |
| PV3 1 * 4 | 55 | 55 |
| PV3 1 * 6 | 45 | 45 |
| TV cable | 100 | 100 |
| UTP cable | 450 | 470 |
Moreover, the difference is limited not only by the amount of material, but also by the need for wall shredding for a larger footage. And this entails additional time, effort and financial costs.
As practice shows, the cost of wiring carried out on the ceiling is tens of thousands of rubles more expensive.
Ceiling installation methods for different types of surfaces
Wood ceiling base
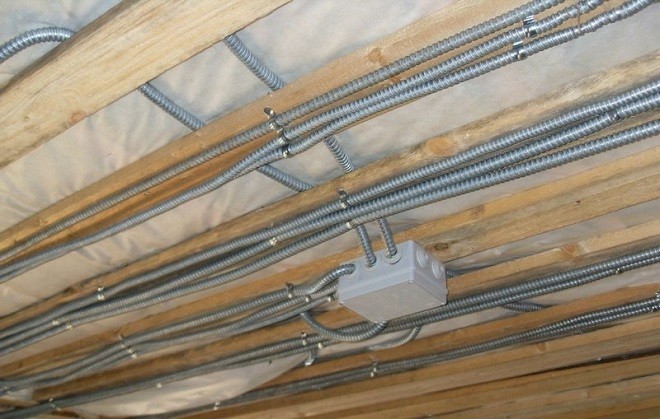
Wiring under a suspended ceiling on a wooden surface is carried out using steel pipes. The inner diameter directly depends on the size of the wires. If the cross section allows, it is allowed to lay several cables in it.
Installation process:
- Mark up where cables will soon be laid.
- Mark and install the bushing and junction boxes.
- Cut the pipes of the required length, securely fix them on the surface of the ceiling and by welding connect all the elements.
- It is important to make all ascents, descents and turns strictly at right angles or offshoot from the mounting box.
- Using a broach, securely fix the cable in the interval from one box to another.
- Establish a grounding system.
The final stage - it is mandatory to check the integrity and performance of electrical communications.
Metal surface
Metal is a good conductor of electricity, therefore it is very important during installation work to comply with all requirements of regulatory documents and rules. If the category of the apartment and the conditions allow, it is necessary to place the wiring in pipes made of electrical plastic.
The installation algorithm is completely identical to the technology for wiring on a wooden ceiling.
Reinforced concrete floor
If we are talking about a reinforced concrete ceiling, wiring should be carried out through special channels.The only inconvenience of implementation is that inside and around the edges of the slabs there are leftovers of concrete piles, which makes cable pulling much harder.
The following methods are available for open cable laying on reinforced concrete slabs:
- special mounting brackets;
- in electrical pipes made of plastic, which are mounted on clips;
- in plastic corrugated pipes that are securely fastened with special clips;
- in steel protective corrugations which are fixed by collars or brackets.
Before proceeding with installation work, it is important to make sure that this method is realizable.
False ceilings
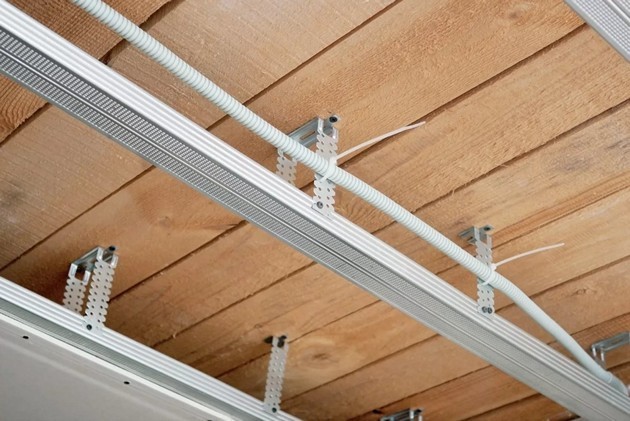
False ceilings are suspended. Such designs are extremely popular because they create an attractive interior and allow you to hide different communications inside. However, there is one significant drawback - limited access to wires and cables mounted to junction boxes.
Plasterboard panel, rack, cassette and suspended ceilings, as well as electrically conductive panel can be installed in any room. Given the environment, wiring under the ceiling is as follows:
- Cables are attached to the base ceiling.
- If the base ceiling is made of wood, the wires are placed in steel pipes.
- Corrugated products or electric pipes made of plastic are used for reinforced concrete and metal surfaces.
If there is no experience in carrying out such work, it is better to hire a team of professional builders and handymen who will quickly, efficiently and most importantly safely complete the installation.
Preparatory work
It is necessary to carry out all preparatory measures, which in the future will simplify the implementation of the main work and reduce the time spent. This will require:
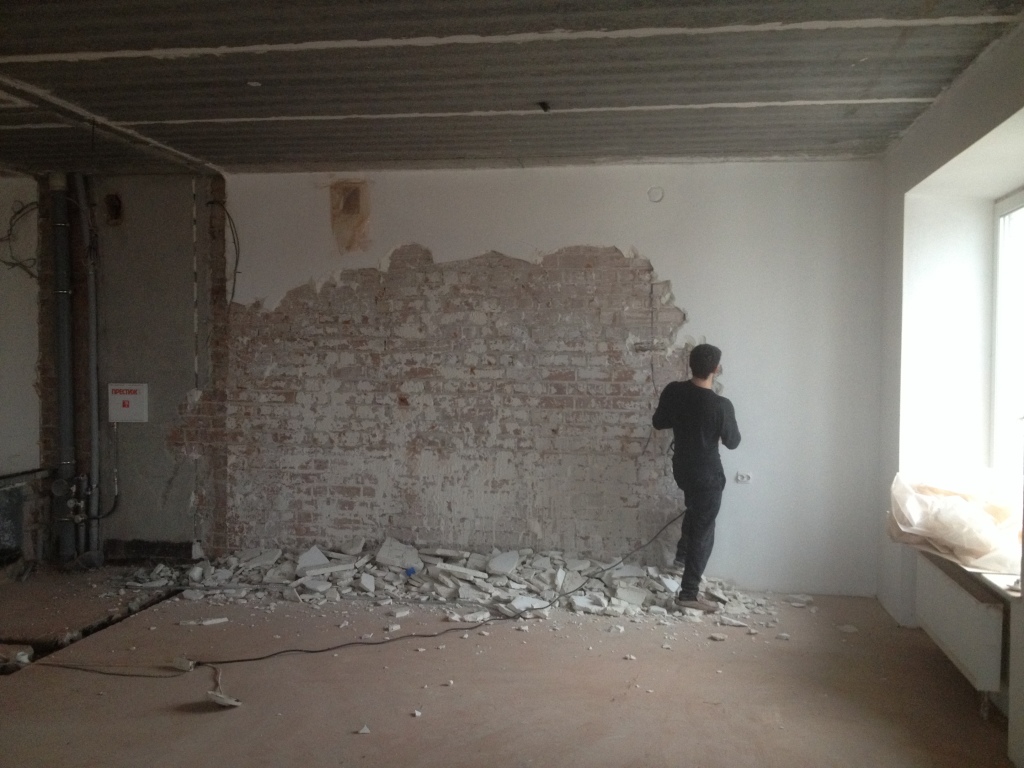
- Remove decorative materials from the surface of the walls, such as wallpaper, decorative plaster, etc.
- Disconnect old wiring. To do this, you will need to tilt the conductive wires from the power supply machine in the entrance and connect a temporary carrier intended for power tools to it.
- If an electric meter is installed in the apartment and for work it is necessary to remove the protective seal, you will additionally need to visit the energy supply company and write an appropriate statement.
- Remove all old sockets, switches, electrical panels and junction boxes.
When performing work on dismantling old wiring, it is important to take care of personal safety precautions.
Rules for choosing material and wire cross-section
Before installation, it is important to familiarize yourself with the variety of wires and their cross-section. In construction stores, the range is incredibly large.
There are two main types - PVA and VVN. The abbreviation of the latter means vinyl-vinyl naked: each conductive core is in vinyl insulation, and everything is united by another insulating layer. As a rule, in construction stores you can find cables of this type only single-core, this means that the wire was cast.
PVA: connecting wire with vinyl insulation. The most common wire made from copper. It is used not only for wiring, but also for the manufacture of electrical appliances. The core consists of a large number of small wires. This design feature favorably affects electrical conductivity and service life.
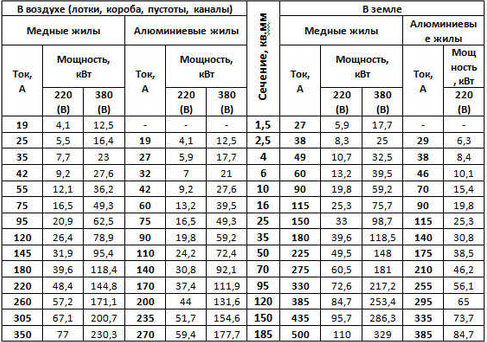
To select a wire with the correct cross-section, it is necessary to familiarize yourself with the tables from the manual of the PUE (Electrical Installation Rules).
Manufacturing circuit
 This is an important and integral stage, which will allow you to find out which wires are directed to where and what they are powered with.As a rule, it is enough to make a banal electrical circuit, which is drawn not in accordance with the drawing standards, the main thing is to understand it.
This is done as follows: schematically, on a sheet of clean paper, the mounting boxes are depicted in which the twists will be concentrated. Also indicated is the assembly panel of the machines, switches and bulbs. The twists in such boxes are represented by rectangles, and the dots are the wires that are twisted in it.
Strobing and laying wires
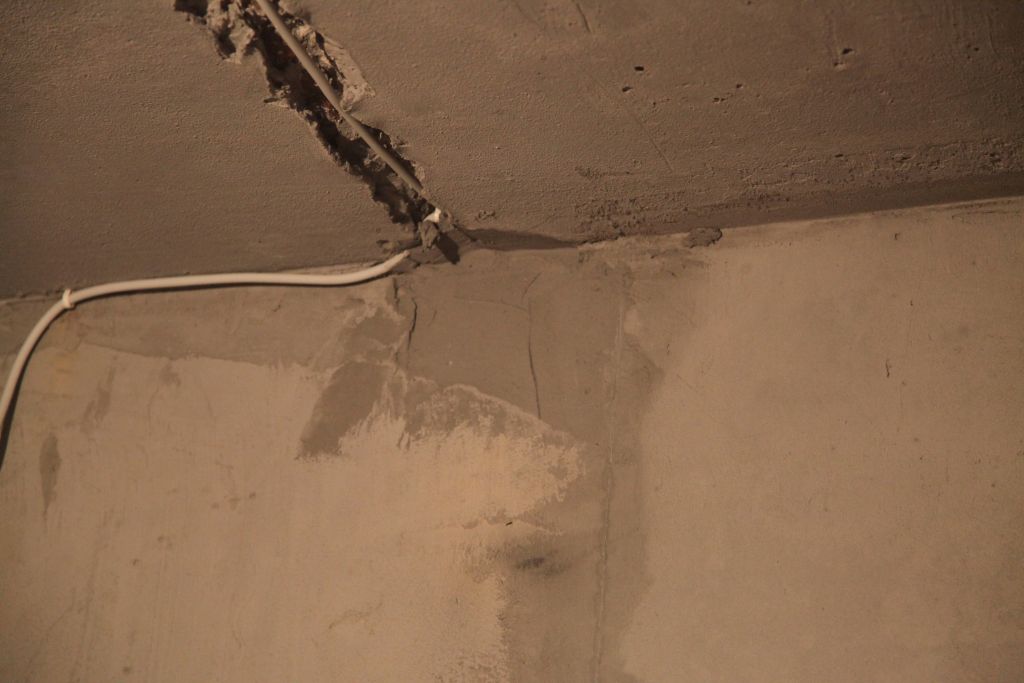
After completing all the preparatory measures, you can begin to work. Using a pencil or felt-tip pen, lines are drawn along which the strobe will be cut.
With the help of a perforator crown, holes are drilled for switches and sockets. It is important to use the euro-funnel during operation, since the dimensions of the mounting boxes are of European standards. By modern standards, sockets are mounted at intervals of 0.4 meters from the floor, and switches - 0.9 meters.
Next, they begin to cut the strobes. Work is carried out using a shtoreboza. The tool is expensive, therefore, as an analogue, you can use an ordinary grinder of the smallest number. You need to use a stone disc. Two cuts are made in parallel with the outlined lines, the distance between them (15-20 mm) is hollowed out by a perforator.
Now you can start laying the wires. They are securely fixed to the wall with plaster alabaster. When preparing the building material, the proportions are 1: 1.
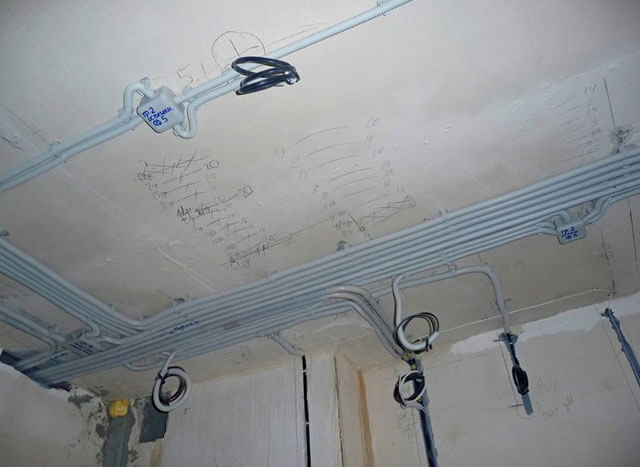
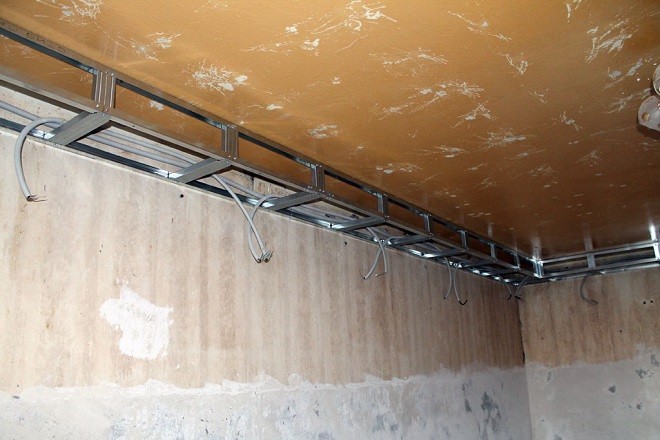
If in the future it is planned to install a suspended ceiling, the wires are threaded into a special protective armored hose and attached to the ceiling using shock dowels.
Exclusion - The Final Stage
It is important not to forget about the exception. Using the previously prepared circuit, the wires are insulated and twisted in junction boxes. Next, machines, RCDs, switches and sockets are connected to the network. If a suspended ceiling is installed, you must first insert spotlights and fixtures into the prepared holes.
When all the activities are performed, the network is checked for operability; the short circuit must be absent.
Common mistakes when installing wiring on the ceiling
The most serious, but at the same time widespread mistake made by the owners of the living space is trusting non-professionals who are unable to do the job efficiently, or the desire to do everything on their own without experience.
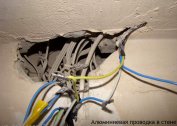
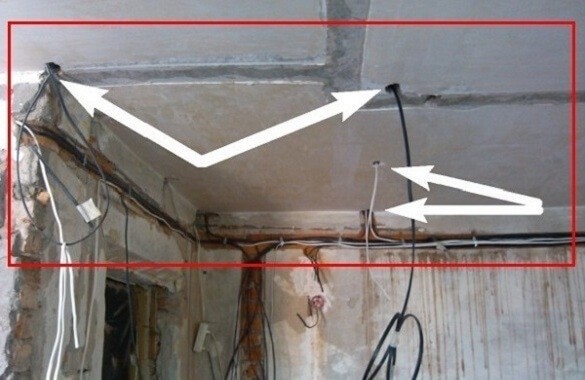
Often, wiring under the ceiling is laid without a protective corrugation and junction boxes, which can cause a fire. According to the requirements, all wires conducted along the ceiling must be enclosed in a corrugation made of special fireproof plastic or metal hose.
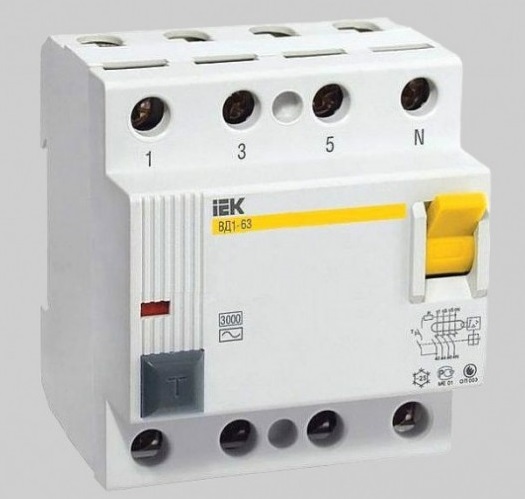
Another mistake is the connection of all electrical and lighting devices to a single residual current device. If the load exceeds the permissible parameters or an emergency occurs, all devices will be de-energized at the same time.
Avoiding mistakes and violations is quite simple. The main thing to realize is that all the electrical components on the ceiling must meet the requirements for the installation of external wiring. All conductive cores are enclosed in special protective flasks. Mounting directly to the ceiling surface must be done using special mounting clips.