If you decide to make underfloor heating in the house, do not think that only professionals can do it. Basic knowledge, a necessary tool, patience and as a result - warm floors and comfortable temperature of the living room. This heating option will allow you to adjust the heating level, distributing it over the entire floor area in the house.
Pros and cons of underfloor heating
 The main advantages of such heating:
- effective heating system at home;
- saving heating costs;
- uniform heating over the entire area of the room;
- The system operates at low temperatures. The air in the room does not dry out, the rooms will not be stuffy;
- such a heating system meets sanitary requirements and hygiene standards, it is environmentally friendly;
- a hidden underfloor heating system allows you to fantasize on the theme of interior decoration of rooms;
- By installing a system of underfloor heating, you can avoid problems with wiring, as is possible with electric floors.
With all the positive aspects, there are also negative points:
- the process is quite time-consuming and costly;
- it is important to carry out the correct preparatory work for installation and to comply with all its schemes;
- the risk of leakage is not excluded;
- weighting of structures, when installing a floor heating system on the second floor of house building, this fact is important to consider.
After weighing the pros and cons, it is also important:
- take into account the height of the room, because as a result of installation, the system takes up to 15 cm;
- raising the level of floors, it is important to maintain the height of the doorways, otherwise you will have to make them to order according to individual sizes, and this is an additional financial cost;
- if the windows of the room face north, it is necessary to increase the capacity of the system.
When developing the system and scheme of the future heating system, selecting materials, also take into account the floor area, type of insulation and the material from which the house is built, as well as types of ceilings.
We make a diagram
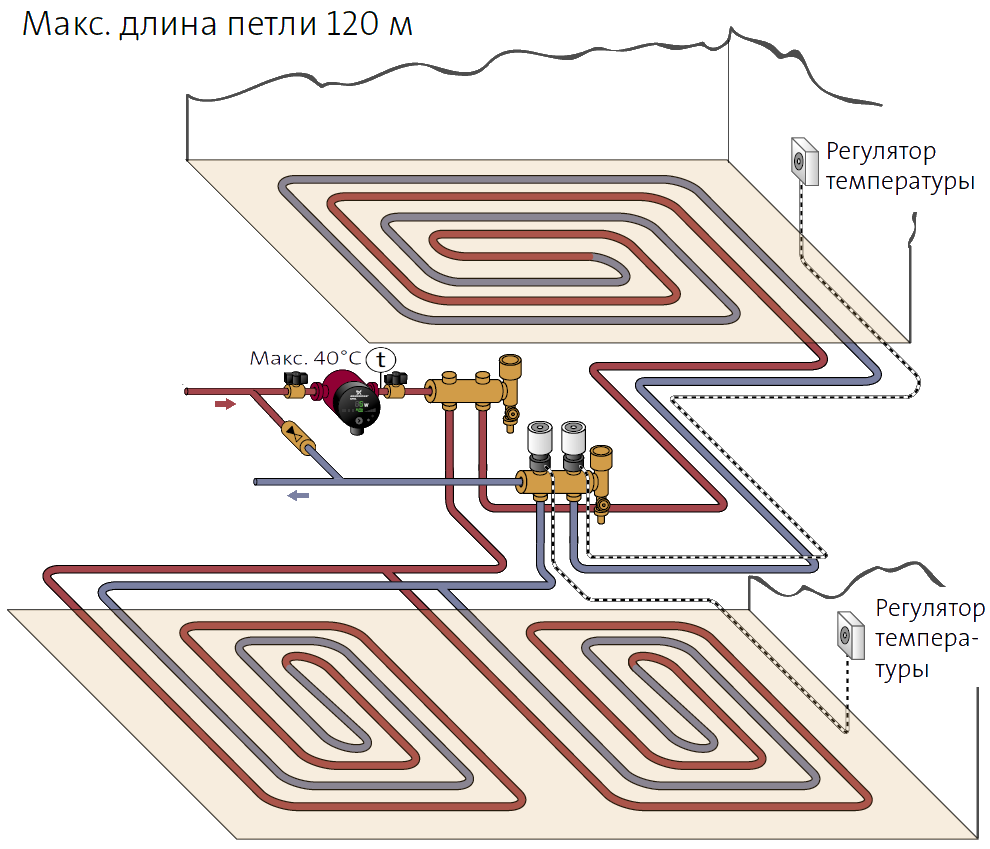 After all the parameters are known, the scheme should reflect:
- mounting points;
- dimensions of heating radiators, if any;
- pipe layout;
- distance between elements;
- temperature parameters in each pipe;
- lengths of all contours;
- power data for heating each individual room.
So, for the manufacture of floors in the house will need the following materials:
- boiler;
- pump (to ensure the normal movement of heat through the pipes);
- pipes (from copper and metal-plastic, polypropylene or pipes from cross-linked polyethylene).
The latter version of the pipes is more reliable and durable, the step of laying such pipes is minimal.
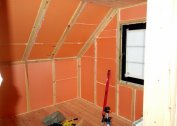
Surface preparation
Preparatory stage - before installation, the floor surface must be clean. We clean from debris and dust. As level as possible, the surface should not have sharp slopes or elevations. After laying the thermal insulation material, there are many options today. It can be foil polyethylene, polystyrene foam, mineral wool. Choosing the right material, we carry out waterproofing.
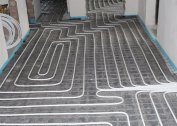
 There are several options for laying pipes:
- snail;
- the snake;
- combined system.
In the first option, the laying of pipes is carried out over the area of the room, tapering to the center. Often this laying method is chosen in rooms with an area of more than 40 square meters. m
With the installation option in the form of a snake, pipes run along the outer wall, and then come back. It is better to choose such a scheme for rooms of a small area.
With a combined system, it is possible to compensate for the cooling of the pipes, since the pipes are arranged in parallel, so that the movement of the warm and cooled coolant is the same.This installation option is best to start from the outer or the coolest walls of the room.
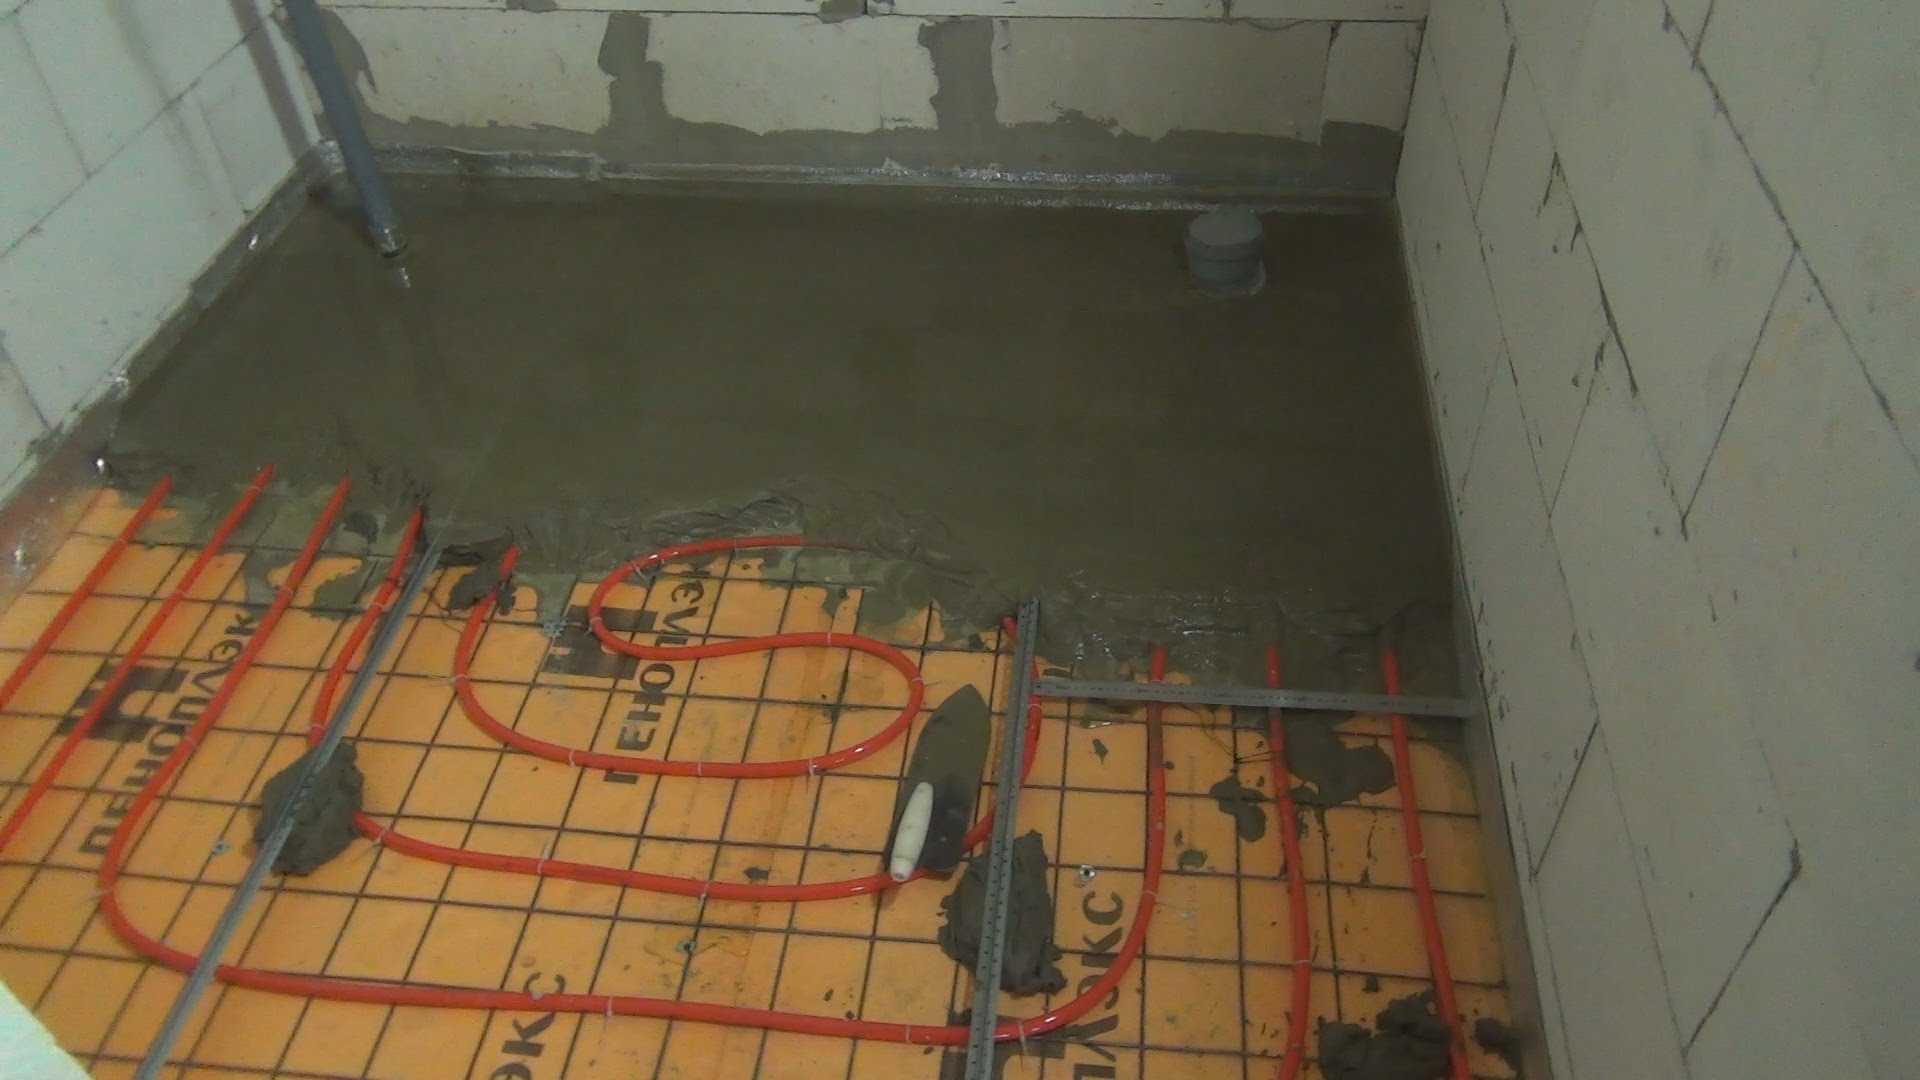
Stacking and screed
 Beginning masters when carrying out works on laying pipes need to mark their placement on the floor, since you can use exclusively solid pipes. Connections will shorten their useful life and increase the risk of leaks when the system is put into operation.
It is important to lay pipes at least 20 cm from the wall of the room, connect one end of the pipe to the collector. When laying pipes, it is important to fix them to a reinforced mesh, you can use clamps or wire. Mounting should not be too tight; consider expansion of pipes due to heat.
After the critical stage of laying the pipes, we proceed to the screed. You can use a ready-made mixture, which can be purchased at a hardware store, or prepare a concrete mixture by adding a plasticizer to it. It is necessary to carry out filling when the system is full. The optimum drying time for concrete screeds is about a month, and the time for special solutions is indicated on the packaging. The height of the floor screed varies from three to seven mm.
After a while, waiting for complete drying, you can start the system. Then the flooring is laid. You can choose tiles, linoleum or laminate. If the laminate is your choice, remember:
- when heated, the material may emit harmful fumes; when buying, be sure to check the quality certificate;
- do not lay a heat insulator under such a coating;
- Before laying such material, it is important that it gain the temperature of the warm floor.
Create comfort and coziness in your home, simple skills and knowledge will help make it modern and cozy.