In order to comply with fire safety rules and not to worsen the appearance of the interior of the room, you need to know how to properly install the switch. There are nuances that relate to the type of wiring and design of the device itself. The installation process is simple, if you know the step-by-step installation algorithm.
What type of wiring to use
Before installing the switch, it is worth deciding on the type of wiring. There are only 2 types - hidden and open. In accordance with the method of laying the cable, switches are selected.
Hidden wiring is called if the cable is under drywall, plaster, flooring. This cable management option has many aesthetic benefits. Use exclusively internal and integrated structures. There are also disadvantages:
- high cost of laying and subsequent finishing work;
- low level of wire cooling at the moment of passage of electric current;
- the difficulty of replacing the wire.
Open wiring - the principle of laying the cable over the walls. The wire is attached to the surface using brackets. This option is elementary from the point of view of installation, but has a high fire hazard and spoils the appearance of the room. It is advisable to use overhead structures. Another drawback: the wire is easily damaged due to mechanical stress.
Switch wire switching method
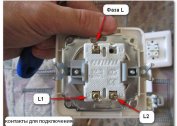
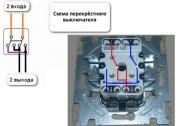
It is important to skillfully fasten the wiring wires to the contact plate. If the connection is made incorrectly, the communicator will not work properly. There are 2 types of clamps - screw and spring. For each option, a specific wire and the principle of its installation are used.
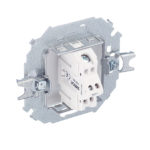
Screw type clamp
In some switches, the wire is connected using a special mechanism, which are special clamps. This option is difficult in terms of connecting the wire, but this is offset by the reliability of the contact. It can withstand high loads. A screw clamp is best used if aluminum wires are used.
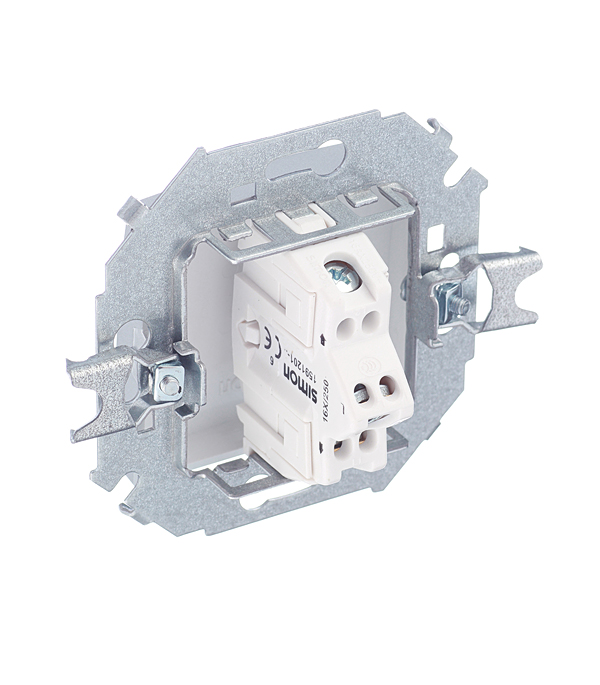
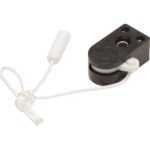
Spring clamp
To fix the switch in the wall, you need to consider the principle of connecting the wires in it. Actual systems are those that use spring-loaded plates that serve as contacts. This option makes it easier to connect the wires, but you need to lay the element correctly. It is better to use a spring type of connection if the wiring is formed from copper wires.
-

- Spring-cage switch
-
- Screw terminal switch
The main types of switches
Before you put the switch, you need to determine the type of switch. The principle of installation of the device will depend on this. Distinguish these types of devices:
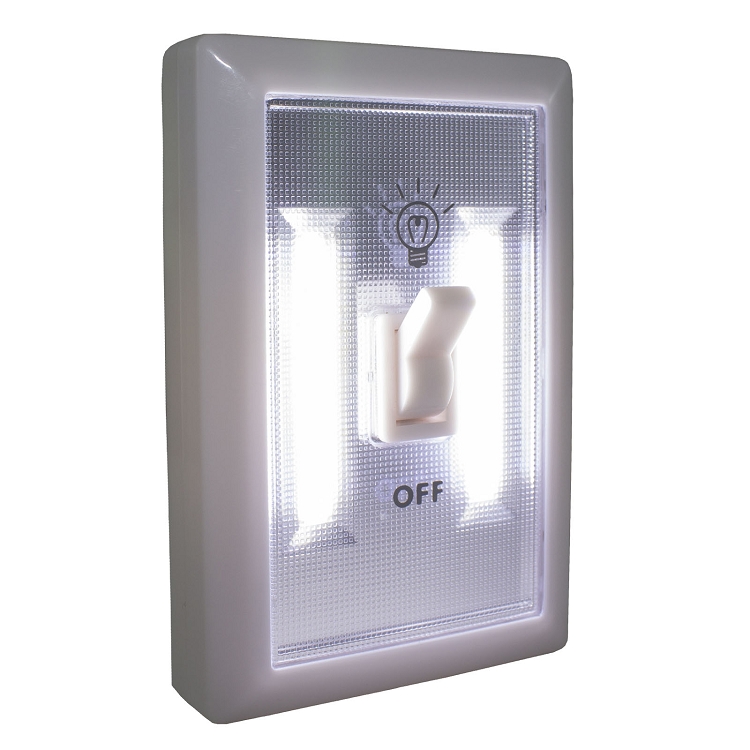
- LED light. The backlight is integrated in the housing, which helps to determine the location of the device in space.
- The touch model has no keys and closes / opens the circuit due to the light touch of the sensitive indicator panel.
- Cord type circuit breakers are designs in which work with the chain is carried out by acting on the chain.
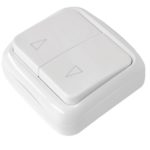
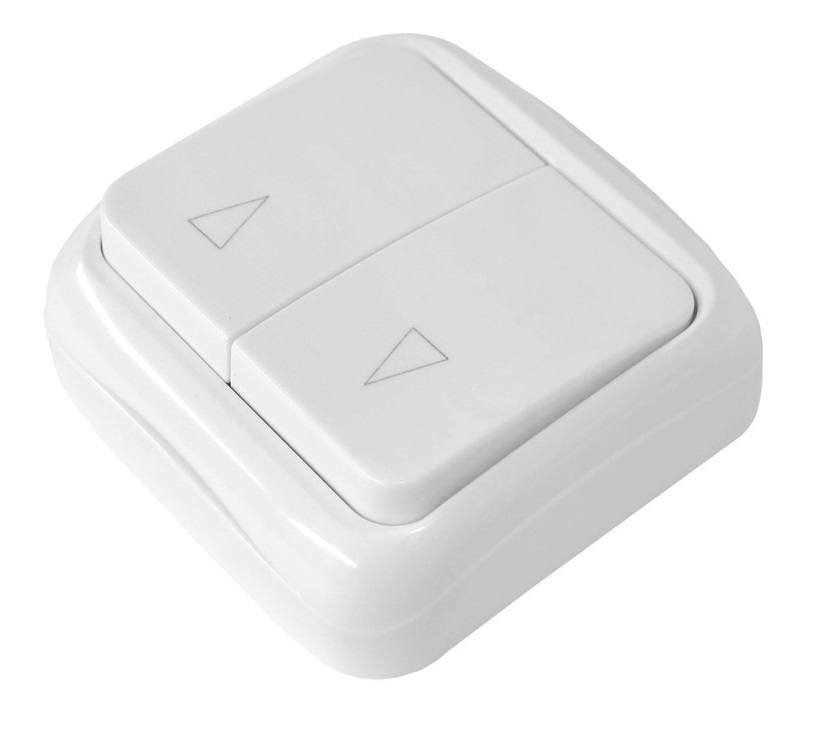
- The wireless version is a remote control that controls the operation of the lamp through commands from a distance.
- Switches-sensors allow you to automatically control the operation of the fixtures. They work in accordance with the data of the external environment of the room.
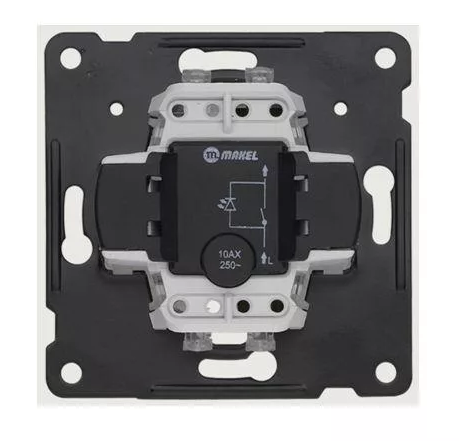
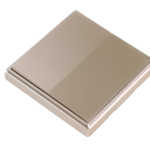
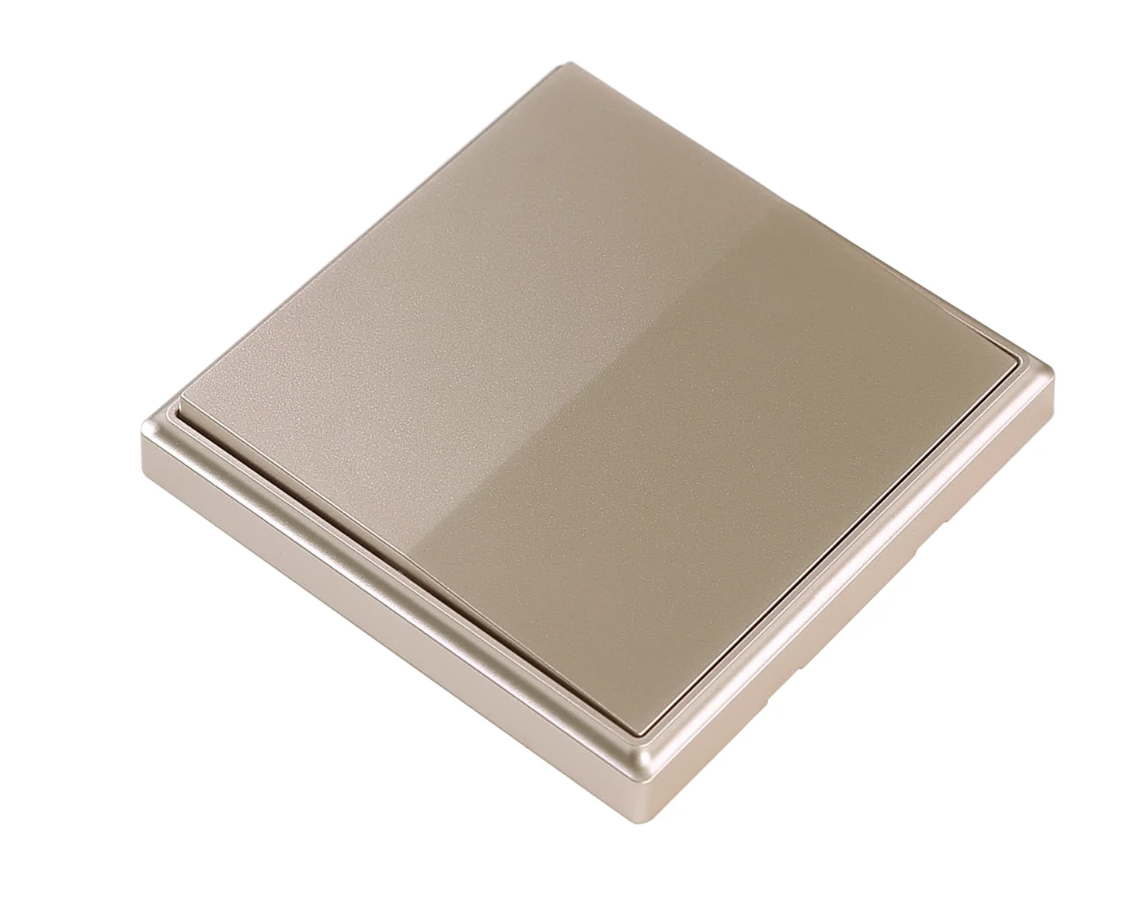
- Standard key switches. Such wall fixtures are a box with buttons.
Standard models produce an external type, new ones can have a hidden panel in the wall plane.
-
- Key
-
- Cord

-
- Sensor switch

-

- LED
-

- Sensory

-
- Wireless
How to choose a place for the switch
Installation of the switch begins with the determination of its location. There are recommendations regarding the location of the switches, but it is better to determine the location in accordance with individual characteristics:
- Consider the future layout of furniture. Interior items must not block or cover the appliance.
- You need to place the switches at a height of 90-95 cm from the floor.
- It is advisable to choose those places where humidity will not increase.
- Depending on the number of switches within a single room, specific places for placement are selected. If the switch is 1, it is better to place it near the entrance door to the room.
Placement should be determined in accordance with the layout of the premises and personal preferences.
General installation principles
Installation of light switches is performed in this way:
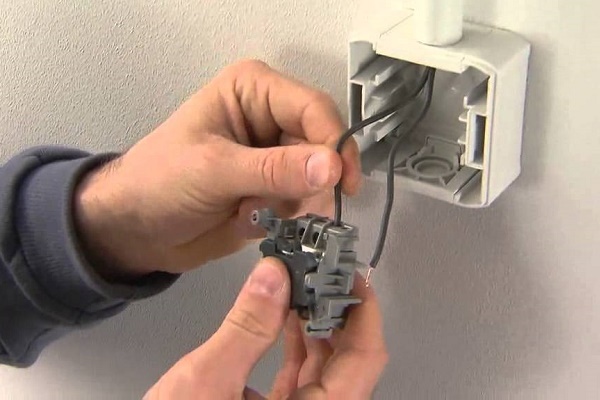
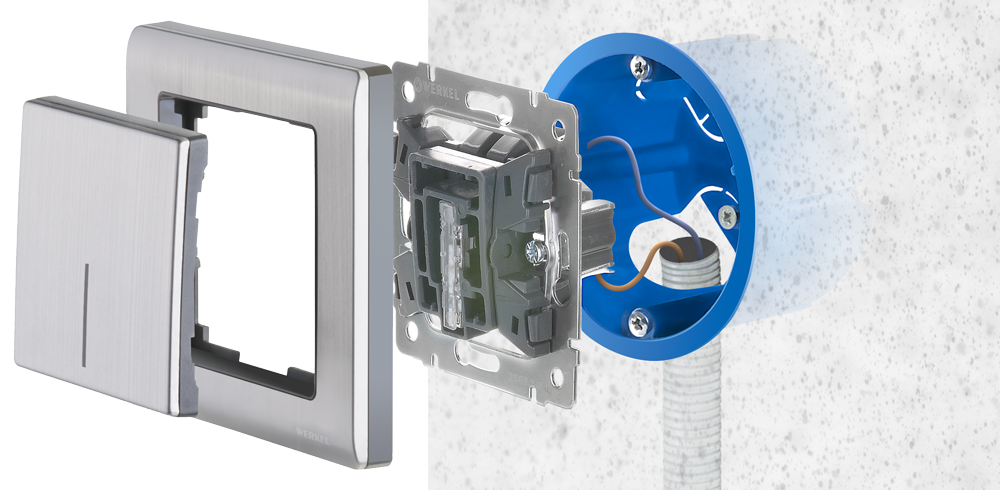
- The preparatory phase begins with drilling a hole in the wall. The recess must match the panel parameters. Installed podrozetnik.
- The main stage. Install the switch without a bezel. Fasten the inside of the box. Connect the wires to the contact plate.
- The final part of the installation. Close the box, put the keys. Check the operation of the device.
Installing a switch is simple if you plan all the stages of work and follow them.
Installation Precautions
To install the light switch safely, you must follow these rules:
- Disconnect the network. Turn off the counter.
- Use an indicator screwdriver to check for electrical current in the network.
- Use rubber gloves when working.
During operation, you must use only a screwdriver with an indicator to determine the presence of electric current in the network.
General circuit breaker installation
Algorithm for installing a single-key light switch:
- Switch off the power supply.
- Make a hole in the wall that will accommodate the switch panel.
- Drill a 2-pin socket into the wall with 2 screws.
- Screw the back of the box.
- Connect the network wires to the contact plate.
- Insulate open wires.
- Close the box with the protective frame and insert the keys.
Installing a single-key switch will be an ideal example for mounting any type of switch.
Installing an overhead switch
It doesn’t matter whether a single switch or a binary one, the principle of installing a patch switch is the same. This option is used for external wiring, but can be used with the internal version of cable laying.
To prevent the switch from protruding, you need to make a hole in the wall into which the box will fit. The panel will be partially located above the surface of the wall. Place a special plate in the recess, which will make the use of the device safe. Installation begins with screwing the plate with screws. Then the rest of the box is fixed.
Installation of a hidden switch
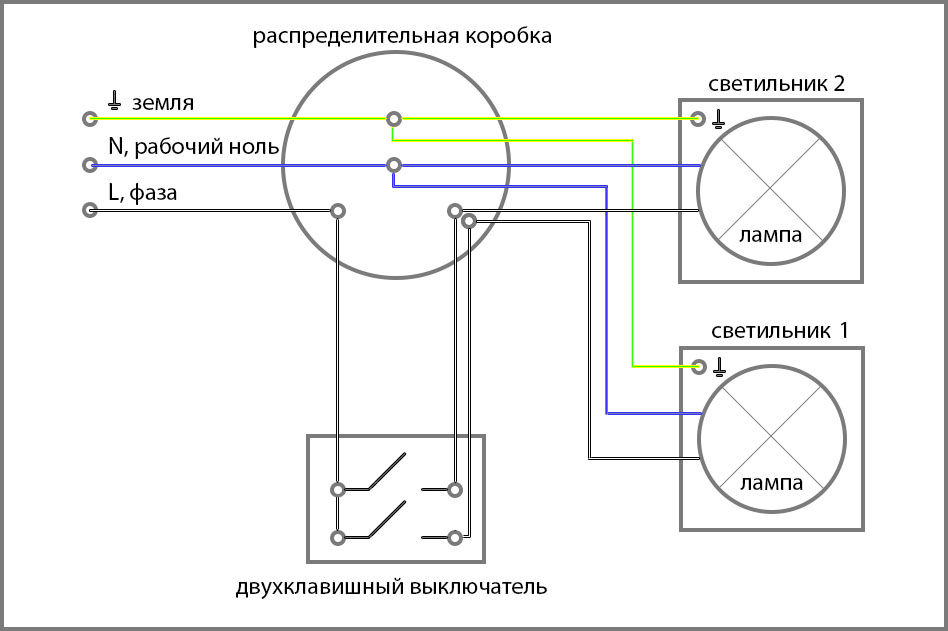
To put a switch with a hidden panel, you first need to determine the connection diagram of the lamp, socket and switch. The height and overall placement are adjusted. Next, a hole is made in the wall, which will completely accommodate the switch panel. The body of the device must not protrude above the surface of the wall.
Installation of the switch can be carried out in a short time, given all the nuances of installation.If you make the installation correctly, the brightness of the lighting devices will not suffer, the functionality of the device will be effective. It is important to correctly determine the location for the switch, to take into account the type and principle of operation, arrangement of the device.