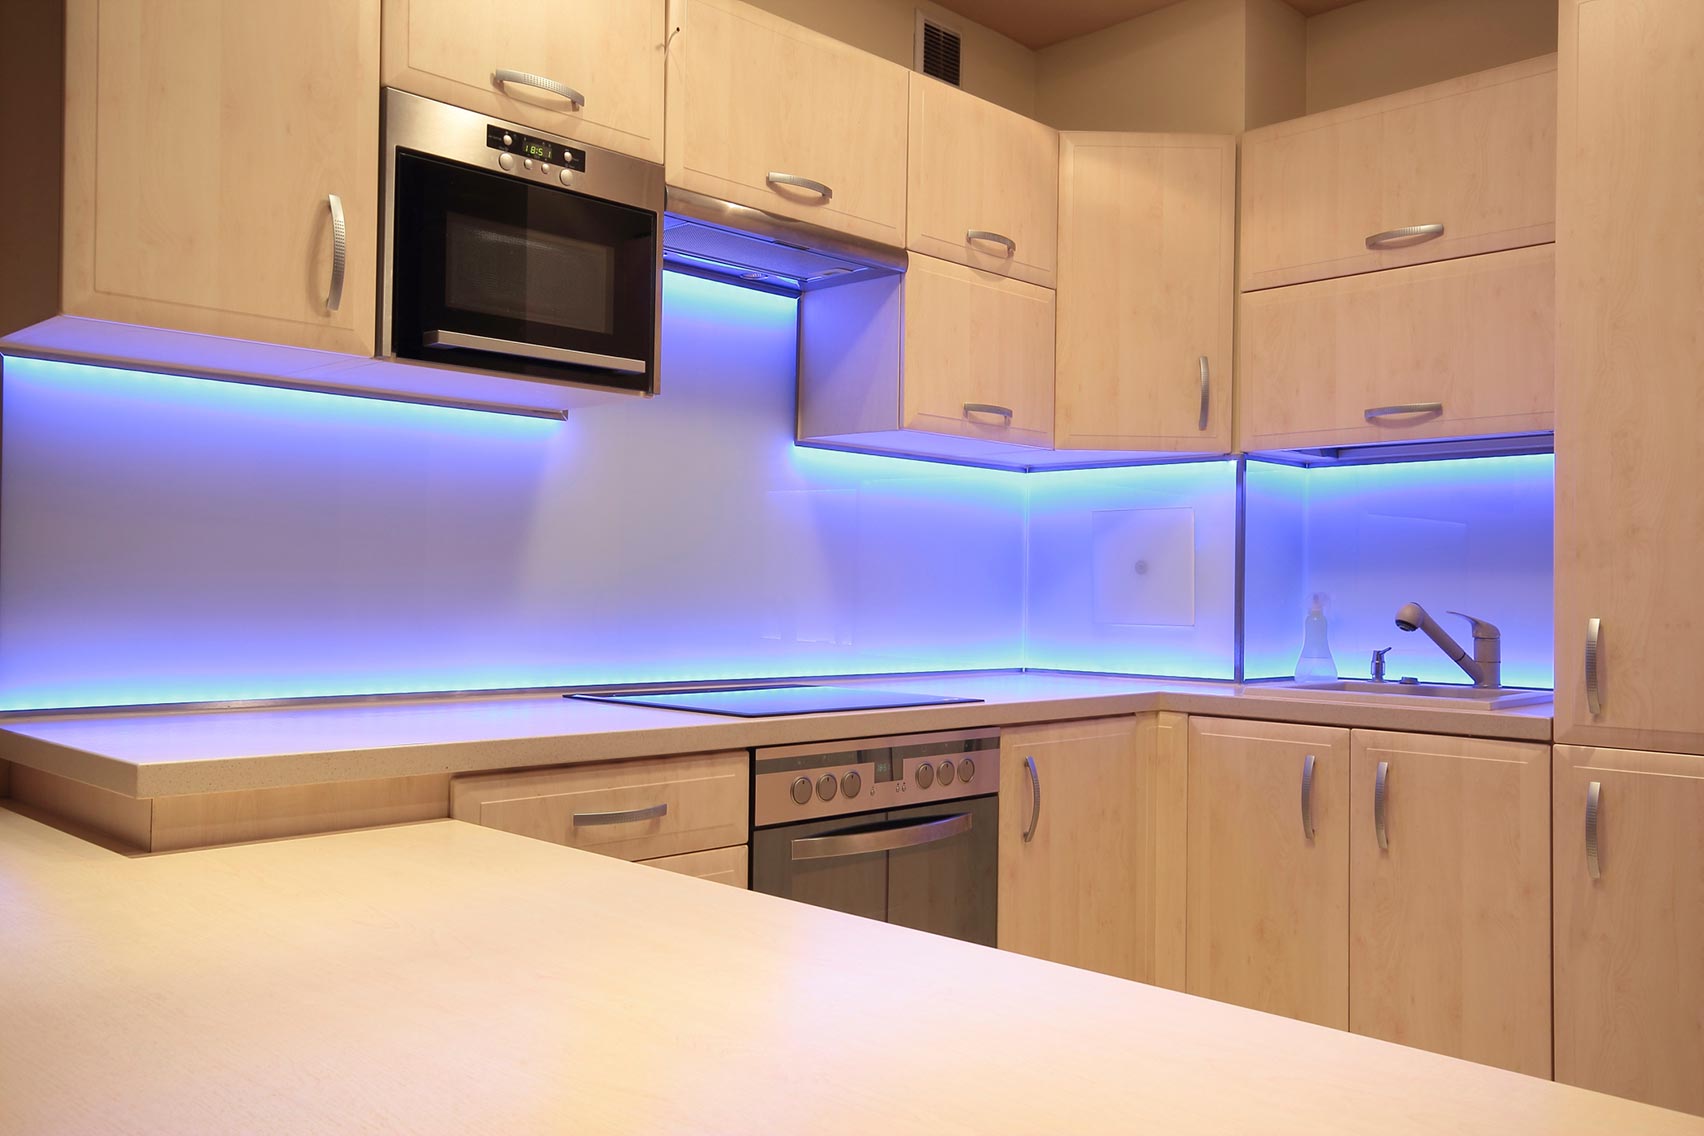
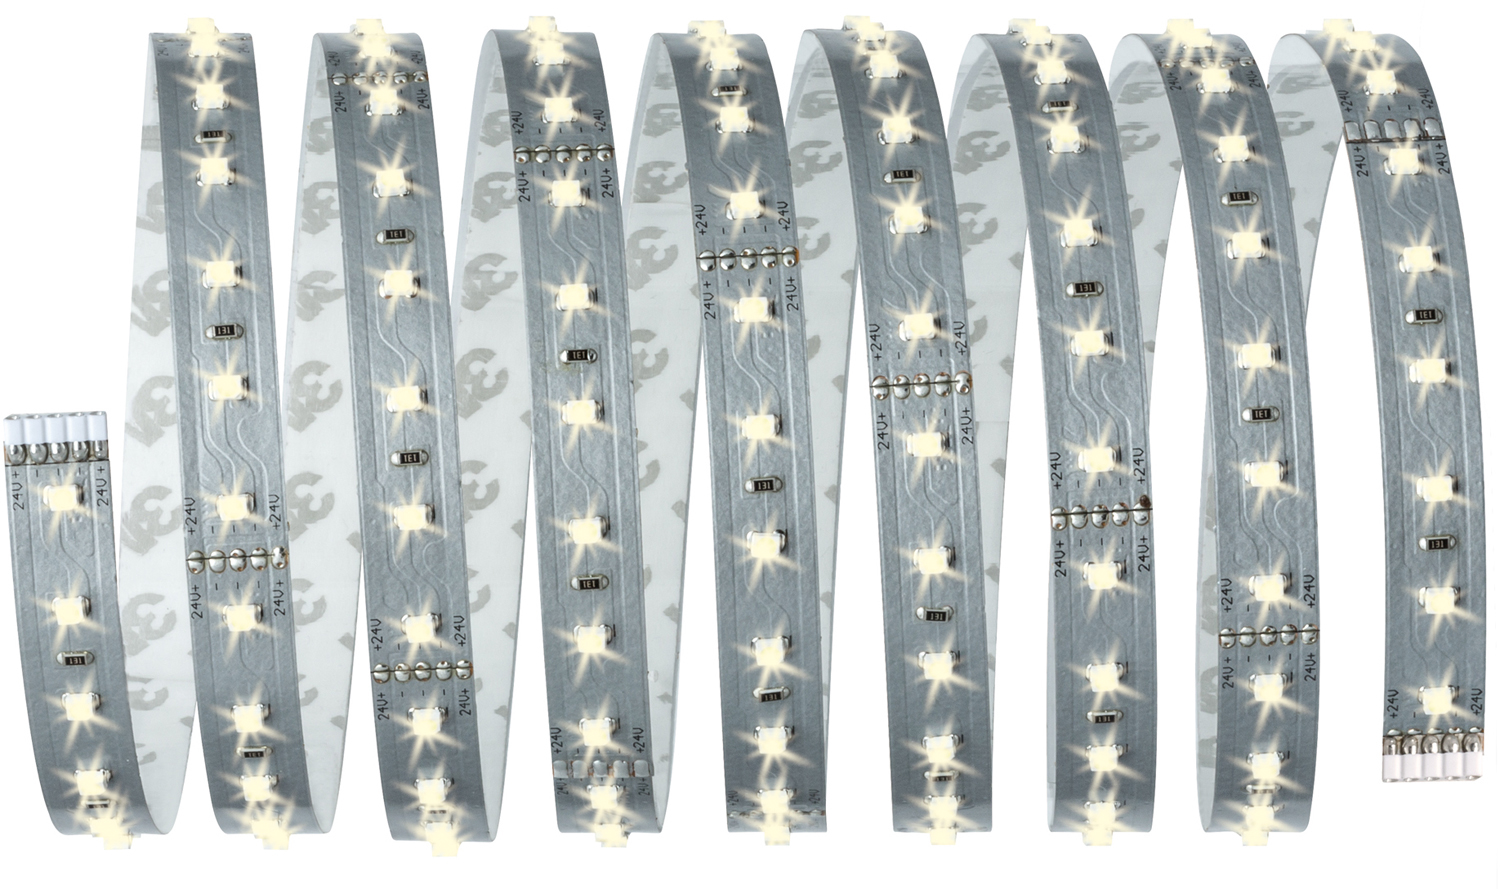
LEDs are semiconductors. They transform the energy of light, releasing it in one direction. LED strip is a chain of series-connected LEDs on a flexible board. LED illumination of the working area for the kitchen is one of the most successful solutions for additional lighting.
The device and principle of operation of LEDs
The design of the LED includes a housing 5 mm long, in the upper part of which there is a lens, and in the bottom - a reflector. Inside the enclosure is a crystal that emits light. The LED has 2 outputs - anode and cathode. A reflector is attached to the cathode, and a crystal is attached to the anode using a jumper of gold wire. By the relative position of the reflector and the polymer body, the angle of radiation and its directivity are set.
Electric energy is converted into light due to a p-n junction, the essence of which is as follows: during the passage of electric current, two types of p and n-type conductors interact in the core. The conductor is positively or negatively charged. The interaction of uncharged electrons produces light radiation.
Advantages and disadvantages of LED lighting
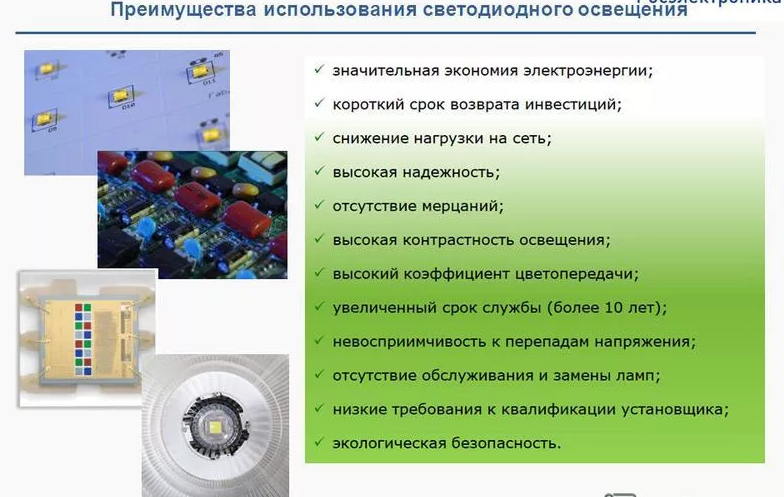 Due to the elasticity of the material, the installer is able to form any shape from the LED strip. On the reverse side, it often has an adhesive base, which allows you to attach it to the desired location without the use of additional materials and devices. The service life is determined by the number of hours of operation, and not the number of on / off, so the LEDs last longer. In addition to the above, LEDs have other advantages:
- consume little electricity;
- have high safety performance;
- used in different temperature conditions, as they are not subject to the influence of elevated or lowered temperatures;
- resistant to mechanical stress;
- heat up a little;
- inexpensive;
- They are characterized by high efficiency;
- installation can be done by yourself;
- they shine immediately brightly, it does not take time to burn out;
- do not flicker, give diffuse lighting, therefore they are harmless to the eyes;
- failed elements do not need to be disposed of in a special way.
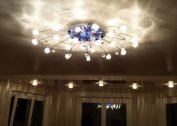
The user can choose between warm and cold type LEDs, as well as adjust the brightness of the light source. A warm yellow light emphasizes the beauty of a wooden headset or wood worktops. Light similar in color to natural light and moderately bright can partially replace the main light source. Illumination of different colors, including infrared and ultraviolet, is used to create decorative effects. With the competent use of multi-colored lighting, the look of the kitchen changes dramatically in a matter of seconds. Standard colors: white, orange, green, red, blue, magenta, but there may be others.
There are many advantages, but without drawbacks it was not without:
- LEDs from trusted manufacturers are expensive.
- Products with a high color temperature, which are also found on sale, emit bright white light that hurts the eyes, causing fatigue and impaired color perception of the environment.
- Diode lighting is often used as an auxiliary light source.
- To install the tape, additional equipment is required, which means that financial resources are necessary for its acquisition.
- The luminescence quality of LEDs decreases over time due to changes in chemical and physical characteristics.
According to the manufacturers, the LED strip can last 14 years or more with 15-hour daily operation.
Types of LEDs for the kitchen working area
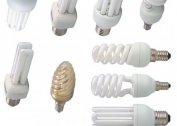
 For the installation of LED lighting, you can purchase different types of diodes, for example:
- linear laid on type;
- linear mortise installation method;
- point overhead mounting;
- conventional mortise type;
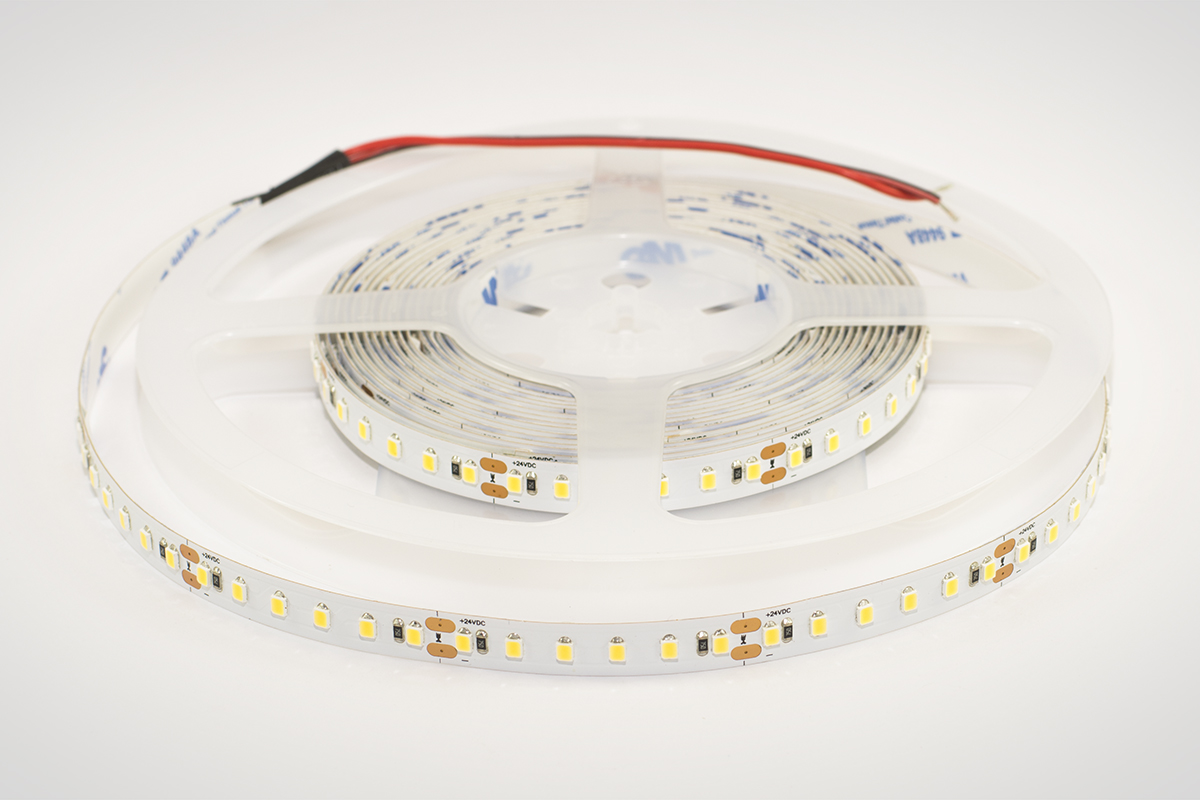
- tape.
Overhead diodes are much easier to install, but if you insert, the backlight will look more neat and effective. The most easy to mount LED strip.
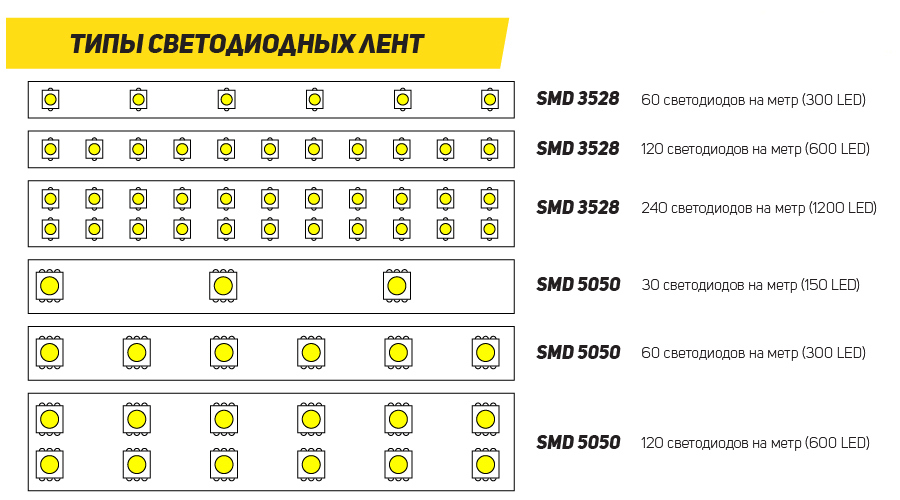
When choosing diodes, their features should be taken into account depending on the marking. For example, the SMD-3528 diode emits a small amount of light, because in its case only one crystal is enclosed. Use it to create functional lighting does not work. It serves as a decorative highlight. The angle of light distribution is 120 degrees.
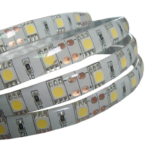
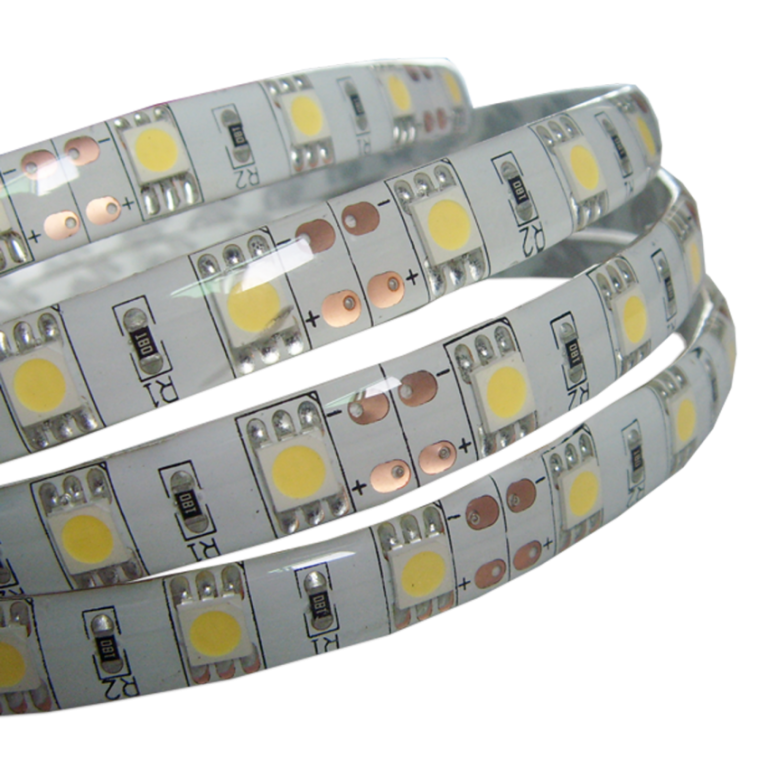
The SMD-5050 diode consists of 3 crystals, each of which has 2 leads. Therefore, it can emit light of various colors. It is also used as a decorative or additional highlight. The angle is 120-160 degrees.
For basic lighting, it is necessary to select diodes with bright light radiation. These include SMD 5630, 5730, 2835 (differs in compact dimensions). In addition to high brightness, they have a wide angle of light radiation - up to 160 degrees. The luminous intensity is also determined by energy consumption. It ranges from 4.8 to 32 V per linear meter.
The brightness of the LED strip partially depends on the density of the diodes: the more they fall per 1 meter, the more uniform and brighter the lighting.
Distinguish the types of LEDs depending on the degree of protection:
- Leaking. The board's conductive paths are not protected from moisture, therefore they are installed only in dry rooms, which the kitchen is not. Moisture protection index - IP33.
- One sided. Tracks are protected on one side only. This is the best option for the kitchen. Moisture protection index - IP65.
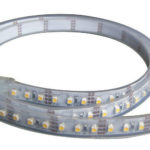
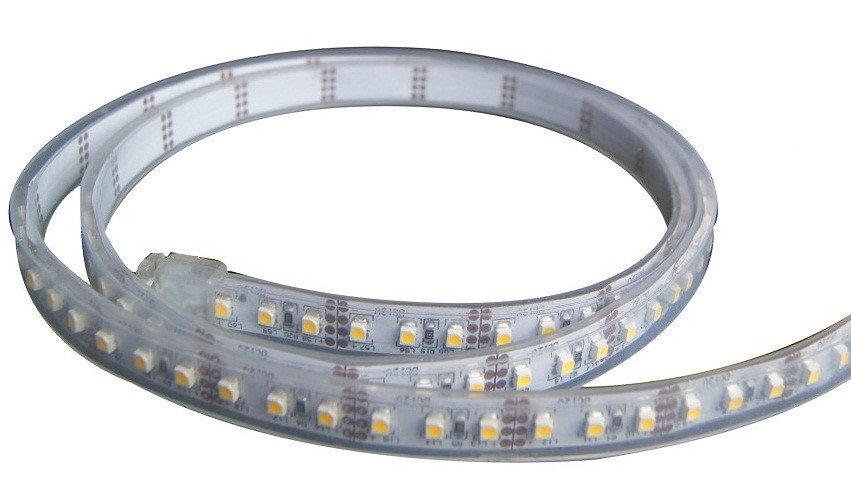
- Sealed tape is available in a transparent protective case. The installation site has no restrictions, can be installed even in pools. Moisture protection index - IP67 and IP68.
-
- Leaky
-
- Single sided
-
- Sealed
For the kitchen, it is recommended to choose LEDs, the luminous flux of which is close to the glow temperature of daylight. For use as an additional backlight, you can take an LED strip with a LED density of about 30 pieces per 1 linear meter. To use the backlight as the main one, you need to purchase a tape, the density of the LEDs on which is increased 2 times, that is, up to 60 LEDs. The maximum frequency of diodes is 120 elements per 1 linear meter.
How to choose a power supply and switch
To prevent LED sources from overheating, it is necessary to install a power supply with a power margin of 25%. The power of the LED strip itself is indicated per 1 linear meter, so the indicated values must be multiplied by the number of meters. From an aesthetic point of view, it is better to choose the most compact, miniature power supply, as it is easier to install and hide.
Switches vary in type of control:
- Push-button. It is controlled as usual - by pressing a button.
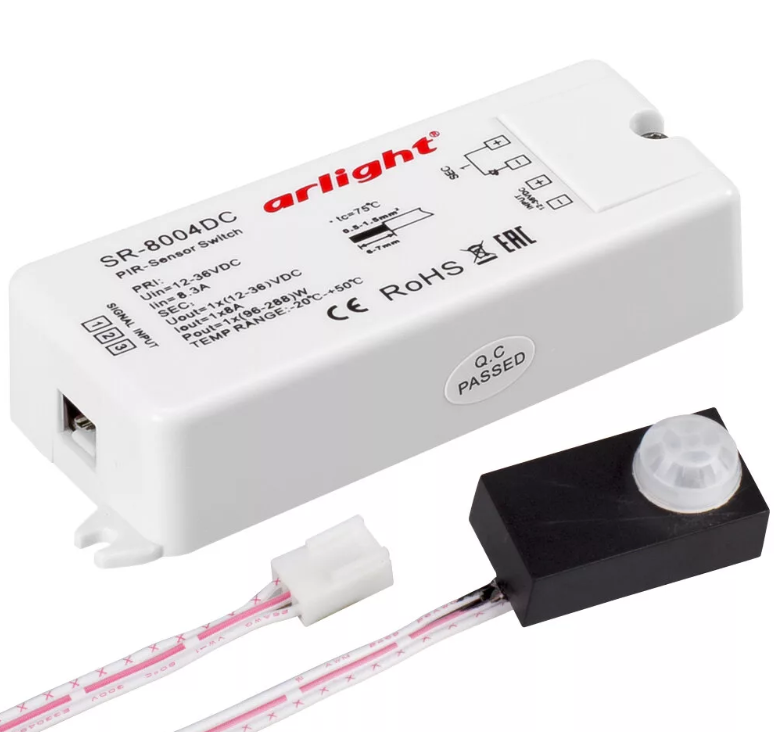
- Sensory. React to touch.
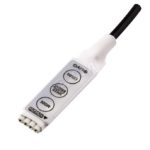
- Infrared Recognize the wave of the hand.
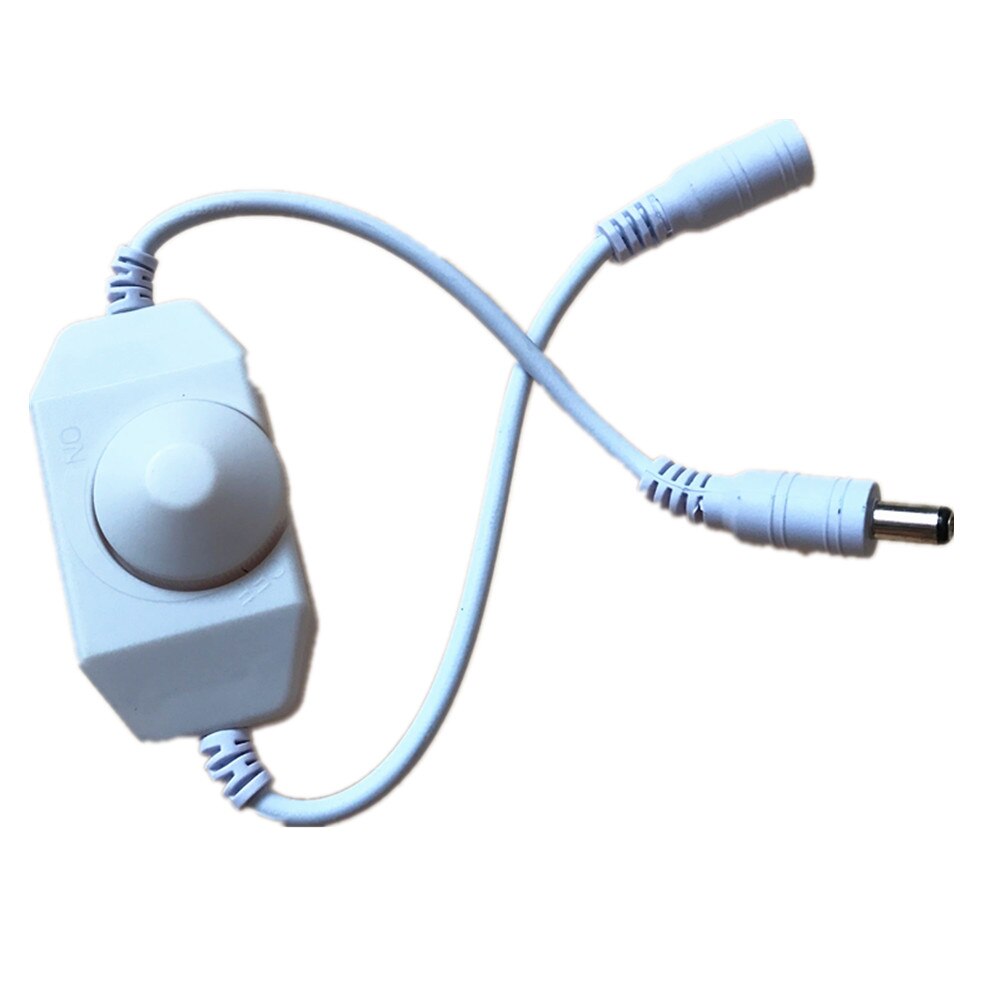
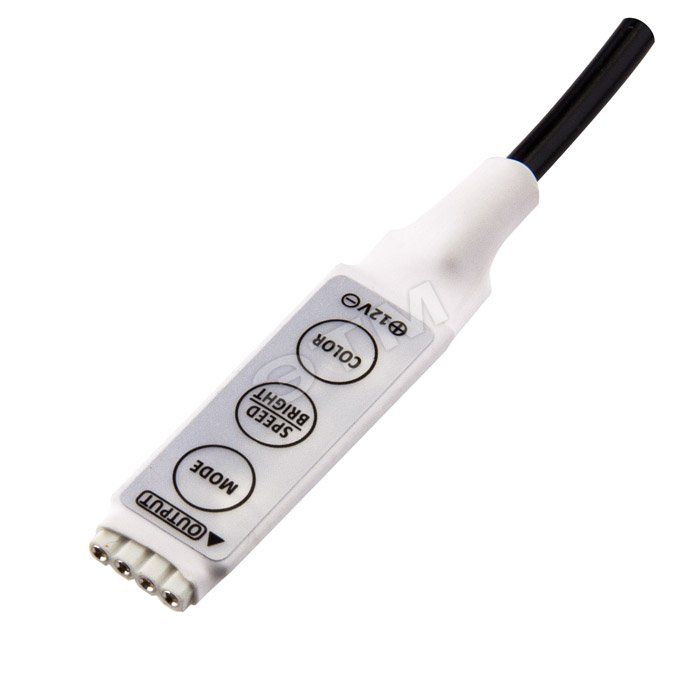
- Dimmer. A device that allows you to adjust the brightness of the light flux.It is performed in the form of a mechanical device in which regulation is performed using a wheel, or in the form of a unit with a touch panel.
-

- LED strip dimmer
-
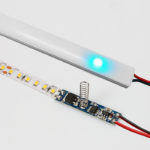
- Sensor switch

-
- Push button switch
-
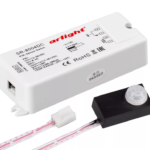
- Infrared sensor
If the design provides for the creation of a certain color effect: blinking, switching colors - you also need a control unit.
Features of LED Strip Light
In addition to the main characteristics of LED strips and features of the choice of LEDs, a few more parameters should be indicated that you need to pay attention to.
Glow angle
The angle of illumination varies from 120 to 160 °. Since the LEDs are located relatively densely relative to each other, they are designed to illuminate the space directly in front of them, the light beam practically does not propagate to the sides.
CRI color rendering index
The color rendering index determines the perception of color shades under different lighting conditions. The ideal is solar lighting, in which the color rendering index is 100%. LED lighting has a color rendering index in the range of 80-90%.
Color temperature
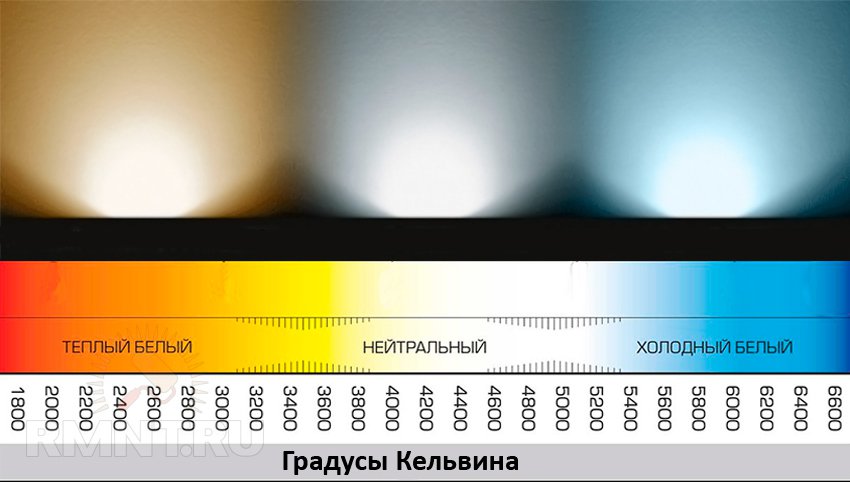 The color temperature of the glow is controlled by mixing different colors or by forming a phosphor layer on a blue reflector. The color of the glow is determined by the thickness of this layer and its composition. With a change in the heating temperature inside the crystal, the glow temperature may change. In addition, when the phosphor layer burns out over time, the device produces a more blue color.
Goals and places for lighting in the kitchen
LED strip in the kitchen is used to illuminate the work area. However, it is also used to illuminate other areas, for example, is installed above the stove to increase the area of illumination. Replacing the built-in lamps with LED lighting helps save energy. It is installed under the countertop or bar, which allows you to create the effect of a weightless surface. During installation, they retreat from the edge of 2-3 cm and glue the tape on the bottom of the countertop. Installation is carried out along the contour of the glass surface of the cabinets in order to emphasize the stained-glass windows along the hinges of the cabinets on the side wall, which creates uniform illumination of the cabinet's interior filling. The kitchen apron is highlighted, the tape is placed above the upper cabinets. If desired, it can be attached in other places, which is very easy to do, since the tape has an adhesive layer. It is mounted along the contour of the eaves, niches of a multi-level ceiling.
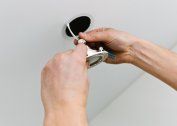
How to install the tape yourself
To install LED lighting in the kitchen in the work area, in addition to the LED strip, an aluminum profile is required. It will be used as a guide structure. In addition, you need:
- power supply selected in accordance with the recommendations;
- switch;
- heat shrink to protect and seal the joints of the elements;
- PVA electric cable with a section of 0.5 and a length of 30-50 cm;
- plug or terminals depending on the type of connection;
- scissors;
- soldering iron with rosin;
- if necessary, a controller that allows you to change the color of the backlight.
It is strictly forbidden to connect the LED strip directly to a 220 V outlet, because it will overheat and burn out.

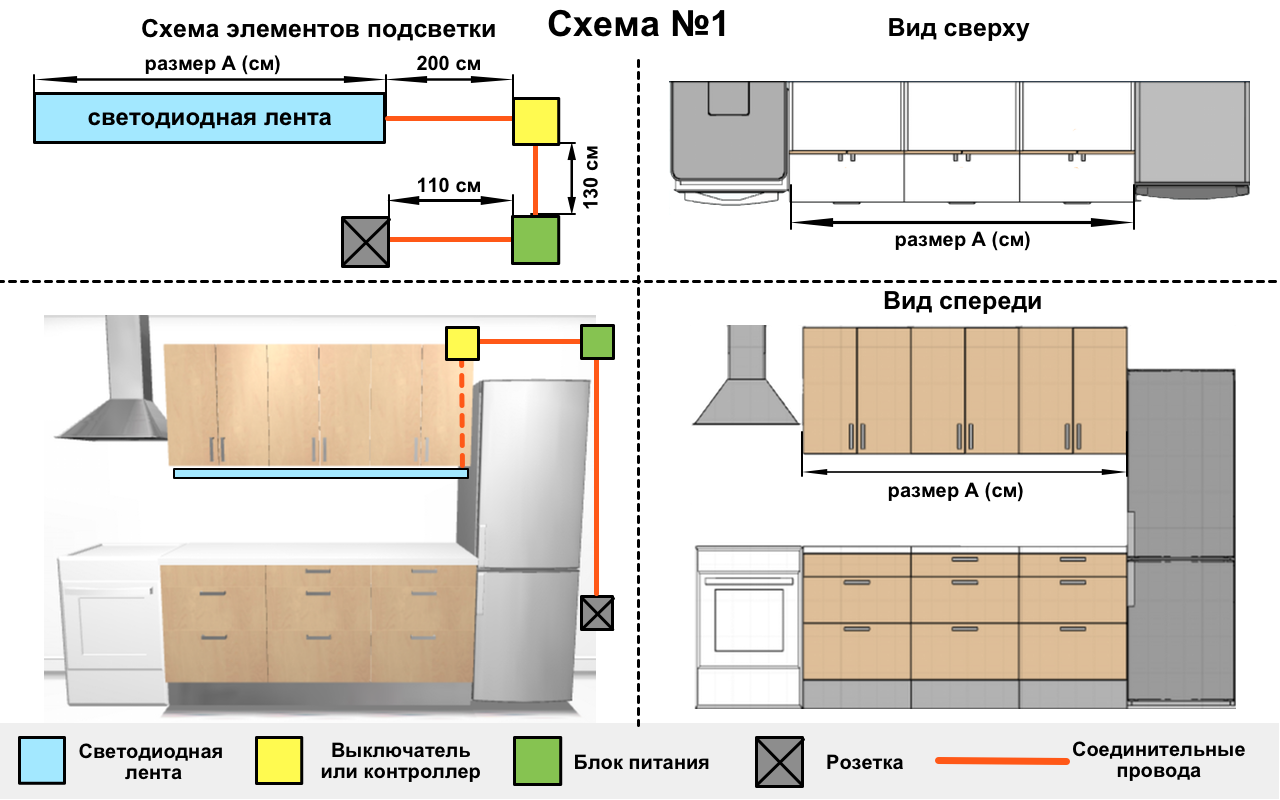
Installation and connection
Before connecting and installing the lighting system, markup is made, the necessary measurements are made. Cut the tape in accordance with the measurements. You can cut it only in specific places, in accordance with the labels - usually every 3 diodes. Having cut off the tape of the required length, the contacts are exposed to 1-1.5 cm. It is not recommended to use detachable connectors, since in this case the contacts often burn out. Mounting points are marked with “+” and “-”. Then connect the tape to the power supply in a parallel way.
The connections are made by soldering and then insulated with heat shrink.In the absence of heat shrinkage, you can use electrical tape. Switches of the usual type are placed before the power supply, and dimmers after the power supply.
It is easy to fasten the tape, since its reverse side is self-adhesive. Before sticking the tape, the surfaces should be degreased. If the tape does not have an adhesive layer, it can be glued to double-sided tape. Masters recommend first fixing it in several places, and after checking and adjusting its location, press it along the entire length.
It is not recommended to use the tape immediately after installation, as it may peel off.
The connection of several LED strips is carried out in a parallel way so that the power of the light flux does not fall.
Using the LED backlight, you can easily transform the look of your kitchen. In addition to the aesthetic effect, the backlight also performs a useful function, highlighting the working area for which the main light source is not enough. A special advantage is that LED strip is inexpensive, and you can install it yourself.