Stretch ceiling is attractive in aesthetic terms. In addition, it is quite functional in terms of lighting arrangement. Users should understand how to install spotlights in a stretch ceiling so that the PVC film is not damaged by sharp objects or from heating by light sources. In fact, there is nothing complicated in this process.
How to choose lamps
The stretch ceiling canvas may turn yellow under the influence of high temperatures (from +45 degrees) and lose its elasticity. To avoid such a result, it is necessary to choose and install the fixtures correctly.
For stretch ceilings, as a rule, choose lamps with light sources of LED or halogen type, very rarely - with sources of luminescent type.
The suspended ceiling limits its properties to power indicators of light sources. The power of halogen lamps should not exceed 40 watts, and fluorescent - 50 watts. Also, when choosing lighting fixtures, you need to pay attention to their design features.
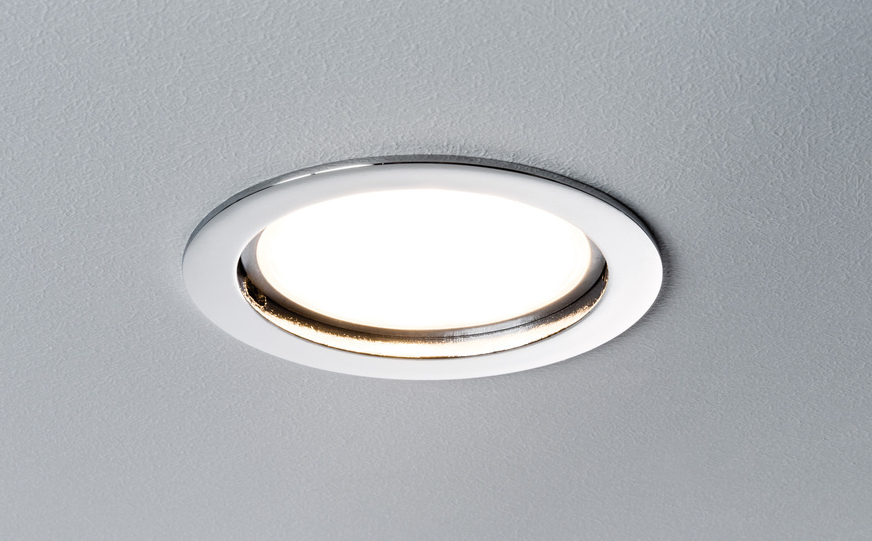
Spotlights are the best option for installation in suspended ceilings. They differ in small dimensions, designed for one lamp of small power or for several integrated LEDs. LED lighting does not need replacing lamps.
The cases of spot-type luminaires can be fully integrated into the ceiling sheet or protrude slightly beyond its plane, which contributes to better heat dissipation. The latter is preferable for installation in rooms with a low ceiling. They minimize the distance between the base and the ceiling fabric.
Popular installation patterns
The main advantage of using spotlights is their ability to make lighting even, very soft and diffused. They are also extremely economical to operate. Such lighting devices can be controlled by means of switches, which makes it possible to regulate the consumption of electrical energy. In combination with multi-level ceiling structures, spotlights give the interior a unique architectural design.
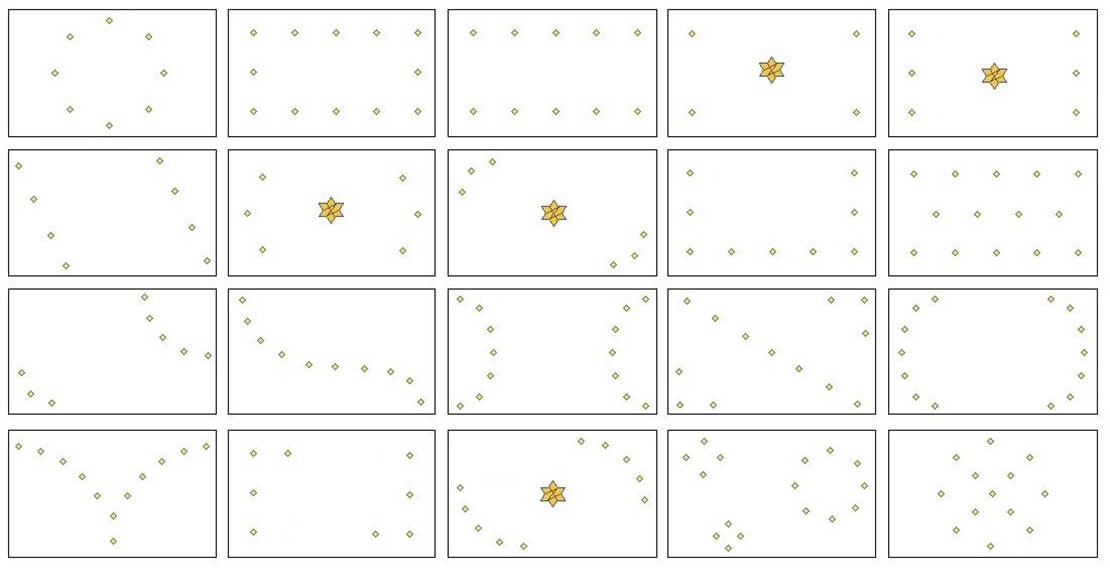
Installation of fixtures on a stretch ceiling is possible according to the following schemes:
- Parallel placement in 2 or more rows is an ideal scheme for long and narrow rooms.
- Rectangular placement - visually expands the room space, goes well with the center chandelier.
- Staggered arrangement - well suited for rooms with an “island”, where it is necessary to illuminate the corners of the room and its center, for example, the kitchen.
- Arc-shaped placement - allows you to accent a specific part of the room, for example, a work area or a transition in multi-level ceilings.
- The chaotic placement of light sources in the style of "Starry Sky" is well suited for rooms without symmetry, where the furniture is located in a non-geometric order, for example, a living room.
- The cross-shaped arrangement is an excellent variation for small interiors where the installation of massive chandeliers and pendant lamps is impossible.
- Square patterns without central lighting are a practical and optimal option for hallways and bathrooms.
These are just the basic layout of light points. Available options are not limited to anything other than the imagination of the designer.
Ceiling marking
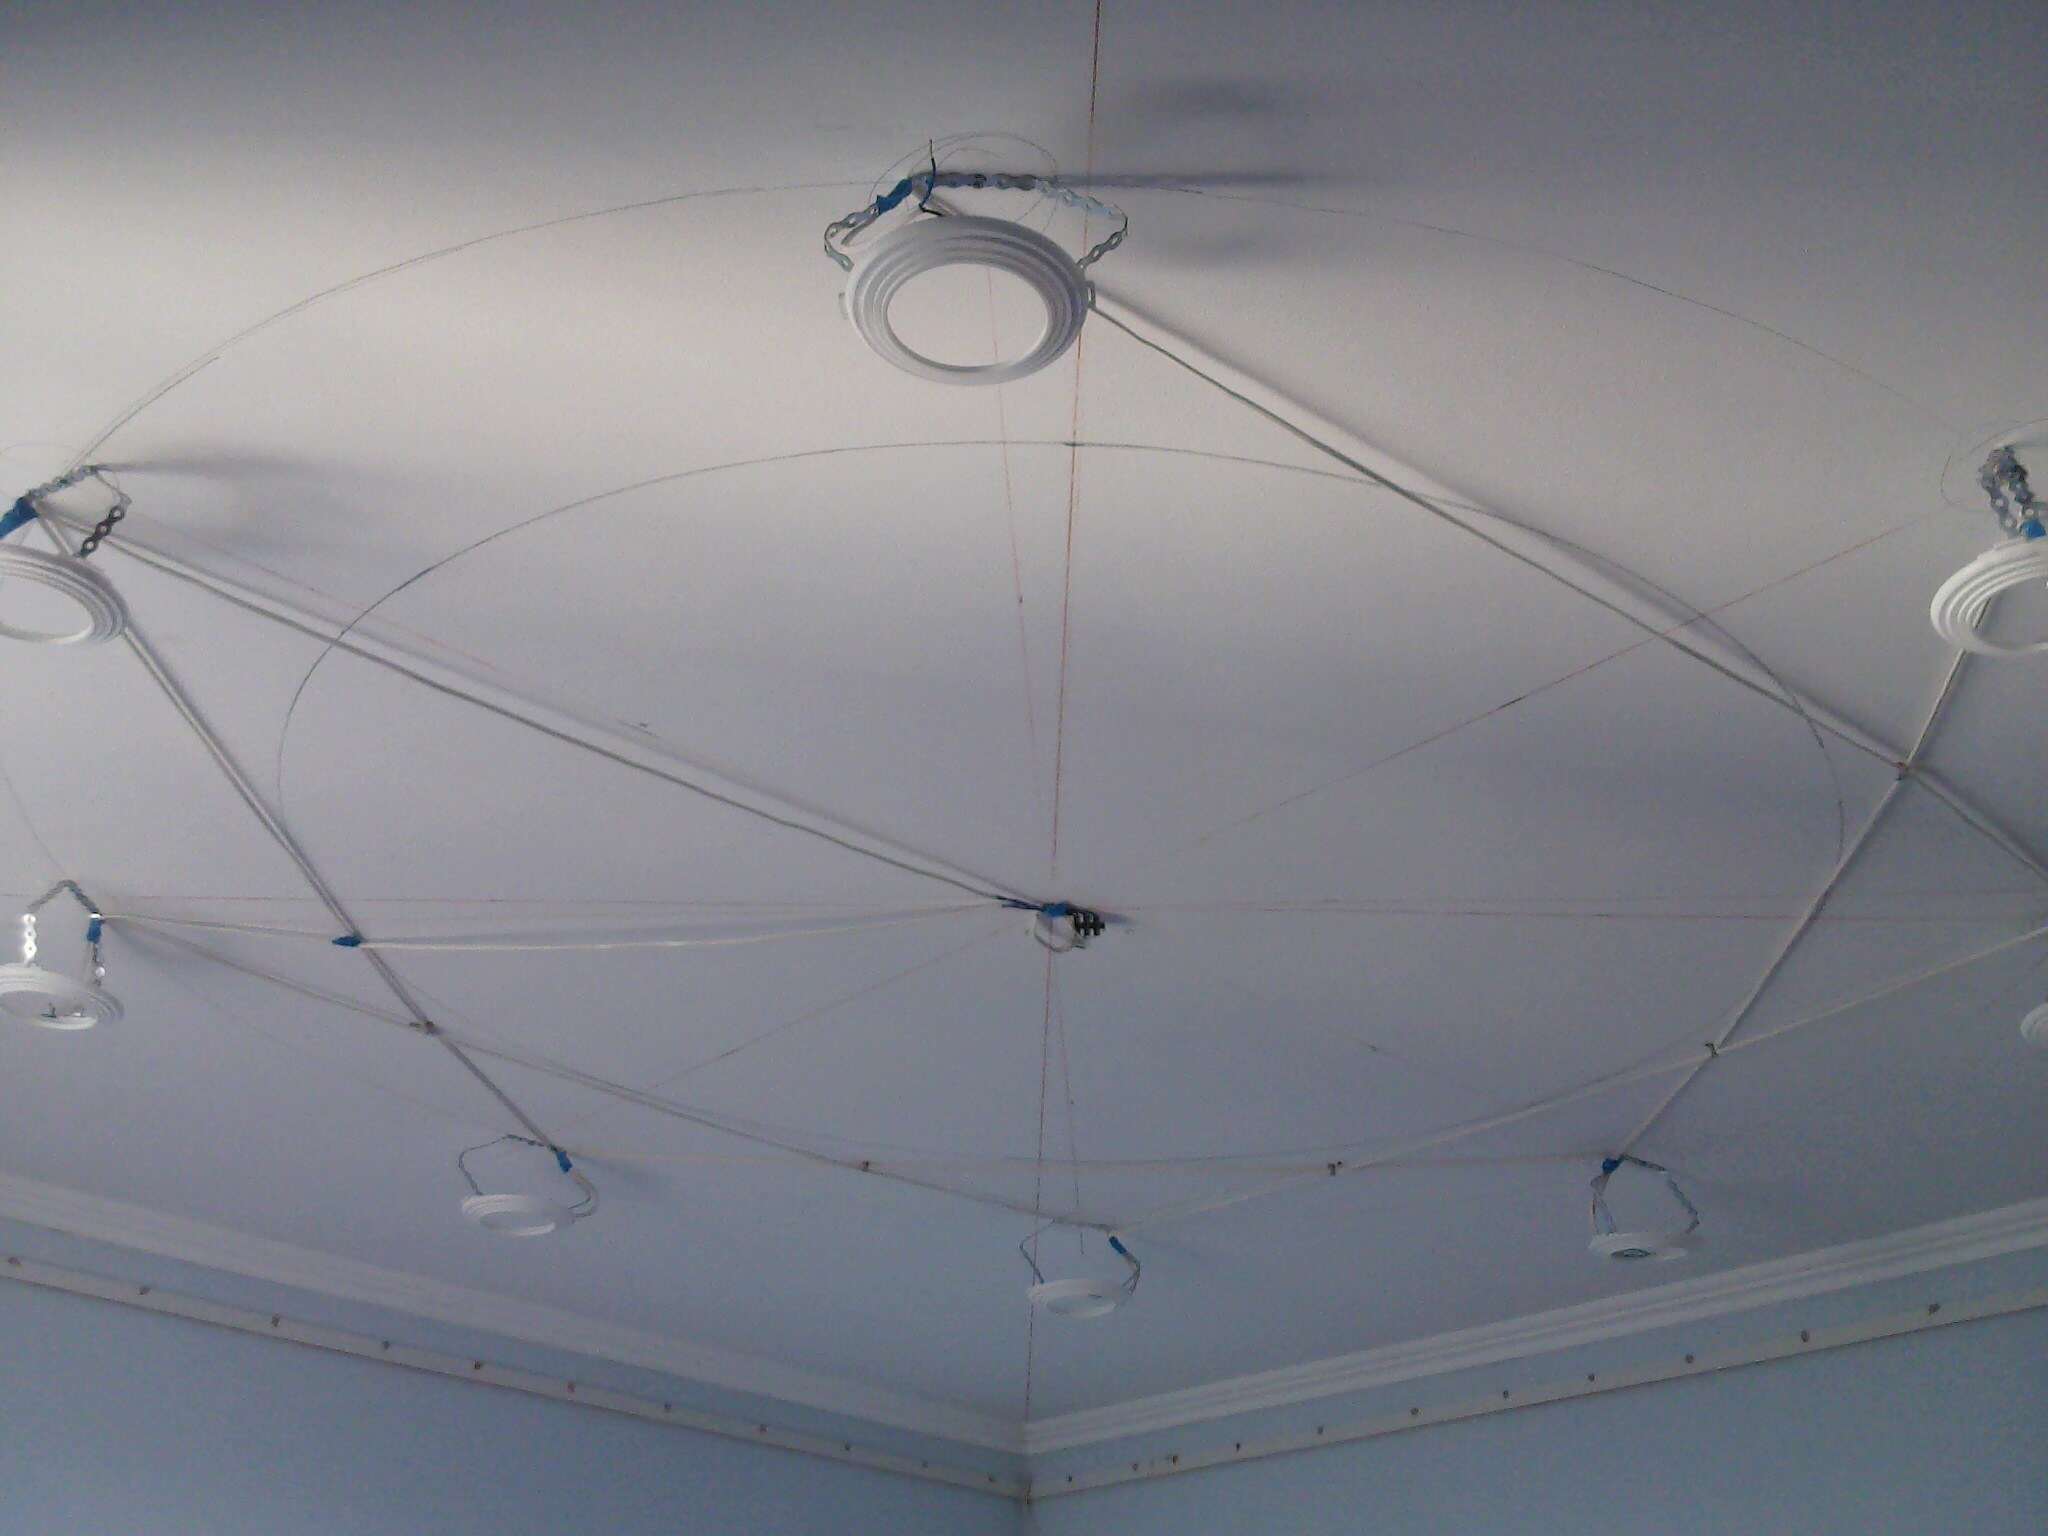
Before installing the fixtures in the ceiling, it is necessary to mark their mounting places even before stretching the ceiling.
Two methods can be used:
- with a pencil and tape measure;
- by means of a laser level.
If a level is used, the initial marking can be created on the floor, and then using a laser to transfer it to the ceiling.
It is not very convenient to work on the floor with a tape measure, so you can pre-make a pattern for placing lighting devices. For example, use a piece of skirting or cable of a specific length, which corresponds to the distance between the fixtures.
After the ceiling is stretched, the markings on the floor will not be difficult to transfer to the finished ceiling
Distance between spotlights
Decide on where the spotlights will be installed, you need to even before fixing the canvas on the ceiling. This is especially important for multi-level ceilings, where each of the tiers is distinguished by a separate lighting circuit.
Places of lighting are distributed so that they do not fall on baguettes. The minimum distance between the baguette and the hole for the lamp is 25-30 mm.
The recommended distance between the lighting devices is 30 cm.
Calculation of the number of light sources
 The number of lighting devices is measured in this way: 1 lamp per 1.5-2 m2. For example, in a room with an area of 30 m2, it is optimal to embed 20 light points. Nevertheless, when calculating, it is necessary to take into account the power indicators of the lamps and the purpose of the room. Possibly, auxiliary light sources, for example, chandeliers, will be used. Attention should be paid to the dimensions of the lamps, their number should correspond to the size of the room.
Materials and fixtures
To install and connect spotlights, you will need such materials and tools:
- pliers with a long nose;
- construction tape;
- stationery knife;
- ordinary screwdriver and indicator;
- wire stripping knife;
- VVGng wire 3x1.5 mm2;
- perforated mounting tape;
- electrical clamps;
- hammer drill;
- thermal rings;
- dowels.
Tools are few, most of them are available to every owner of the house. Some materials will have to be purchased, but these costs are small.
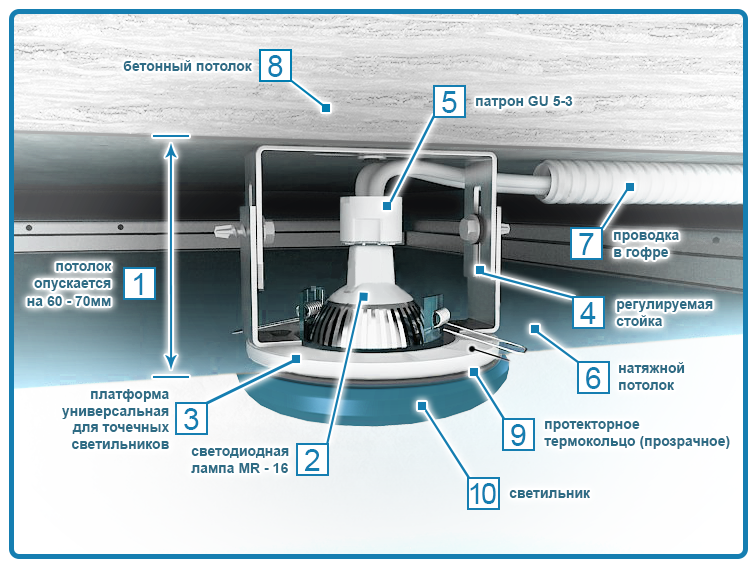
Making a mortgage for the lamp
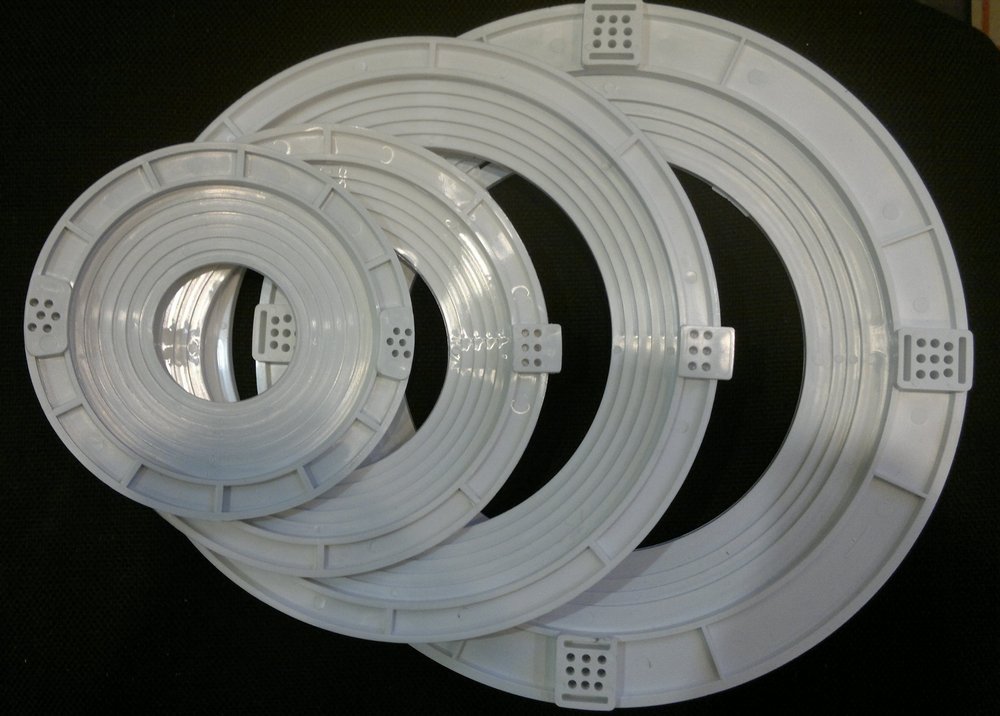
At the very beginning of the installation of fixtures, a mortgage is made. For such purposes, there are already finished products:
- universal;
- for a specific diameter.
In universal products, a hole is cut out in accordance with the diameter of the lamp. After that, even below, a body is tried on to prevent sudden problems when stretching the ceiling.
The largest distance between the lower edge of the profile and the base ceiling is measured. This is necessary in order to cut off the perforated tape of the required length.
Next, you need to bend the cut punched tape, giving it a U-shape. Dimensions directly depend on the diameter of the fixtures used. Next, the tape is attached to the mortgage by means of small screws ("bugs").
Instead of mounting tape, special racks of adjustable type can be used. They are tougher, but less versatile.
After assembly, the entire structure is attached to the main ceiling. Holes are drilled with a puncher, according to the previously performed marking, and the embedded platform is screwed on with dowels.
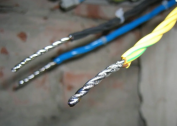
Cable connection
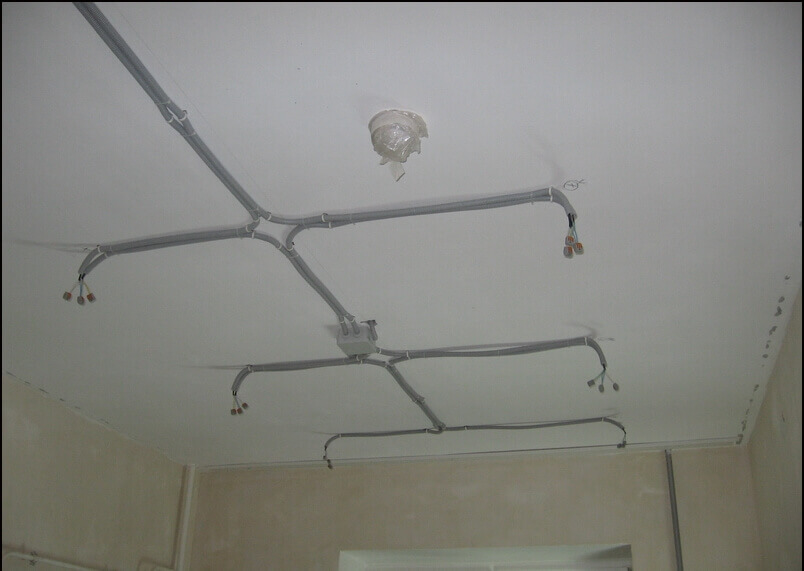
Supply cable marking VVGNG laid before stretching the canvas in accordance with the path of the light points. The minimum cable cross-section is 1.5 mm2. Less can not be used even with light loads.
At the place of placement of the lighting device, it is necessary to leave a supply of cable in the form of a small loop (it is later cut). This loop should fall to a level of at least 10 cm from the finished ceiling.
Terminal blocks and piercing clamps
The loop from the cable is cut in half, the protective insulation is removed from the wires by 10 mm and they are connected back through the terminal block. The remaining free terminal will serve to connect the power cable from the light spot itself. This type of connection is called parallel.
If you use piercing clamps instead of terminal blocks, you do not need to cut the loop from the cable. When they are used, only the upper protective sheath is removed from the cable, the inner conductors remain solid. They must be brought into the piercing clamp, in its upper part, and snap the device. Integrated knives automatically pierce the insulating layer, forming a reliable contact. The wires to the light source are connected to the bottom of the clamp in the same way.
After mounting the terminal blocks, the entire group of spotlights is connected to the power cable. After that, the presence of voltage at the terminal contacts is checked using a screwdriver with an indicator.
Mounting the thermal ring
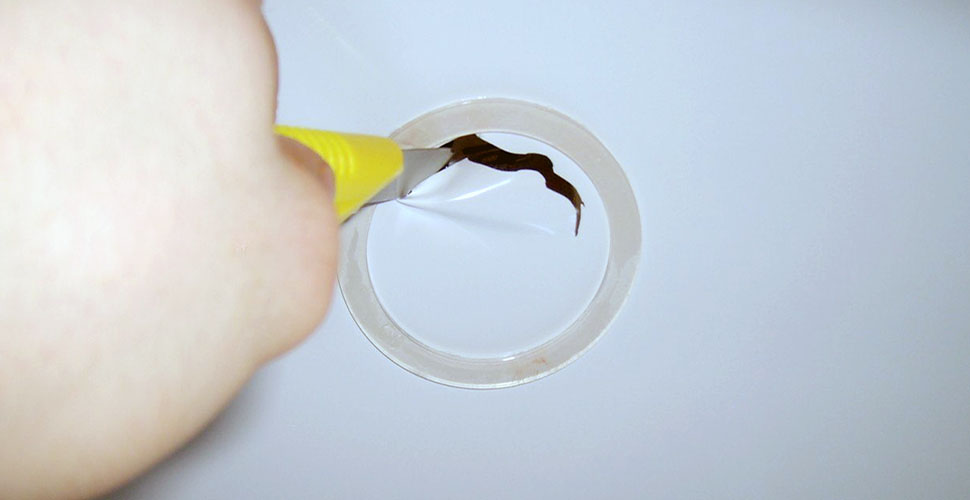
After connecting the cables to the canvas, it is necessary to put the thermal ring of the desired diameter, using special glue for this. These rings are made of heat-resistant plastic. It is able to withstand temperatures up to +90 degrees in the short term.
The main functions of the thermal ring are two:
- protection of a cloth from temperature influence of lighting devices;
- mechanical protection - before making a hole for a spotlight in a stretch ceiling, it is imperative to glue a thermal ring, it will not allow the blade to disperse in the places of cut.
Glue is applied evenly around the entire perimeter of the ring. Not taped areas should not remain. There is no need to move your finger along the ring at the moment it is pressed to the ceiling, because of the glue it can move to the side. Enough of a simple pull.
Then, with the help of a clerical knife, the canvas is pierced carefully and a hole is cut out inside the ring.
Mounting the lamp in the ceiling
Before installing the light points in a regular place, you need to align the mortgages. They should come close to the canvas, without pressing on it.
It is necessary to lower the cable outside and use the terminal blocks to connect the phase with zero to the wiring of the light point. If the power cable is three-core, the third core is connected to the lamp as a ground. If the case of the device is plastic, it simply does not work.
After connecting the wiring fixtures are inserted into their regular places and secured by means of spring “paws”.
Connecting fixtures with a driver
Almost all modern spotlights are equipped with their own power sources - drivers. In this case, voltage is supplied through them, and not directly to the LEDs. Drivers are built-in and remote, connecting to it through a connector.
To connect the drivers, the voltage must be applied to the supply wires with the designation “N” and “L” - zero and phase, respectively. The output voltage indicator from them is already reduced. Output wiring is indicated by the symbols “+” and “-“.
After the connection is completed, the driver with wires is hidden behind the thermal ring, after which the lamp can be installed in a regular place.
How to add fixtures to an installed suspended ceiling
To add light points to an already installed ceiling, you have to dismantle the canvas. It can be removed partially or entirely, depending on the placement and the number of added fixtures.
Not every canvas involves reassembly after removal. It all depends on the method of its initial fastening. The easiest way to re-put the canvas, which is fixed with a harpoon method. It will be a little more difficult if the clip-on mount. It is literally impossible if the type of fastening is glazing.
If we consider the harpoon type of fasteners, the algorithm for adding light bulbs is as follows:
- The old canvas is dismantled.
- An additional marking is made on the main ceiling.
- On new labels, additional embedded platforms are installed.
- For new lights, additional cables are laid.
- The canvas is mounted in place.
- In the right places, new thermal rings are glued, in which holes are cut.
- Additional lights are placed in regular places.
The process is very time-consuming and entails considerable financial costs. It is better to entrust it to specialists, and not do it all yourself. So you can damage the canvas, after which you have to order the installation of a new one.
With an even base, the stretch ceilings in which the fixtures are being installed always give a sag of 3-3.5 cm. It turns out that if the embedded platforms are placed a little higher than the ceiling profiles, the lighting device will be pressed into the canvas. Therefore, they need to be lowered close to the ceiling, but only after it is tightened. Mortgages should not touch the canvas, should be 1-2 mm from it.