If you have the initial skills and the necessary tools, independent repair of the light switch at home is quite acceptable. For its successful implementation, it will be necessary to understand the types of known switching devices, as well as the principle of operation. All this knowledge will help to quickly and without any problems restore the functionality of a failed switching node.
Types of switches and principle of operation
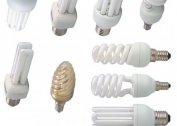
By the number of switched chains and the number of keys, all existing varieties of these devices are divided into the following types:
- single-key models;
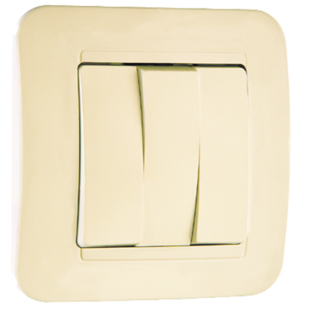
- two-key samples;
- three-key devices.
Until now, another variety of old devices is used, in which the element controlling the switch mechanism is more like a button.
In addition, the domestic market presents rare types of switching products of a rotary type. In terms of control, they are a bit like a packet switch. There are also cheap Chinese devices related to touch sensitive devices. To control them, no significant effort is required - just bring your finger to the contact plate.
The principle of operation of a conventional type circuit breaker is based on the closure of the movable and fixed contact when the key is moved to the upper position and their opening when the action is reversed. The so-called “pass-through" switch works in the same way, which differs from the usual one by the presence of additional contact groups, as well as by the way it is connected to the lighting network.
Symptoms and main types of breakdowns
Before you repair a faulty switch, you first need to understand how it works, and also familiarize yourself with the main reasons why it could break. Characteristic signs of damage:
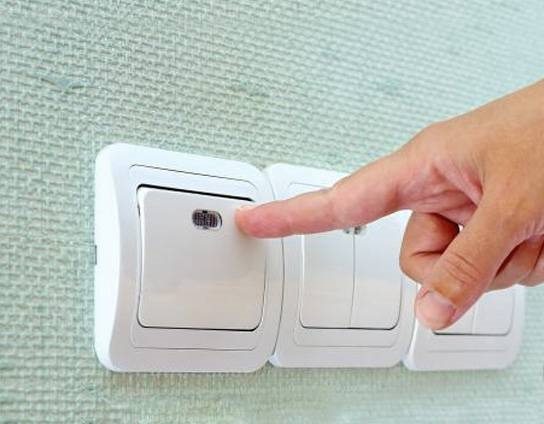
- when the key is pressed, the toggle mechanism starts to jam and does not translate into the desired position;
- at the moment of switching, a crackle is heard, and sometimes it is noticeable that something sparkles inside;
- after pressing the button, the device simply does not turn on the lighting.
Typically, these malfunctions are observed with only one of the keys, but the possibility of failure of two or even 3 switching mechanisms at once is not excluded.
In the first case, the axis on which the base of the key is fixed or an extraneous thing (dust has accumulated) might have dropped out. With a characteristic crackle and sparking, one of the contacts being closed is likely to burn out, or both at once. If the light does not turn on at all after pressing the key, the thing is most likely that the contact at one of the connection points of the conductors with the terminals is broken and the current does not enter the load. In this case, it is first checked whether the voltage in the entire apartment has disappeared and that the light bulb is fully operational.
Troubleshooting and safety measures
Before proceeding with the repair of light switches in the apartment, it is advisable to thoroughly prepare for this procedure. First of all, you need to stock up on a working tool with which to repair products of this class. The set includes the following items:
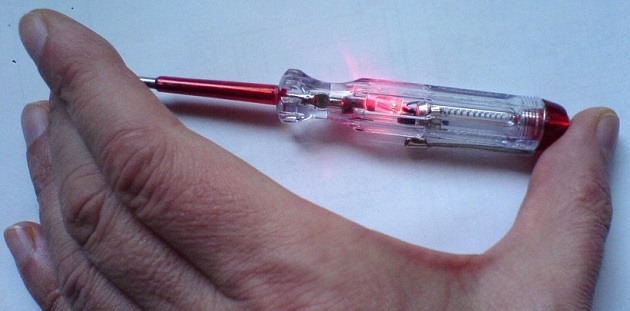
- indicator screwdriver;
- tester (multimeter);
- ordinary screwdriver;
- side cutters or platypuses.
Disassembling and cleaning contacts
Before you fix the light switch, you will definitely have to disassemble it to the state in which the malfunction will be clearly distinguishable.It is recommended to start repairing a broken device in the following order:
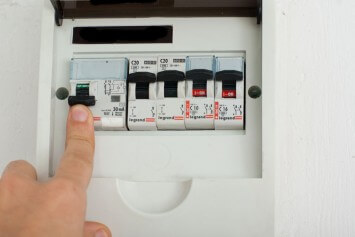
- Fully relieve tension from the linear branch of the supply line or from the entire apartment at once.
- Disassemble the switch, for which it is enough to first remove all the keys.
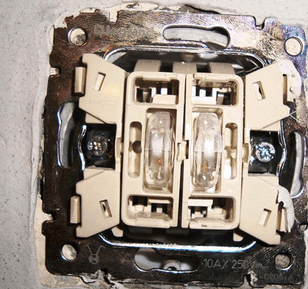
- After their removal, the switching mechanism with a rocker arm will be “exposed", according to which the nature of the breakdown is judged.
If even before the complete disassembly of the device, loose contacts were found in the places of supply and removal of phase conductors, they should be tightened with force, installing locknuts before.
If at this stage of dismantling it is not possible to detect traces of malfunction or damage is too serious, it is best to completely dismantle the device from the installation site.
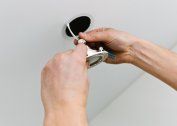
Before repairing an invalid switch, you will have to unscrew the mounting screws and pull the box with it out, as far as the length of the conductors allows. If they are short, the mount loosens, and the device itself is taken out of the plastic case (it is first remembered which of the conductors is connected to where).
After removing the device from the installation site and removing it from the box, it will be more convenient to examine it for damage. During inspection, it is possible to detect several types of malfunctions:
- the attachment axis of the rocker arm has fallen, which returns to its place and is slightly flattened along the edges by side cutters; after that the key will be pressed normally, without jamming;
- the contacts of the cross over element are slightly burnt from frequent switching, which is corrected with the help of a null-skin;
- in case of very burnt contacts, the moving part of the mechanism will have to be replaced with a new part (from a spare working switch);
- if there is nothing to replace this part, you will have to buy and install a new device.
After eliminating all the detected malfunctions, they begin to assemble the repaired device.
Circuit breaker assembly
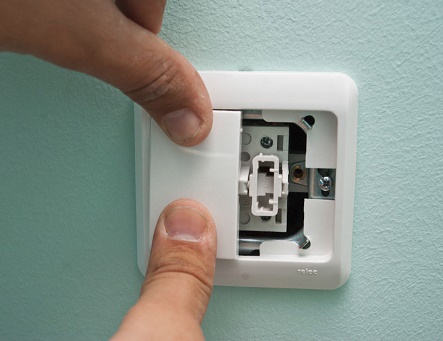
To assemble the switch and install it in its original place, first its case is fixed in the mounting box. After that, the disassembled conductors are neatly connected to the contacts, and the screws securing them are tightened with force. Then the plastic cup is installed back into the niche and fixed there with spacer screws. Then it will remain to put the decorative panel back in place and set the switching key back.
Repair of 3 key switches or their two-key analogs is no different from the process already described for a single-key. In this case, everything will happen again, only, possibly, in a larger volume. After installation in place, the device is checked for operability.
Recovery of rotary and touch models

In devices of a rotary type, characteristic malfunctions have approximately the same causes and manifestations as for keyboard analogs. In their working mechanism, closing and opening contacts are also burnt and completely worn out, which is explained by their intensive operation. In addition, by analogy with the samples already considered, it is also possible to weaken the contacts at the points where the phase conductors are connected.
The restoration of circuit breakers of this class is similar to the already considered approach for keyboard products. Difficulties arise when the cam mechanism breaks, which is unlikely to be repaired manually. In this case, experts advise to completely replace the device with a new product.
Touch switches cannot be repaired at home. Due to the complexity of the design of the dimmer device, their restoration is possible only in specialized workshops.