If there is a fault in the wiring, a crack appears in the light switch when turned on. Occasionally, the phenomenon is accompanied by sparks. People who know how to work with electrical equipment, it will be easy to find and fix the problem.
The main causes of the problem
Crackling may resemble a buzzing or buzzing sound. There are several reasons for a breakdown.
Contact oxidation
If the contacts of the device become fouled or oxidized, an electric arc arises at the moment of their approach. The cause of sparking is complicated by carbon deposits. When processes are formed on the locking plates, the wiring may catch fire, i.e., the contacts will close.
Plate weakening
The spring that presses the contact at the moment of switching on weakens - the characteristic sharp and clear click is no longer heard. The problem is indicated by the soft inclusion of the device and the need to press the button for the appearance of light. The danger is that the switch sparks constantly, causing fire risks.
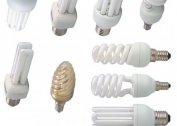
Lamp power mismatch
A halogen lamp or LED source with high power creates a load on the contacts. The easiest way to solve the problem is to replace the switch with the one corresponding to the indicators of lighting power.
Poor execution of contacts and plates
Breakdown characteristic of budget models. The button works on the principle of soft start, which in combination with low-power machines provokes sparking.
A serious malfunction is accompanied by sparks, heating and crackling at the same time.
Other causes of contact failure

Factors that trigger sparks and cods of the switch also include:
- high humidity - activates the oxidation reaction;
- incorrect or loose connection of cores;
- increased load on the contacts - a buzz occurs;
- constant voltage fluctuations.
Broken contacts will lead to the failure of household appliances.
Symptoms of a circuit breaker
The following symptoms will help to understand that the switch is broken:
- the device may not turn on at all;
- Cracking appears when you press a key;
- at the moment of switching on, the bulb burns out;
- when turned on, the light will blink and crackle;
- the case heats up if the switch is operating for a long time;
- the key is jammed - you need to press it several times;
- lighting does not turn on.
Most problems arise due to improper wiring or the switch itself.
Varieties of switches
When the switch breaks or sparks when turned on, it is necessary to install a new device or repair it. Flickering of light, turning on with a bang can lead to line closures, fires, breakdowns of household appliances. To properly repair the device, you should understand its design.
Manufacturers produce the following product modifications:
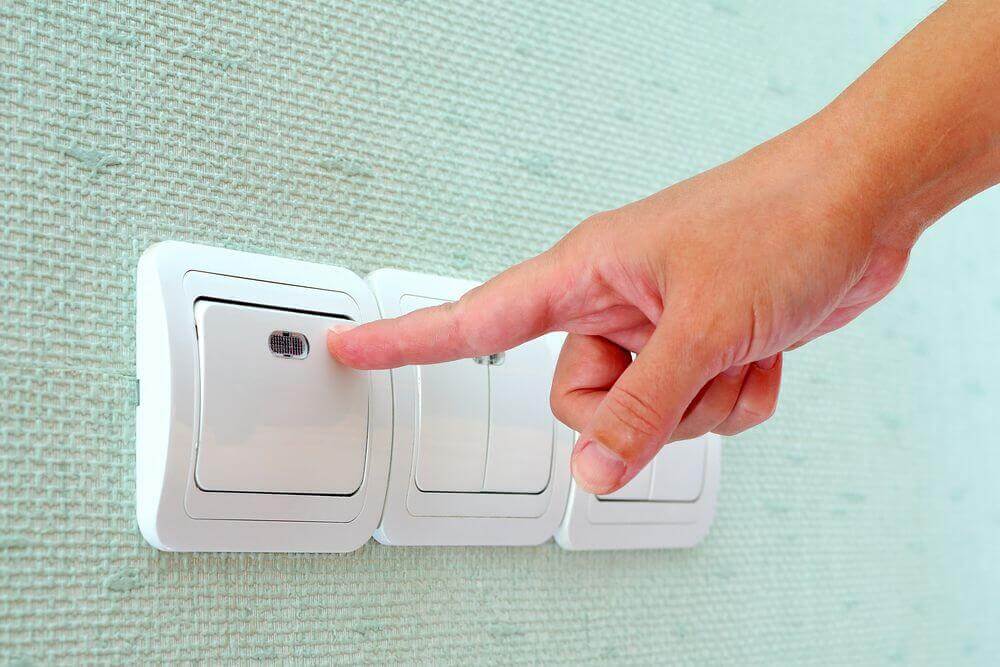
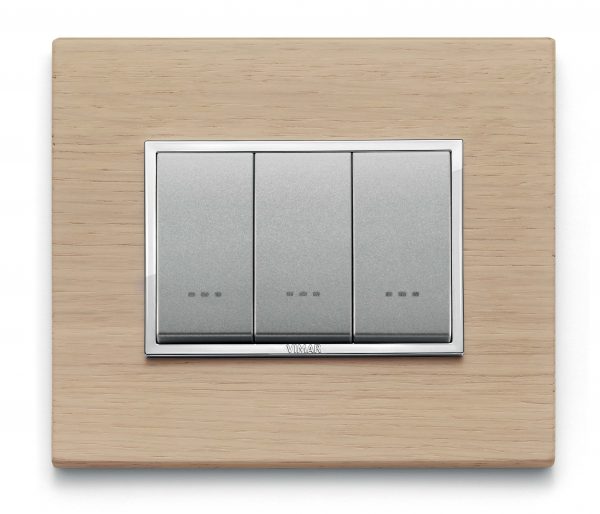
- With one, two, three keys. Designed for installation in a residential area. To turn on the device, you need to press the key, closing the circuit.
- Push-button. Models that have an LED indicator. The design does not differ from the standard.
- Dimmer.They allow you to adjust the lighting at the discretion of the user - brightness or intensity is adjustable. Contacts are activated by rotating the wheel.
- Repeated. Devices that include light by turning a button on the case.
Depending on the type of control, you can choose sensor devices, devices with a timer, acoustic or remote options.
In most homes and apartments they put on key switches that are easy to fix.
Necessary tools
When a spark appears in the switch, it is not necessary to call professional electricians. Simple damage can be removed independently.
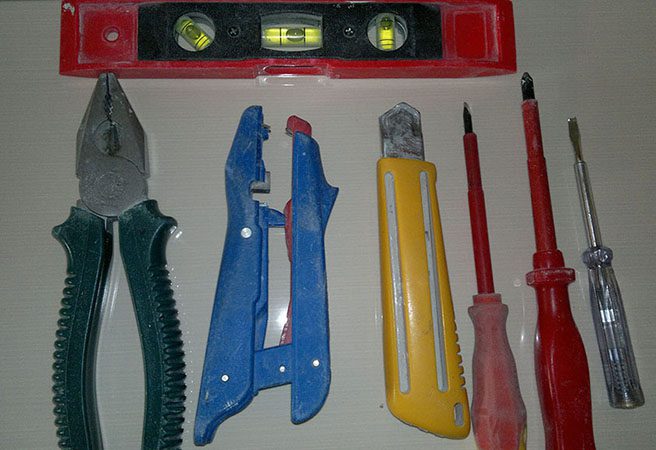
To work, you will need:
- indicator screwdriver - a model with a light bulb or an electronic display is suitable;
- standard screwdriver with which screws and screws are twisted;
- insulating tape;
- fine sandpaper;
- pliers;
- marker;
- stationery knife to remove the insulation coating from the cable.
Before starting repairs, you need to know the design of the device. The switches are available in a plastic case, have internal operating units and a frame. It is mounted on the device with screws or latches. The main mechanism is in the socket, fixed with spacers or screws.
For ease of access to contacts, you will need to remove the external part from the switch.
Repair Algorithm
If the switch is short, it can be repaired independently, working in stages:
- Blackout line. The machine in the input panel turns off.
- Check for voltage. This can be done by touching the indicator screwdriver to an outlet in another room.
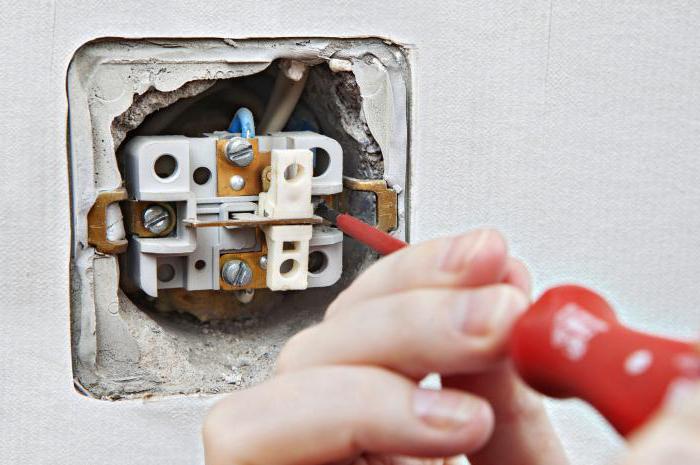
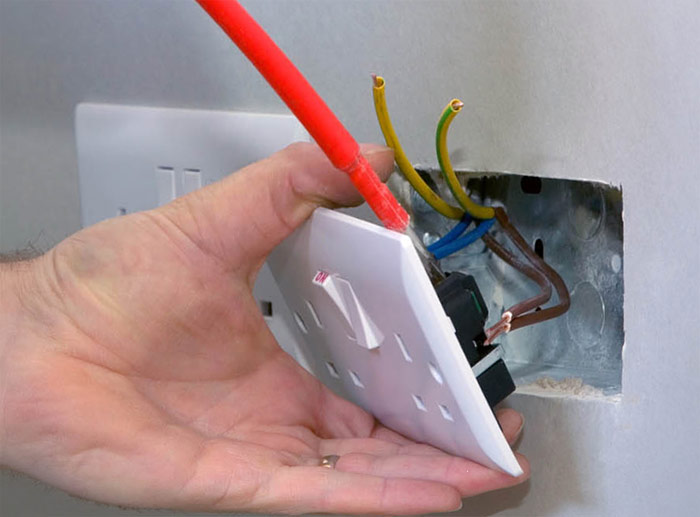
- Dismantling the device. You will need to remove the switch from the strobe, remove the decorative trim. After that, the voltage is checked again, the screws are unscrewed on the sides, the case is taken out of the socket.
- Disconnecting cables. For two-key models, you will need to mark the lead wire with a marker.
- Dismantling the case and search for contacts. The contact group is located above the plastic button mounted on the screws.
- Repair breakage. The contacts are cleared or the device is completely replaced.
- Assembling the housing in the reverse order, reconnecting the wires. The finished mechanism in the case returns to the socket.
- Turning on the machine in the shield and testing the switch for serviceability.
The old switch should not be repaired - the light will blink again. Better change the device.
Features of disassembling the device and cleaning contacts
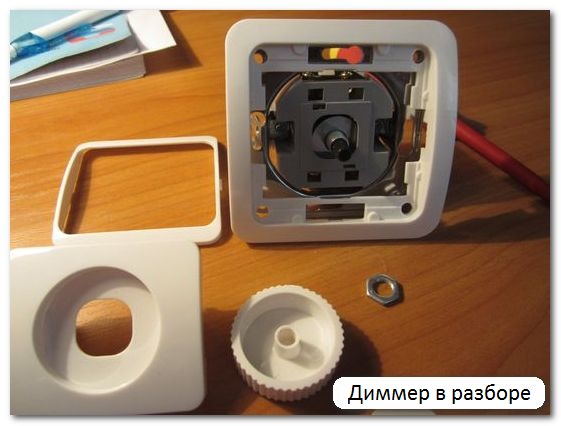 If the dimmer switch for the light line is short when turned on, it is necessary to disassemble and clean the contacts. The work is carried out as follows:
- Removing the adjustment knob. You will need to remove the semicircular parts or splines. Hold the body with one hand, and gently pull the handle with the other.
- Removing the lock nut or screws. Work with a screwdriver, turning it counterclockwise.
- Removing the plastic lining and frame.
- Loosening the internal fixture of the dimmer mechanism.
- Removing the switch from the socket.
Contacts look like hemispheres. If a deposit is found, it is necessary to clean the elements to a shine with sandpaper. If the deposit is not completely removed, the contacts are cleaned with a screwdriver tip.
Before fully assembling the case, it is better to see if the cores are tightly tightened.
Touch Switch Repair Procedure
Touch modifications are equipped with a remote control and special boards with control chips. To disassemble such a switch is after reading the manufacturer's instructions.
Device repair:
- Removal of a decorative overlay.
- Visual search of the panel with sensors, which is located under the plate. Depending on the number of lines served, there are 1-3 elements.
- Search for sensitive areas on the pad - sensors are indicated by circles.
- Detection of LEDs on the position of the switch (red - on, blue - off). Under this panel are the nodes to which the conductors are connected.
- Disconnecting inputs and outputs. It is required to remove the clips fixing the touch panel.
- Removing bolts from the housing mounted on the socket, inspection of problem areas.
- Check voltage on individual cables. The faulty wire is replaced.
- Reassembling the mechanism. The main unit is connected to power, put into the socket and fixed with screws. After that, the touch panel and decorative cover are attached.
A feature of the touch switch is power interruption during breakdowns. When the bulb burns out, the device is turned off. It does not change even after installing a new lamp. To turn on the light you need to touch the plate.
How to prevent sparking
To prevent a spark from forming on the contacts, manufacturers install arcing chambers that cool the arc. Some brands may solder from non-oxidizable materials. Current will pass through them. You can use several methods yourself.
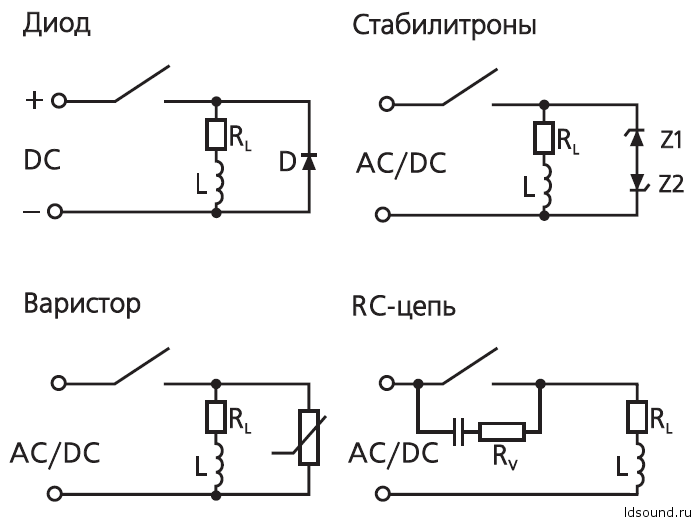
Sparking chains
Suitable for high-speed devices that generate sparks at the moment of circuit. Most often put two options:
- For relays and DC starters. You will need a diode with an anode to the negative pole and a cathode to the positive. On the active part, energy is dissipated (self-induction). The diode closes the circuit.
- Snabbery. The shunt RC circuit is designed to dissipate the energy stored in the inductance at the time of the active resistance of the network.
The contacts are close, so the spark suppression circuit reduces the load.
Pressure plates
The method is suitable for sparking contacts of the starter or the machine. A special spring mechanism ensures contact density of the contact pads. To connect, you will need to install the spring mechanism in the closed contact position, moving it away and lowering it back. A click-beat should be heard.
Work is carried out in a network without voltage.
Carbon removal
Cleaning the surface of the conductors is possible not only with fine sandpaper. An eraser, a wooden match will ensure a smooth surface, eliminate the risks of increased transient resistance.