The electrical installation at the facility is not complete without the use of special elements called concrete boxes, plasterboard, and brick. The installation box is selected by type of structure, depth and diameter.
Is it allowed to carry out electrics without sockets?
The main purpose of the installation box is to securely fix the wall outlet and cable. They can be loosened if they are simply embedded in a concrete mixture without a rosette. The plug of any electrical appliance fits tightly into the power point sockets. When it is turned off again, you have to exert effort, simply pull. If there is no socket in the wall, over time, hidden wiring will simply fall out of the wall into the hands of the user. This is fraught with dangerous emergencies.
Of particular importance is the invoice (outer) element when installing wiring on wooden walls. Here, without the installation box, you cannot fix the power point.
Definition of a rosette
The installation box is one of the main elements of wiring at the facility. The final reliability, the strength of the outlet, as well as the comfort of operating the power point for the user depend on the correctness of its installation.
The main technical requirements for the installation of the glass:
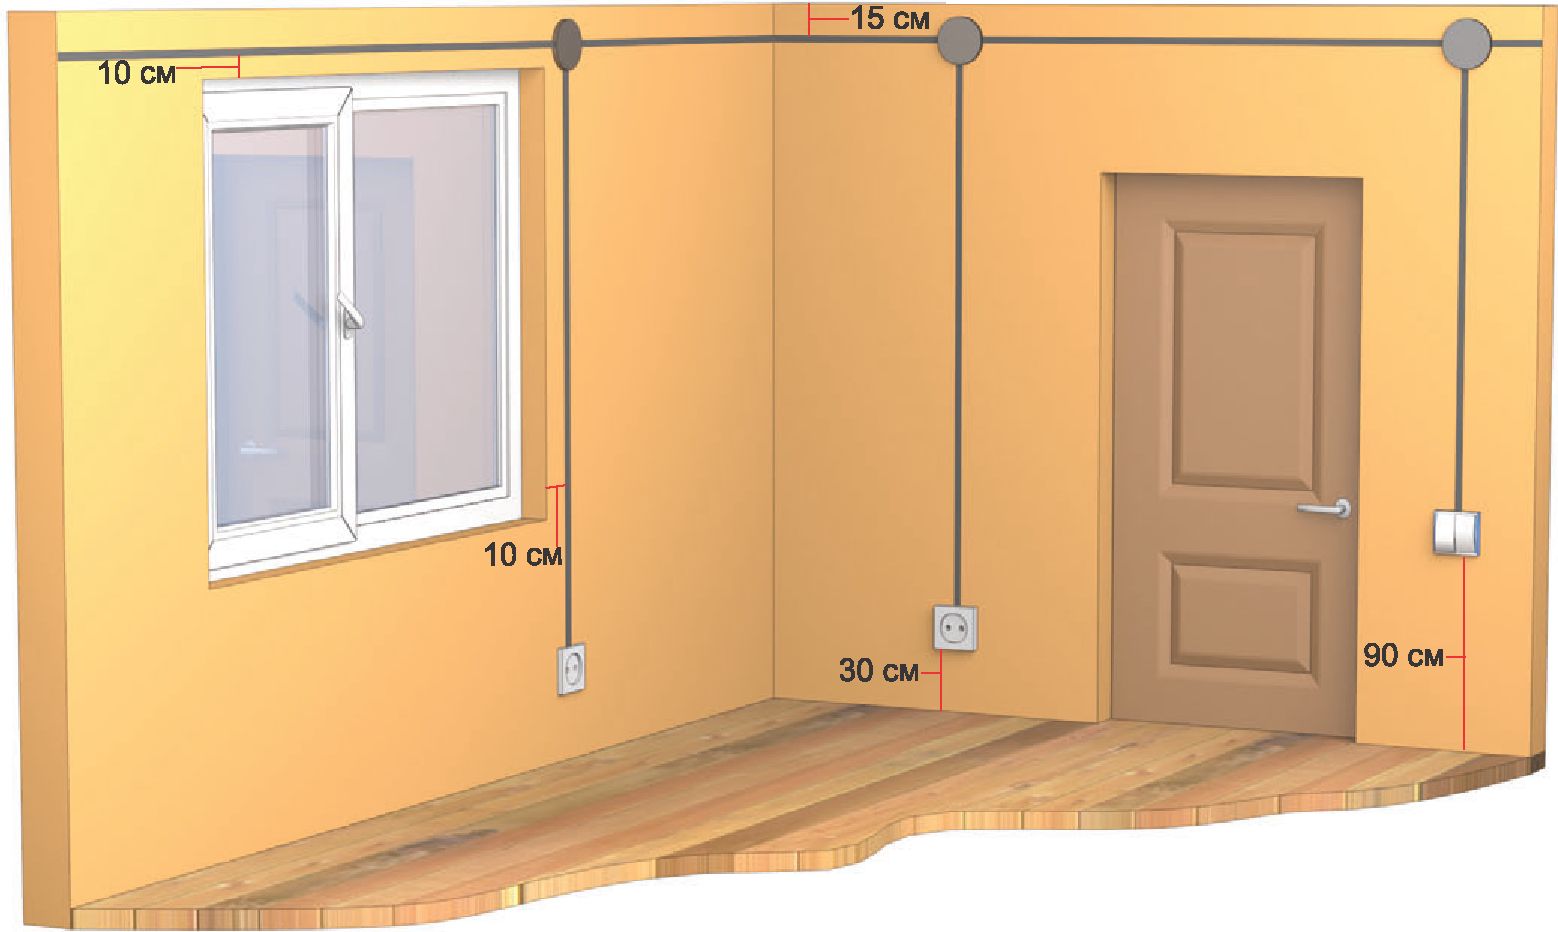
- the recommended mounting box mounting height is from 30 to 90 cm from the floor;
- from the edge of door jambs and window openings you need to retreat at least 10 cm;
- three-phase sockets for powerful equipment at food processing facilities are placed in the lower part of the wall 20 cm from the floor;
- from the gas supply points are removed at least 40 cm;
- in rooms with a high level of humidity, sockets are not installed, they are taken out of the door or removed as far as possible from the bathtub, shower, sink.
Before carrying out electrical work, it is worth disconnecting the object.
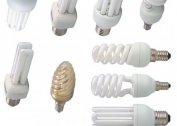
Types and types of products
For concrete sockets, classification is characterized by several parameters - material, shape, design, size. Sometimes masters choose an element according to the shade and design. The last two criteria do not affect the functionality of the installation box.
Material
All electrical elements are divided into three types:
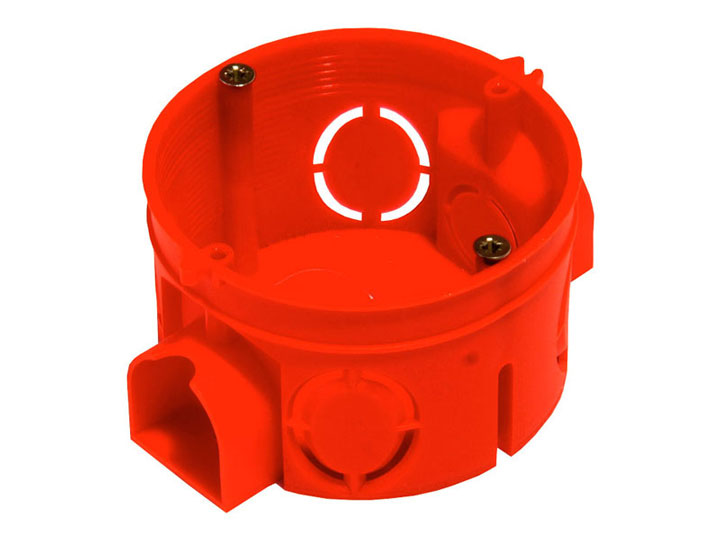
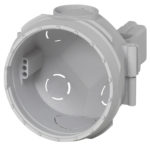
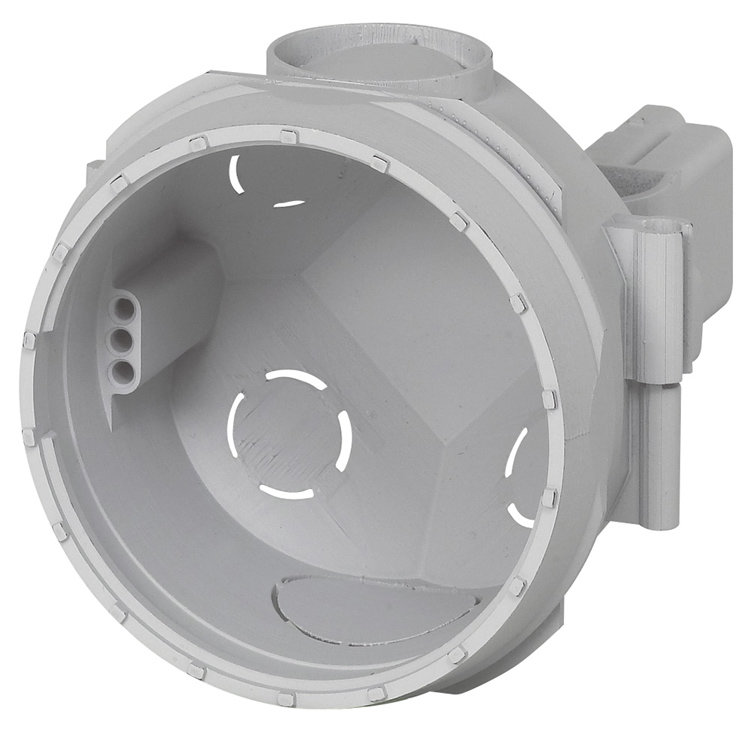
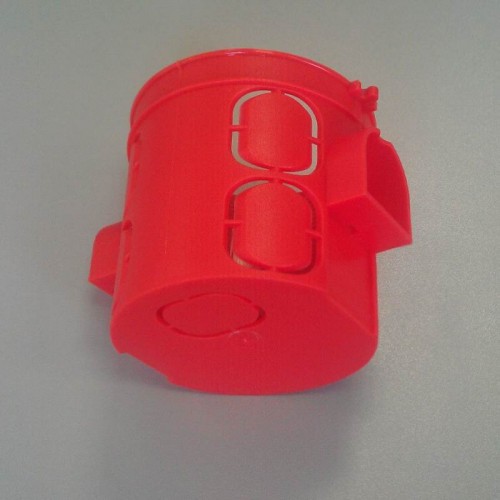
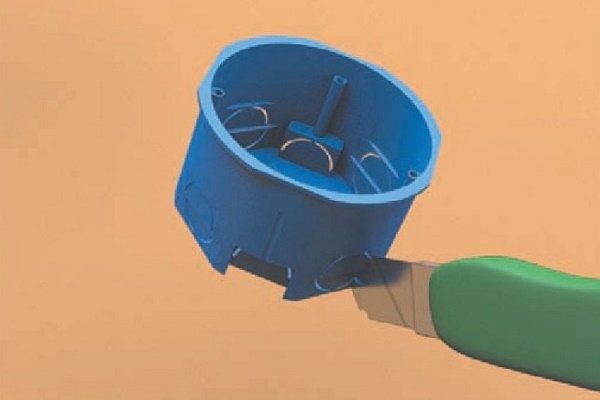
- Plastic Most often, non-combustible polymer is used for their production. The plastic socket has all the technical connectors for convenient fixing the outlet in the wall. Drywall mounting box is additionally equipped with special feet.
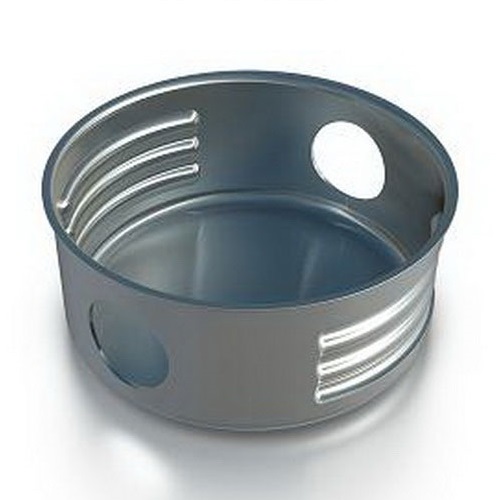
- Metal. This is an outdated version of the rosette. Today almost never appear on sale. But if the master was lying around like this, it can be used no less efficiently.
- Wooden shields-gaskets. These are rather not installation boxes, but simply a piece of a bracket on which the socket is then fixed.
-
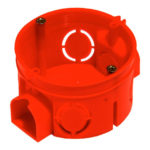
- Plastic box for concrete
-

- Metal glass
-
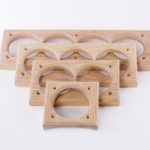
- Wooden Sockets

Polymeric undergrowths have the maximum number of variations in design, color, and size.
Shape and design
According to the geometric form, the following undergrowths are distinguished:
- Round. The most common.
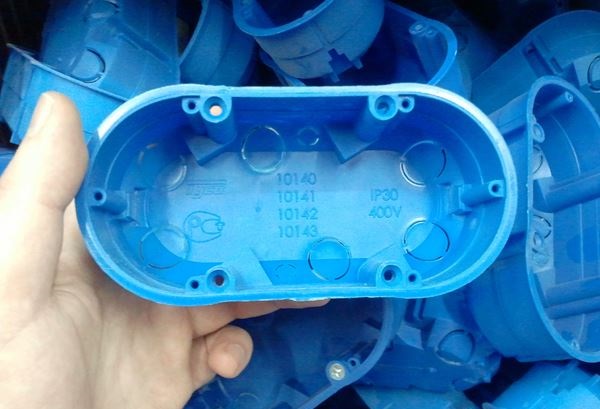
- Oval. Suitable for mounting a double socket for concrete.
- Square. They have maximum capacity.
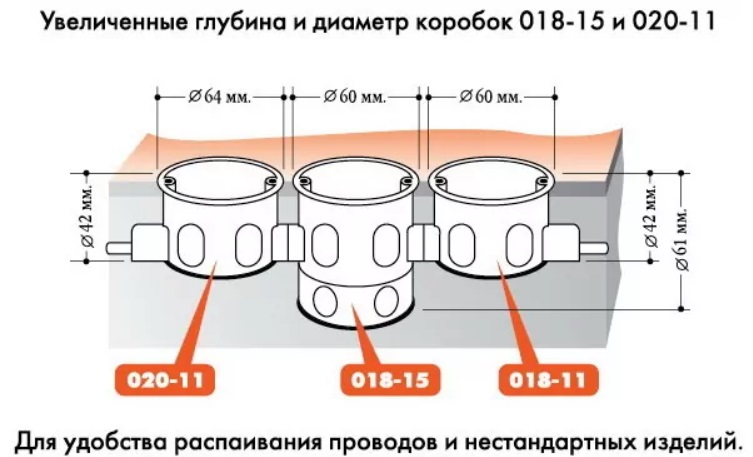
- Compound. With their help, you can easily mount triple rosettes for concrete or on a larger number of power points. They are also called block.
- Overhead. These are outer glasses more often square, less often round.They are used for laying wiring on wooden walls.
There are also certain types of glasses for installing sockets for the Internet, telephone, cable TV, etc.
Dimensions
 The dimensional grid of the installation cup implies the presence of the following parameters:
- Diameter. It is marked with the letter “D”. The most common indicators are 60, 64 and 65, 68, 70, 75 mm.
- The depth of the glass. It is marked with the letter "H". Here the sizes vary from 25 to 62 mm. The deepest undergrowth has a parameter of 80 mm.
All mounting boxes are characterized by a center distance of 71 mm.
Well-known manufacturers
Almost all installation boxes are manufactured according to GOST and have similar parameters. For the master, it is often not important whose products to buy. And yet, consumers in Russia prefer to use the installation glasses of such manufacturers:
- Hegel. The products of this brand appeared on the market in 2006. Electrical components are manufactured in Russia from high quality raw materials purchased from foreign partners.
- Legrand. French company producing a quality product. The cost of this brand's sockets is much higher than the price of domestic products.
-
- Legrand
-

- Hegel
If the master does not want to overpay for an installation cup, you can confidently buy products made in Russia or the CIS countries. The shape, size and quality of the product remain identical. In this case, the margin on foreign goods is formed taking into account the brand.
Installation of socket boxes
You can install the glass yourself. To do this, prepare the following tool:
- hammer drill, chisel and hammer;
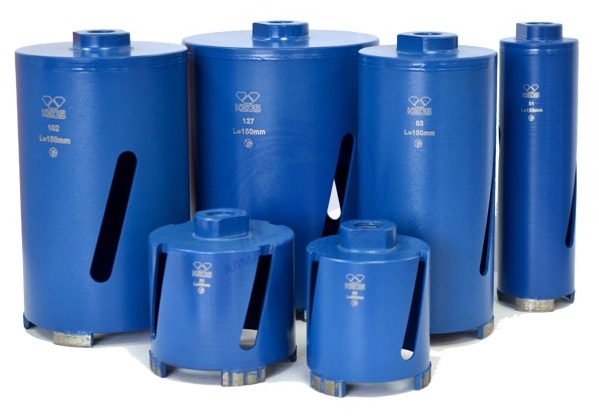
- diamond crown for concrete;
- tape measure, construction marker;
- level;
- gypsum or asbestos for the preparation of a fixing solution;
- putty knife;
- container for the preparation of mortar.
Work Stages:
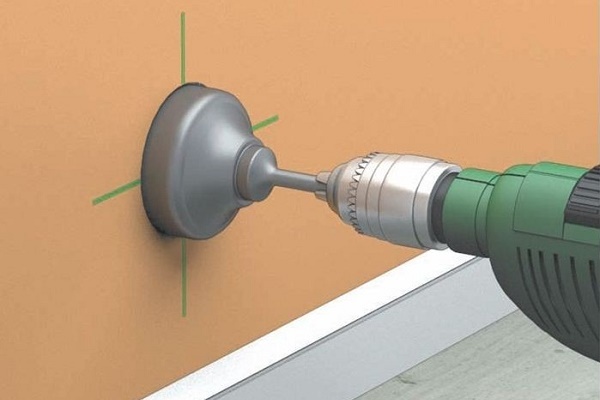
- Future strobes are marked from the junction box. The lines must be strictly vertical or horizontal.
- The end point of the marking is the estimated installation location of the glass. It is drawn with a circle with a diameter of 70 mm.
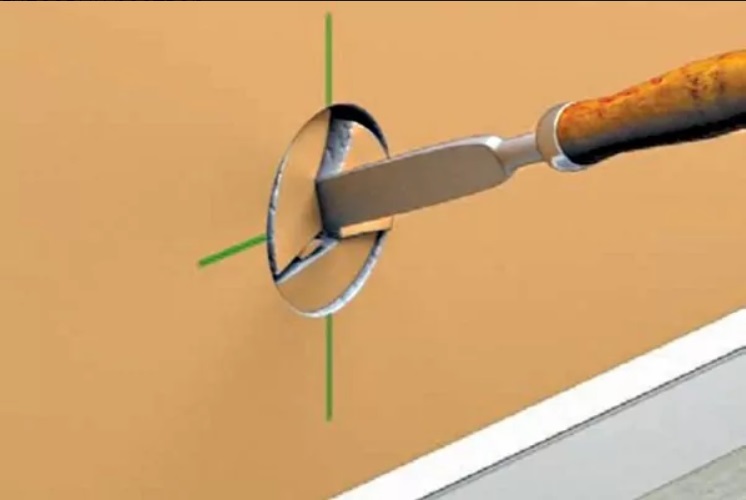
- On the lines of the drawn strobe, channels are made for laying the wiring.
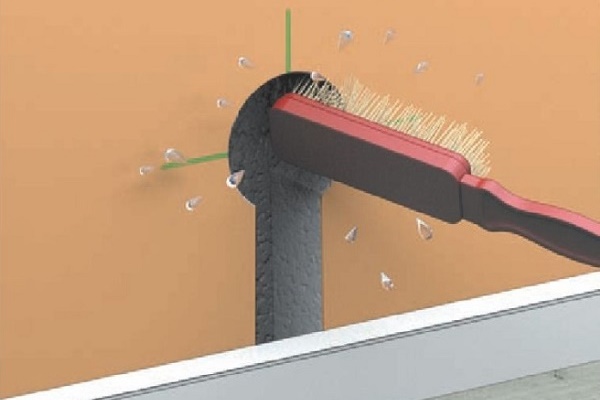
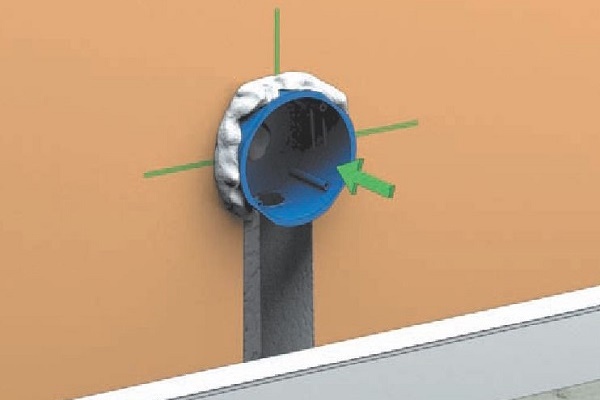
- A round hole is drilled at the place of the proposed installation of the outlet. Its depth is adjusted according to the parameters of the undergrowth. He should fully enter the wall, but not drown heavily in it. More often, 5-6 cm is enough. The evenness of the depth is controlled by the building level, applying a socket to the nest. Its edges should be completely equal to the plane of the wall.
- The finished notch is cleaned of building dust.
- The wiring laid through the channels leads to the socket. The braid is stripped and inserted into the nests of the cup holder.
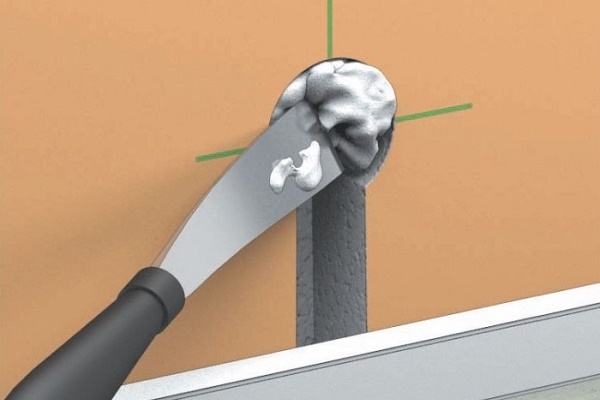
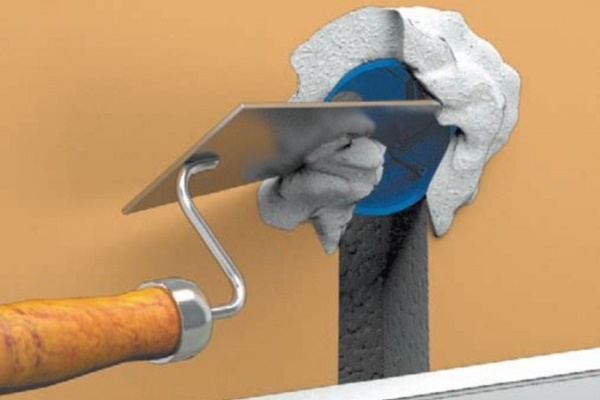
- Carefully moisten the recess in the wall and coat it with mortar. If this is a gypsum mixture, then it is prepared from powder and water in a ratio of 1: 2. If it is alabaster, then the proportions of powder and water are 4: 1, respectively.
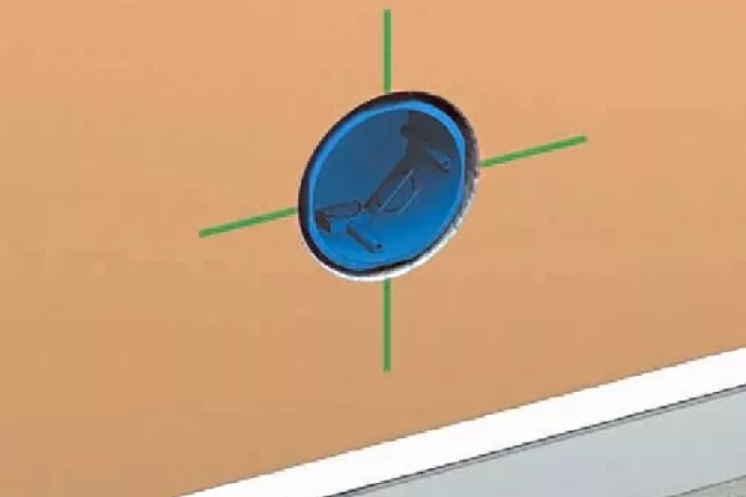
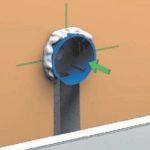
- The finished solution is treated and the glass from the outside. Then they insert it into the nest, controlling the protrusions above the level of the wall plane. They should not be. An exception is allowed if the panel is additionally lined with any decorative material. Then the edges of the glass are left protruding at an approximate thickness of the finish (taking into account the glue, a layer of plaster, etc.).
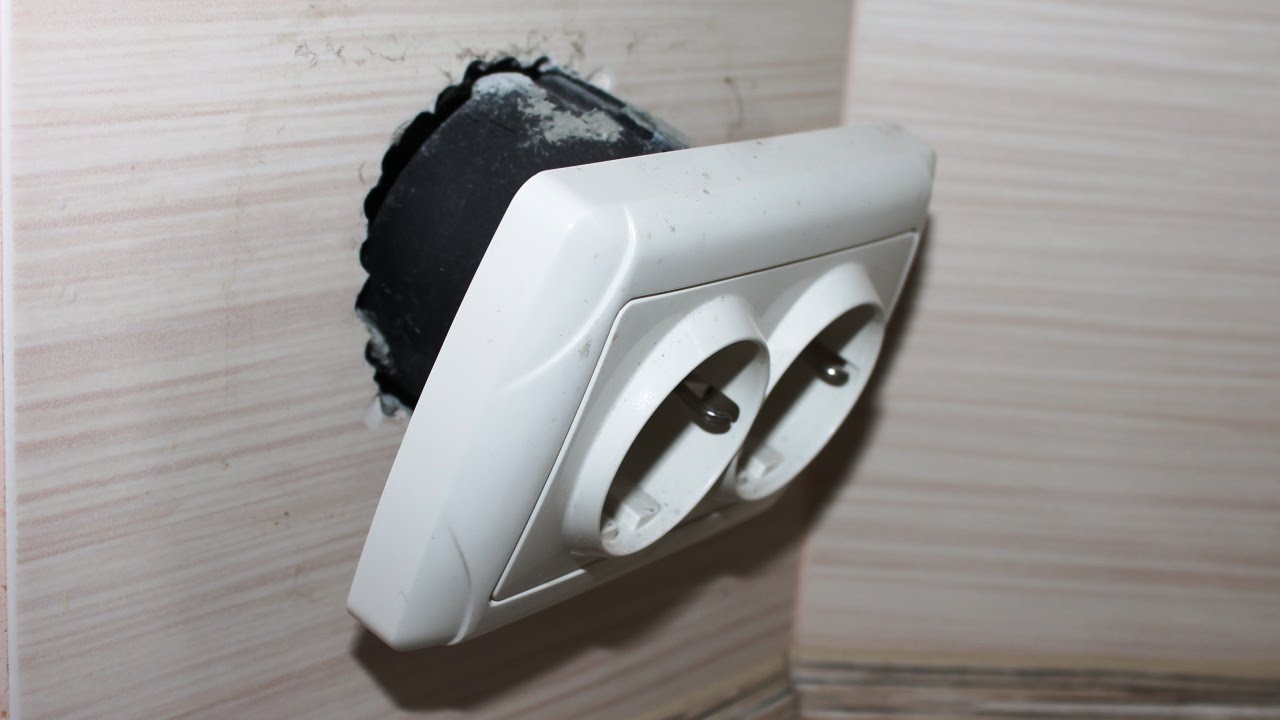
- After the solution has dried, you can proceed with the installation of the outlet itself.
-

- Wall drilling
-

- Hole forming
-

- Trying on a socket
-

- Preparing Wiring Holes
-

- Dust cleaning
-

- Application of fixing solution
-
- Installing the socket in a niche and fixing with a solution
-

- Removal of excess solution
When wiring to the glass jacks, they leave a good supply of cable (5-6 cm).
The rosette popped out of the wall
It happens that the installation cup falls out of the panel. This occurs for the following reasons:
- Old wiring design and long-held repairs. It is likely that the fixing solution simply crumbled under the wallpaper or other finish.
- Wrong proportions of water and powder to prepare the mortar. In this case, she does not hold the glass tight enough.
To correct the situation, you need to assess the magnitude of the problem. If the nest under the socket is deformed strongly, it is shifted to the side and a new one is made. The old hole is covered with plaster. The installation of a new glass is performed according to the above algorithm.
If we are talking about improperly prepared solution, it is completely selected from the nest. Prepare a new mixture and set the rosette.
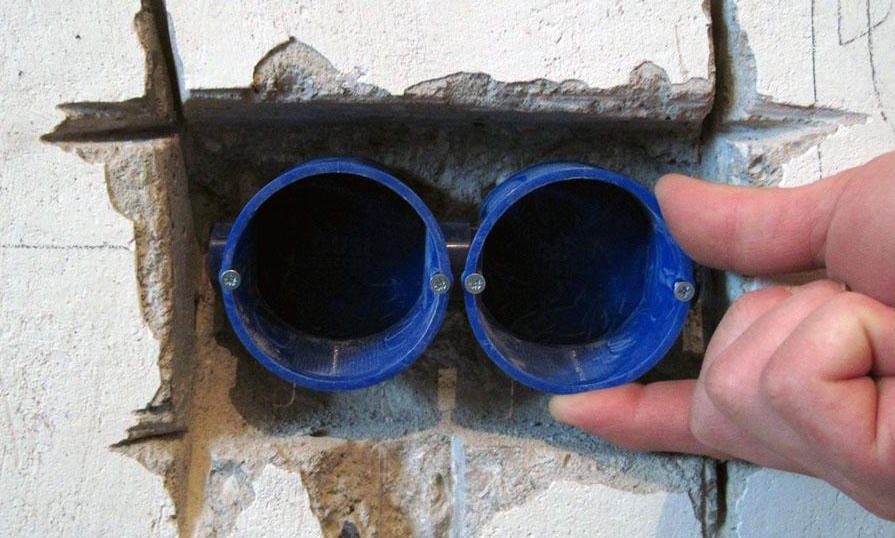
Mounting the outlet block
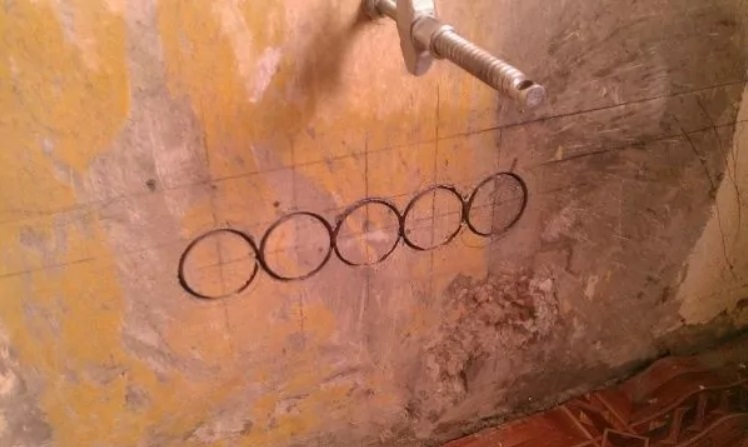
When installing several outlets, you can use a special block-type glass according to the number of proposed power points. To do this, several holes located next to each other are made in the wall using a diamond crown. The center distance between them should be 71 mm.
It is important to maintain the horizontal location of the future block. Next, with the help of a hammer and a chisel, the excess is removed so that the glass becomes completely in the nest.
To connect the wires to each outlet, use special jumpers-transitional ears.
Installation of the box is performed in the same way as a glass for a single power point.
The right choice for concrete walls

If the master does not know which wall socket is better for a concrete wall, the following criteria should be considered:
- The thickness of the walls of the glass. The larger it is, the stronger the product. In addition, although manufacturers assure of the fire safety of the polymer of the rosette, it will begin to melt with strong fire. And the faster, the thinner its walls will be.
- Depth of the product. This parameter is especially relevant if the installation of the wall sockets is carried out in one wall on both sides (as in old panel houses). Here it is better to buy two products of 25 mm and dock them, than resort to trimming the box, which will differ in depth.
- Type of construction (single, double, block). If you need to mount several outlets in a row, you can buy in-line glasses. They just break apart at the docking point. So you can take as many pieces as you need at once.
To install the socket in drywall, you need to take a glass with locking tabs. It is fastened simply by driving into the nest. The paws themselves snap into place on the back of the panel.