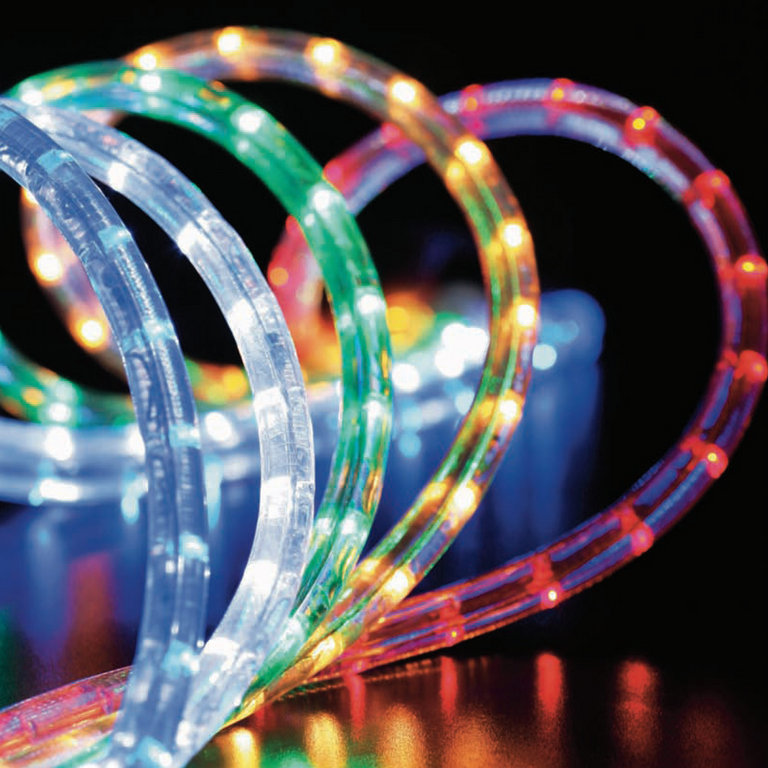
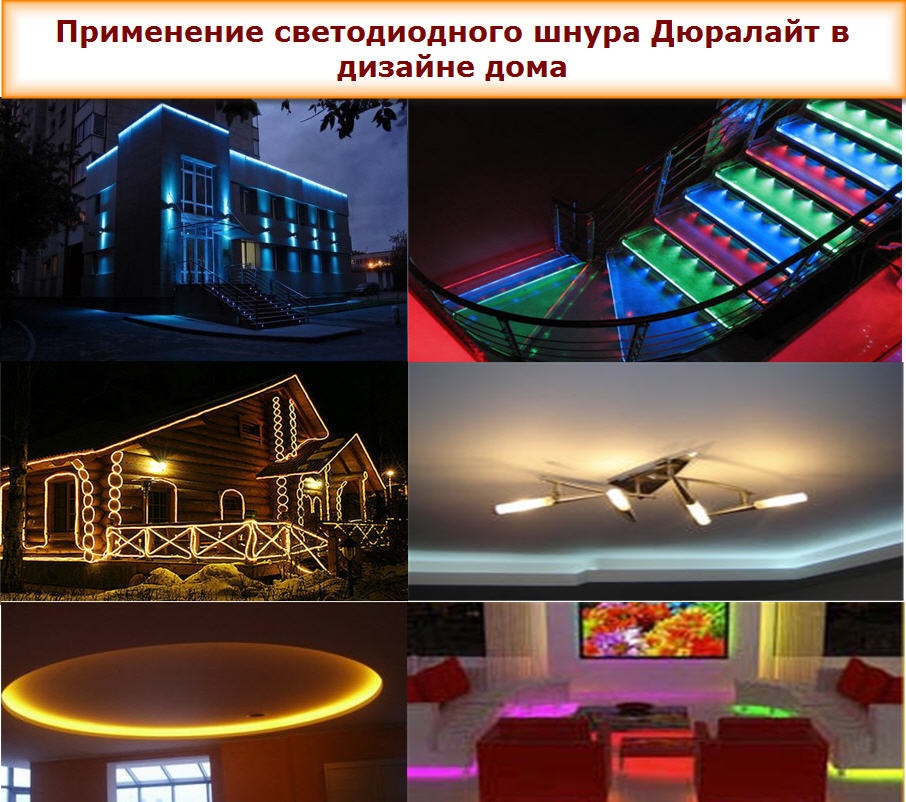
LED strip is convenient for creating any option for lighting and the embodiment of design ideas. It is a flexible printed circuit board with LEDs and resistors fixed to it. Installation of LED strip can be done independently.
LED Strip Mounting Basics
When embarking on the installation of duralight, it is necessary to remember the basic rules and features of its fastening:
- There is an adhesive layer on the back side, but duralight can be glued only once. In order for the tape to hold firmly, the surface must be dry, even and degreased with solvent.
- The board does not tolerate bends well. The maximum bending radius is up to 5 cm.
- You can cut the board only by marks - usually every 3 diodes.
- Duralight is connected by soldering or using connectors. Soldering time - 1 sec. The soldering iron is heated to a temperature of no more than 260 degrees.
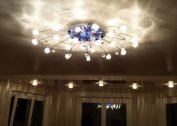
LED lights are mounted in the kitchen, in niches, combined with a stretch ceiling or plasterboard designs.
Advantages and disadvantages of LED lighting
 Duralight has the following advantages:
- Low power consumption when compared with other light sources.
- Long service life: if you follow the operating rules, duralight will last much longer than other lighting devices.
- Easy and simple installation: thanks to a self-adhesive layer, the fastening of the tape is quick and reliable enough. It can be cut, connected with a soldering iron.
- Safety. Unlike many lighting fixtures, LEDs do not heat up much, and due to their installation in the profile, they can be combined with materials susceptible to high temperatures, for example, PVC cloth, from which stretch ceiling structures are made.
- Ability to change the color of the backlight. The hue of the glow is changed using the controller.
The main advantage of the tape is its versatility. It can be connected not only to a 220 V network, but also to a car battery.
An important drawback of duralight lies in the low intensity of the light flux. Therefore, the backlight is used as a decorative and additional lighting.
Recommendations for installation and use
The success of installing an LED strip during DIY installation depends on compliance with the rules for storage and connection. Here are some suggestions:
- It is forbidden to exert excessive pressure on the board and bend it strongly, since this leads to damage to the conductive tracks.
- For connection, it is necessary to use connectors and connectors that correspond to the marking.
- Connections should be done carefully to avoid damage.
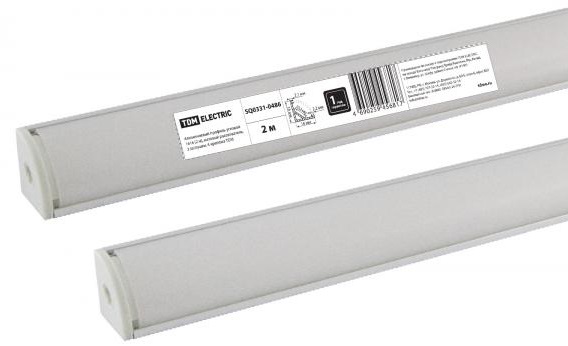
- To ensure proper ventilation of the diodes, the tape must be fixed to the aluminum profile.
- Take into account the level of moisture protection. It is indicated by the letters IP.
- Duralight and components require periodic maintenance, so they must be freely accessible.
Professionals do not recommend making backlighting from LEDs in case of installing glossy stretch ceilings, because the LEDs are reflected in the canvas, like in a mirror, which makes them too noticeable.
What you need to install
Sophisticated tools or fixtures for installation are not required. A soldering iron is used to connect the tape, but it is also optional.Accessories necessary for installation of low-voltage LED strip: controller, power supply, connectors.
Controller
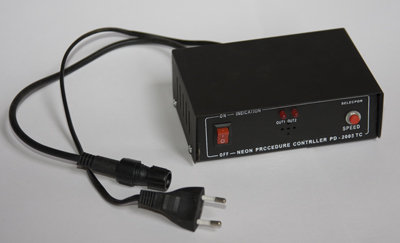
This device is designed to adjust the mode of illumination of the diodes and change the color of the backlight. By connecting the controller, using the remote control, you can make the LEDs blink or shimmer in different colors. For a single-color duralight, a controller is not needed. Before buying, you need to clarify how many soldering contacts the tape has in order to purchase a suitable device.
Power Supply
For proper and long-term operation of the duralight, a power supply is required. It lowers the mains voltage. The power of the unit is selected in accordance with the LED strip - you need a margin. Connect in front of the controller.
If the tape is 220 V, instead of the power supply, a rectifier is required - a diode bridge.
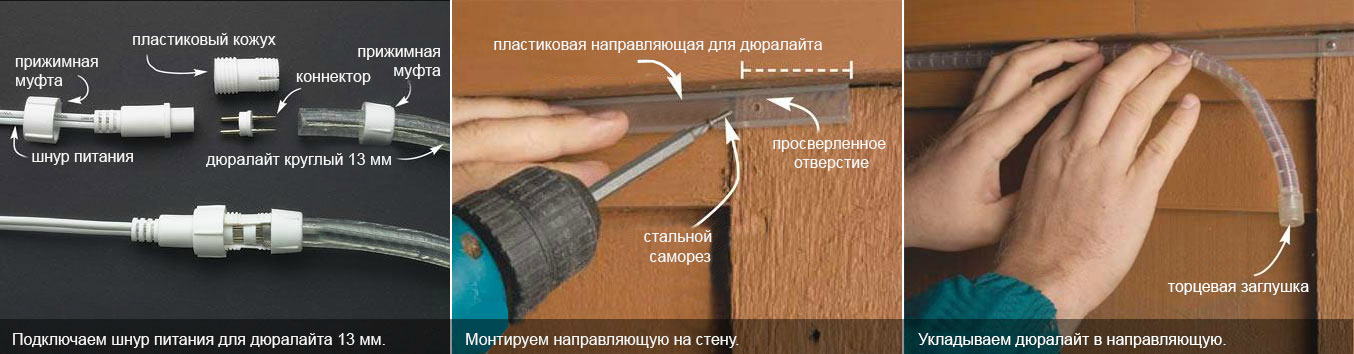
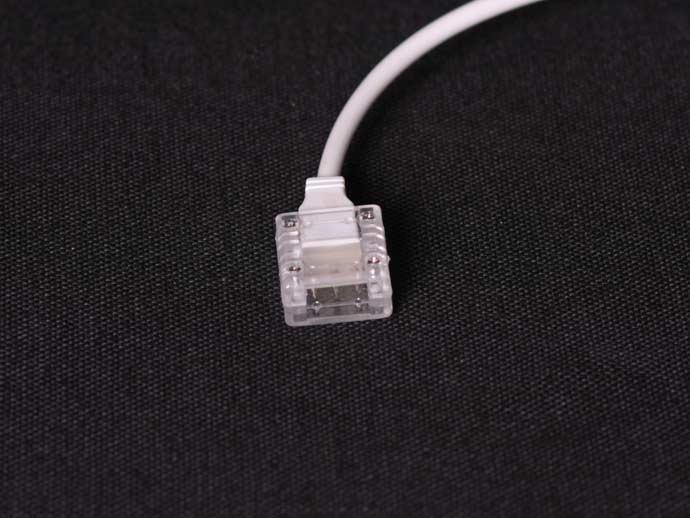
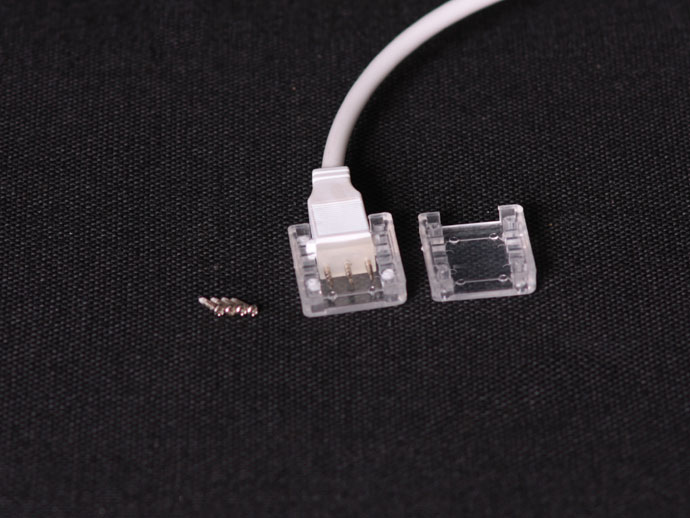
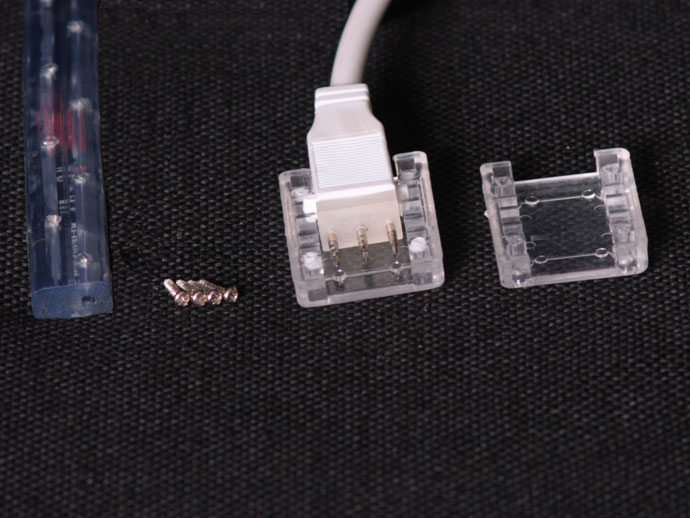
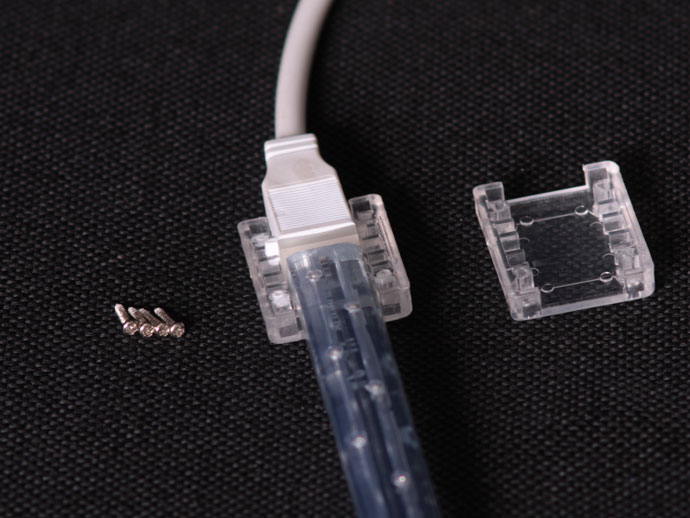
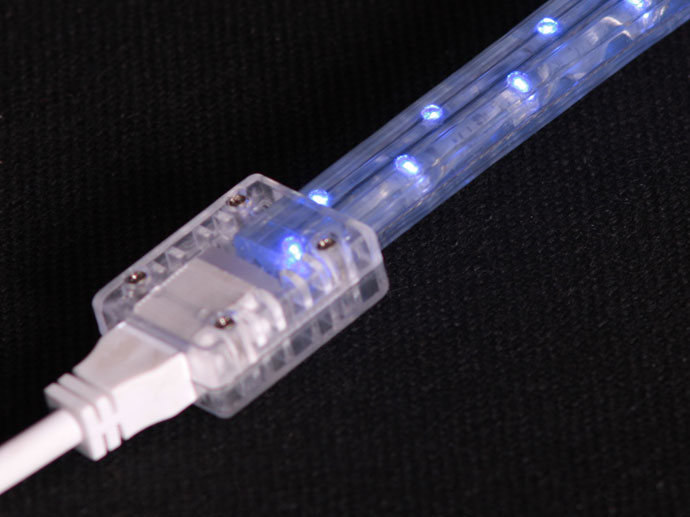
Connectors
Connectors allow you to connect the individual parts of the tape without using a soldering iron. But you should first choose the appropriate connector: flat or round.
If desired, a dimmer is also used to adjust the level of light intensity, but it can be omitted.
LED Strip Installation Guide
The basic installation rule is that the length should not be more than 5 meters long. Each such segment must be connected in parallel. With sequential installation, the power of the glow will decrease.
You should not be afraid of electric shock when using a tape connected through a power supply. However, you need to remember about fire safety. Even a low voltage tape heats up to about 70 degrees. If you glue it directly to the wallpaper, the material may flare up. A special aluminum or plastic profile will dissipate heat and protect the board and LEDs from mechanical damage.
- First, you should separate the segment of the required length according to special marking or, conversely, connect several segments using a soldering iron / connectors. It is more convenient to perform this operation on the floor, carefully controlling the quality of the joints.
- The finished tape, if it is colored, connects to the controller. The controller has connectors that correspond to different colors. They are marked with letters: R-red, B-blue, G-green. RGB pins are negative. There is still contact - a common plus.
- The controller is connected to the power supply. At the same time, polarity is strictly observed.
- Check if the electrical circuit is working by plugging the system into a power outlet. If everything works, you can proceed to the installation in place.
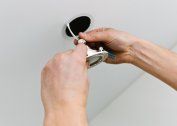
- Installation is carried out according to previously made markings. The power supply is placed in a niche or on a cabinet, ensuring its ventilation, since it is heated during operation. If the tape is fixed to the adhesive layer, immediately remove the protective strip completely. The strip is removed gradually as it adheres to the base. When mounting in the profile, the tape is fixed to the glue, and then a diffusing plinth is inserted into the profile, which will make the light softer.

After installation, you need to once again check whether the backlight is working, since in the process something could be damaged.
Installation options
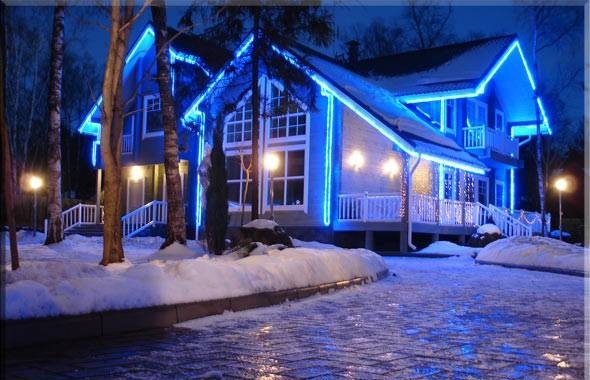
Install LED backlight in a variety of places:
- ceiling;
- countertop in the kitchen;
- shelves in the bathroom;
- veranda;
- garage;
- bathhouse;
- trunk and car interior.
The main rule is to connect through a power supply, which plays the role of a step-down transformer.
How to rotate the LED strip 90 degrees
It is necessary to avoid bending the tape with a radius of more than 5 cm, so it cannot just be bent if you need to fasten it at an angle of 90 degrees. The board should be cut along the cut line into two segments, glue them together, and then restore the electrical contact.
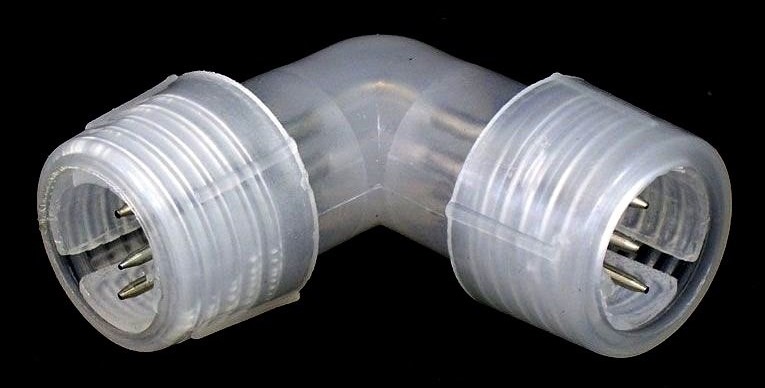
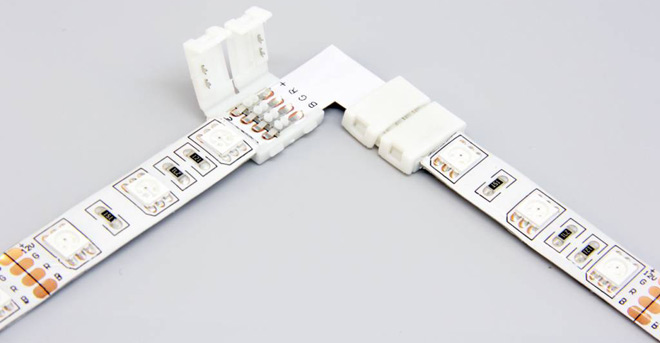
One of the most convenient ways to connect in a bend is a corner connector.It is made in the form of an angular element with latches at the ends or in the form of a connector with latches connected by wires. They can be 2, 4 and 5 pin. The former are used for single-color tapes, the latter for RGB, the latter for RGBW LED tapes.
-
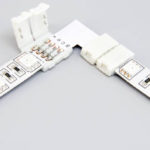
- Corner connector
-
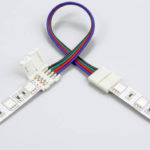
- Wired Connector
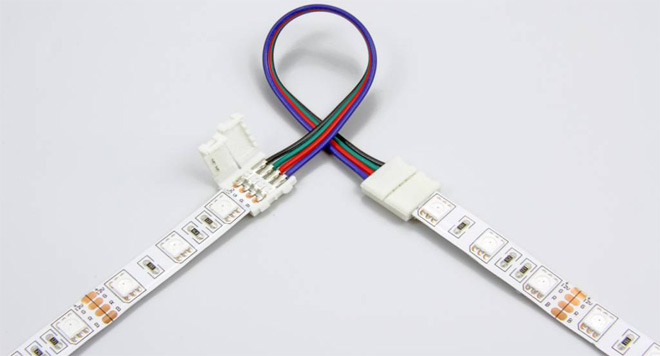
Before connecting the two segments, you should clean the contact pads at the edges with a knife, and then install them in the adapter. Such a system is easy to assemble and disassemble, even if it is in an inaccessible place. There is a drawback - the high cost of the connectors.
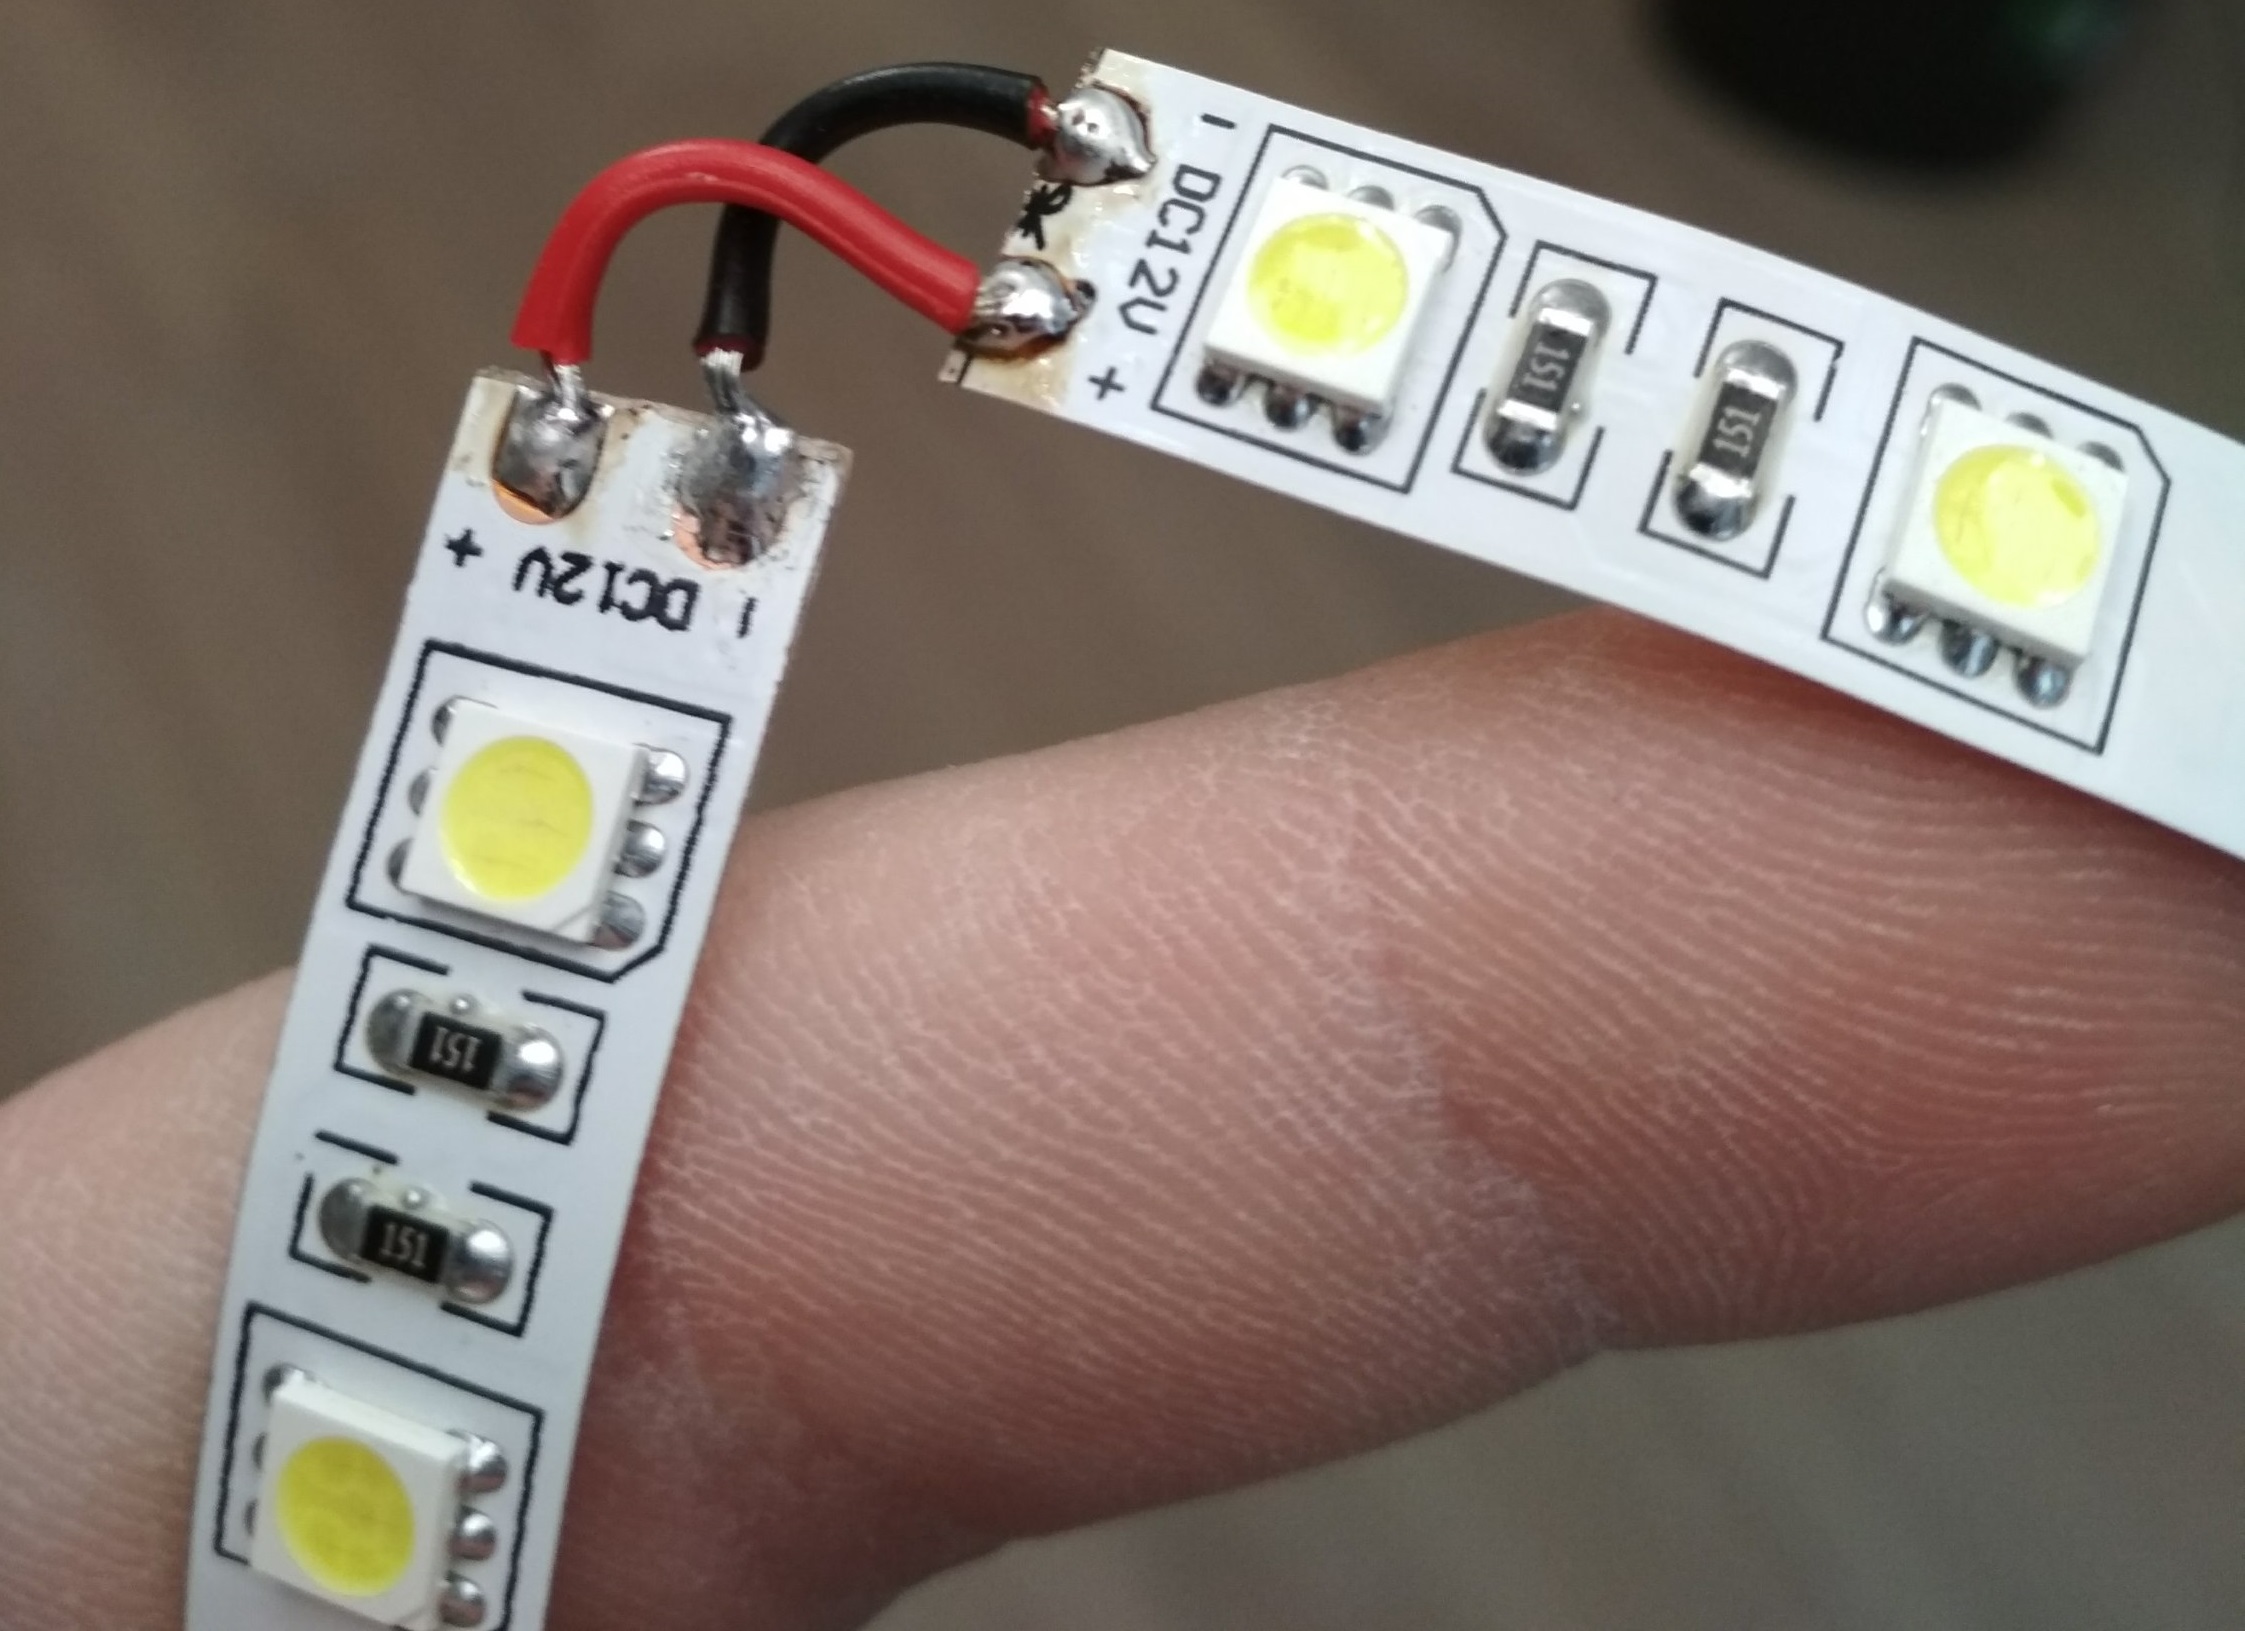
The second installation option will avoid costs. You will need wires by the number of contacts and a soldering iron. The wires should be stranded copper with a cross section of 0.75-1 mm2. Installation instructions:
- The wires and pads are stripped, tinned and connected with a soldering iron in accordance with the polarity.
- The flux is removed with a toothbrush moistened with alcohol.
- To prevent the compound from being exposed to moisture, protect it with hot-melt adhesive or heat-shrink tubing.
To use a heat shrink tube, it must be put on the tape before soldering.
This connection method is cheap and reliable, but you won’t be able to quickly disassemble it.
To complete the installation of the LED strip yourself, just follow the detailed instructions. LED lighting is universal. The tape is often used to organize the illumination of a plasterboard or stretch ceiling, but this is not limited to its scope.