LED lighting devices are widely used in the organization of not only domestic lighting, but also street, industrial. This is due to several significant advantages, namely - unpretentiousness in service, maintainability, environmental friendliness and economy. DIY LED chandelier will certainly find application in the house, the main thing is to make it in compliance with all safety rules.
Wiring diagram for LED lamps for 220 V
There are several schemes by which you can make a homemade chandelier from LEDs. Before you begin, it is important to decide on the method of assembly. There are two main, each of them has its advantages and disadvantages.
Diode bridge application

The circuit includes four main diodes, they are connected in different directions. This provides the ability to convert mains current to pulsating.
The conversion takes place as follows: the sinusoidal half-waves change when passing through two LEDs, which leads to a loss of polarity.
During assembly, a capacitor must be connected to the positive output in front of the bridge, and a resistance of 100 ohms must be connected in front of the negative terminal. The circuit is equipped with another capacitor installed behind the bridge, it is necessary to smooth out power surges.
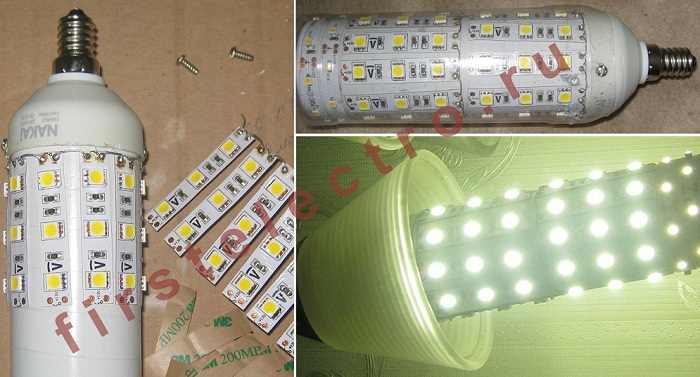
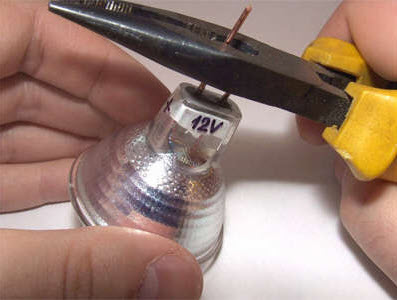
LED Bulb Making
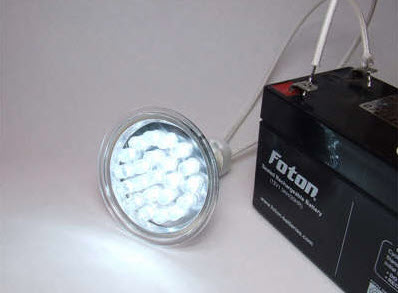
The easiest way to implement it is to make a new lighting device based on a broken one. The performance of each detected part is pre-checked, this can be done using a 12 V battery.
Elements that fail, must be replaced. To do this, solder the contacts, remove the defective parts and install new ones in their place. During the execution of work, it is important to take into account the correct sequence of anodes and cathodes, otherwise the device will be inoperative.
-
- 1
-
- 2
-
- 3
-
- 4
-
- 5
-
- 6
-
- 7
-
- 8
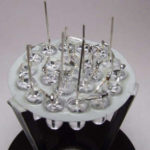
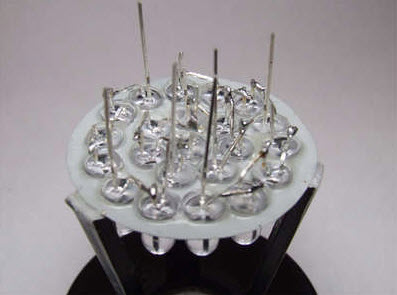
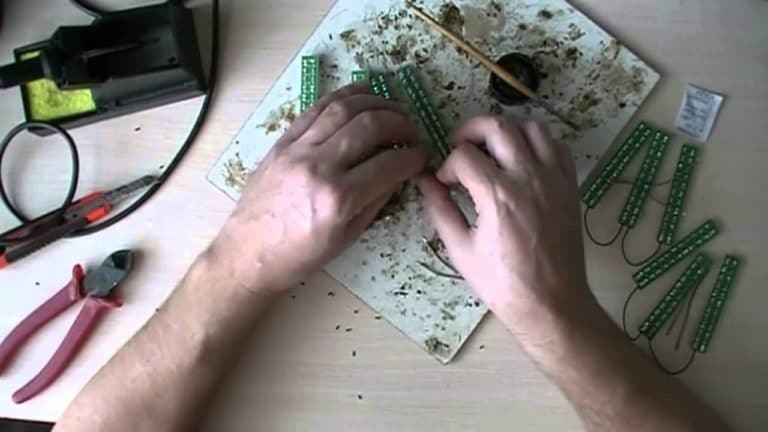
With self-manufacturing, you need to connect 10 diodes in one row, taking into account the rules of polarity. Several of these circuits are connected to the wires with a soldering iron. It is necessary that the soldered ends of the wires do not touch, otherwise this will inevitably lead to a circuit and the system will fail.
Homemade LED Soft Glow Lamp
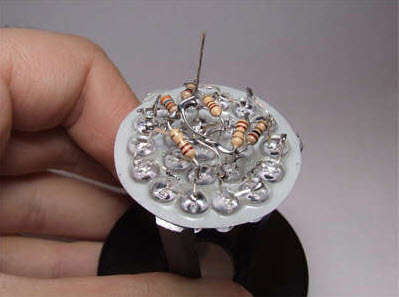
A negative feature of LED-lamps - regular flicker. To prevent this, the above circuit is further equipped with several parts. Thus, it includes capacitors at 400 nF and 10 μF, resistors at 100 and 230 Ohms, a diode bridge.
To protect the lighting device from power surges, a 100 Ohm resistor is moved to the beginning of the circuit, a 400 nF capacitor is soldered after it, followed by a diode bridge and another resistor.
Resistive devices
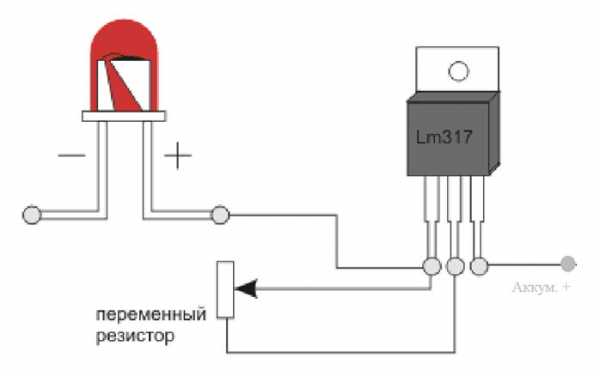
Implement a similar scheme under the power of a novice master who does not have skills. You will need two 12k resistors each and two LED circuits with the same number of bulbs that are sequentially soldered taking into account the polarity. One strip is connected by the anode, and the second by the cathode.
Lamps assembled according to this scheme have a softer glow. This is achieved thanks to the pulsation of flashes that are not visible to the human eye. Such lighting devices are most often used in the form of table lamps.
Housings for LED luminaires
In addition to the correct assembly of the circuit, you need to take care of creating a case in which it will be placed. There are several ways to solve the problem.
- Various do-it-yourself fixtures.
- Sockets of blown incandescent lamps.
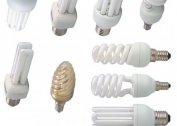
- Housings from blown halogen or energy-saving lamps.
The use of the base of an incandescent lamp has one significant advantage - it is easy to screw an assembled LED lighting device into a cartridge and provide the necessary heat transfer. There is also a significant drawback - the lamp ultimately has a not very aesthetic appearance.
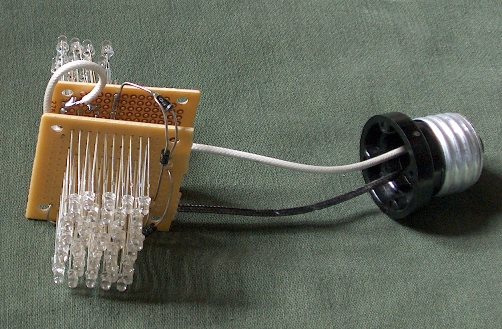
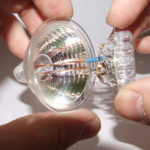
The most practical, safe and easy to implement method is to place the fabricated circuit in the housing of an energy-saving lamp. The pre-blown bulb should be disassembled and the converter board removed from it.
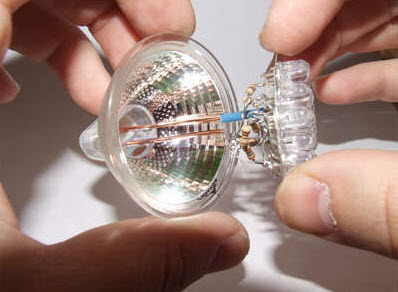
- The board is installed directly in the base. For the convenience of implementing the method, it is recommended to use a conventional plastic water bottle cap.
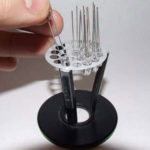
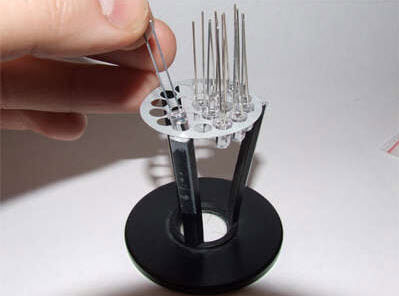
- LED bulbs are placed in holes that are pre-made in the lid located under the glass bulb.
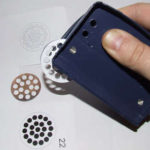
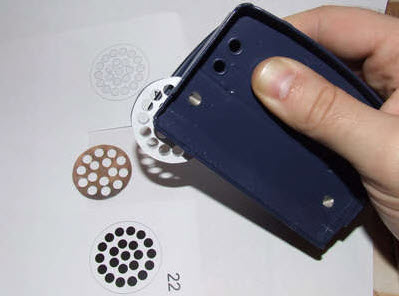
To simplify the process of placing LEDs, masters use circles made of cardboard or plastic, in which holes are made for diodes. If the work is done carefully, the final result will have a rather aesthetic appearance.
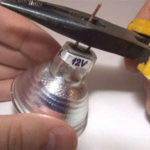
In the form of a housing you can use halogen lamps. This method is not widespread, since there is no way to twist the lamp into the cartridge. However, this design is used to make various home-made indicators.
Materials for making a homemade LED chandelier
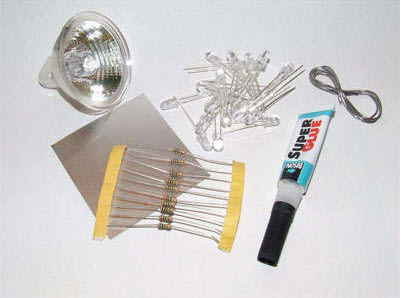
To make an LED lamp, you will need to buy individual NK6 LEDs or tapes. The current strength is 100-120 mA, the voltage is 3-3.3 V.
We also need rectifier LEDs 1N4007 or a diode bridge, fuses, which are contained in the sockets of old devices.
A capacitor is also necessary, the voltage and capacitance of which fully correspond to the technical parameters of the electrical circuit. If the finished board is not used, you also need to take care of the frame to which all the parts will be attached. The material from which the home-made frame is made must be heat-resistant and non-conductive. Superglue or liquid nails are used to attach parts.
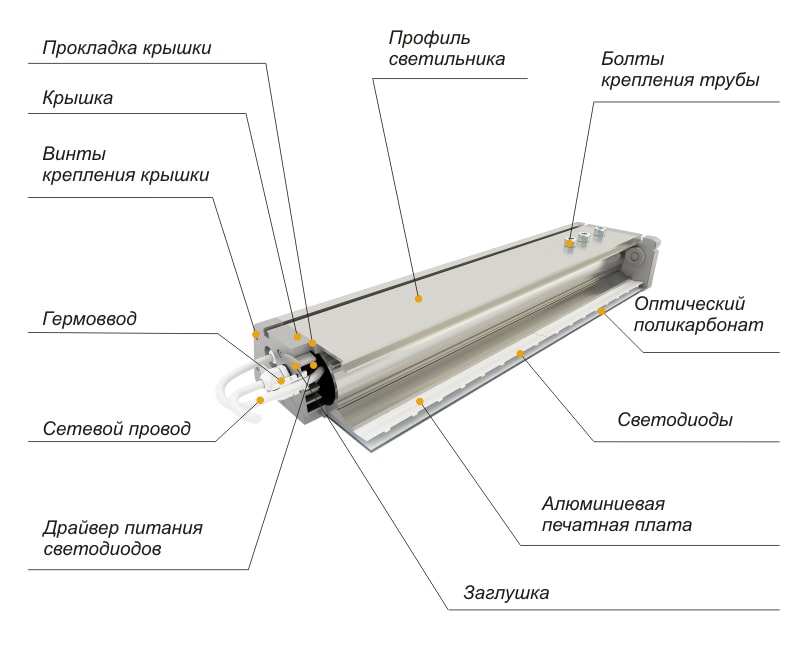
Assembly of lights in a housing with LED strips
Before starting work, it is important to familiarize yourself with the manufacturing technology of LED lamps.
LED bulbs with a factory substrate made of aluminum are connected to a radiator. In this case, the role of the radiator is played by the metal or plastic housing of the lamp. If the latter type is applicable, surfaces must be glued with aluminum tape to ensure high-quality heat dissipation. The LEDs in the circuit are soldered sequentially.
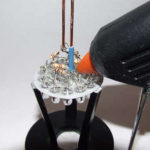
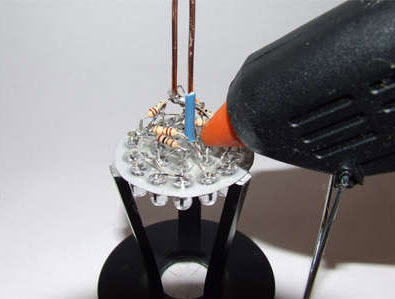
Since LED bulbs have a footrest, they are attached to the radiator using hot melt adhesive.
For optimal operation of a home-made device, bulbs should have the following characteristic features:
- LED stream 140 lumens.
- Supply voltage in the range of 3.2 - 3.4 volts.
- The wavelength is about 6,500 kelvin, the light is cold.
- The consumed current is 350 milliamps.
An LED driver with the following technical specifications is also required:
- The range of operating temperature ranges from -45 to +75 degrees Celsius.
- Input voltage from 100 to 240 volts.
- An output current of 300 milliamps + - 5%.
- The output voltage is from 18 to 46 volts.
For the uninterrupted and high-quality operation of the device, two fundamental factors are taken into account - operating voltage and LED current. Still, the operability of the lighting device depends on the current consumed by the LED, and the output current of the driver.
LED bulbs are not able to control current consumption, when connected directly to the outlet, the device simply fails. Driver installation is required.

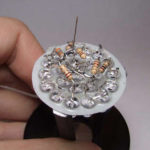
When all the necessary details are ready, you can start soldering the circuit. You can not hold a hot soldering iron on the LED contacts for a long time, this will negatively affect their performance.
The driver is also mounted inside the case. Some experts additionally recommend housing with a scheme to cover with diffusing glass.
Decorative home-made LED lamps are widespread, since their appearance can be varied with special paper with different images, threads, beads and fabric. Also, glazings or acrylics can be applied to the cases. The main thing, transforming a home-made lamp, do not forget about the safety of operation. Devices are installed, mounted on a wall or suspended in the hallways, living rooms and kitchen.
LED lights are not recommended as the main source of lighting in the room. It is preferable to use them as auxiliary or in the form of highlights of various decorative elements, for example, figurines or plants.