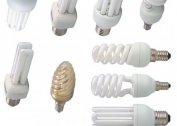
Every modern person at home and at work has more than ten electrical appliances that greatly simplify life and make it more comfortable. For the devices to function, they must be connected to the mains. For this purpose, various modifications of electrical products were invented and manufactured; they provide continuous transmission of current to the power units of a household appliance.
Types of Electric Plugs
Before you figure out how to assemble the outlet plug, you need to familiarize yourself with their varieties. In their design features, electric plugs are not much different from each other. Their main difference can be in design and structure. The most common varieties that are often mounted in everyday life are the following models:
- without grounding;
- collapsible models;
- with grounding;
- non-separable modifications;
- Eurostandard;
- ordinary type.
Collapsible models are the most popular, due to this high functionality and the ability to replace the electric plug if necessary. Non-separable models have a molded case, so it is not possible to disassemble it. During repair, the wires must be cut off at the base.
Increasingly, European-style sockets are installed in Russian homes. To ensure a reliable connection and a continuous supply of current, an appropriate standard plug is required.
Each electrical device is a potential threat to human health and life. To prevent possible damage, the plugs must be equipped with grounding, which guarantees safety during operation.
However, the forks differ not only in design features. Currently, two types of plugs with type C cords are manufactured in the domestic market according to GOST. On the non-separable case of each product there should be a marking that lists all the technical characteristics - permissible indicators of the supply voltage, the value of the permissible current.
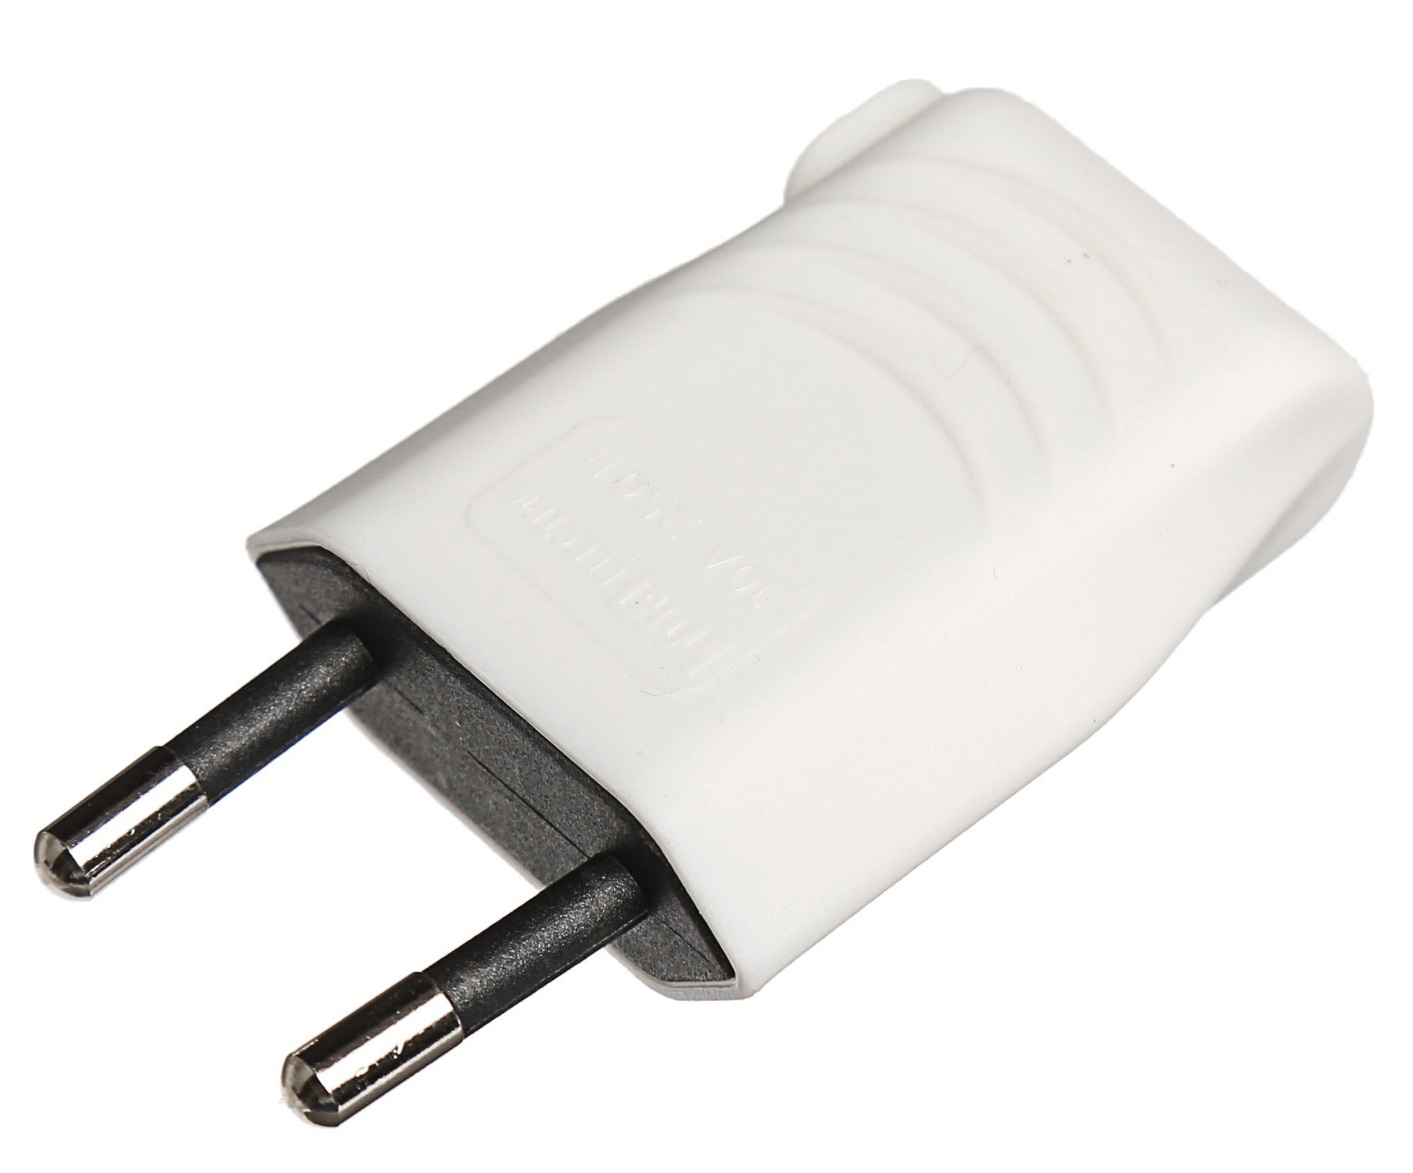
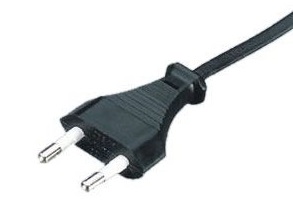
- C5 - an analogue of the forks of the European model CEE 7-16, have a round pin with a diameter of 4 mm, which reduces to the free ends, the insulation length is 10 mm from the case. The plug is designed for a load current of not more than 6 A, not equipped with a grounding contact.
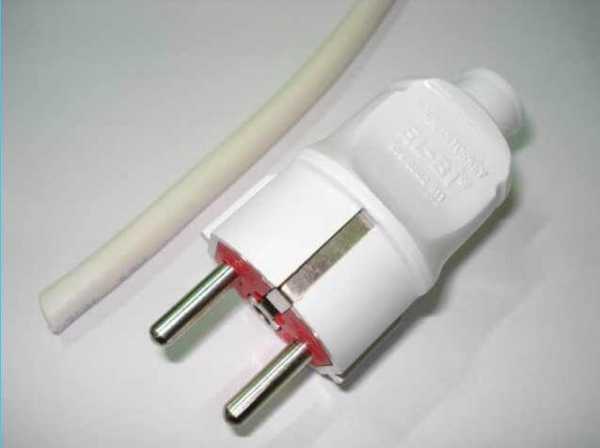
- C6 is also an analogue of the plugs of the European model CEE 7-17, equipped with a round pin with a diameter of 4.8 mm, there are modifications with grounding and without grounding contact, the plug is designed for a current of no more than 10 A.
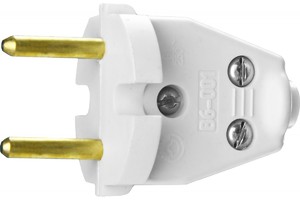
In Russia, a large number of devices with cords are operated, which are equipped with folding plugs of type C1-B with a round pin with a diameter of 4 mm, designed for a load current of up to 6 A, and there is no grounding contact.
Design Features
The device of electric plugs is divided into several types. You need to familiarize yourself with the technical characteristics, advantages and disadvantages of each in more detail.
Fixed fork device
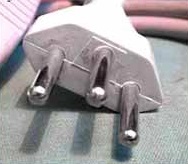
Design features of non-separable modifications are the same everywhere. The pins are installed with an interval of 19 mm in a bar made of plastic, conductors are pressed into it. The bar is equipped with two protrusions whose task is to bypass the wire. The contour is important in that it eliminates the possibility of a break in the plug cord if significant force has been applied to it.
The wire and pins are poured with molten plastic. This is ensured by a high degree of tightness of the housing with the power cord firmly fixed in it.
The device of a folding tri-pole design
Not so long ago, only collapsible structures were used to connect electrical appliances. Today they are still used by a large number of Russians. You can’t do without such a detail if you need to replace the cast mechanism that has failed. The advantage of such a fork is maintainability and the ability to use it repeatedly. It can be dismantled and installed on another cord without much effort.
Design device type C1-B
This design is incredibly simple in execution. It consists of two halves of a plastic case, two brass pins, fasteners and a pressure bar.
Design features of a folding design like C6
The design is also not particularly difficult. Modifications are with and without grounding contact. Designed for the operation of devices with a capacity of not more than 220 watts. The pins are made of brass, and pads with thread for pressing on the wires are pressed onto them. The pins are attached to the base of the plug. An additional grounding contact, which has the form of a strip of brass, can also be installed in the housing. There is also a strap for securely fastening the wire with a plastic gasket.
How to change the plug on the wire
It is not difficult to repair the plug for the socket, however, during the performance of work, it is very important to monitor compliance with personal safety precautions.
How to disassemble an electric plug type C1-B
It is required to prepare the ends of the wires for connection. To do this, cut the cord with an interval of not more than 5 cm from the plug. If the plug overheats due to an unreliable connection, as a rule, the insulation in these places becomes stiff and must be replaced. Rings are formed at the ends of the wire. After that, spring grovers and flat washers are installed on the screws. Now this design can be inserted into the screws.
Screw the screw into the pin until it stops. Similarly, the wire connects to the second pin. They are mounted by tabs in the housing in special recesses. A bar is placed on the wire and is pressed against the body with two screws. If the insulation is thin, in order to prevent it from rubbing at the exit from the structure, it is recommended to wear a PVC or rubber pipe over the insulation layer.

At the end, the halves of the housing are connected and tightened with a nut and screw. If two halves of the wire are prevented from touching tightly, they must be moved away.
How to connect a C6 three-pole plug to a wire
Preparing the wire for connection is carried out in the same way as in the previous section. The assembly technology is the same.
If the kit does not include forwarders, they must be installed. The yellow-green wire can only be connected to the ground terminal. As a rule, it is located in the middle between the contact pads of the pins.
In the bipolar cord, there is no grounding contact, therefore, in the plug this place will remain free.
Features of replacing different types of electric plugs
European design replacement
As a rule, the need for replacement arises when the integrity of one of the pins has been violated. The technology is quite simple:
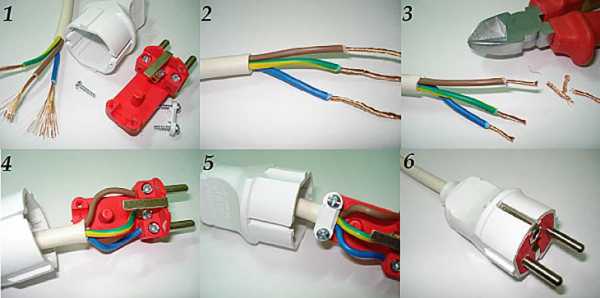
- Replacement begins with dismantling the old euro plug and removing the outer sheath from the wire. At least 5 cm is removed from the end.
- Each wire core is stripped approximately 15 mm. This length will be enough to connect the wires in the design of the European model.
- All exposed conductors are cut so that the length of exposed wires is not more than 10 mm. This is enough to replace the plug with a new one yourself.
- To ensure reliable contact, it is necessary to bend the ends of the wires with pliers.
- The next step is the correct connection of the wires. Most cords are equipped with three wires. Brown is phase, yellow or green is ground, blue is zero.
- So that the plug does not stagger, it must be well fixed by holding the wire with a plastic jumper.
- The final stage is to assemble the working mechanism and check its operability.
The device of the euro plug is quite simple, but care must be taken during the execution of the work.
Replacing an old Soviet-style electric plug
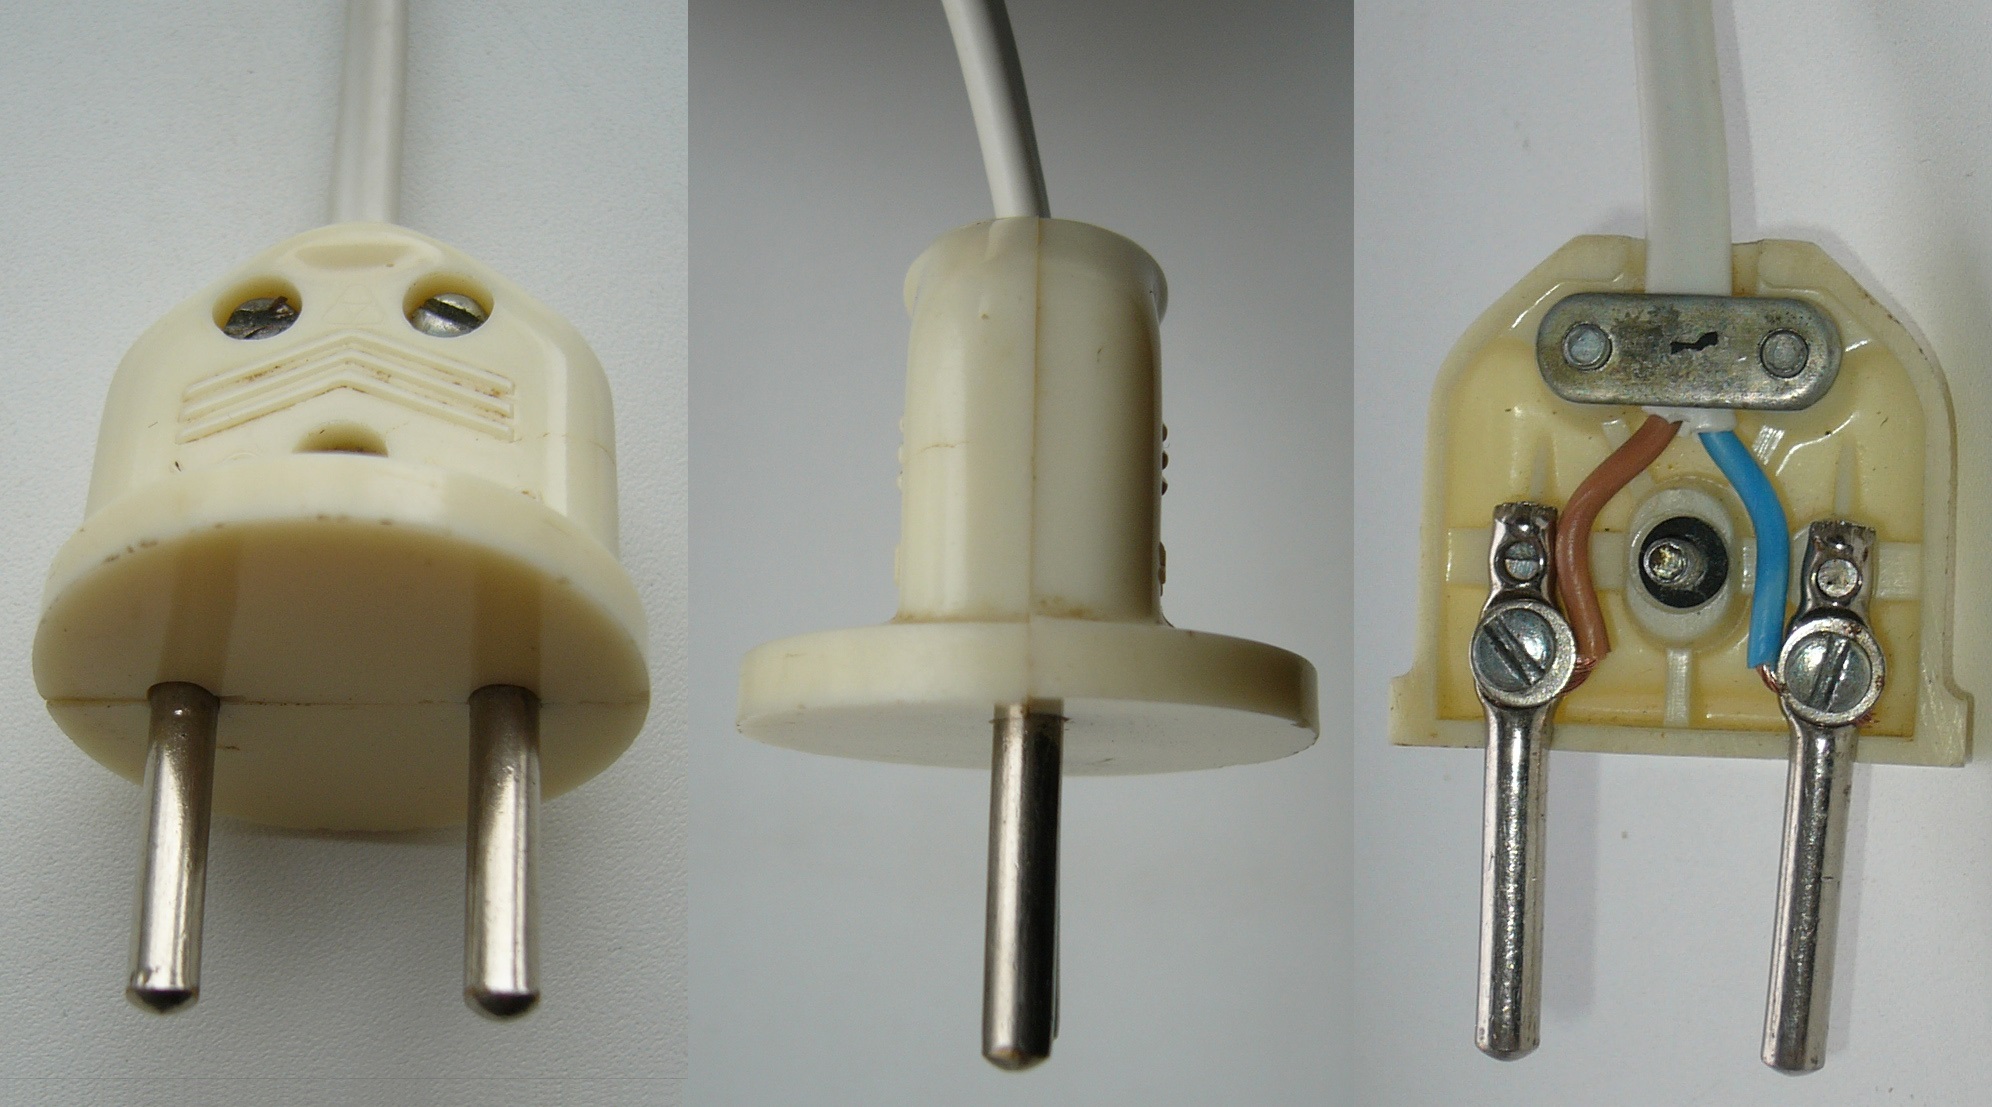
The old electric plug has an even simpler design compared to the previous counterpart. The replacement algorithm in this case is slightly different. The main stages that make up the replacement:
- The old case is dismantled and disassembled.
- As in the previous case, the wires are exposed. The ends are stripped 15 mm.
- In this case, there is no grounding, so you only need to connect two wires. When connecting, it is important to monitor the polarity.
The final stage is the assembly of the finished electric plug.
Replacing Plugs
 A plug is an electrical connector with which a plug connection is provided. With its help, it is possible to quickly connect and disconnect an electrical device, using different detachable contacts.
To replace the plug structure, the following working equipment will be required: cross-shaped and flat small screwdrivers, stripper, ornamental knife and a new fork. The replacement technology is as follows:
- Unscrew the screw, the task of which was to ensure a reliable connection of the halves of the mechanism, to disassemble it.
- Using a stripper, remove about 5 cm of the upper cable sheath. If the plug is equipped with a fuse, you need to choose it correctly, for example, a red three-ampere power from 720 to 3000 watts.
- About 12-15 mm braids are removed from the ends of the wire. The wires are twisted with your fingers so that the end becomes neat and smooth. The plug is disconnected and a cable is inserted into it. The end of the latter is securely fixed with a plastic clip.
Most plug versions are equipped with special metal sockets where the bare end of the wire should be inserted. It is tightened with a miniature screw.
Adaptation of forks
Quite often there are electrical appliances whose plugs are not suitable for domestic outlets. In this case, there is only one solution to the problem - connecting the device through a special adapter - adapter.
Adaptation of a three-pole design type IEC 60906-1
The distance between the pins in this configuration is 19 mm, the diameter of each pin is 4 mm, as in type C5. But unlike the latter, they are equipped with an additional grounding pin, which will not allow you to insert the plug into the outlet.
To solve the problem, the structure is clamped in a vice and carefully, so as not to damage the necessary pins, the third is cut with a hacksaw for metal. The absence of a grounding pin will allow you to seamlessly connect the device to an outlet.
Adaptation of the English model BS 13-63
Such euro-plugs also have three pins, but of a flat shape. Two of them are on the same horizontal line, they are designed to supply voltage, and the third for proper connection and grounding.
The width of each pin is 6.5 mm. The interval between the inner planes is 16 mm, as with the C5 type. In order for the mechanism to be used, it will be necessary to reduce the width of the pins by 2.5 mm and remove the ground. The excess is removed with a hacksaw for metal, with its help and the remaining pins are ground. On this adaptation ends, the plug can be used at home.