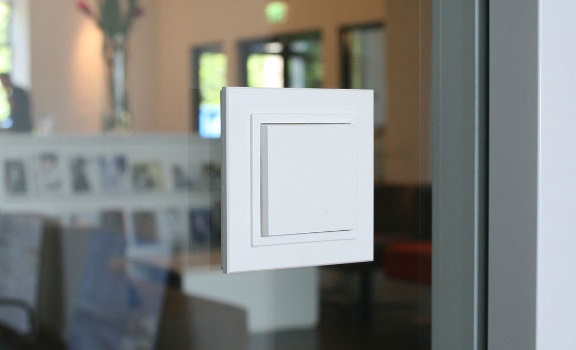
Non-contact light switching devices exclude touching the buttons with your hands. The wireless switch works remotely by transmitting a signal to the receiver. A multifunctional device facilitates the process of controlling lighting and provides control of its intensity. Installation does not take much time and is easy to do with your own hands.
Design and principle of operation
The proximity switch is equipped with two operating units - a transmitter and a receiver.
Receiver Features
The receiver is a radio-controlled relay that picks up the signal and closes the galvanic circuit. The installation of the mechanism is carried out next to the lighting device or in the coverage area of the transmitter. For control, a remote control, radio waves, a smartphone or tablet application that works with Wi-Fi are used.
The receiver can be mounted in a suspended ceiling, a chandelier, a floor lamp, a sconce, a distribution box.
Transmitter specificity
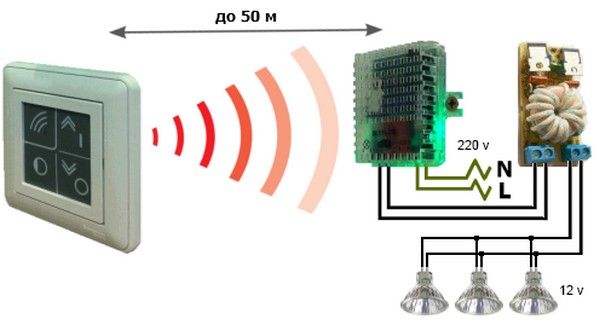
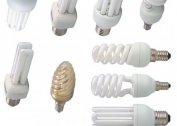
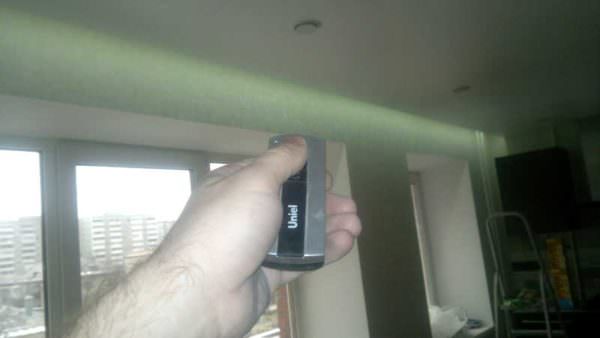
The device operates without being plugged in, compatible with LEDs and incandescent lamps. In budget models, a battery is used, in “advanced” models, a generator that produces current when a button is pressed. The resulting energy pulse is transformed into a radio signal. The receiver picks it up. Battery-powered models need to be charged as they discharge.
The commands to the module come from the control panel, from the phone via Wi-Fi or Bluetooth. Signal coverage range varies from 20 to 350 meters. In the presence of a dimmer, the user adjusts the level of illumination, brightness. Just press and hold the operating key.
Through one remote control, you can control 8 gadgets.
Wireless Features
 A wireless light switch, regardless of brand, has the main characteristics:
- control by buttons, sensors or remote control;
- the presence or absence of light intensity adjustment;
- number of devices in the system (from 1 to 8);
- radius of action - from 10 m as standard, 15-20 m in the presence of a concrete wall, 100-150 m in line of sight;
- autonomy - runs on batteries or from a mini-generator.
Budget modifications have all of the above features. Advanced gadgets are equipped with several options:
- delayed start - they start working not immediately, but at the moment of leaving the premises;
- multichannel - control of several switches within the same building;
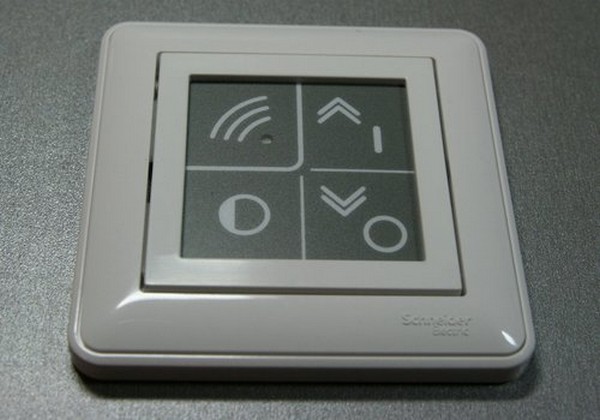
- the presence of a touch panel - activation by touch;
- signal reception via Wi-Fi - signals are sent from a smartphone, computer, tablet.
The more features, the more expensive the switch.
Types of Wireless Switches
Wireless light switches are classified according to several parameters.
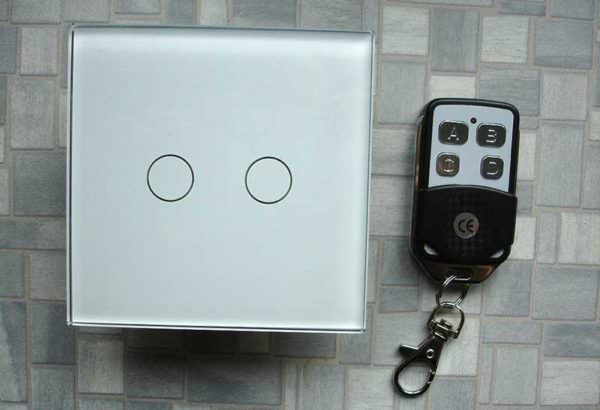
By the control method, there are models:
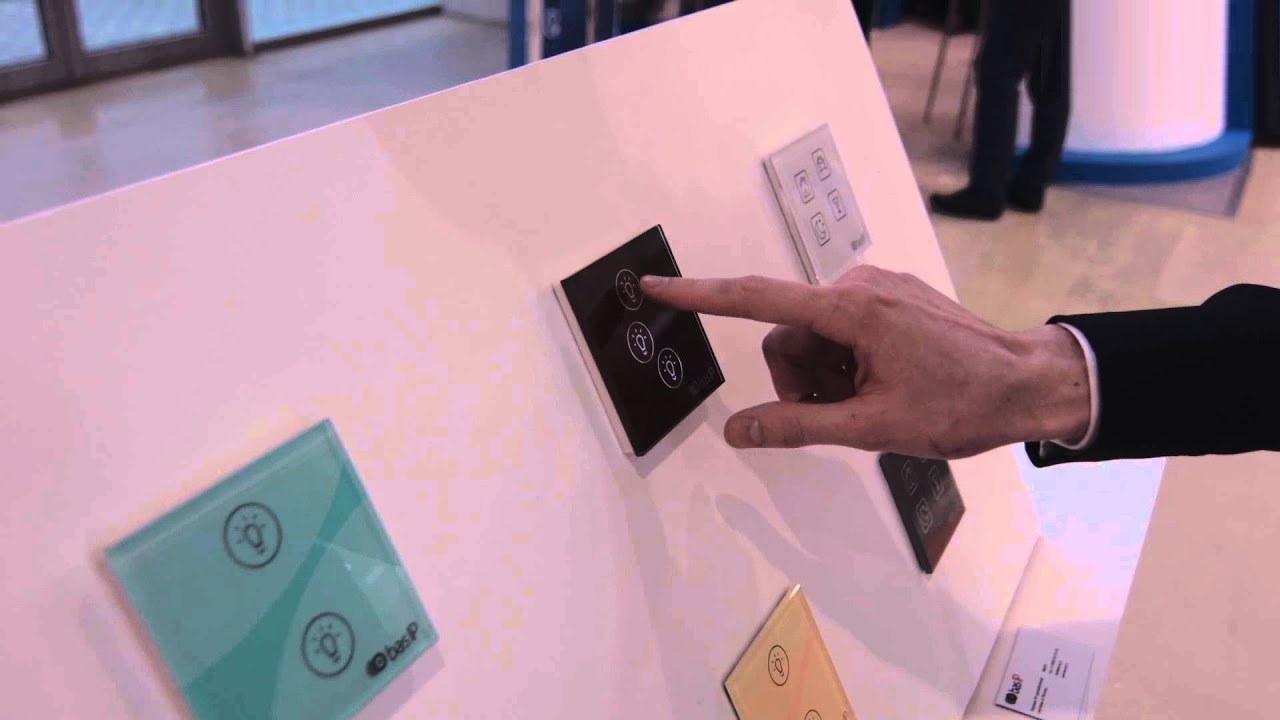
- with control of the lighting system by mechanical buttons;
- with touch control: switching is done by fingers, the human body changes the electrostatic field of the capacitor, which starts the switching circuit; sensor models are designed for 100 thousand cycles;
- with a two-button remote control: after holding the button for 0.1-1 sec, digital signals are sent to the switch, one button is used to turn on and adjust the brightness, the second one is to turn off and reduce the light intensity;
- with Wi-Fi sensors: the principle of operation is the appearance of an impulse after a command from a remote device, the signal frequency is 2.4-5 GHz.
Classification is also performed:
- By the number of channels in the system. The remote device can control from 1 to 8 groups of lamps regardless of the number of bulbs. The multichannel gadget allows you to adjust the lighting in the apartment or house, but remembers the address of "your" bitrate, i.e. remote control.
- By the presence of a dimmer. Smooth adjustment in budget models is missing. Smart switches with dimmers can turn off and activate light bulbs, adjust the intensity and brightness of the light flux.
A non-contact device receives a signal through furniture, walls, and interior items.
Areas of use
It is advisable to operate the proximity switch in several situations:
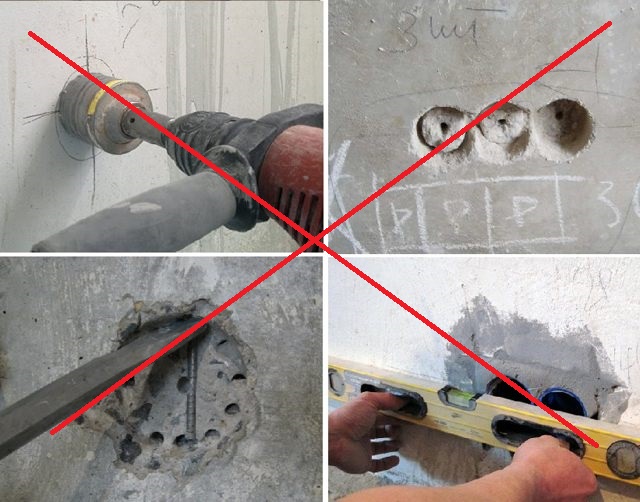
- Transfer an old device. In the presence of bulky furniture, the device can be installed on a wall, in a closet, on a mirror.
- Elimination of installation errors. In the process of transferring the power line, wall chipping is eliminated. It is enough to connect the device with or without a remote control.
- Small room. Wireless devices are overhead, so there is no need to lay a cable. The device will fit on a coffee table, cabinet, chest of drawers, bar counter.
- Ensuring the comfort of using electrical appliances. The contactless system takes up a minimum of space, is easy to operate and features manufacturability.
- Accommodation in a wooden house. When installing concealed wiring, it is worth observing the safety requirements, and an open network is subject to mechanical damage. Connecting remote gadgets will be an economical and easy solution.
- Lighting control in several rooms. A small device with a remote control allows you to control light sources from 2-3 zones.
- The need for additional switching devices. Switches are placed after construction without disturbing decoration and communications.
- Turn on and off the light at a great distance. Cable routing is expensive, and the radio switch, depending on the model, operates in the range of up to 350 m.
- Saving design concept. If it is not possible to install the switches in a niche or overhead way, the wireless device will complement any interior style.
Wireless miniature light source switches are an alternative to traditional mechanisms due to the ease of installation and control.
Pros and cons
Instruments that remotely control lighting have advantages and disadvantages. The advantages of their operation include:
- ease of self-installation;
- no need for wall chipping and cable laying;
- convenient control of all lighting systems using the remote control or from a smartphone;
- wide range of transmission and reception of signals;
- lack of risks of electric shock;
- safety for children.
Among the disadvantages of wireless modules, high cost is distinguished in comparison with wired modifications, the dependence on the stability of Wi-Fi and the inability to use with a discharged battery.
Contactless module selection options
Before purchasing a proximity switch, you must pay attention to the following characteristics:
- block type - the external can be put in place of the standard device, the internal is mounted after removing the chandelier;
- layout - the kit includes a remote control, charging, rarely - a battery and holder;
- features of lighting lamps - devices are compatible with LEDs, halogens and incandescent bulbs;
- working frequency - ranges from 2.2 to 5 GHz, which determines the quality of signal reception and transmission;
- radius of action - budget models operate at a distance of 10 m, luxury models at a distance of 100 to 350 m;
- power - non-contact equipment has a maximum load limit of 1000 W, but you need to select a power unit with a power of 20% more than declared;
- number of taps - the battery runs out after 10-20 touches, the sensor is designed for the number of touches up to 100 thousand;
- current rating - from 6 to 16 A;
- number of channels - modern devices receive a signal from 1-8 sources.
Important characteristics are also the case material, the presence of an encoding system, the permissible temperature regime of use and the method of fastening.
Popular manufacturers
There are several modifications of contactless sockets and switches on the Russian market. It is advisable to consider the products of popular brands.
Feron
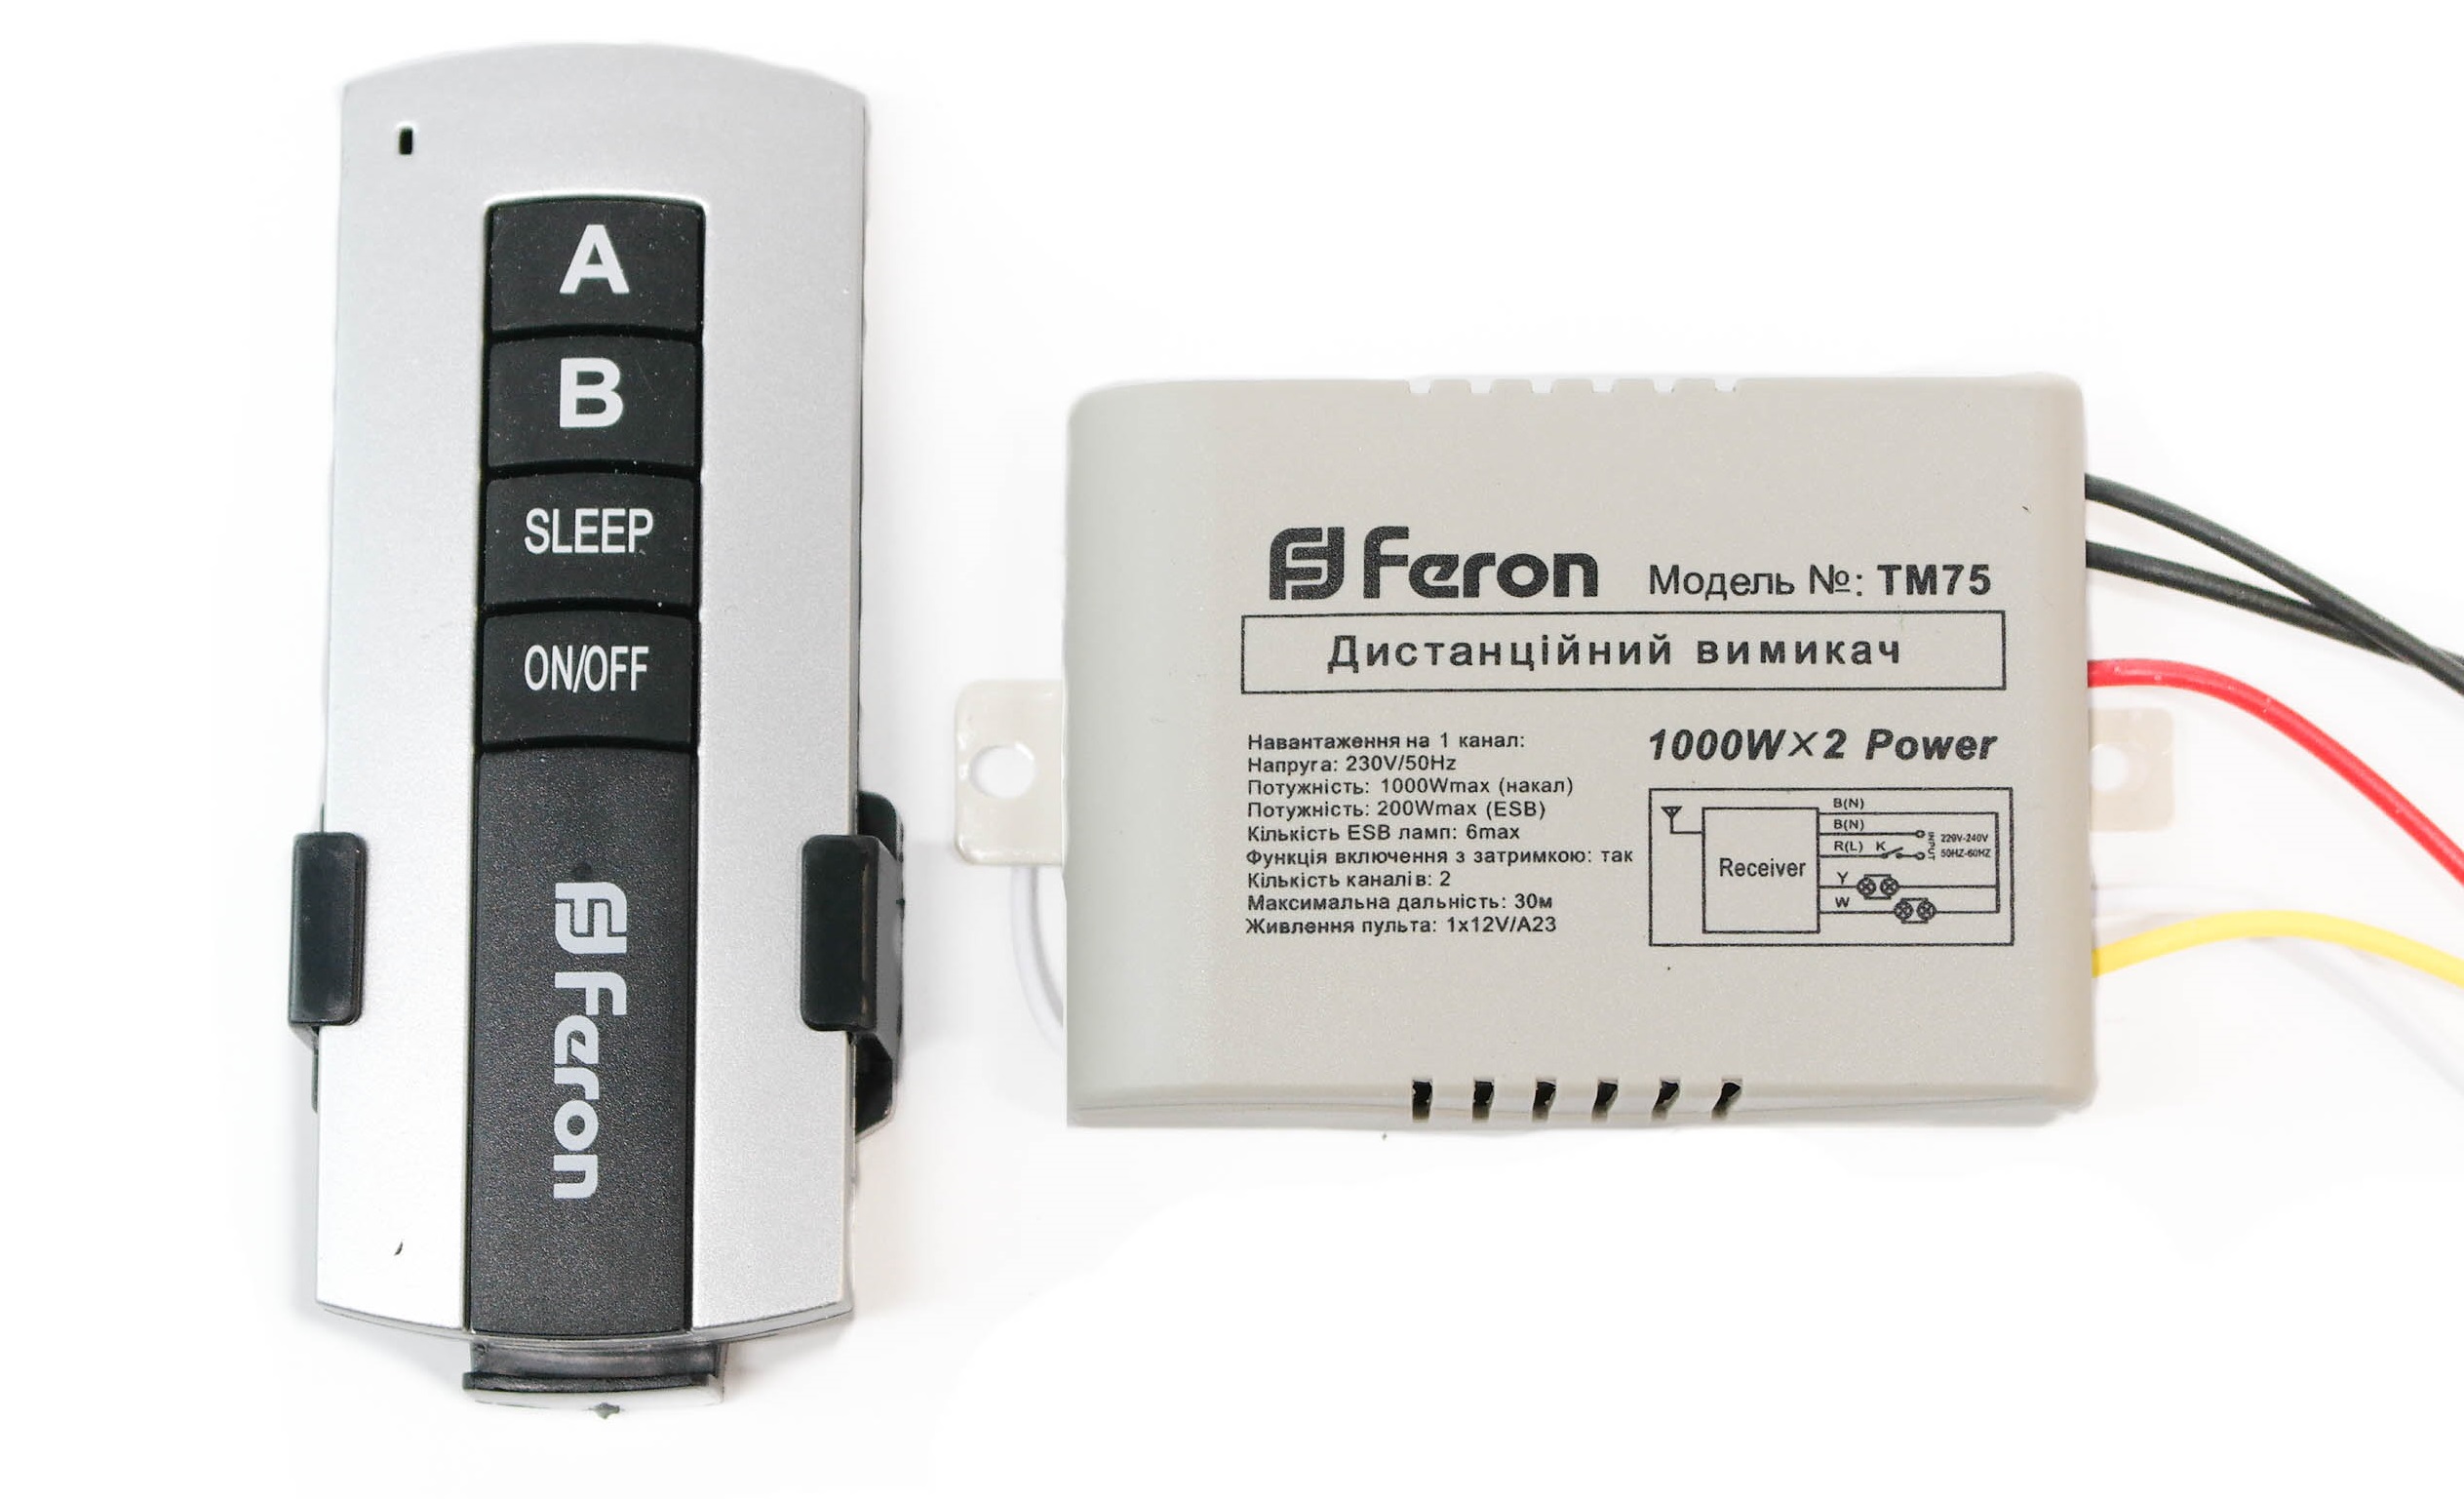
In apartments and private houses, the following models are relevant:
- TM-75. Plastic switch with start delay setting for a 220 V network. Equipped with 20 channels. Included is a remote control.
- TM72. A remote control is used for control, devices are connected to 2 channels with a capacity of up to 1 kW for different light sources. Delay of work - 10-60 seconds.
Both devices have a radius of coverage of 30 m.
Inted
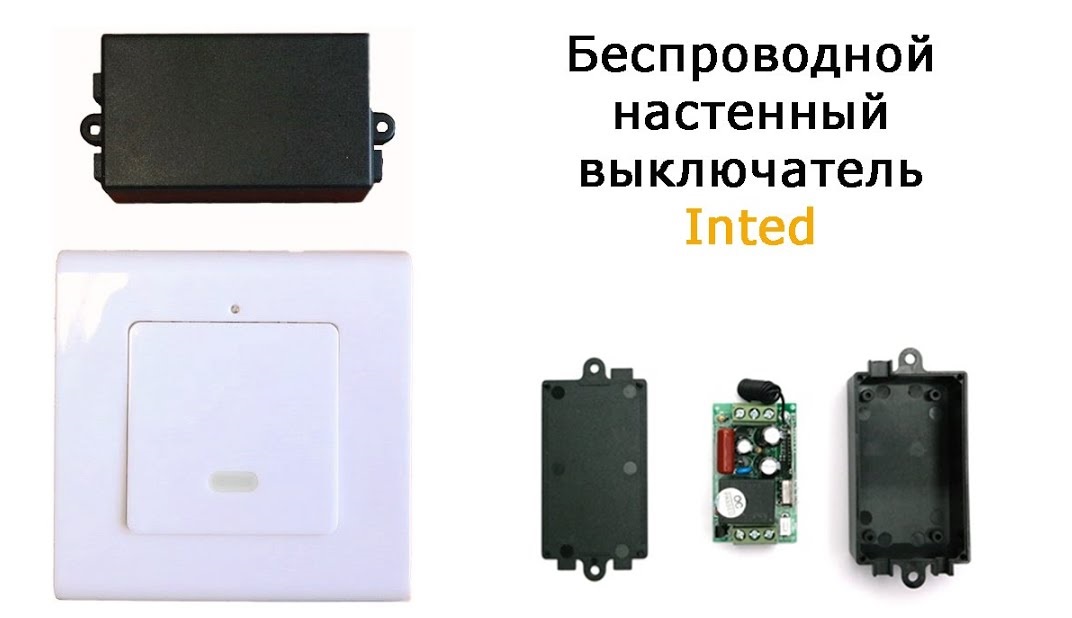 Several devices are produced:
- 220V A single-button with a wall mount (self-tapping screws or double-sided tape) under a voltage of 20 V. The range is 50 m, amplified by a signal receiving unit. The case is plastic.
- 1-CH. Designed for lamps up to 900 watts, it controls the light and alarm. It is made in the form of a key fob broadcasting a signal at 100 m. In wet rooms it quickly fails.
The Inted 220V series also includes a dual receiver model with two channels.
Bas
The inductive switch IP SH-74 has two independent channels. It is controlled from a smartphone through a branded application. Compatible with incandescent bulbs up to 500 watts and fluorescent lights 200 watts.
Smartbuy
Three-channel device with a power limit of 280 W and a voltage of 220 V. Receives and transmits a signal from 30 m.
Z-wave
8 devices are connected to the radio-controlled gadget. Power is supplied by two batteries. The maximum range of 75 m. The housing is moisture resistant, with IP30 protection.
Nootechnics
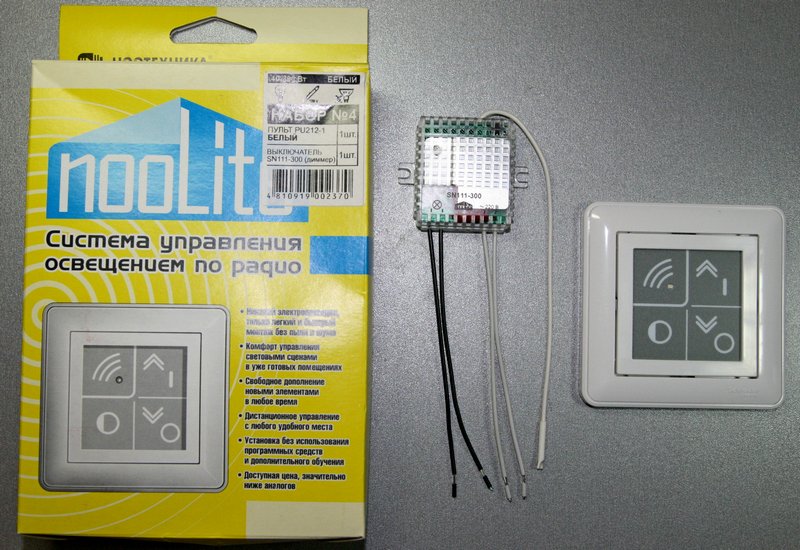
The Belarusian brand NooLite has a line of products with programmable modes. They are activated using a multi-channel RGB controller. There is a dimmer to adjust the light.
The infrared model Sapphire-2503 is available with a dimmer, but is not suitable for energy-saving lamps. Lighting turns off some time after the user leaves the room. The load limit is from 40 to 400 watts.
All devices are compact and easy to install.
Self connect
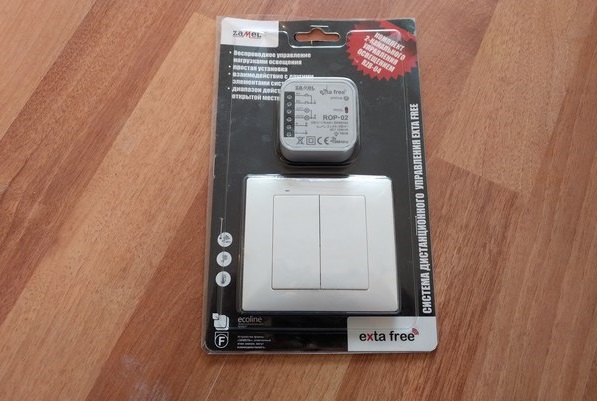
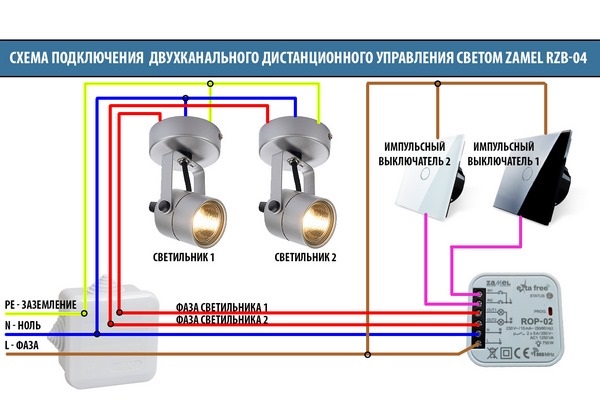
Consider the features of connecting a proximity switch can be an example of Zamel RZB-04. It is equipped with a two-channel receiver, a two-channel switch with 4 modes, mounting brackets. The device has 5 operating modes:
- Turning on. After the button is pressed in any position, the lamps light up or go out.
- Shutdown. Occurs by pressing a key.
- Monostability. It works in the pressed button mode. After it is released, the light goes out.
- Bistability. To turn on / off the light, use the sequential press.
- Temporary mode. The pressed button starts the device for a short period.
Before using the appliance, read the user manual.
Connection Instructions
 The best place for installing the device is a walk-through room (corridor, hall), kitchen or bedroom.
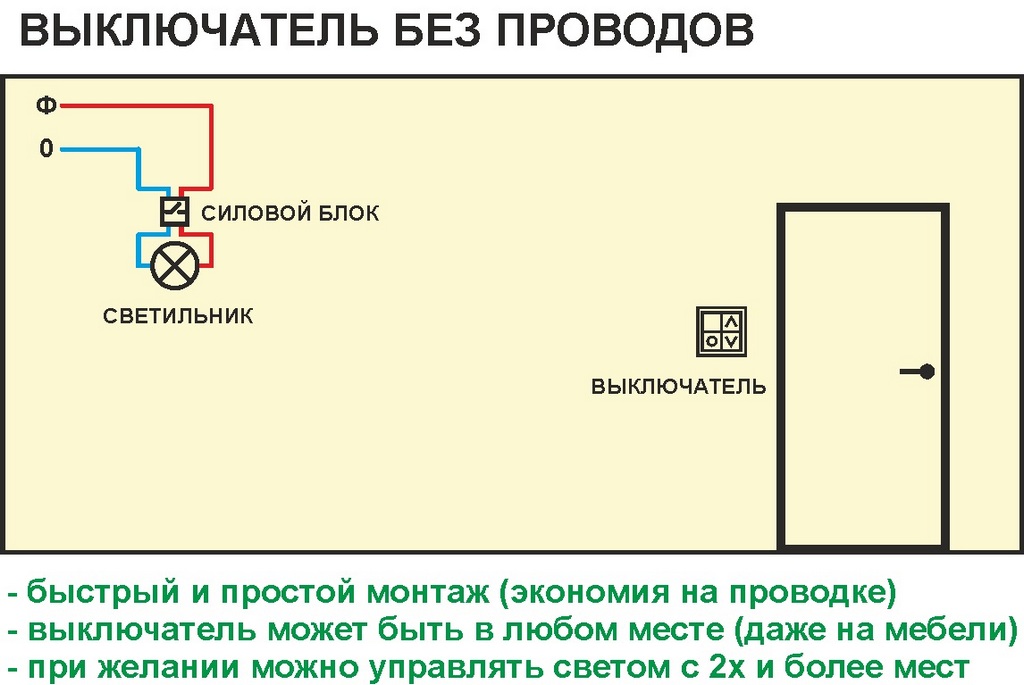
The wiring diagram depends on the number of channels. Single-channel are connected by breaking the phase cable connected to the luminaire and by tapping the core to the Lin and Lout terminals. Multichannels are set like this:
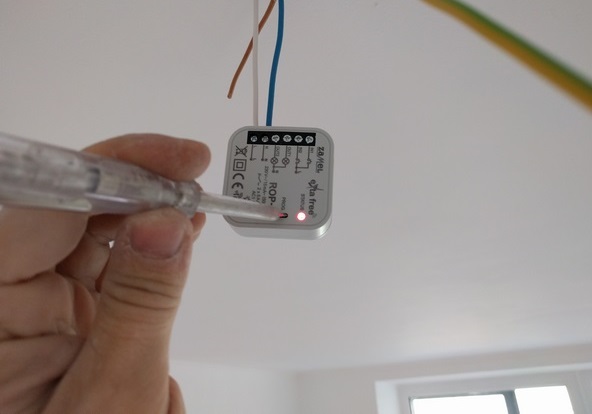
- The mains is de-energized and the voltage is checked with an indicator screwdriver.
- The old switch mechanism is removed.
- Voltage is applied, but only the phase is directed to the switch. It must be constant, for which it connects to one of the conductors with terminal blocks.
- The phase jumps onto pin L without passing the wire through the devices.
- Zero is applied to pin N using a wire from the distribution panel.
- It is better to make a connection to the OUT1 terminal with a phase wire directed to one or several light sources. The neutral is taken from the box or receiver.
- The OUT2 pin is supplied with a phase that goes to the second group or one light source. The neutral is taken from the shield or receiver.
- A pulse transmitter is sent to contact INT1, sending short signals. It will provide control from the remote control or stationary switch.
- A pulse switch is connected to the INT2 contact according to the circuit specified in the previous paragraph.
At the final stage, the switch is connected and electricity is supplied.
Technology tuning and reprogramming
First you need to select the system mode. By default, this is standard functionality with the cordless device moving up to turn on and down to turn off. To reprogram, you should:
- Using a screwdriver, press the PROG button of device No. 2 and hold it until the red light comes on.
- Duplicate the action on the top of the radio button. Wait until the red light comes on.
- Press the lower part until the diode is activated.
The remaining actions are performed according to a similar algorithm with the second key.
Switch setting
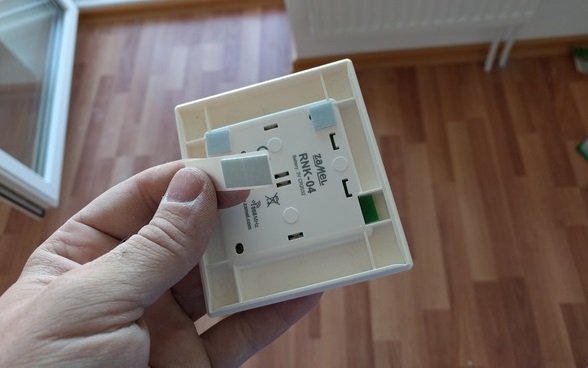
The scope of delivery includes double-sided tape or dowels with self-tapping screws. When working with adhesive tape, the use of tools is excluded and the adjustment of the device's position is facilitated. The tape is cut into 4 pieces, which are glued to the device.
After installation, a test lamp is installed and the system is checked. You need to move the button to the top, and then to the bottom position. The light indicator indicates the start.
The place for installation can be cabinet doors, a safe, a partition from GKL. On the door, the switch can be installed at the level of the child’s outstretched arm. The headboard, wall and floor will create additional comfort of use.
The portable light controller is easy to use due to its light weight and flat shape. The module is easily mounted on double-sided tape. The presence of auxiliary functions, the variability of the radius of action and the number of channels will allow you to choose the right model for an apartment, office or home.