Life in a country house can be as comfortable as in a city apartment, if you equip utilities. Those who want to maintain a high quality of living can not do without proper water supply. It is important to comply with all sanitary and construction standards when designing and installing, so that the system runs smoothly for many years.
Regulatory requirements
For private single-family buildings, the requirements are prescribed in SNiP 31-02. In addition to building standards, sanitary and hygienic requirements, as well as compliance with GOST of all building materials, especially pipes and fitting elements, must be taken into account.
Particular attention should be paid to valves. It is installed on eyeliners for faucets, household appliances, flushing cisterns and wash basins.
In order for the system to function correctly, you will need to install a plunger - a device that will bleed air bubbles. It is also recommended to equip the water supply system with a bypass - a backup water supply line in case of emergency.
Types of water supply systems in a private house
The central water supply system is used for mass water supply to consumers from a single grid in the city and urban settlements. Nevertheless, it is possible to connect houses in rural areas to the central highway, subject to technical conditions, but this rarely happens.
If you can’t connect to the city water main, it becomes necessary to create an independent type system in a country house.
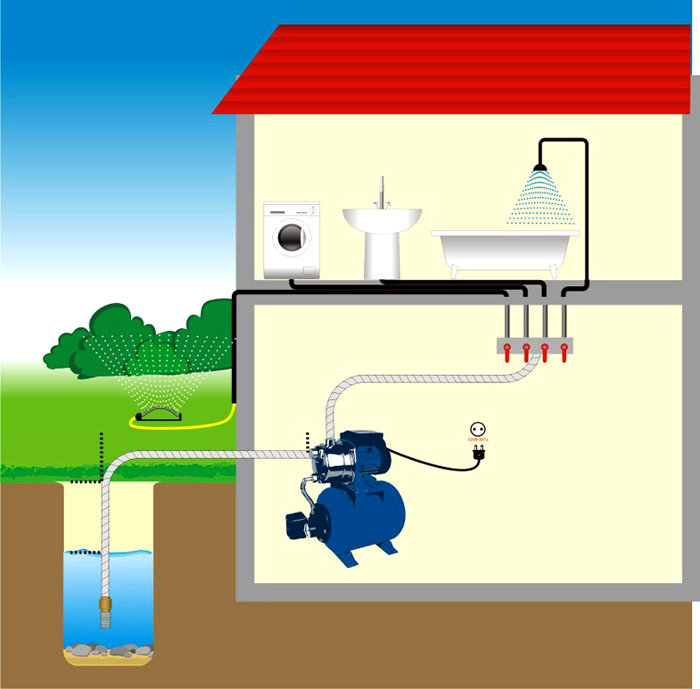
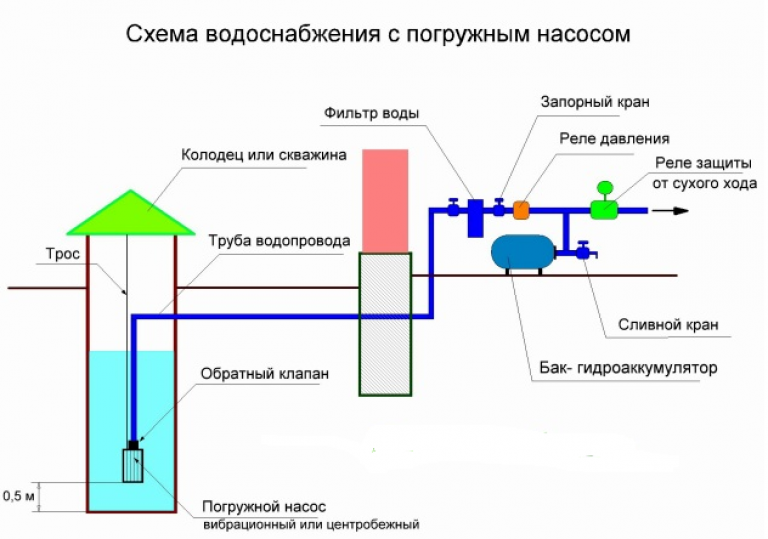
A typical water supply scheme for a private house looks like this:
- A well or a well shaft is equipped with a submersible pump, and a main water supply is connected to it.
- The pipeline is laid and carried into the house.
- The water supply network is connected to a treatment filter, an automation unit, and a hydraulic accumulator.
From pumping equipment, clean water is distributed to consumers.
Autonomous water supply systems are suitable for private cottages with a small amount of plumbing. They are winter and summer. The first option involves a major water supply in homes with permanent residence. The second is used for seasonal work: automation of garden watering, water supply to the outdoor shower, summer house, bathhouse. The installation price is correspondingly much lower, 10,000-15,000 rubles may suffice. Prices for a capital water supply to a private house start from 85,000 rubles.
The cost may be affected by the material of the building. For example, to conduct water in a frame house is easier than in a wooden or brick house, which means it is cheaper.
Features of outdoor water supply
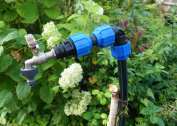
 Water pipelines come in two types: external and internal. External deliver water from sources or storages to the consumer. They are mounted above the ground or placed in the ground. Surface mounting technology - cheap and fast. The water supply is fixed on the raised supports and insulated. If, according to the plan, the intersection of highways is provided, then the pipeline is installed by the closed method - underground in tunnels or trenches.
In places with systematic voltage drops in the power supply network, a water supply network is created using a drive. A decentralized system of this type operates as follows:
- In the highest place of the building, for example, in the attic, a storage tank is installed.
- The pipeline is connected to a submersible pumping device located in a well or well shaft.
- Water from the source lead into the building.
- Home external systems are connected to the accumulator inlet.
- Using a pumping unit, water is pumped into the tank. When the battery is full, the pump should shut off automatically.
- When the water pressure reaches the minimum value, the automation is activated, and the pump turns on again.
If the water supply lines are laid in areas with significant changes in relief, the arrangement of a single system is irrational. When draining the water from the highest place in the lower part of the pipeline, the liquid will be under strong pressure, which can destroy communication facilities. In this situation, a zone pipeline is created. The number of zones and installation methods for pressure equipment depend on the topography of the site and the pressure of the water flow at each site.
The nuances of house wiring
The intra-house pipeline is the main line and branches connected to it. They pass inside the building and water points are connected to them. For laying, a thorough study of the floor plan of the building, basement or technical underground will be required.
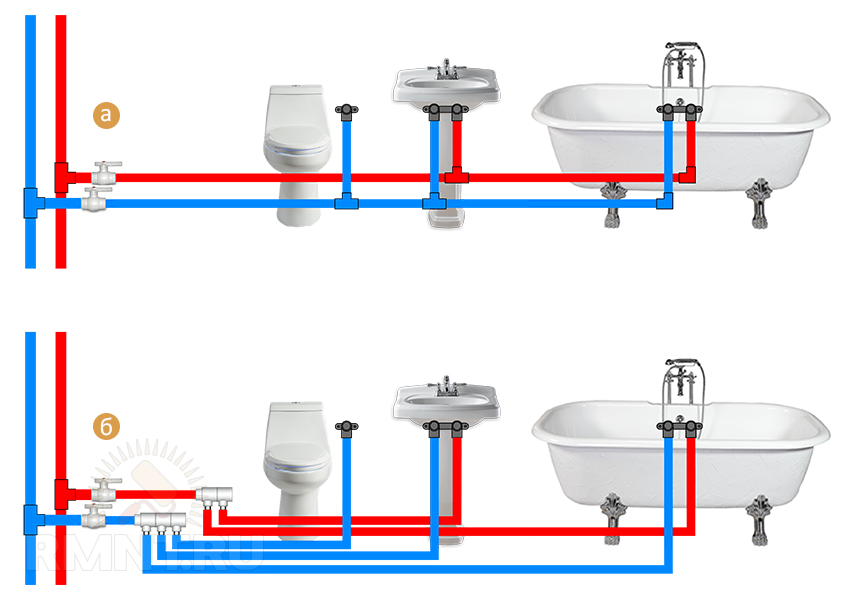
Water can be brought to points of consumption in two ways. Depending on the parameters of the system, as well as on how intense the use of water will be, the choice of wiring diagram is determined.
By connecting in series or via tees, we mean that the tap, shower and other wet points are connected one after the other.
The advantages of this method:
- ease of installation - no special knowledge is required during the connection of additional elements;
- low price - the number of pipes used is halved;
- compactness - tees are placed directly near the points of water intake.
But there are also disadvantages. With the simultaneous inclusion of all water consumers, the pressure indicator in the water supply is significantly reduced. In addition, when connecting a new point, problems may arise. You will need to embed another tee.
Connection in parallel by means of a collector is the installation of one or two splitters - for pipes for hot and cold water supply. Branches for each consumer are connected to them. To create a water pipe of this type, you will need more pipe sections, but at the same time it allows you to configure the system to supply water with a stable pressure.
Advantages of connecting via a collector:
- convenience - all nodal points are collected in one place;
- reliability - one pipe goes to each consumer, which significantly reduces the risk of leaks;
- pressure stability - the collector provides uniform pressure for all users, therefore, even with the simultaneous opening of all valves, the pressure in the network will not change.
The disadvantages include a large cost due to increased consumption of materials and the need to allocate space for installation and connection of collectors.
Design work
So that in the future you do not have to redo the main nodes, you will need the correct design of the water main. It should indicate all points of water consumption, passage elements and valves. The drawing shows the dimensions of the pipes, the location of the water heater and pumping equipment.
It is also necessary to indicate the lines of gravity or pressure sewer: where the drains will be connected - to a centralized system or to a cesspool, septic tank, deep cleaning station.
Choosing pipes, fitting parts, you need to calculate the throughput of pipes depending on the cross-section, the length of the water supply and pressure. In this, tables, formulas and computer programs will come to the rescue.
Installation Steps
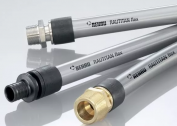
Installation of polypropylene, PVC, HDPE or metal-plastic pipes can be carried out independently. First, the external part of the line is assembled with the pumping equipment connected, after which the intra-house pipeline.
When performing work, special equipment is not needed, the entire tool is available in the home workshop. This is a pipe cutter and a shovel for outdoor work, press pliers for crimping the bushings that are put on the pipe. If the connection is made by hot welding, you will need a device with nozzles for soldering pipes. Of materials, in addition to pipe segments and shaped components, a fum tape, sealant, and gaskets may be required.
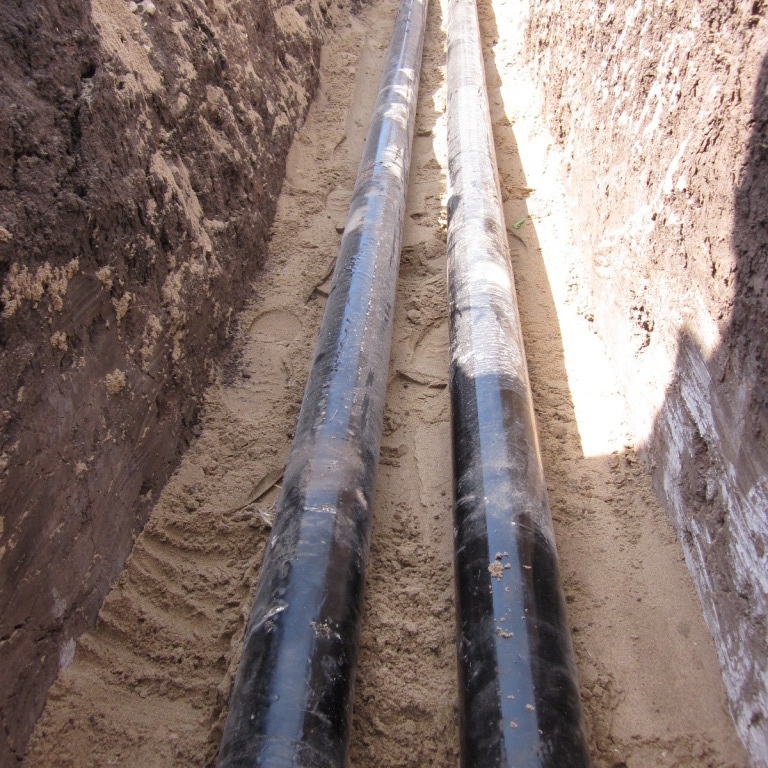
Installation of an external pipeline
Installation of an external network is carried out as follows:
- They dig a narrow trench with a depth below the freezing level by half a meter.
- A cushion of compacted quarry or river sand is arranged at the bottom.
- Align the bottom with a slope of 20-30 mm per meter.
- They insulate the part of the water supply that is laid above the freezing level before entering the building.
- Install the pipe and fill it with clean sand and soil.
When entering the house, the pipeline is protected by a sleeve.
Internal branch wiring
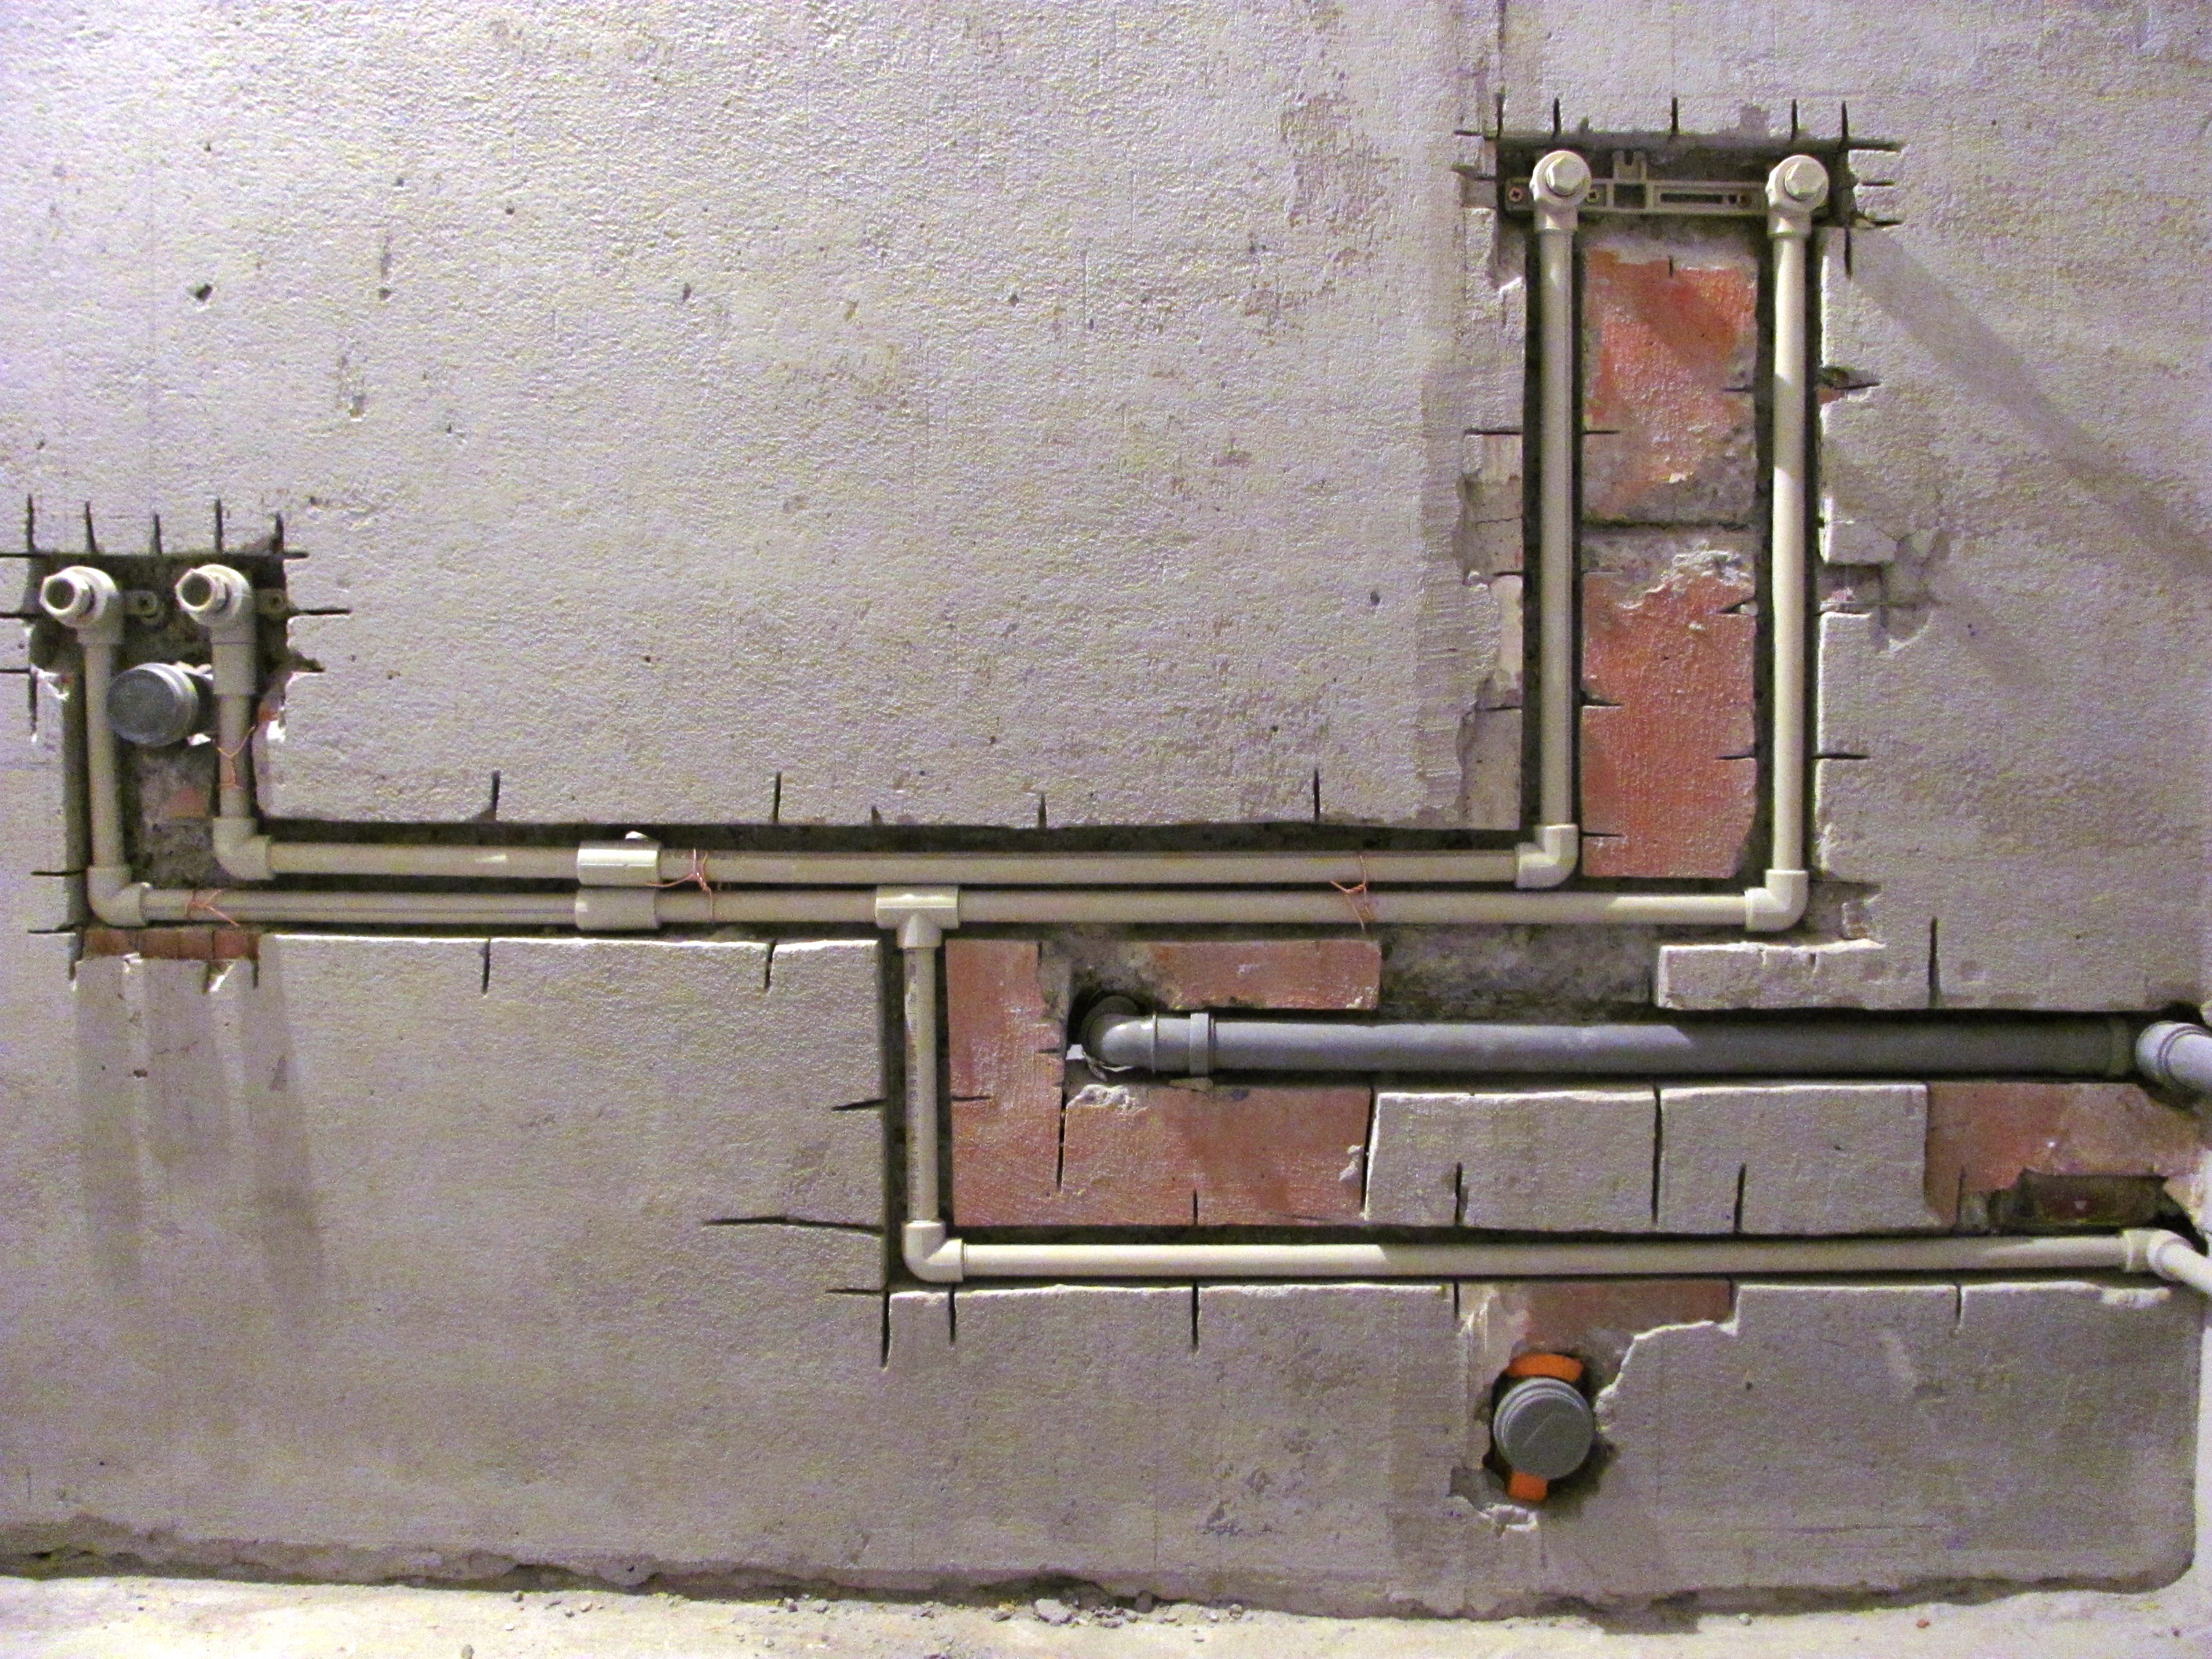
Installation is as follows:
- Lay out the laying of the future pipeline - on the walls, in the screed or on the ceiling.
- Punch strobes in the walls or "bury" the pipe into the floor screed. They are fixed to the ceiling with clips of the required size. When installing a water supply system on the floor, it is necessary to observe a distance of not more than 150 mm from the wall and not less than 200 mm from future furniture.
- Connect the pipes with fitting elements or soldering.
- They include shut-off valves and a water heater, booster pump, plumbing fixtures.
The free space between the wall and the water supply system of about 15–20 mm will further facilitate the repair of the water supply line in the event of an accident or leak. For each branch from the riser to plumbing fixtures, it is worth installing your own shut-off valve. So in case of an accident there will be no need to shut down the entire system.
In order for all the systems and devices of the water supply network of the country house to work without problems, you need to responsibly approach the design work, choose high-quality building materials and strictly observe the installation technology.