A hydraulic tank is a capacity in the water supply system of a private house for storing water supplies in the event of a power outage. It is also used in order to reduce the number of pump starts, which significantly increases the duration of the equipment. It is not difficult to make a hydraulic accumulator with your own hands, using schemes or videos, which show in detail the assembly and connection process.
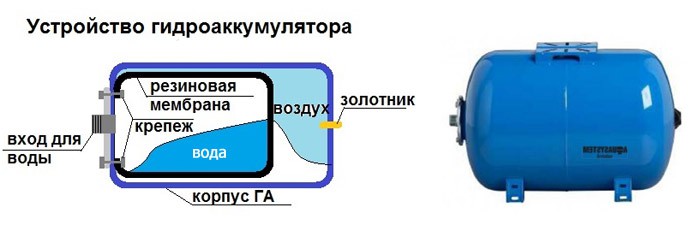
Accumulator device
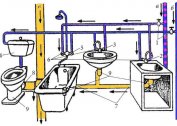
In the plumbing system, the accumulator is located immediately after the pump. Its functions are not only to protect the unit from wear. Capacity prevents breakdown of the system due to water hammer, maintains constant pressure. Thanks to her, the pressure of the water in the tap does not change, except perhaps a little, before the next switching on of the pump.
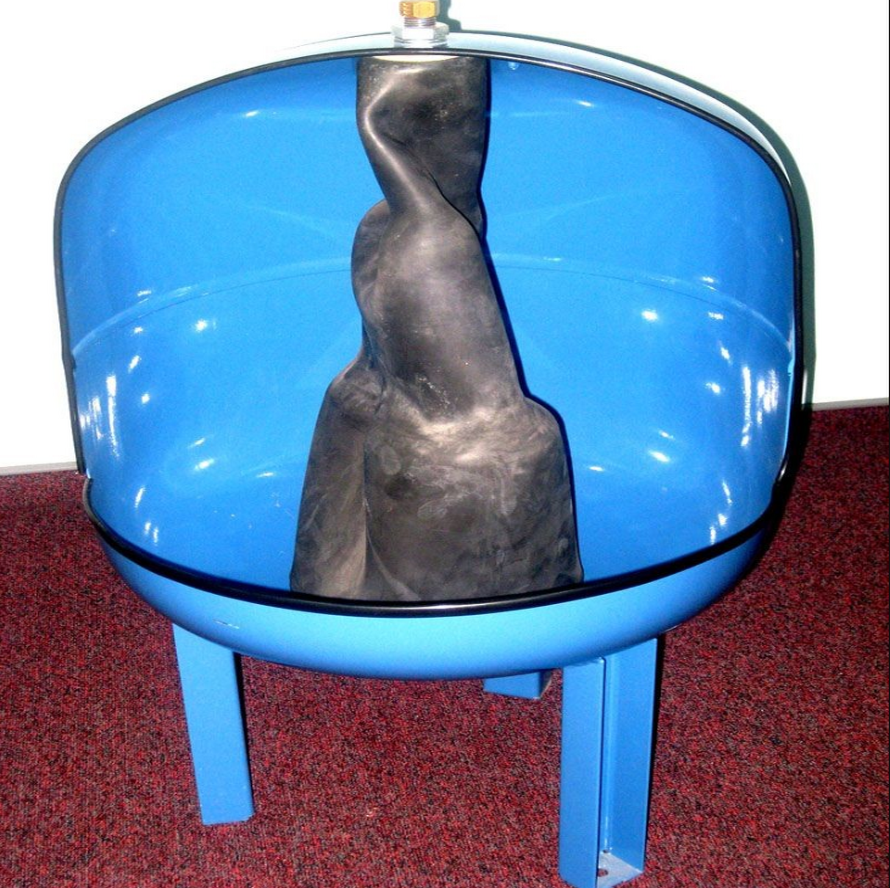
The hydraulic tank inside consists of two parts. In one - a rubber membrane - there is a liquid, in the other - air or gas. Air is pumped into a certain point so that the difference between switching on and off is no more than 1 atmosphere.
When liquid is supplied to the container, pressure rises inside, and compressed air begins to put pressure on the rubber bulb. Water enters until the pressure gauge for turning off the pumping equipment is triggered. If at this time the faucet in the house is opened, the water will flow with good pressure. As soon as its quantity decreases to the lower value of the pressure gauge, the equipment is turned on again, and the liquid again begins to flow into the accumulator.
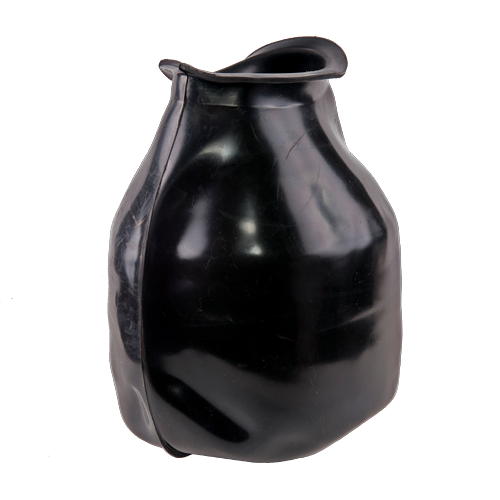
Some models do not have a rubber bulb inside. For its manufacture, high-quality food-grade rubber is used that can withstand a large number of tensile and compressive cycles. At home, you can do without a membrane.
Necessary tools and materials
To make a hydraulic accumulator for water supply systems with your own hands, you need to prepare the following tools and materials:
- a container made of food-grade plastic if the system will store drinking water;
- a piece of thin rubber to create a sealant;
- silicone sealant;
- a nipple through which air will be pumped in.
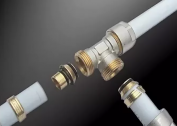
In addition, you will need a drill, screws and nuts to install the tank, as well as tees for connecting to the water supply, taps, a quarter for connecting the pressure gauge. The main element - a manometer - can be bought at a hardware store.
The volume of the tank should be more than 30 liters, so that its installation is cost-effective and protects the equipment from unnecessary inclusions.
Do-it-yourself steps for making a hydraulic accumulator
 Stages of work in the manufacture of pressure accumulator:
- Using a drill, make three holes in the container: one on top for the quartet, one on the side for the tap, and the third on the bottom for the tee.
- It is necessary to make rubber gaskets on the cranes before installing them.
- A crane is placed at the bottom, a tee is screwed on to supply and further transport liquid to the house.
- A conventional faucet is mounted on the side, through which it will be possible to drain excess water.
- A quarter is placed on top, and a nipple, pressure gauge and pressure sensor are connected to it.
All joints are lubricated with sealant to prevent leakage. After assembly, the tank must be started correctly. For this:
- Open the side tap.
- After turning on the pump, water will begin to collect inward until it starts to flow out from the side.
- Tap close.
- Using a conventional bicycle or automobile pump, pump air through a nipple up to 1 - 2 atmospheres.
Then you can operate the tank. There is an option to buy a membrane at the service center, which is designed to be replaced at pumping stations, and try to install it yourself in a plastic container. One condition: the diameter of the inlet must correspond to the diameter of the neck of the membrane. With this method, you will need an additional element - the neck holder so that water does not leak.
The membraneless tank during operation requires constant maintenance. It will be necessary to pump air once every 2 days. Before this, the liquid is lowered through the side valve, then it is closed and air is pumped.
Work errors
Reduce the life of a poor-quality plastic, which will burst under the pressure of water and air. Too small a capacity is inefficient for a private home. You can not buy cheap sealant, otherwise the connections will begin to flow the very next day. The electrical cables from the pressure switch must not come into contact with the liquid in order to avoid a short circuit.
For convenient use, it is necessary to set the lower and upper pressure limits correctly. If this is not done, the difference in water pressure will be noticeable. If at this moment one of the tenants bathes in the shower, before turning on the pump, boiling water will flow from the tap, as the pressure will weaken.