Aerated concrete is a popular inexpensive material that is actively used for building houses. Due to its technical characteristics, it is increasingly used in construction. When arranging a home, it is important to pay attention to ventilation to ensure a comfortable microclimate. Aerated concrete blocks have their own characteristics that must be taken into account so as not to disturb the design and not reduce their service life.
The need for ventilation
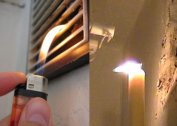
Old air masses must be removed from the house so that fresh oxygen-filled air enters. Due to the air exchange in the apartment, condensation will not accumulate, which leads to the formation of mold and fungi. Fresh air is also good for the health and normal functioning of the human body.
The norms for ensuring air exchange are prescribed in the joint venture, SanPiN and SNiP.
- Each apartment building of any material must have a ventilation system. This applies to both private and multi-unit buildings.
- The ventilation system should contribute to the renewal of the air at regular intervals.
- The air outlet is provided through exhaust ducts in the kitchen and bathroom.
- Each room has its own air exchange values, which must be adhered to.
All values for air exchange are specified in regulatory documents.
Organization of ventilation in a private house
Existing air exchange standards must be met when designing ventilation. Excessive exchange of air masses can reduce humidity, and insufficient will lead to a low oxygen content.
The necessary values can be provided with the help of two types of ventilation - natural and mechanical. In the first case, air circulates due to the temperature difference and air density in the house and outside. This system is autonomous, but depends on weather conditions. The mechanical method uses different devices that create air exchange regardless of climate. The most commonly used combination of these two methods. With this scheme, the disadvantages of each type will be eliminated.
The ventilation system must be thought out even at the design stage of a one-story or multi-story building. Otherwise, it will be difficult to create normal air exchange, since it will require the creation of holes in the walls and ceilings for laying pipes.
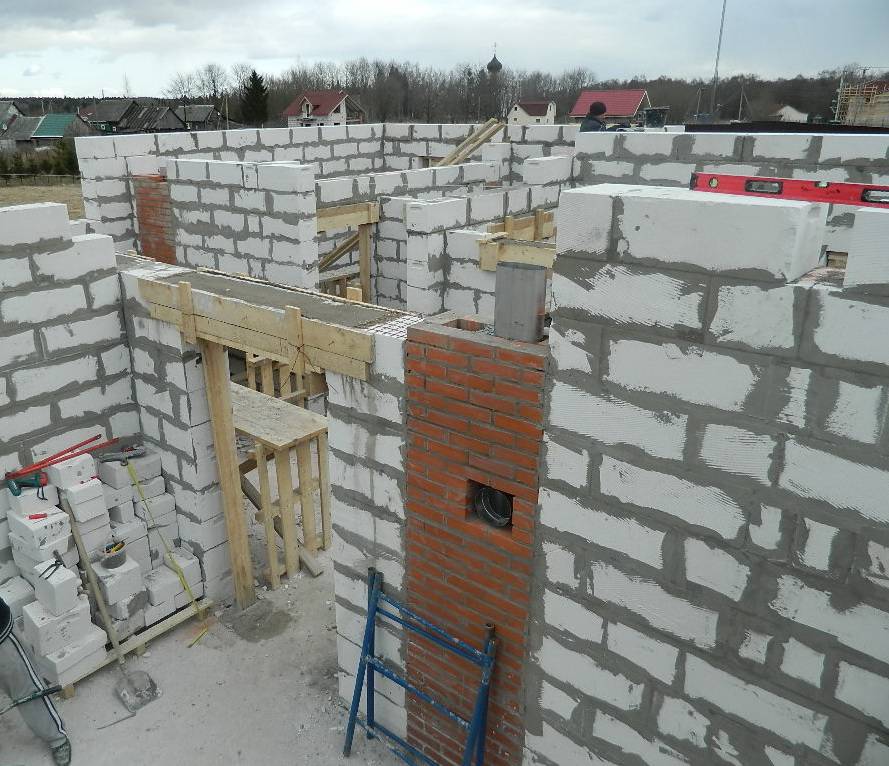
Optimal ventilation system in aerated concrete houses
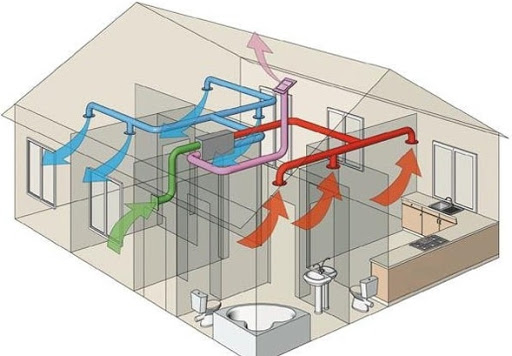
Aerated concrete is a material with high hygroscopicity. For this reason, the best scheme of the ventilation system is the installation of vertical channels and shafts.
It is not recommended to make air valves in the wall. Because of them, the load-bearing function of the wall worsens and there is the possibility of moisture entering the body of the house. Due to condensation, mold forms and aerated concrete is destroyed.
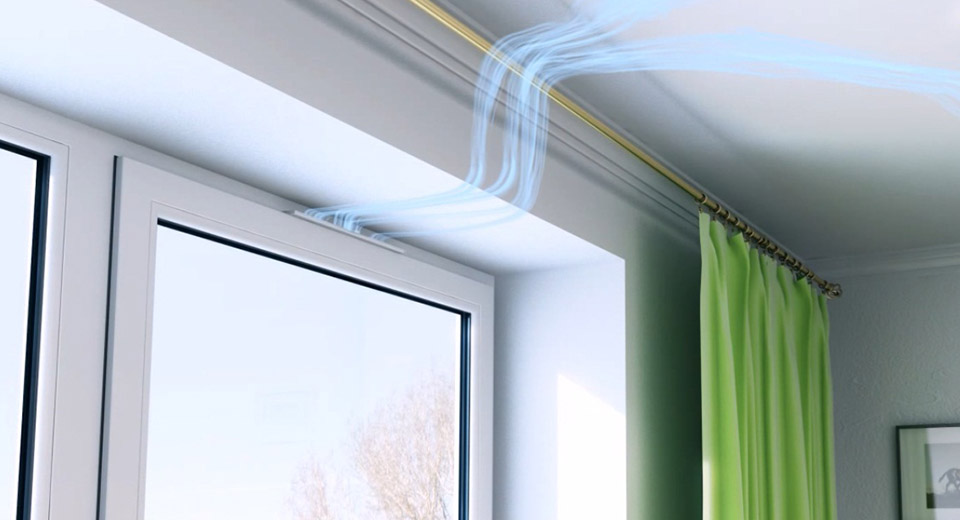
You can also use the scheme with the output through the central riser or use only window structures. It is better to choose fresh air ventilation, since it works in aerated concrete houses better than exhaust ventilation.
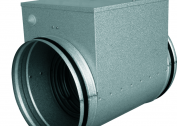
In the house of aerated concrete, you can put a device with a recovery or a heater. Cold air will heat up when ingested, which eliminates the possibility of condensation. But such systems are notable for their high price and energy consumption for obtaining warm air.
System calculation
An example of a calculation would be a one-story house in which there is natural air exchange, and an extract hood is installed in the kitchen and in the bathroom. Separate bathroom. The inflow of air masses occurs through three living rooms with a total area of 100 square meters and a ceiling height of 3 m.
In such a situation, both the supply and exhaust volume are calculated. Further, these indicators are compared and a larger one is selected as the main one.
According to the norms of SNiP, the air exchange of 30 cubic meters / hour should be supported in the living room. Then for three rooms the total value will be equal to 90 cubic meters / hour.
The value for the kitchen and the bathroom is 60 cubic meters / hour and 25 cubic meters / hour, respectively. The total outflow of air will be 60 + 25 + 25 = 110 cubic meters / hour.
From the obtained values, a larger (110) is selected and used in further calculations. The table below selects the area of the ventilation ducts. To do this, you need the roof height (4 m) and the temperature in the rooms (+ 20 ° C). The optimal value is an area of 204 sq.cm. with a pass of 46 cubic meters / hour of air. To determine the number of ventilation ducts 110 is divided by 46 and the resulting number is rounded up.
DIY ventilation installation
Installation of a ventilation system in an aerated concrete house is not an easy process. Assembly of the channel with the wall is required or a modular scheme is assembled in the attic or attic with the installation of a fan. It will require the creation of holes in the ceilings to guide the pipes. All this requires a master of skills and a professional tool.
Installation of air valves
This is the easiest way that ventilation is created in an aerated concrete house. Aerated concrete is characterized by softness and porosity of the structure, so it’s easy to drill holes in it. To do this, you need a crown or a conventional drill with which holes of a small diameter are made around the circumference.
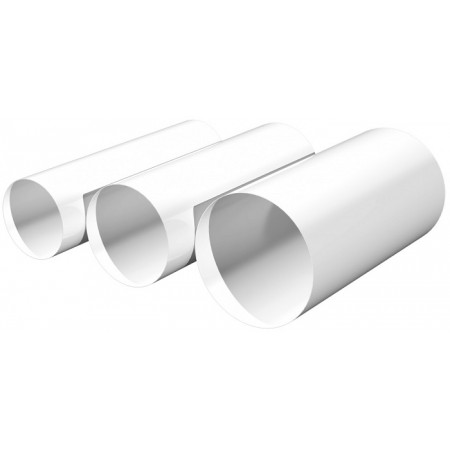
Installation of ventilation ducts
Air duct assembly algorithm:
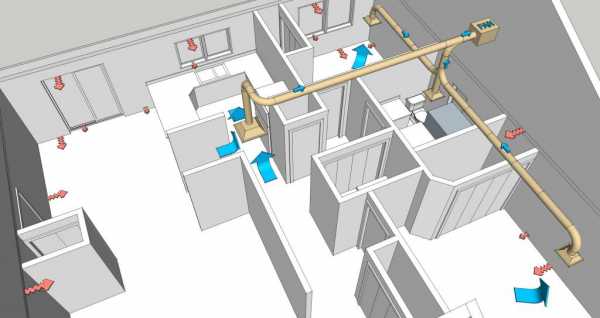
- Determination of the duct installation scheme. The line must capture all the office space with one duct. It is carried out over the ceilings horizontally.
- Determination of the cross section of the ducts.
- Calculation of the number of clamps and connectors with the designation of the length of the sections.
- Purchase of materials and tools for the installation of the pipeline.
- Assembly. It is better to start the process from the very extreme premises. Pipes are made in each wall between the rooms. Pipes are assembled on clamps (with metal pipes) or couplings (plastic pipes).
- Laying the outlet pipe through the kitchen and wall connected to the street.
- Creating duct windows in each room. They need to be covered with a grill.
Then you can proceed with the selection of additional equipment, calculation of its capacity, purchase and installation.
Exhaust fan mounting
Fans are different. If you select a channel model, you will need to install it in the wall in the hole for the hood. Wall mounted devices are mounted on the wall from the inside. This is an option for bathrooms.
Common mistakes
Novice specialists often make a number of mistakes when installing ventilation in a house from gas blocks:
- Installation of ventilation in the bearing wall. Then its strength weakens and the load on the entire structure increases.
- Do not put a supply and exhaust valve in the boiler room. Requires installation of both devices. It also requires the installation of a supply and exhaust valve in rooms that are separated from the room by two doors and in which there is a ventilation duct.
- Insufficient ventilation shaft cross section. The minimum section is 0.015 sq.m., which is equal to a diameter of 150 mm.
In the absence of tools and skills, you should entrust the installation of the system to professionals. Improper installation threatens to interfere with air exchange.