Underfloor heating is becoming an increasingly popular way of primary and secondary heating of residential and administrative premises. Laying tiles on a warm floor provides the most efficient transfer of energy from the heating element. This process is not very complex, but requires certain theoretical knowledge and practical skills. Given all the nuances of this work, you can do it yourself, without outside help.
Feasibility of using floor tiles

Ceramics and tiles are materials that are used to decorate rooms with high humidity and traffic. They are indispensable for the arrangement of the kitchen, toilet, corridor, bathroom and loggia. The peculiarity of this coating is that it is cold to the touch, standing on it is unpleasant and dangerous to health. This minus is easily eliminated by installing a floor heating system.
The advantages of using tile on a warm floor are as follows:
- presentable appearance;
- water tightness;
- resistance to pressure and shock;
- immunity to fungus and mold;
- resistance to active chemicals;
- long term of operation;
- high degree of thermal conductivity;
- uniform heating of premises over the entire area and volume;
- low level of thermal expansion;
- almost unlimited range of products.
One of the factors in favor of choosing ceramic tiles is its affordable price.
Varieties and selection of materials
 Electric floor heaters are very popular in the arrangement of urban apartments, since their installation does not require permission.
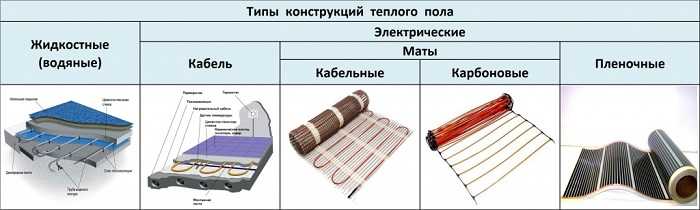
There are such varieties of heating elements:
- Cable. They are a continuous heating wire in a strong dielectric sheath and a metal screen. The products are durable, reliable, but produce strong electromagnetic radiation.
- Matt The mats are made in the form of flexible strips of polymer mesh into which a thin cable is embedded. Easy to install, can be used as a base for laying tiles.
- Film. They work on the principle of generating infrared radiation, which penetrates through any materials. They have a higher cost, but the initial costs are offset by subsequent savings in electricity.
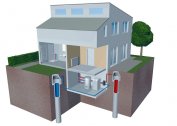
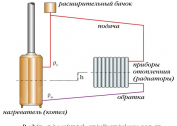
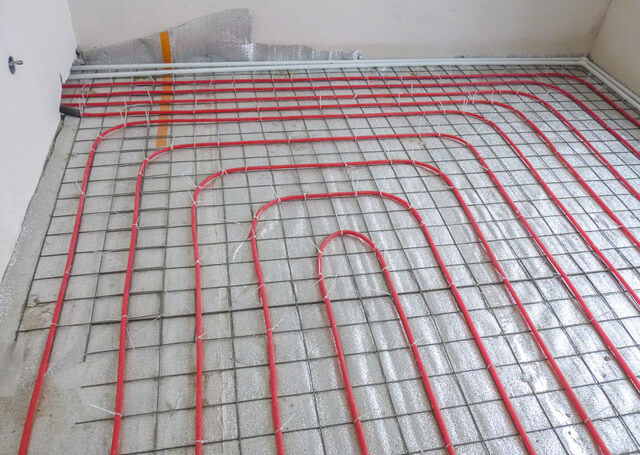
The water floor is difficult to install and unsafe in terms of leaks during operation. Such designs are installed in private homes with autonomous heating boilers. The system consists of reinforced polymer pipes, a manifold and a thermostat. Using your own heating device can significantly save on utility bills.
Masonry Features
Tile flooring can be entrusted to specialists, but it will cost a large amount. In this case, it will be necessary to take time to be present at the facility during the execution of work. Therefore, it is advisable to finish yourself.
You should consider the following nuances:
- The surface of the finish must be on par with the floors of the rest of the rooms.
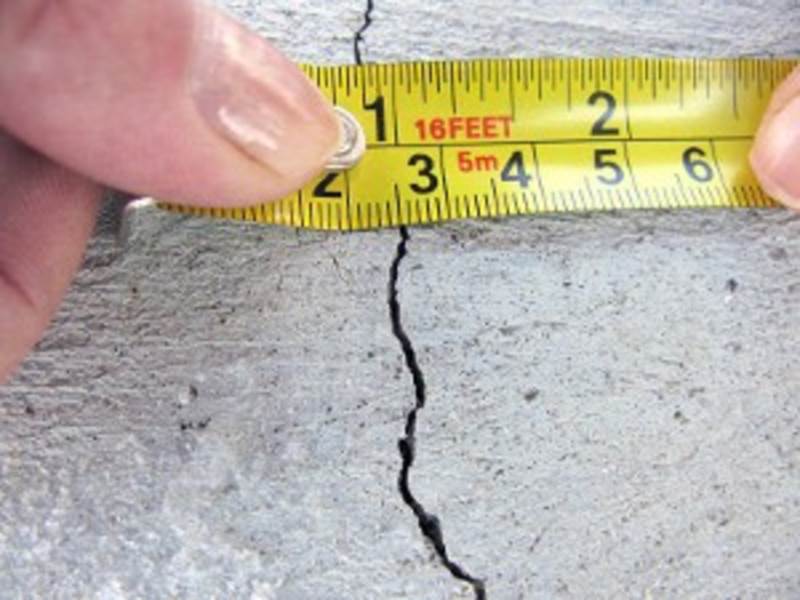
- The screed can not be made thinner than 3 cm. This is a necessary safety margin so that under the influence of temperature differences the floor surface does not go cracked.
- It is not allowed to lay heaters where furniture or household appliances will stand, to cover the warm floor with carpets or animal skins. This leads to overheating and combustion of the elements.
To lay the tile, you need such tools and materials:
- level;
- Bulgarian;
- tile cutter;
- notched trowel;
- mixer;
- silicone spatula;
- plastic crosses;
- tile glue;
- grout for joints;
- rags.
To protect the organs of vision and breathing, building glasses and gloves are required.
Stages of laying tiles on a warm floor
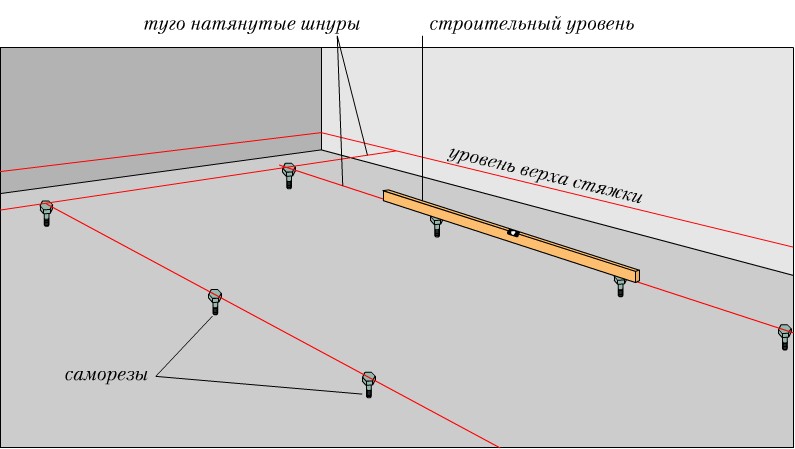
Perform laying on a perfectly flat surface. Otherwise, the finish will turn out a curve or you will have to use up a large amount of glue to smooth out irregularities. The horizontal is checked by level, after which the recesses are sealed with cement mortar, and the bulges are grinded down. After the solution is completely dry, the surface must be treated twice with a deep penetration primer. This will help achieve better adhesion of the adhesive and base.
The next step is the markup. It is performed on the basis of the selected installation method - horizontally, in a run-up or diagonally. The latter option is the most difficult to implement and is accompanied by a large amount of waste. The drawing made is the basis for the purchase of building material. Tiles need to be bought 10-15% more of the calculated amount. During operation, there may be errors; some of the material will go to trim.
The markup should be carried out in the following sequence:
- Make a diagram of the room. Decide where the tile will start.
- Move the drawing to the base. You can use a cord or rule for this.
- Define the line of the first row. This is done if the finish does not have a compatible pattern.
- If the picture is laid out, work is carried out from the center. It is defined at the intersection of the lines connecting the corners.
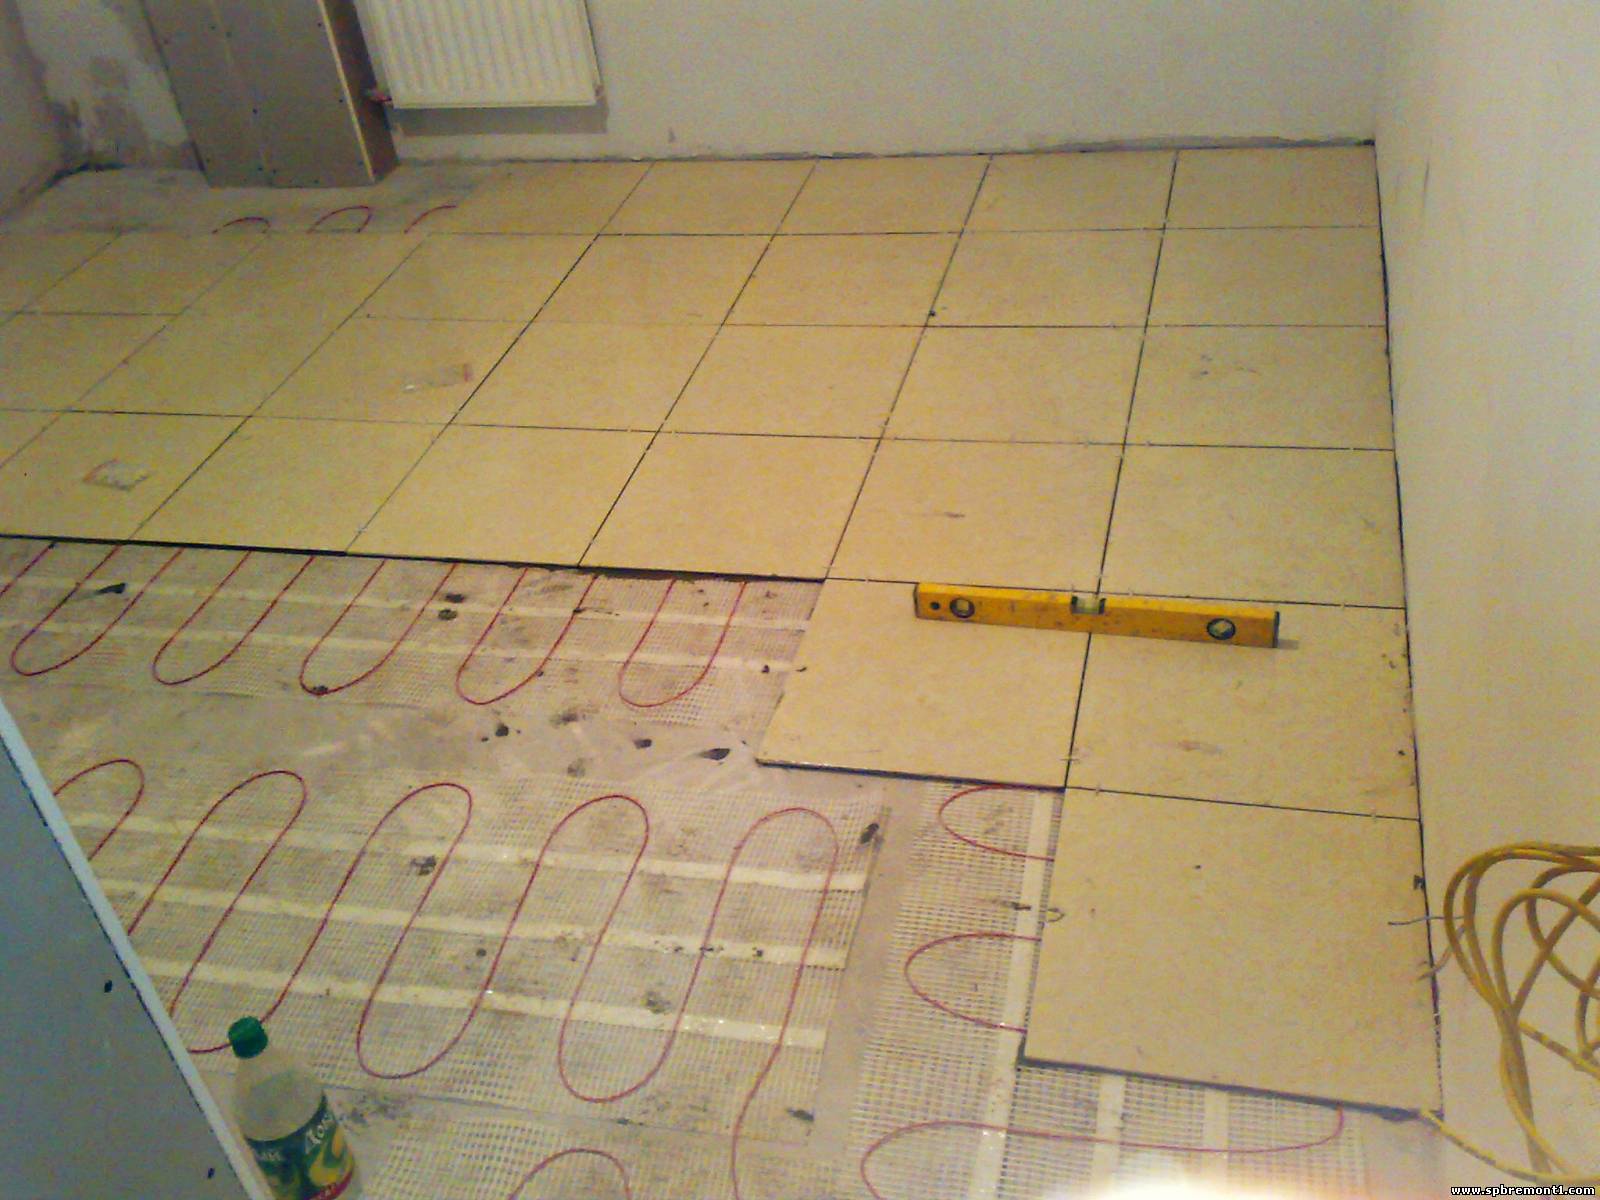
At the end of this phase, it is recommended to lay the tile on the surface in order to verify the correctness of the actions performed.
The glue is prepared immediately before use. It is necessary to knead the amount of solution that can be used up until it begins to thicken.
In accordance with the instructions for use, the adhesive must be done as follows:
- Pour a certain volume of water at room temperature into the bucket.
- Lower the mixer into the container, turn it on at low speed and start filling the mixture.
- Leave the prepared solution alone for 7-10 minutes, so that the lumps soften.
- Repeat stirring.
A well-prepared composition has the consistency of thick sour cream.
Before laying, it is recommended to moisten the tile to remove dust from it and improve adhesion. The glue is applied to the back of the masonry fragments with a notched trowel so that there are no voids left. Then the tile is laid in place and pressed firmly against the screed. It is aligned, the removal of excess solution and fixation with plastic crosses.
Grouting is the final phase of finishing a warm floor. Preliminary openings are cleared of dust and crumbs. The solution is rubbed into the joints with effort and leveled flush with the surface of the tiles. After the grout has set, the surface of the tile is wiped with a damp sponge or soft cloth.
You can turn on the heat after a day, when mortars finally dry out and crystallize.