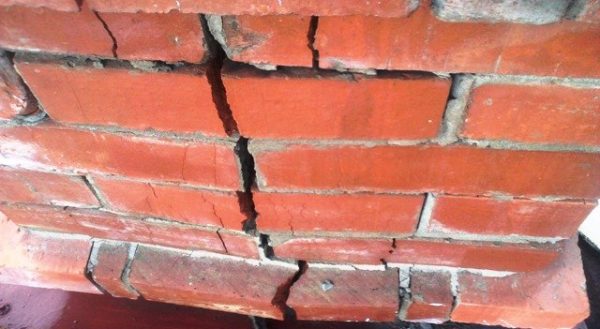
When erecting furnaces, you need to use a special clay-based compound. So that the seams do not crack, and the stove or fireplace does not fall apart, it is important to correctly select and knead the clay for laying and coating the stove.
Varieties of clay for the oven
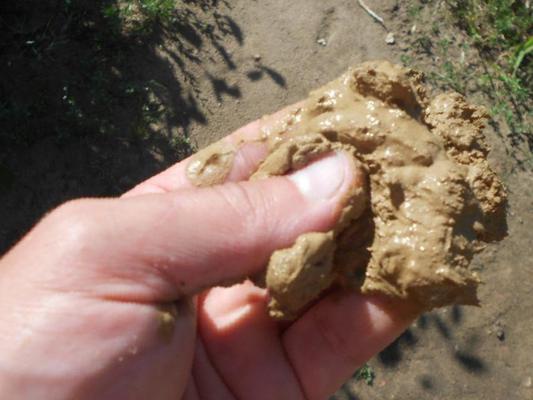
The quality of the composition is determined by the fat content of the base. According to this criterion, clay is divided into three types.
- Oily is the most plastic. However, when dried, it cracks and greatly decreases in volume, due to which the furnace structures are deformed and destroyed.
- Mid-fat is the best option. Dries with moderate shrinkage, does not crack. It has good adhesion, strength, heat resistance, hygroscopicity.
- Skinny clay has the lowest adhesion rates. It is dry, quickly covered with cracks, which leads to the scattering of masonry.
Finding quality material is a great success. Good clay layers are at a depth of five meters. In the upper layers there is a high content of sand impurities, humus. This type of furnace is not suitable.
Main components
The clay composition varies depending on the added components:
- clay and sand;
- clay-cement;
- clay-calcareous.
Pechniks, as a rule, choose the first option. Share proportions depend on which clay to use for the furnace. If it is oily, the ratio of sand will be 2: 1, if medium-fat - 1: 1. Also, with good quality clay, you can do without additives.
If you do not want to measure the components, you can take the finished composition. A bag of clay-chamotte kaolin refractory mixture "Terracotta" for 20 kg costs an average of 250-300 rubles.
Methods for removing impurities
First of all, foreign impurities must be removed from the natural clay stored for furnace laying. There are different ways to do this.
Dry piercing
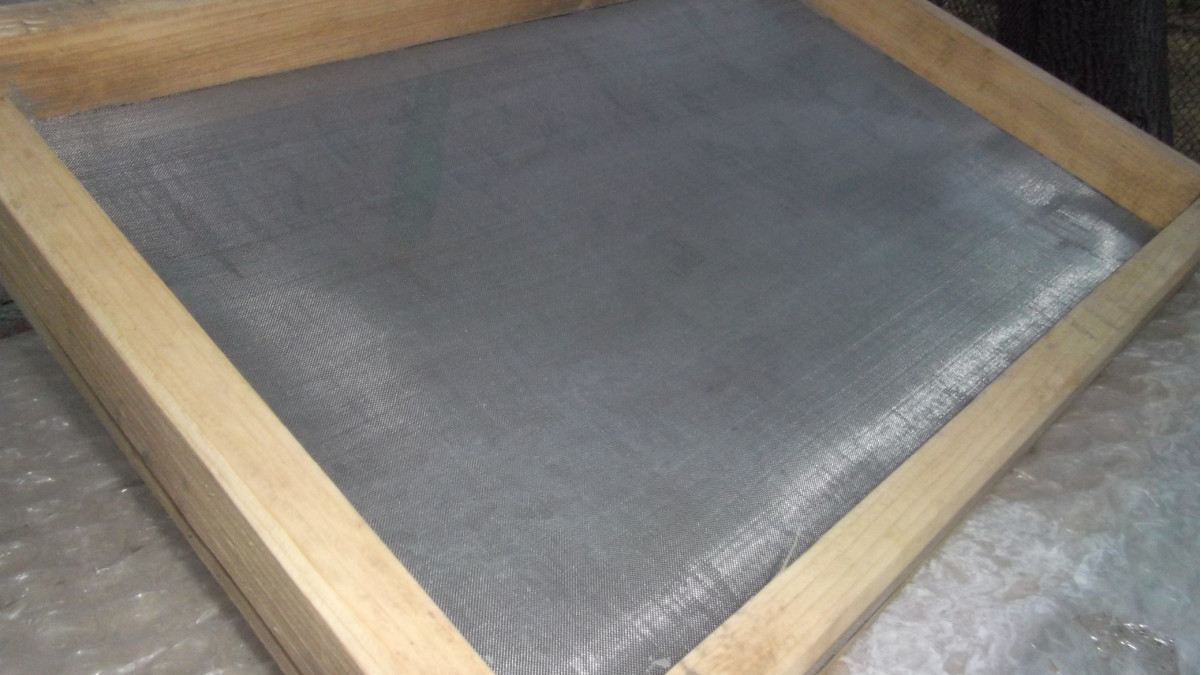
The most primitive way. Use your hands to select all that is superfluous - grass, pebbles, garbage, crush large clods. After this, the plastic material needs to be ground through a sieve of metal with cells of about 3 mm.
The method can be made a little less laborious if the clay is dried. To do this, clay clods are laid out on a wooden canvas and dried in the sun. In winter, this is done in the cold, laying under a canopy, so as not to fill with snow. With a small amount of material, they are placed indoors, on a heated stove or on a heating radiator. The drying speed depends on the size of the clods: the smaller they are, the sooner they dry.
Pour the dried clay into a box with thick walls and grind it with a rammer. Clay dust after grinding is sieved through a sieve with small cells to remove various inclusions from it: pebbles, slivers, and other debris.
Soaking and elutriation
“Dry punching” is a rather laborious task, therefore it is more advisable to soak the clay after manual cleaning for 2-3 days.
- Put the material in a large basin with layers of 12-15 cm, with plenty of wetting.
- Pour water in an approximate ratio of one to four clay.
- When the mass softens, mix with a concrete mixer or other means.
- Wipe through a 2–2.5 mm mesh grill.
Elutriation - soaking clay rich in sand, in which it gets rid of impurities, becomes more plastic, fatter. To do this, place the clay mass in a bucket, pour water in a ratio of one to three, leave it overnight.Mix thoroughly in the morning, bringing to uniformity. Let the composition stand still. As soon as light water appears above, it must be carefully drained using a rubber hose.

There is a more ancient method of elutriation:
- In a wooden container, several holes are drilled vertically with a small distance between them.
- Each of them, before filling the tub with a liquid clay mass, is drowned with a wooden cork.
- Sand grains and various small stones precipitate first because of their greater weight.
- After that, after settling clay particles settle to the bottom.
- The top layer of water gradually becomes lighter, but you need to wait until the liquid becomes clear. As soon as the border of clarified moisture falls slightly below the first hole from above, the plug is removed. Settled water flows out of the tank.
- After the appearance of the next level of the settled liquid, the next plug is pulled out.
This process is repeated until all clarified water is completely drained. To accelerate the precipitation after loading the solution into the tub, you will need to add bitter Epsom salt - about one pinch per bucket. If there is no wooden barrel at hand, it will be successfully replaced by a metal container suitable in height and volume. The principle of operation is the same with one difference - first, short sections of tubes are soldered into the holes, plugs are installed in them.
When all the settled liquid has been drained, the liquid clay is transferred to a wide box and left in the sun so that excess moisture evaporates. After the dried material ceases to be fluid, periodically stir it with a shovel. As soon as the mass becomes similar in texture to a thick dough and stops sticking to the palms of its hands, it is covered with polyethylene or oilcloth and stored until the start of furnace work.
Proportions and mixing of the solution
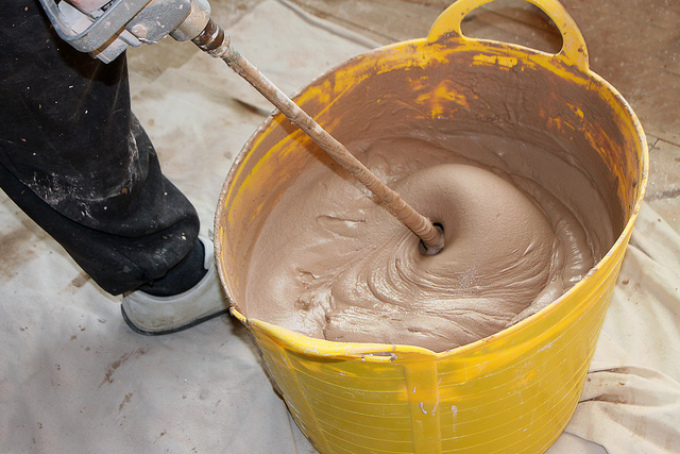
In addition to cleaning, clay must be prepared before kneading. The material is laid out in a metal box or a barrel, filled with water so that the liquid covers it completely. If there are large lumps, they must be broken in advance into smaller fragments. Everything is well mixed and left for a couple of days. Clay is aged for at least five days with the constant addition of water. After this, the solution must be mixed again and poured into a different container through a sieve.
The clay composition should be a pasty consistency, without impurities. If, after 48 hours, small lumps come across in the mass, it needs to be mixed again, break all the seals and stand for another day.
After preparation, you can begin to prepare the solution. If clay is mixed with sand, the latter is poured into the prepared container, then plastic material is laid out, and a sand layer is again poured over it. A shovel is used to mix the components. If moisture comes out at the top, add a little sand. An excessively dry composition requires topping up with water. The solution can be considered ready if it slowly begins to move off the shovel and becomes uniform.
If the base is medium-fat, you can not add a sand component. Step-by-step instructions for breeding clay without sand for a do-it-yourself stove:
- The material is laid out on a wooden platform with layers, each layer is wetted.
- Upon reaching a height of 30–35 cm, the mass is mixed. For this purpose, you need to slap the upper layer with the back of the shovel.
- Kneading continues until a homogeneous substance is formed.
You can check if the masonry clay for the stove is cooked correctly: put a thin layer on the red brick, put another block on top and leave for an hour or two.If the lower brick does not fall when lifting the upper brick, you can use the composition for the construction of the stove. Clay sets for a long time, you can immediately mix the desired volume of the binder composition. It takes about 20 liters to lay out a 50-brick stove for a bath, and 15-20 percent more to build a Russian stove.
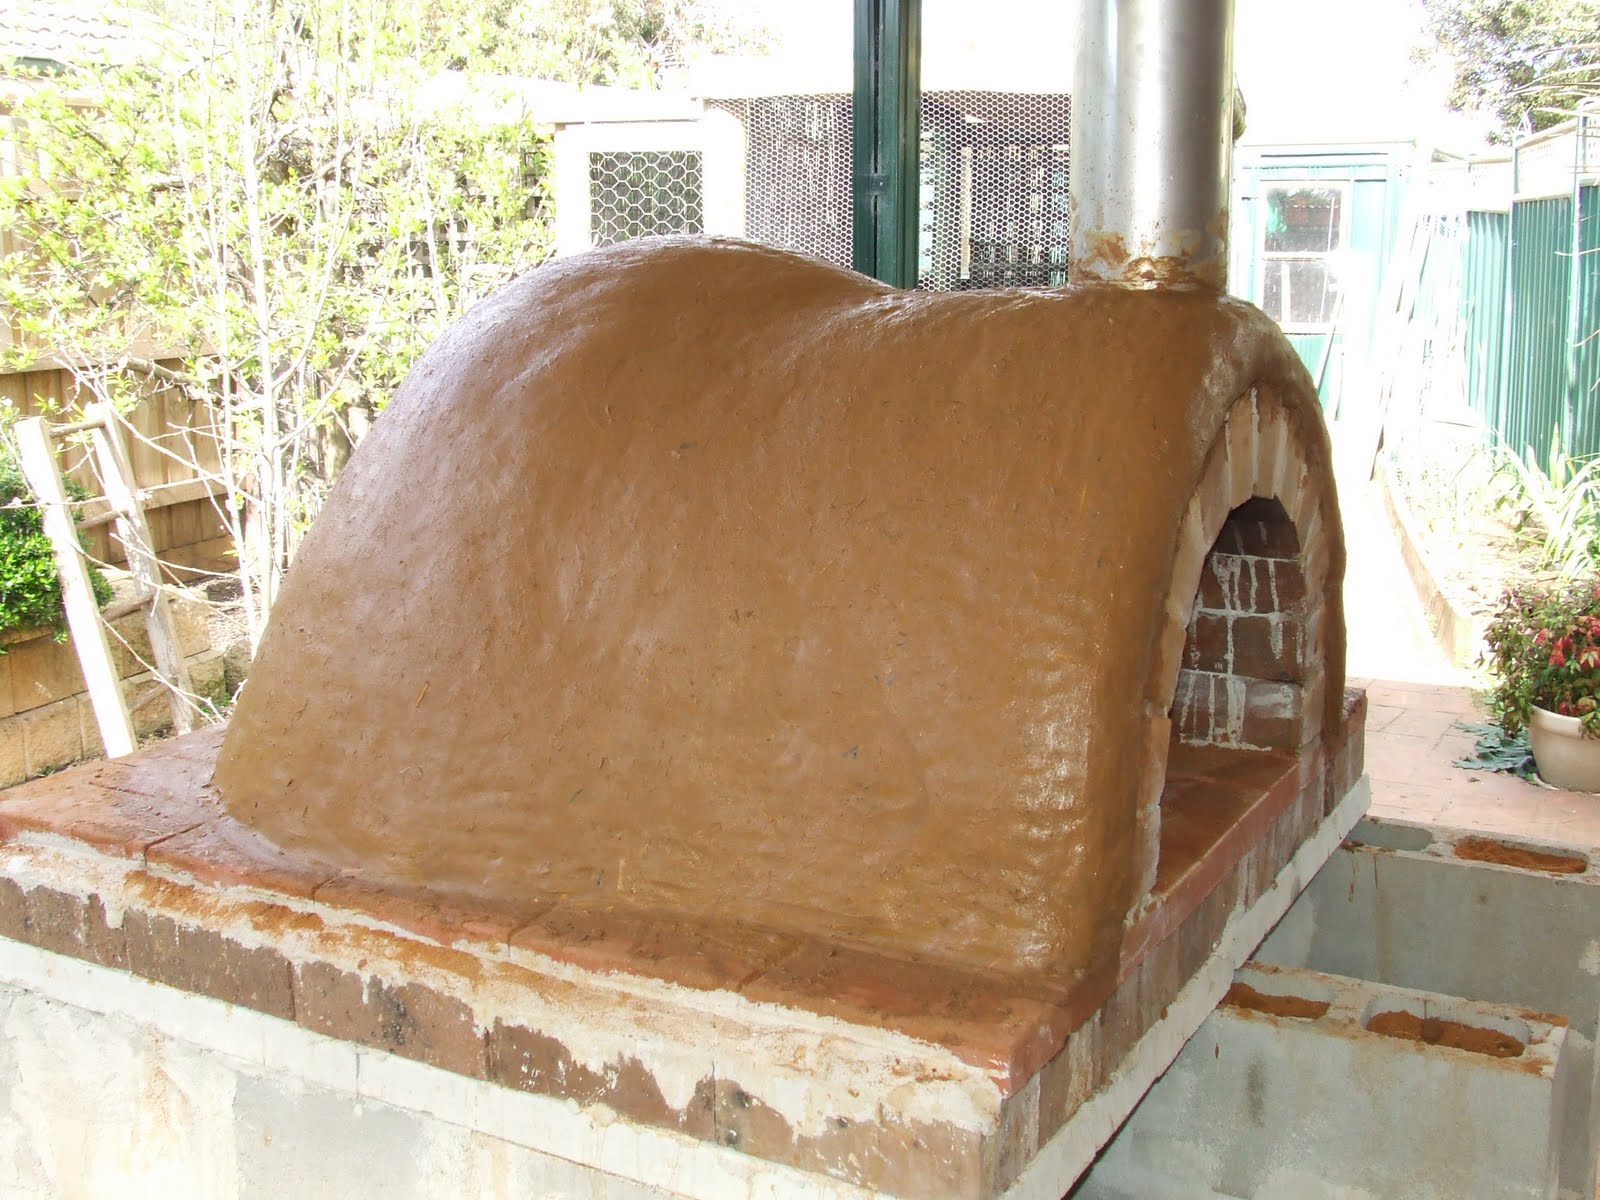
When constructing a heating unit, not only clay for laying the stoves, but also special plaster for coating the walls will be required. You can make a simple clay solution, but it is better to mix the plastic material with lime, or add a sandy, cement component. The manufacturing procedure for such compositions is almost the same as mixing the masonry mixture.
How to dilute clay to putty stove:
- The dry base is milled and soaked.
- Sand with lime or cement is introduced. Proportions of medium-fat clay with sand and lime 1: 2: 1. When you turn on cement powder, you need to start from the amount of sand component in a ratio of 1: 3.
- To make the plaster layer stronger, you can add asbestos, fiberglass, hemp or straw in a ratio of 1: 2: 0.1 (clay / sand / additives).
When additional ingredients are included in a clay solution, they are first mixed with each other, and only then with pre-soaked clay.
Solution Quality Check
The first test is carried out before preparing the clay for laying the furnace. In order for the solution to turn out to be of high quality, it is necessary to accurately identify the clay content. It will depend on what additional components are required.
How fatty clay for the stove is detected as follows:
- A small amount of clay - approximately 1 kg - is thoroughly cleaned using one of the described methods and soaked for several days.
- The resulting mass is divided into five identical parts. Nothing is added to the first, the second is mixed with 25 percent sifted sand, the third with 50 percent, the fourth with 75 percent and the fifth with 100 percent.
- Each part is kneaded separately. If necessary, add a little water until a pasty structure is achieved. You can determine the readiness of the solution by hand. If it does not stick, the mixture is considered ready.
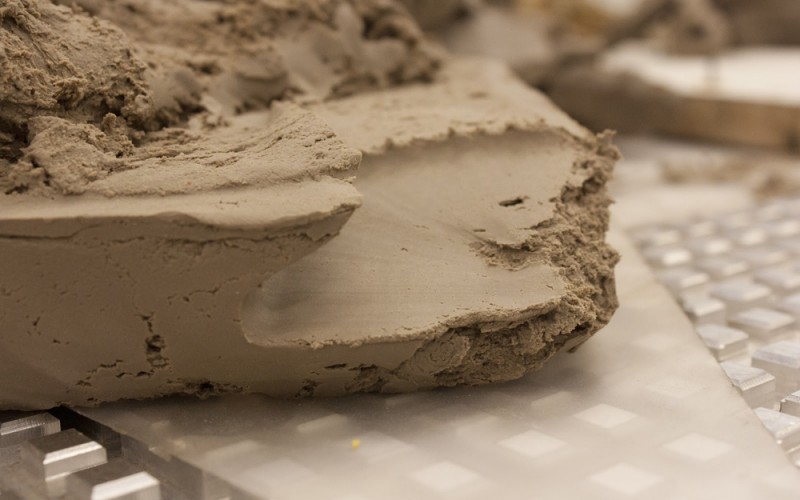
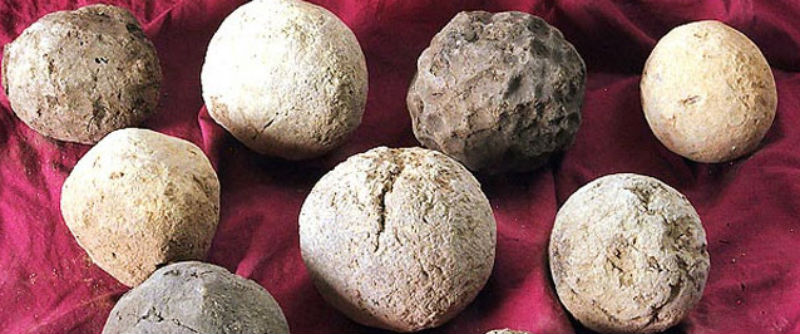
- The resulting material is checked for ductility. Each of the five particles is rolled into a small ball and flattened into a cake. All resulting samples are labeled with the proportions of sand indicated and sent to dry. It takes 2-3 days to dry the fragments.
- Test the resulting samples. The cake should not be cracked and collapse when compressed. If you throw her on the floor, she must remain intact. According to the results of such testing, the correct proportion of sand and clay components is revealed.
You can test for fat and plasticity in a different way. Roll balls about 3 cm in diameter, each placed between two carefully planed boards. Gently, gently press on the top of them, check the condition of the ball. If it immediately cracked, the composition is not enough fat. If cracks occur during half compression, the mixture is excessively greasy. With the correct proportion of components, most of the sample is flattened, but not destroyed.
Additionally, oven clay is tested before use. It is better to redo the solution than wasting time building an oven that will crumble. To check the composition, scoop up the composition with your hand and rub it with your fingers. A good binder solution should be slippery and oily. Experienced stove makers reveal the readiness of the composition by ear when kneading. A correctly made mixture “whispers” - makes a kind of rustling sound, and falls behind a shovel. You can also lower the trowel into the mixture, pull it out and then turn it over.If a thick layer adheres, the composition is excessively oily, it must be diluted with sand. If the layer of the solution disappears, there is an excess of sand, you need to add pure clay.
Clay mortar is stored for a long time if cement powder has not been added to it. If the finished mixture is covered with oilcloth or polyethylene and put under a canopy, it can be used for about three months. With the correct selection of components and kneading, the stove will last for many years.