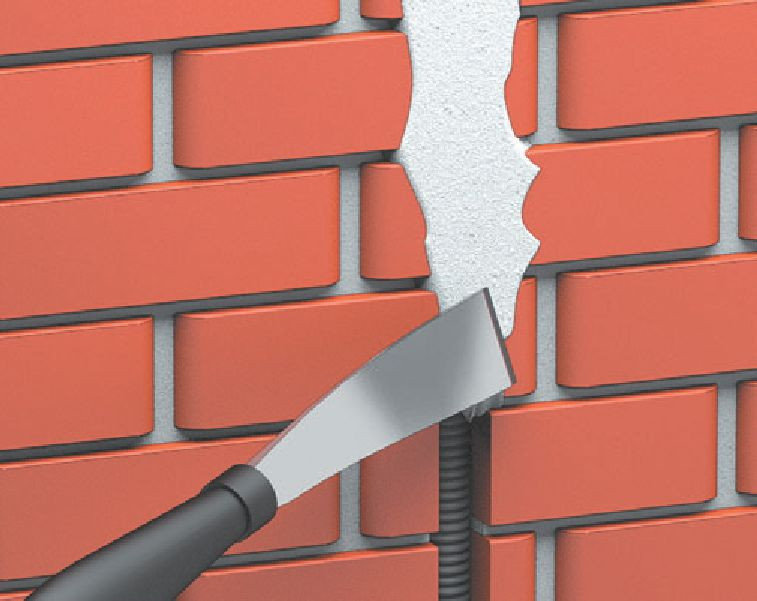
An integral component of the laying of hidden wiring are the strobes. These are special channels (trenches) made on the tiles and walls, electrical cables are laid in them. After installation, the recesses in the walls must be repaired using a hardening, non-combustible mixture.
Features of laying a plug for electrical wiring
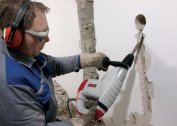
Different material behaves differently when gated. Most difficulties arise when making a shtrob in concrete walls, in this case, shtroborez and perforators are used. If we are talking about a brick wall, you can do without gouging with a tranche, the cables are attached to the wall with dowels.
If wiring is required to be pre-placed in a metal casing, the horizontal hollowing out of the channels is carried out using a grinder or chisel. Brick walls, if crushed, then along the seam. This is due to the fact that the mortar from cement is more pliable and softer than brick.
Basic rules and features of gating:
- The depth of the vertical trenches should not exceed 1/3 of the wall thickness.
- The recesses are carried out strictly horizontally or strictly vertically, slopes are permissible only if there are uneven plates of the house.
- The depth of the horizontal grooves should not be more than 1/6 of the thickness of the ceiling.
Strobing load-bearing walls is strictly prohibited.
How to close up strobes in a wall with electrical wiring
To determine what is the best way to close the gates after laying the wiring, you need to familiarize yourself with the features of work in walls made of different materials. To close the holes, a spray gun, a mortar mixing tank, trowels, a brush and a spatula are required.
Concrete
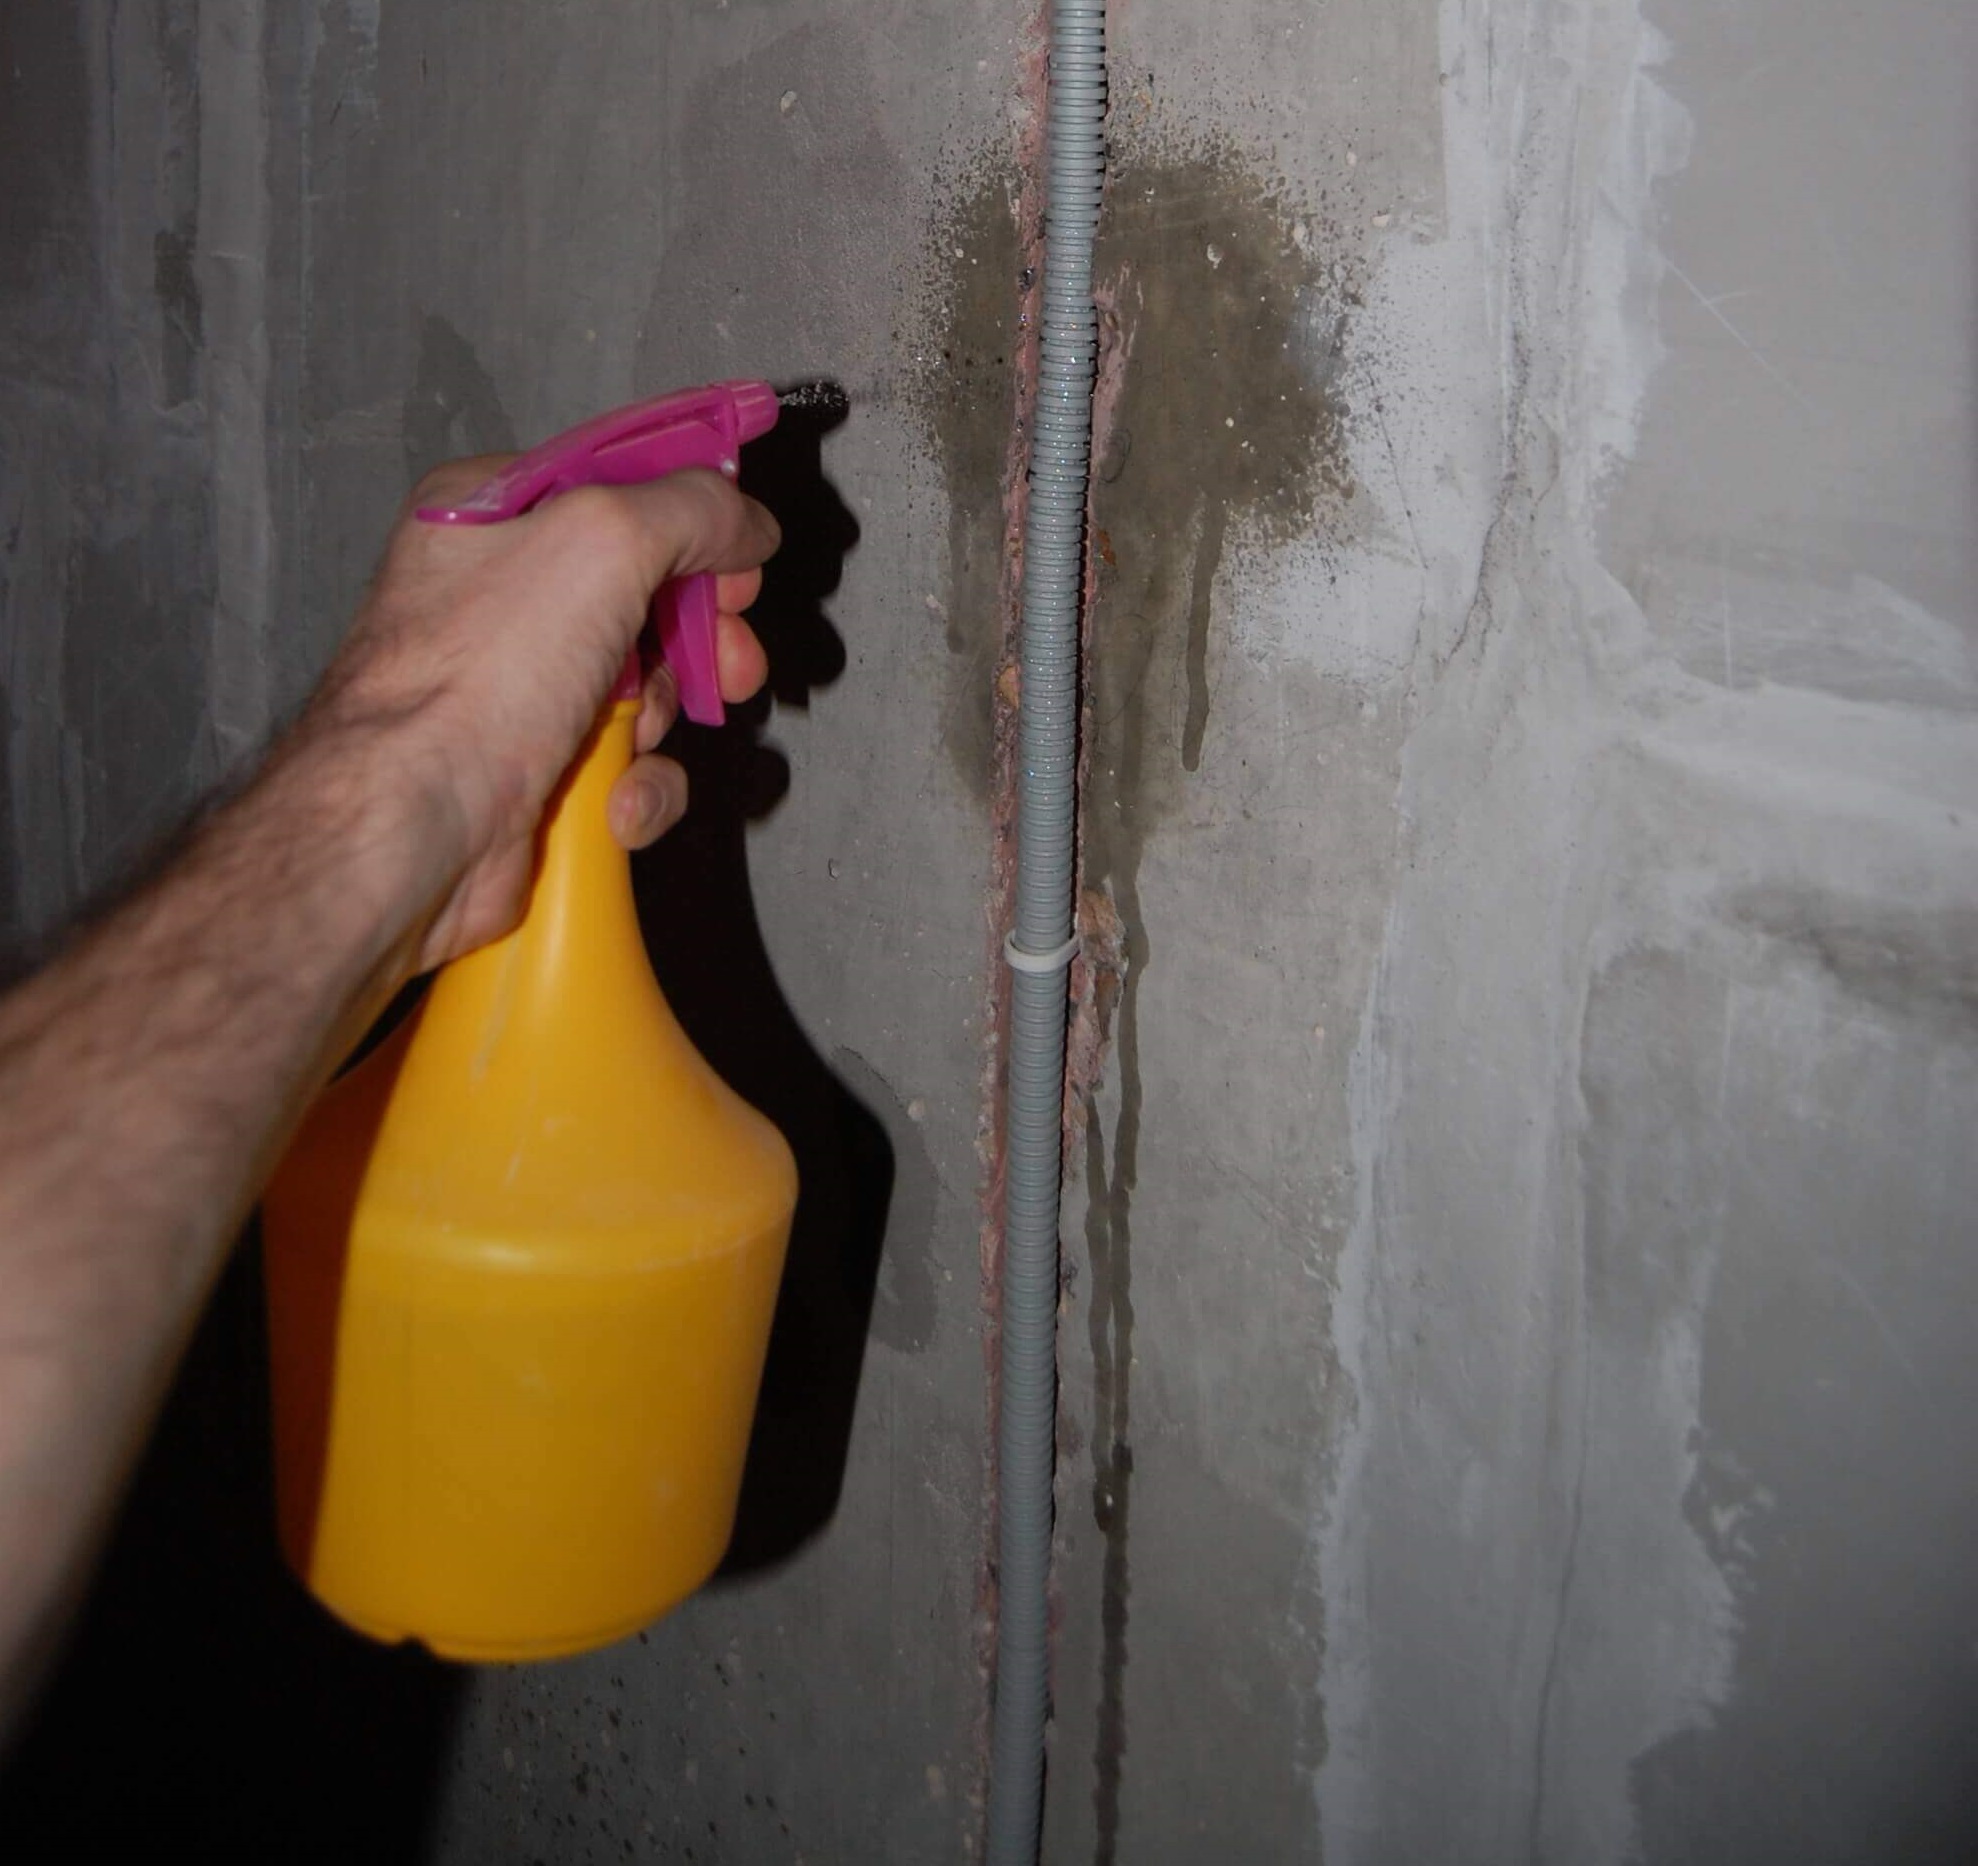
Before proceeding with the sealing of the grooves, you need to thoroughly moisten the hole itself and the place near it with clean water using the following working equipment:
- a piece of foam or a sponge;
- atomizer;
- wide brush with synthetic pile.
Pre-trenches are primed and after that they close up with a building mixture. It is applied with a spatula with wide strokes crosswise. After the substance has hardened, the excess is removed with a spatula from iron. The movements should be stroking, smooth. After complete drying, the surface is putty.
Brick
Carrying out work in brick walls is accompanied by a large amount of dust. Before embedding grooves, remove dust and treat the work surface with clean water.
Furrows are recommended to be covered with alabaster or gypsum solution. If the groove is deep, the use of small pieces of stones dipped in mortar is permissible. Next, the remaining voids are carefully filled with a solution using a trowel.
Monolithic wall
The work in this case is similar to the work in the wall of concrete, aerated concrete. The recess is filled with a viscous putty. The solution fills the cavity as densely as possible.
If necessary, the building mixture is applied in several approaches. After complete drying, the surface is leveled with a spatula.
Strobing materials
Before you cover the strobes for wiring, you need to choose the right material:
- Gypsum plaster. It is used in rooms with high humidity, the drying time is 24-26 hours.
- Plaster mix on the basis of cement and sand.
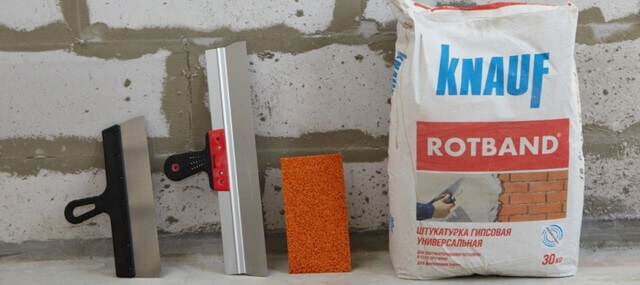
- Ready mixes, for example, Volma, Osnovit and Rothband.
- Gypsum adhesive, for example Perlfix.
-

- Mounting gypsum adhesive
-

- Universal gypsum plaster
-
- Cement plaster
-

- Volma cement plaster

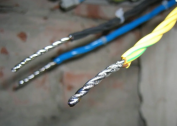
It is important that the wire is intact and not insulated in several places. It is strongly discouraged to use mounting foam or sealants to seal holes.
Tools and materials
Before starting construction work, you need to make sure that you have at hand all the necessary working arsenal, including building materials. To properly seal the trenches you will need:
- The tank for mixing the solution.
- Several metal spatulas with a width of 10-15 cm and about 120 cm.
- A brush that fits the groove in size.
- Plaster of construction or alabaster designed to securely fix the wiring.
If the room is characterized by high humidity, it is additionally recommended to purchase gypsum plaster.
Preparatory work
Preparatory work includes switching off the power supply and checking for lack of voltage. As much dust and dirt as possible is removed from the finished grooves and treated with clean water, a primer. To do this, use a sponge, spray and brush. It is necessary to handle even the most inaccessible places.
Works are characterized by increased danger, therefore it is recommended to purchase safety glasses and gloves.
Stages of the main process
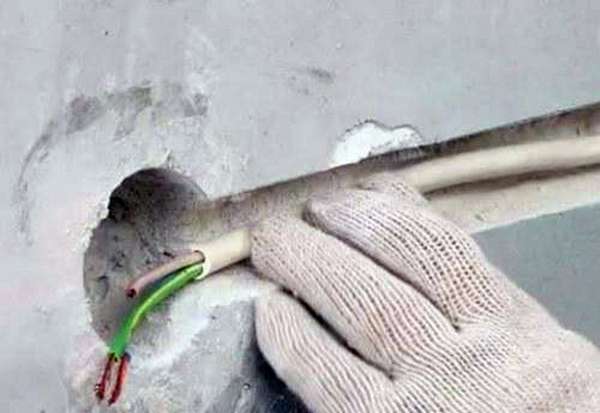
After completion of the preparatory work, check that the wiring placed in the grooves does not protrude beyond the vertical / horizontal surface. In places where the wire is not recessed enough, you need to re-walk with a construction tool.
Termination is carried out according to the following technology:
- Dilute the mortar in accordance with the instructions in the attached instructions for use. It is better to cook it in portions, since the substance quickly hardens. Apply to the surface in places of spot fixation.
- After the gypsum has hardened and reliably holds the wiring, the plaster is kneaded. Each of its varieties has its own layer thickness limit. If a layer with a thickness of more than 500 mm is required, the process is carried out in several stages.
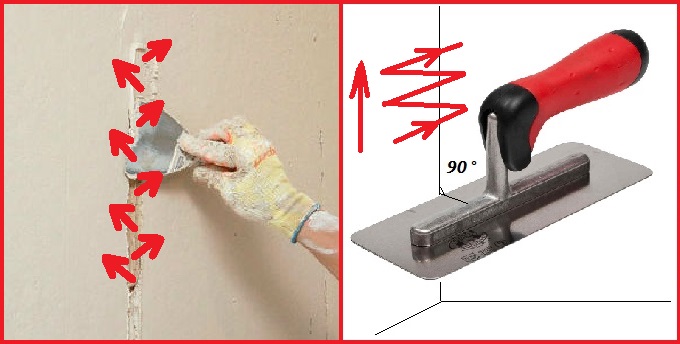
- Apply a viscous mixture with a small spatula perpendicular to the strobe and cable. It is sealed and leveled until the sealed groove begins to coincide with the surface of the wall.
- If homeowners continue to paint the surfaces, the patched areas are additionally treated with strips of fiberglass, reinforcing tape, a construction bandage or sickle. Another layer of plaster is superimposed on top, this is important to consider when leveling the surface.
- After all the layers have dried out well, you can begin to re-primer the surface. If the plaster has shrunk a little, do not worry, this is a normal process.
The final stage of all work is the final puttying to level horizontal and vertical surfaces. If it is further planned to apply ceramic tiles to the walls, finishing work is not necessary.