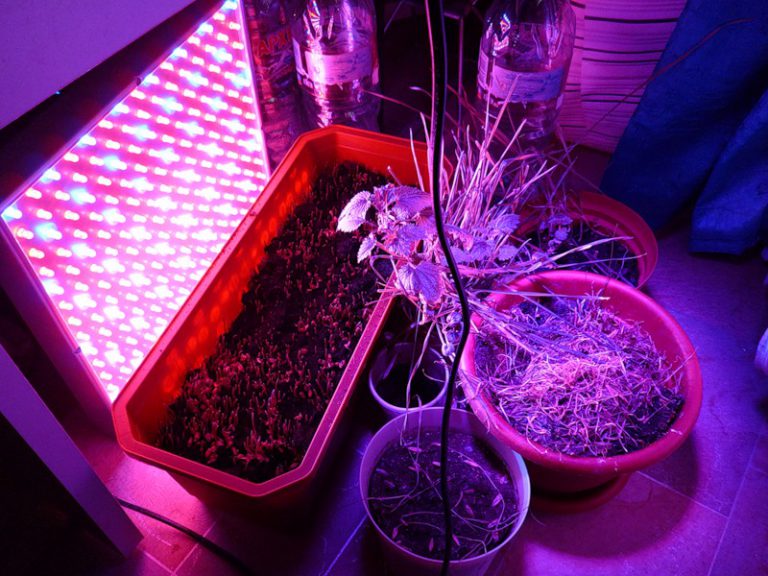
For normal flowering, growth and fruiting of plants, sunlight is required. In winter and autumn, there is a lack of sun, so you need to use a special light source. As such a device, you can take LED phytolamps. A florist can buy at any store, but such devices are quite expensive, and it is not always possible to find a lamp that is suitable for all parameters and characteristics. Therefore, you can make a phyto-light with your own hands from an LED strip.
LED backlight features
LED light sources are gradually replacing classic lamps. LEDs are used in many fields, and floriculture is one of them. Specialists love such devices for their positive qualities, efficiency and practicality.
LEDs are available, despite the high cost. They will pay off after the first harvest. In addition, diodes consume a minimum of electricity and have a long service life. You can buy them at any electrical and lighting store.
In diode devices, it is possible to adjust the spectrum. This is important, because in each period of its development, the plant needs a certain spectrum. Using the red and blue ranges it is possible to create the best conditions for seedlings.
Light emitting diodes are characterized by low heating. Lamps can be installed directly above the plants without fear that they can dry out. Homemade phytolamp can not be removed when watering - it is tight and protected from moisture. Such devices are completely safe, since there are no harmful components in the composition.
How do different spectra affect flowers
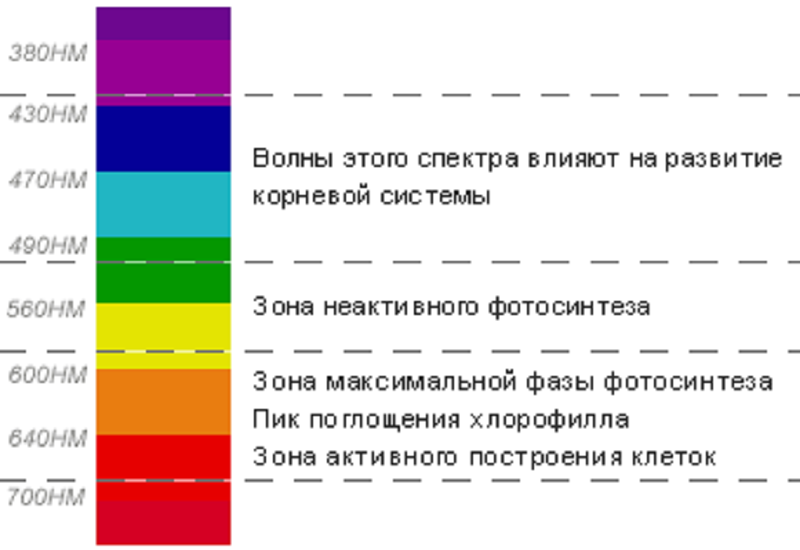
Many experiments are conducted related to the effect of artificial light on plant growth. Scientists have come to the following conclusions:
- Blue color causes the growth of roots and helps the emergence of strong sprouts.
- Red color helps seed growth and flower formation.
- Yellow also performs its tasks, but already at the internal level, it is impossible to track the effect with the eye. Outwardly, it is simply reflected from the leaves.
The difference between phytolamps and fluorescent lamps is the ability to adjust different shades for each phase of development. The optimal ratio of red and blue phyto LEDs is 3: 1 and 2: 1.
What you need to create phytolamps from LED strip
In the store, an LED phytolamp is sold at a price of 2 thousand to 15 thousand rubles. In order to save money, any person can independently create a lamp from a phyto LED strip. The assembled device can be of any size and shape. The assembly scheme is simple, even a beginner can figure it out.
To create phytolamps with your own hands you will need:
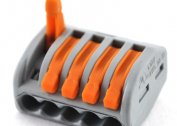
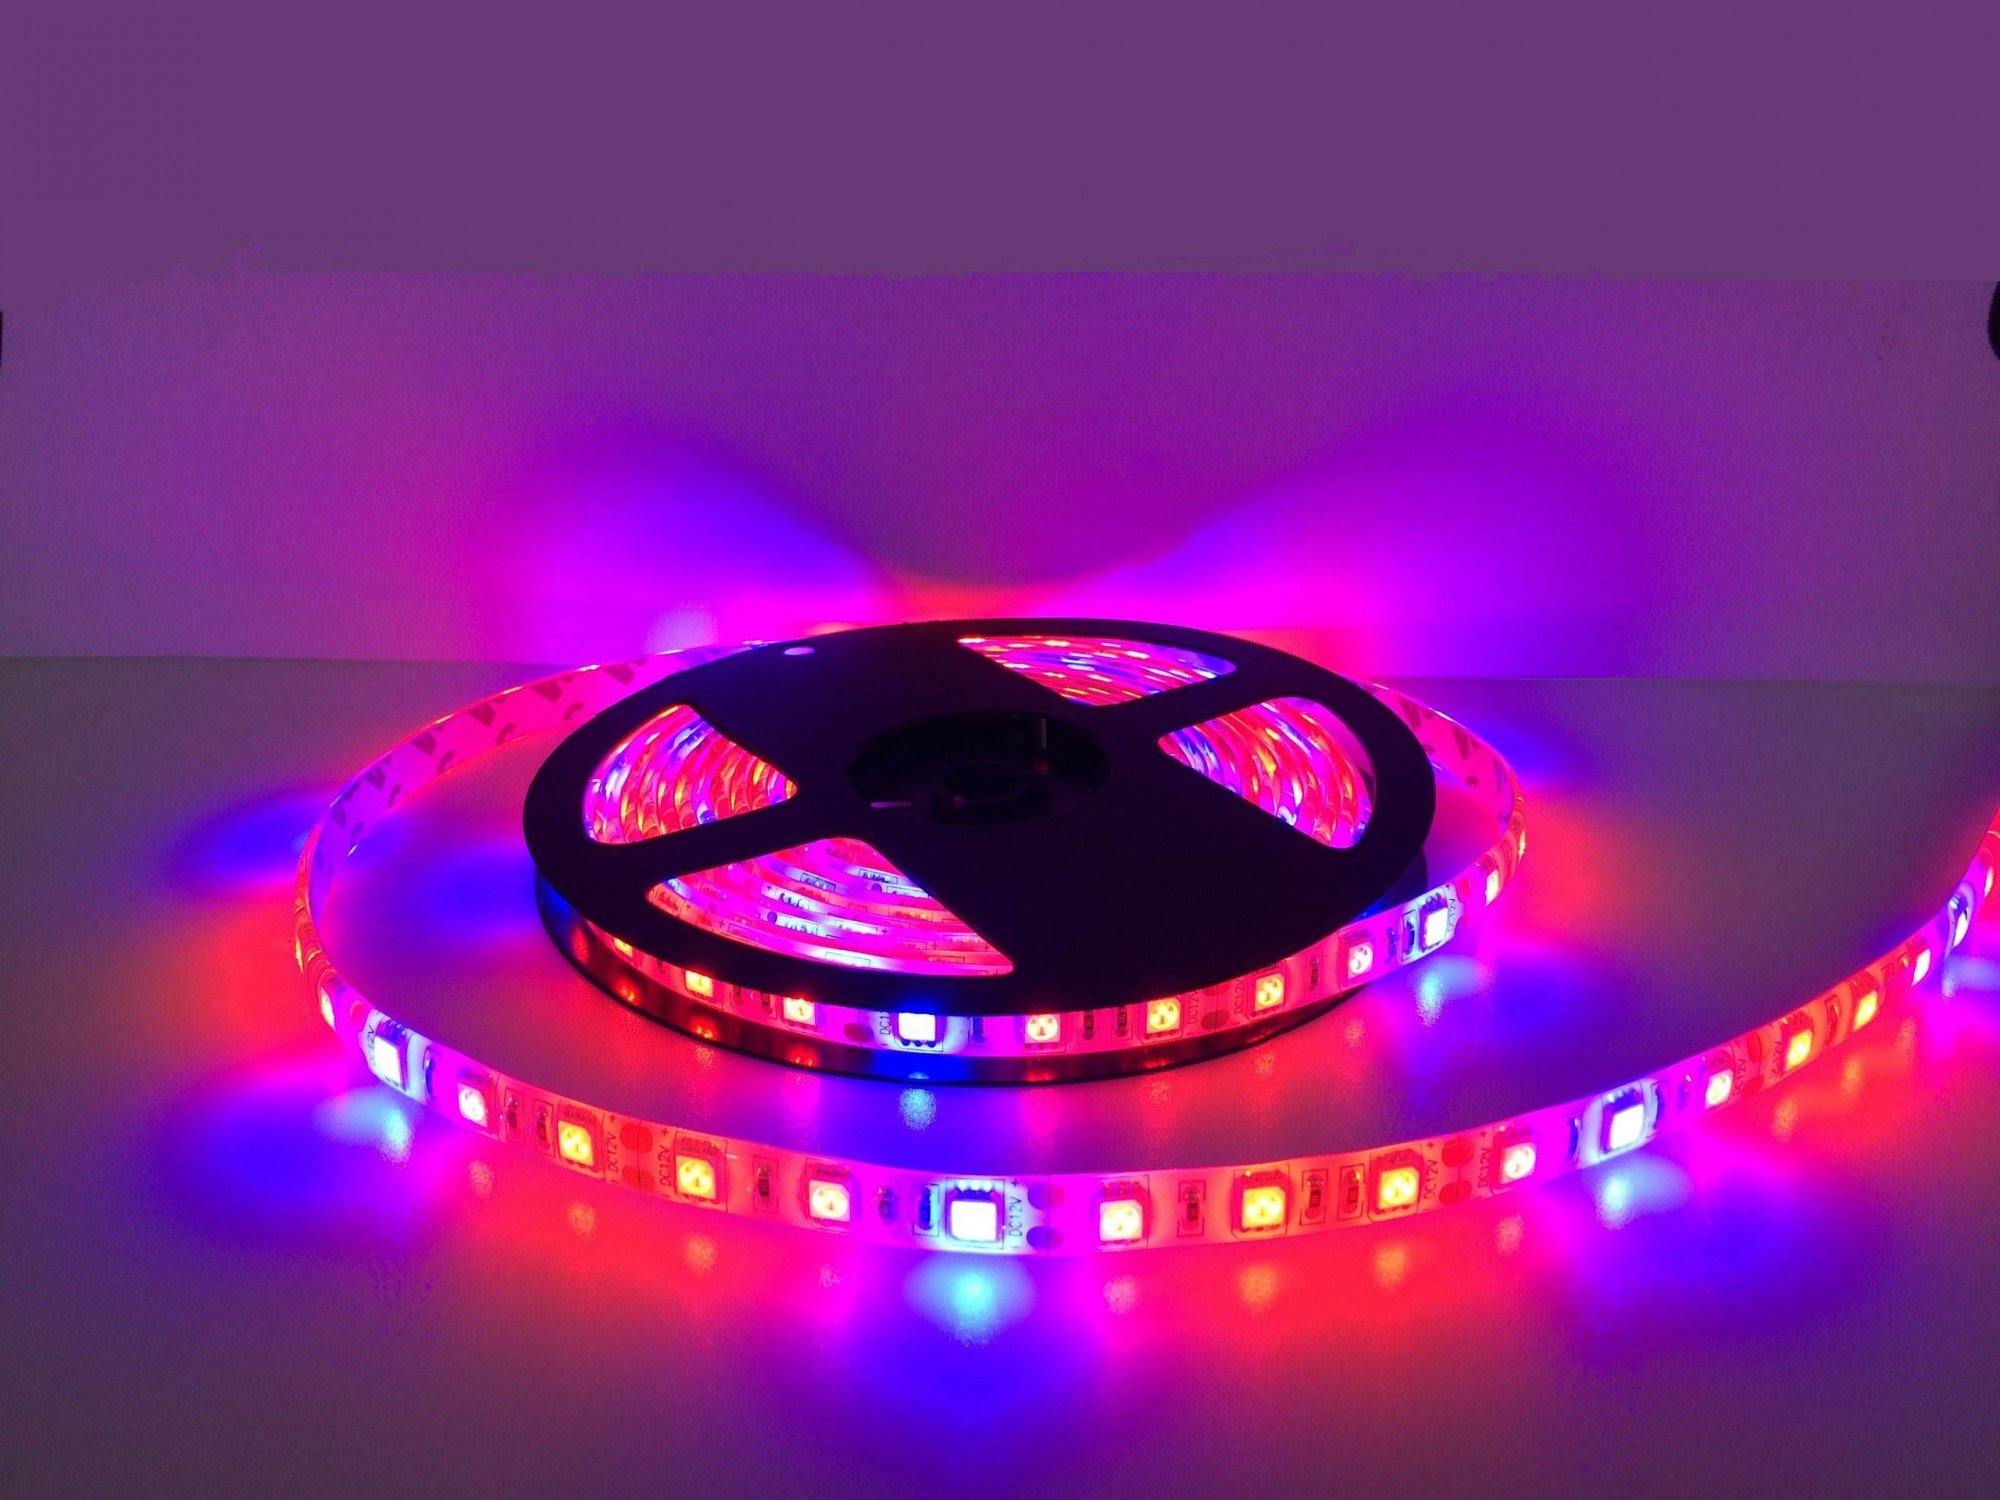
- red and blue LED strip;
- plywood or aluminum to create a case - it is better to take aluminum so that it additionally removes heat;
- driver;
- the wire;
- fork;
- tools.
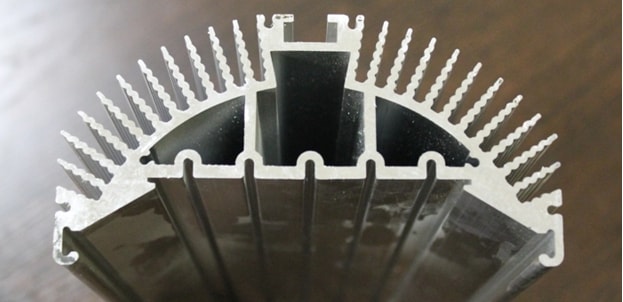
When designing phytolamps, the problem of heat sink arises. Ineffective heat removal leads to the fact that the LED crystal is deformed and destroyed, and this process is irreversible. The lamp will dimly light and will soon burn out.
There are two types of cooling diodes:
- Active. Special coolers for blowing diodes are used. The system resource in this case is reduced and the risk of breakdown increases.In this case, the size of the radiator will be smaller.
- Passive. Heat sink substrates are used. Usually it is aluminum or copper.
The second option is used more often, since it requires less financial investment.
Lamp assembly
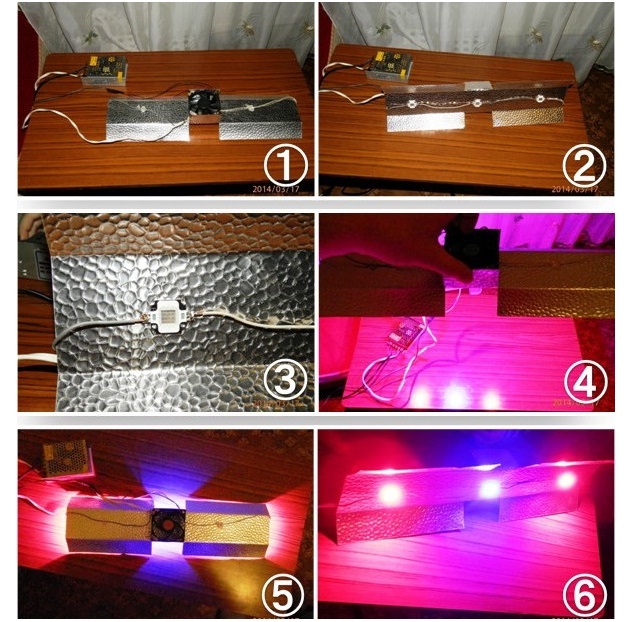
When all the necessary elements are purchased, you can start assembling a phytolamp with your own hands from LEDs. Work algorithm:
- Cleaning and degreasing the base.
- Installation of a cooling system.
- Cutting the required tape length. It is important to cut the board into marked areas so as not to damage the conductive paths.
- Gluing the tape to a predetermined place. Since the LED strip has an adhesive base, additional use of fasteners is not required.
- Connecting parts for power supply.
- Soldering all the necessary parts.
- Marking and making holes in the housing for hanging.
- Functional check.
Before hanging a do-it-yourself fixture, you need to decide in advance where to put the light reflectors. This is due to the negative effect of red and blue on the eyes. Reflector reduces damage due to light scattering.
The disadvantage of this design is that both types of diodes will shine simultaneously. Instead of a strip, you can use spot LEDs.
LED selection
To get the desired effect, you should correctly select the LEDs. Recommendations:
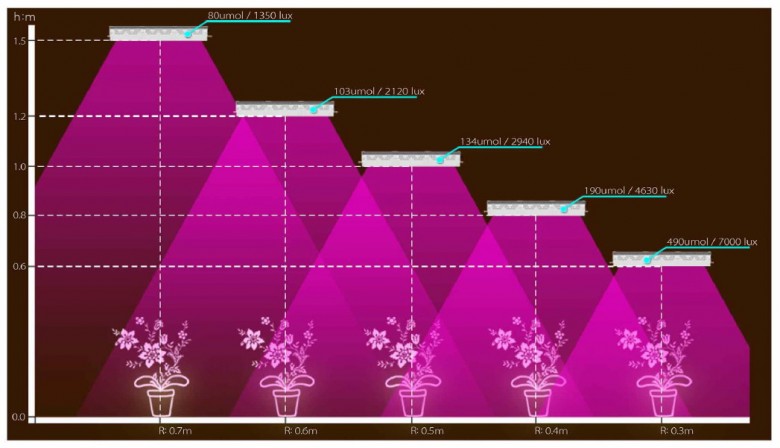
- For the correct calculation of the number of lamps, you need to take into account the size of the room and the height of the installation.
- It is necessary to comply with the requirements for the cultivation of a particular plant variety. In each period of development, they need a different amount of light.
- Diodes must be of high quality and have a good heat sink system. This ensures the longevity of the LED phytolamps with their own hands.
Each plant requires its own level of light:
- Plants that love shade require 1000 lux.
- Seedlings that love light should receive 2000 lux.
- Flowering species require 3,000 lux.
- Flowers sprouting in the sun receive more than 4,500 lux.
The calculation is made according to the formula for the product of the room area and the amount of light. The result is a certain number of lumens, i.e. power of light radiation, which are oriented during the assembly of the lamp.
Driver calculation and base selection
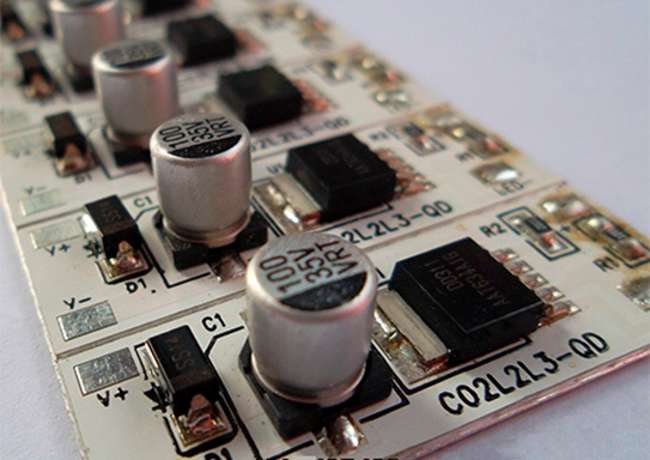
The power supply is a mandatory part of the lamp. It equalizes the output voltage and provides optimal power to the LEDs.
The documentation for the tape indicates the value of the voltage drop at different values of current strength. This value must be multiplied by the number of diodes. From the obtained parameter, the optimal number of drivers is selected.
Recommendations that will help with installation and connection:
- The best driver option is at 50 watts. More powerful devices will warm up and cost more. By current strength, the optimal source selection is 600 mA.
- During driver calculations, the real, and not the maximum, power of the LEDs should be considered. It is calculated as the current of the source used, multiplied by the voltage drop.
The choice of driver must be given special attention. Without this element, the normal operation of the phytolamp is impossible.
Any material can be used as the surface of the lamp. Often phytolamps are made of plywood, boards, but in this case, it is necessary to think over the cooling system. It is better to take aluminum - then the heat will be removed from the surface and the device will last longer.
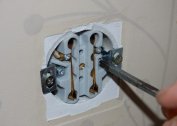
You can buy an aluminum decorative pad in any hardware store. For fastening in the corners of the base, holes are made for which you can hang the structure.
LED test by tester

You can determine the performance of LEDs for phytolamps using a tester. The verification algorithm is as follows:
- Setting the tester to the “break test” position.
- Touch the probe to the findings. Red is placed on the anode, black - on the cathode.
- When checking, the diodes should light up. Defective will not shine.
- When changing polarity, one should remain on the screen.
Also, testing on a multitester can be carried out through the transistor sockets. The holes on the left of the anode are placed in slots E, the cathodes are in C. For holes on the right, vice versa.
Common mistakes
When creating phytolamps, the following errors are most often encountered:
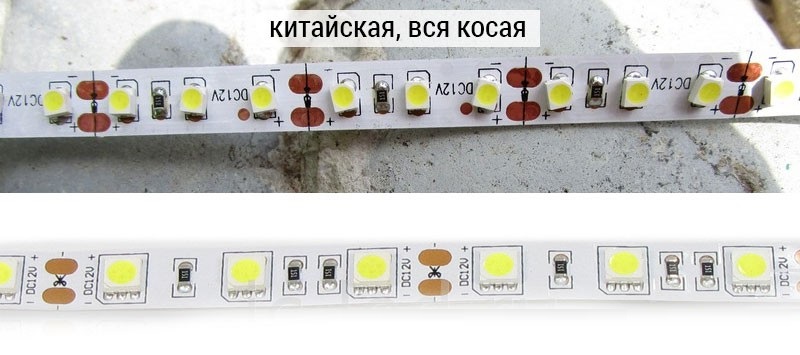
- Buying cheap components. A low-quality LED phytotape will not give the desired effect to plants, and an incorrectly selected driver will lead to poor voltage equalization and quick lamp breakage. The entire set of elements for assembly must be of optimum quality. To do this, it is better to take goods in a specialized store.
- Incorrect design of the cooling system. With poor heat dissipation, the life of the phytolamp is reduced.
- Poor contact between parts. The leakage of a self-assembled device also has an effect.
Following the correct lamp design will allow you to use the device for its intended purpose for many years.
Installation of phytolamps
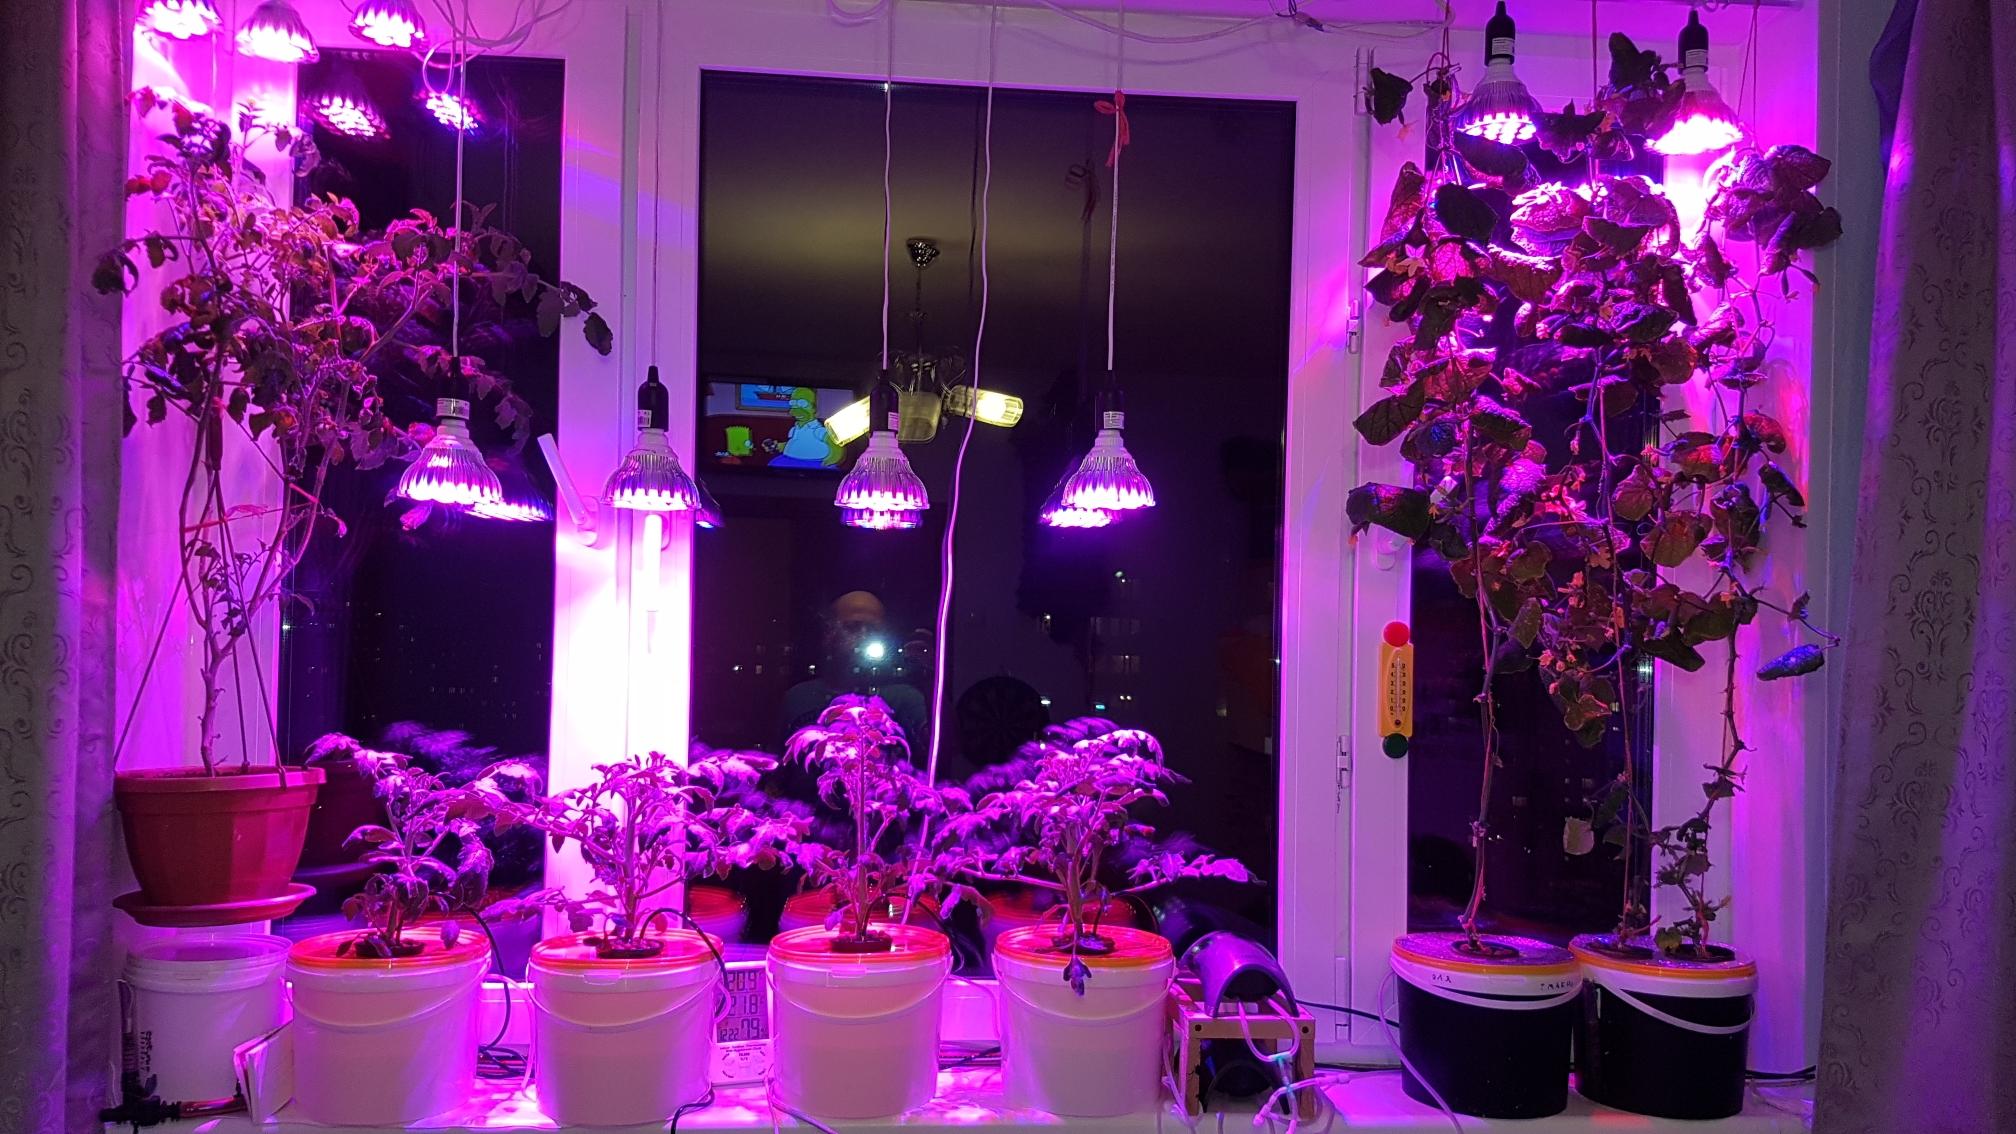
In order for the plant to receive the optimum amount of light, it is necessary to correctly put the lamp. Plant growers have come up with a number of tips that will help to install the lamp in the best way.
A self-made lamp can be placed directly above the seedlings. It does not heat the environment, so you can not retreat 10 cm.
Young seedlings love diffused light. To create it, a white sheet is hung on the wall next to the seedlings. You can also buy lamps with a cartridge, which is directed to the side. Then the light will fall both from above and at an angle.
The device, which is suspended, can be mounted on chains and wire loops. The lamp that is installed can be mounted on makeshift wooden poles.
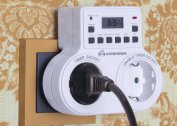
The backlighting time depends on the season, the type of crop, the temperature in the greenhouse or greenhouse, and other indicators.