In modern interior design, balconies and loggias ceased to function as a storage room. They are used as a place to relax or work space. To create a pleasant and functional interior, you should spend electricity on the balcony. You can do it yourself - if you have the knowledge and the necessary tools, this is easy. Specialists will work in the same way.
Do-it-yourself wiring on the balcony

Before starting work, you need to decide which elements and in what quantity will be installed on the balcony (switch, lamps, sockets), how they will be located. Then the method of connecting electricity is selected:
- from the dashboard;
- from the junction box;
- from the nearest outlet.
After that, the required cable length is calculated, the method of laying it is selected, and sockets, switches, lamps and other elements of the future electrical circuit are selected.
Power Requirements
Balconies and loggias, especially glazed ones, are rather fire-hazardous premises in an apartment, especially if they are sheathed in wood or decorated with wooden frames. Lining made of plastic or materials such as MDF also easily lights up. Therefore, it is safer to make closed type wiring - ditch the wall and lay the cable in the recess, then plaster it, or fasten the cable to the wall, and then cover it with sheathing. But this option is more suitable if the wiring is done simultaneously with the repair, since it is a pity to spoil the finish, especially relatively fresh, and it costs more. In such cases, it is convenient to use a plastic cable channel or corrugation. They are easily mounted, do not burn and look quite neat.
To make open-type wiring, you must strictly comply with safety regulations. The wire must have a reliable and integral insulation and be well fixed.
Often this installation method is dictated by the presence of repairs that you do not want to spoil, or by a design decision - in particular for interiors in a retro style, when cables are laid in textile insulation. Open wiring is also often done in wooden houses.
Important points of preparation
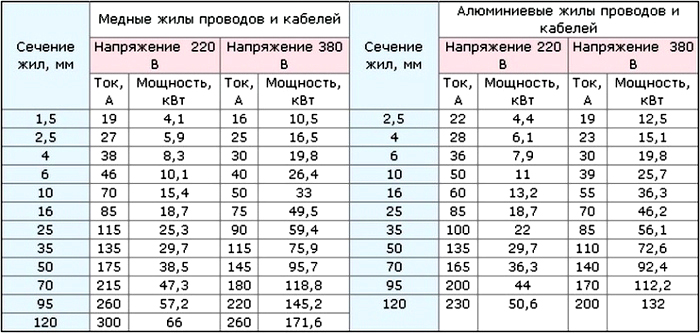
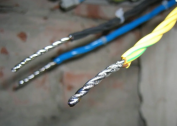
The choice of wire is determined by the required section thickness and the material of its manufacture. The thickness of the cross section depends on how powerful the devices will be used. Since workshops or similar facilities are not usually equipped on the balcony, wiring is standard. In terms of material options, only two - copper or aluminum wire. Copper in terms of performance is better, but it costs more. The cable is used two- or three-core, the cross-sectional area is 1.5 or 2.5 square meters. mm
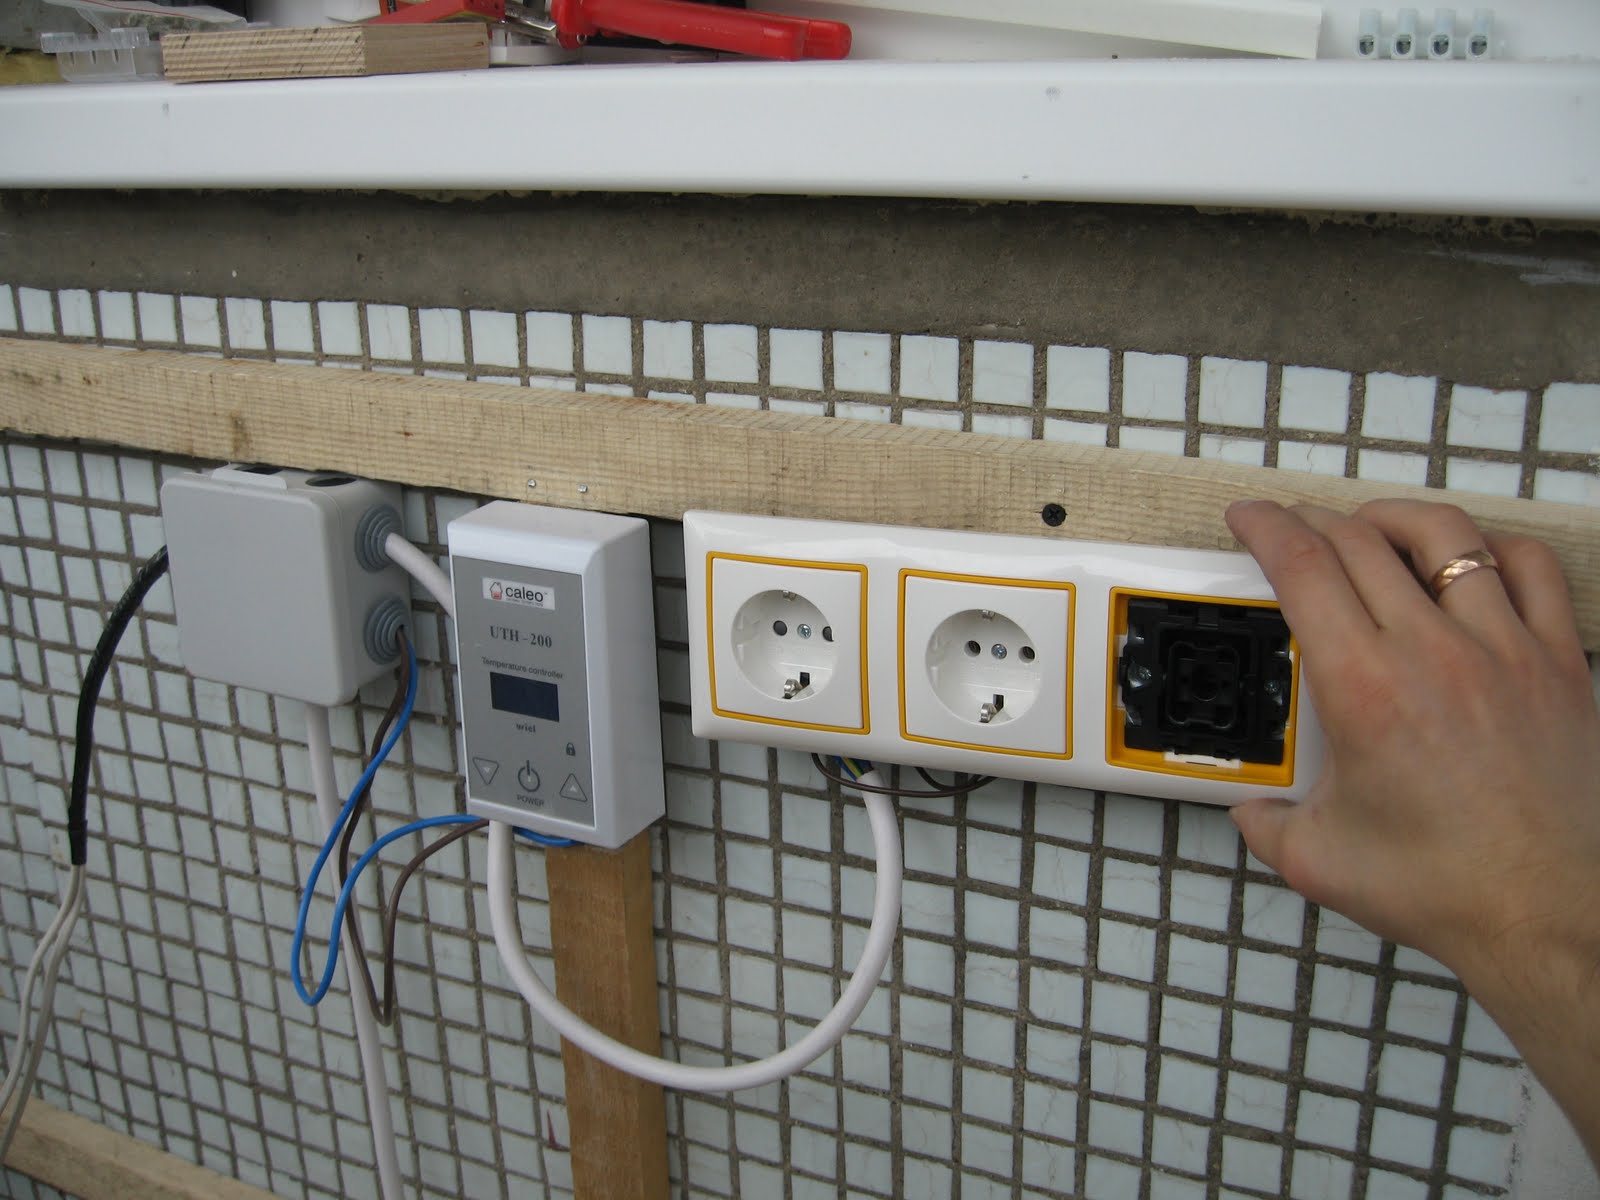
Outlets on the balcony should be closed, since this room involves increased humidity and more dust than other rooms, so the balcony outlet must be protected. There are no special requirements for switches - you can choose any. It is rational to install the unit with a socket and a switch. This will save time and cable. If the wiring is laid in the cable channel, for aesthetic reasons, it is better to minimize branching.
From the point of view of light distribution, it is better to use a sconce. In addition, they are more convenient to install.
Connection points and choice of cable management
When choosing a connection point, you should be guided by the power of the devices. If there will be a refrigerator or other similar power device on the balcony, the socket must be powered from the apartment panel or from the junction box. If only the inclusion of lamps and, for example, a laptop is provided, it is enough to conduct wiring to the balcony from the room and power the cable from the outlet.
After determining the physical parameters of the future electrical circuit, the question of the method of laying the cable is solved. An open method is simpler, a closed one is more aesthetic and more reliable.
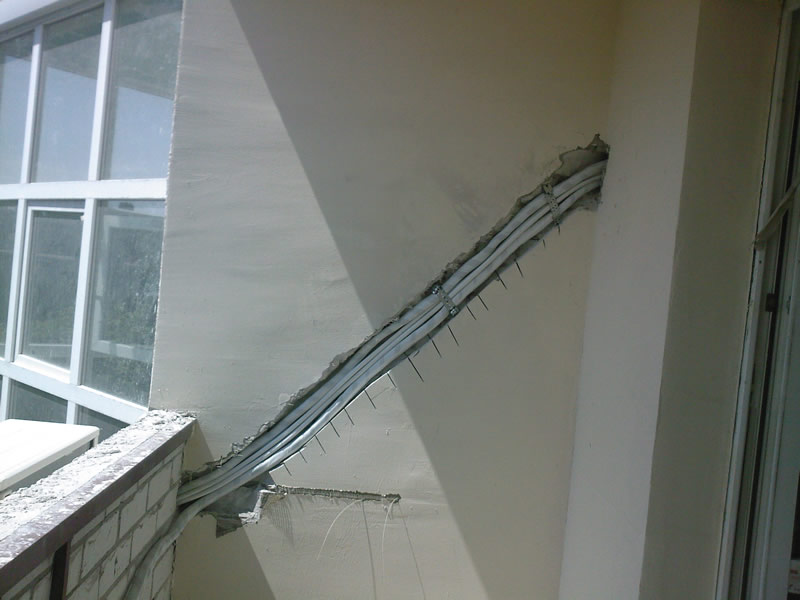
Closed way
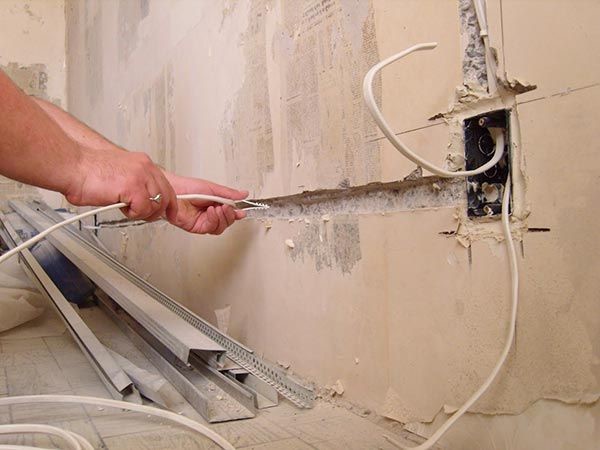
Since this option involves shredding the wall, you need a hammer drill. You should also clearly think through the wiring diagram so as not to make unnecessary recesses in the wall. Strobes are made based on the layout of the fixtures, switch and socket. A cable is laid in them, and the place of its laying is putty. Electrical appliances are being installed. The external part of sockets, switches and fixtures is best installed at the very end, when the walls are finished.
If the wiring of electricity occurs at the stage when the balcony is done from scratch, it is better to stop at a closed type of wiring for security reasons.
Open way
Open-circuit wiring is much easier and faster. A novice will completely cope with this task, the main thing is to comply with safety regulations. In this case, you also need a hammer drill, but an ordinary hand drill will do. It is enough to drill holes for dowels that will hold cable channels on the wall. They try to mount them in the corners of the room so that it is not so noticeable. Then a wire is laid in them. There can be several wires in one channel, they should be placed freely, not close to each other. After laying the cables and installing all the devices, the channel is closed with a lid.
The advantage of the open type of installation is the ability to change the layout of points directly in the laying process. If, after some time after the end of the electrical work, there is a need for another lamp or socket, it is enough to simply remove the cable channel cover, lay an additional wire and install the device. With the closed method, the wall would have to be destroyed again.