When replacing the switch or installing a new one, you should figure out how to connect the light switch to the light bulb. The circuit for connecting the switch to the light bulb has different versions, from which you can choose the most convenient. Proper preparation for installation work is also important.
Electrical Safety Measures

Before you start connecting devices to each other and to the electrical network of the apartment, you need to take care to prevent traumatic situations and damage to the wiring.
Step by step sequence:
- Disconnect the network branch where the work will be carried out. This can be done by turning off the switch of the desired group or the main one in the input panel.
- Prepare a stable table on which manipulations will be carried out at high altitude. Due to the lesser risk of injury, it is more suitable for this than a ladder.
- Near the shield for the duration of the work you need to put a warning sign "Do not include." This is especially important in cases where the location of the shield is highly likely to be invaded by outsiders.
- Check the absence of voltage on the exposed contacts of the wiring and devices. This is easy to do with a screwdriver with indicator. Before de-energizing, you should check its operability from the included network. You can use a multimeter.
You can also check the absence of tension on the outside of the hand - the skin must be absolutely dry, not have wounds and other integrity violations. This place is characterized by high resistance to electric current compared to other parts of the hand.
Work Tool

It will be necessary to prepare the tools:
- pliers,
- a well-sharpened knife
- thin and ordinary slotted screwdrivers,
- nippers.
Well, if you can find a tool with special slots for removing insulating material from the wires. It is also worth having on hand a drawn diagram of the connection of the light bulb and to think over the sequence of work.
Recommended cables and wires
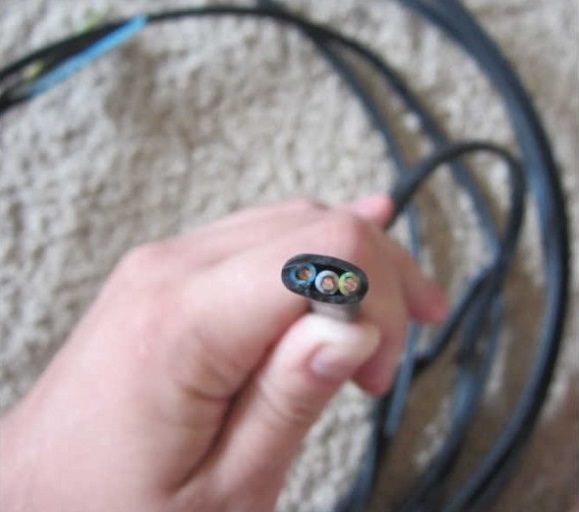
In order to lay the lighting network and then connect the bulb from scratch, it is better to choose VVGng cable elements with single 1.5 mm2 copper conductors coated with a flame-resistant insulation material. It is best to comply with the accepted correspondence of cable colors to their functional purpose - this will make it easier to maintain the network in the future. The wire intended for grounding should have a yellow-green color, the working zero should be blue, and the phase cable should be any other than the two.
If the house has an old wiring made of aluminum and it is necessary to replace a fragment of the lighting line, the cable cores should also be made of this metal - upon contact with copper inside the distribution box at the twisting point, both wires will be oxidized. The APPV 1.5 option is suitable. But if it is possible to make a configuration with clamps instead of twist, it is permissible to use a copper cable. In this case, it is definitely not worth using products with multi-wire veins.
Junction box application
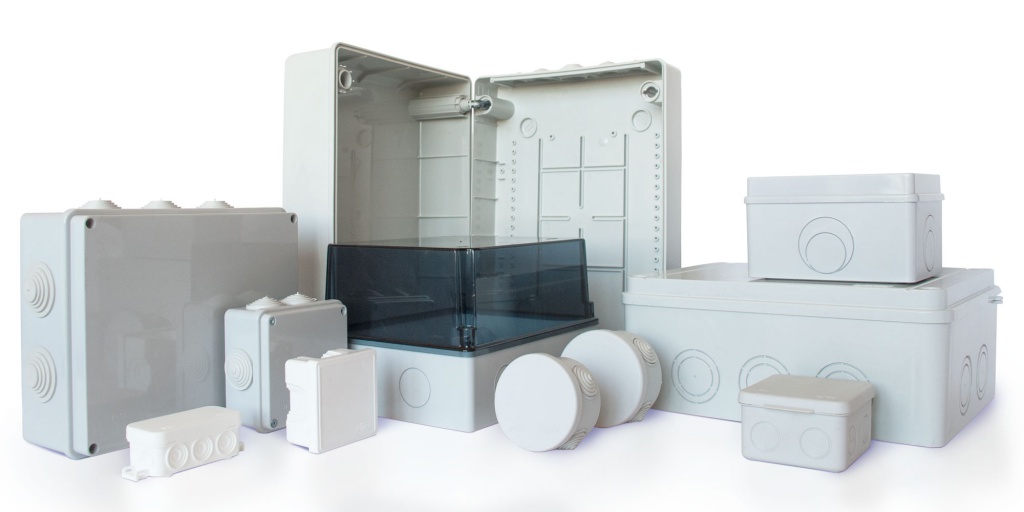
Wires do not go from the switchboard directly to the electrical appliance or from the switch to the lamp.Outgoing and guiding lines to the device are switched in special junction boxes. Inside such a structure there is usually free space where it is supposed to form and place the structure from cables belonging to several lines and connected to each other by twisting. For more reliable traction, tail sections should be scalded. Copper wires may only be soldered.
Before laying bare contacts inside the distribution box, it is necessary to cover them with insulating tape - this will prevent the contact of metal parts.
Instead of flying, you can use special clamps for insulation. If the box has screw-type terminals, they are also used in the contacts. Conventional clamps can be used if the box space is large enough to accommodate the cable terminations combined by them.
Stripping insulation
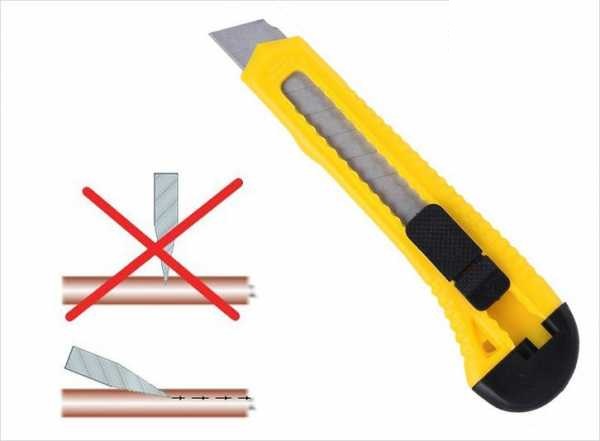
The outer layer of insulating material at the ends of the cables is removed with a sharp knife. First you need to make a longitudinal incision 3 cm in length. Then they take in their hand a bunch of loose ends of the wires, and another sip a notched shirt, which in the process will crack spontaneously. The removal length must be the maximum that the cup holder for the outlet, the power distribution box or the lamp housing can accommodate. Some stock is not a problem - it may be useful in the future if the contacts burn out. The shirt is carefully turned inside out and carefully cut off in a circle.
The veins are best cleaned with a special stripping device. In its absence, a sharp knife or biting surface with pliers will do. The procedure must be done as carefully as possible, by deeply sticking the working surface of the tool into the insulating material. It is necessary to ensure that it does not affect the conductor metal: in this case, the wire will break. This can happen both before installation and after.
The length by which the wiring is stripped depends on the method of inclusion. Minimum for screw terminals: often in this case 7-10 mm is enough. Twisting with the wires of the lighting device requires a length of 20-30 mm. When arranging the twists in the distribution box (especially if they are not planning to solder or weld), a large length is needed - 30-50 mm.
The nuances of twisting
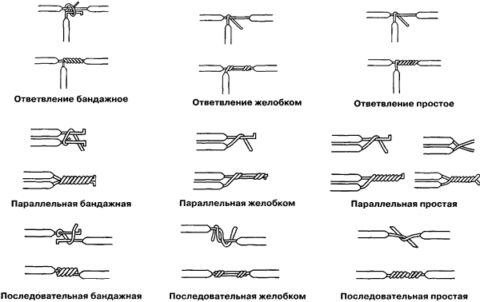
Making a configuration of a pair of wires, their bare ends are laid crosswise. The intersection point should be located near the place where the isolation begins. After that, the ends are compressed with fingers and twisted. At the end, squeeze with pliers.
If the number of connected wires is more than two, they work with them on the same principle. If the configuration turned out to be long, it can be folded in half and pinched with a tool so that less insulating tape takes to process. The latter begin to put from the bottom edge of the insulation and go down. Having reached the ends of the bare tails, they make 2 additional turns “in reserve”, bend it to twist to protect it, and wind the second row from the bottom up. A few turns must necessarily cover the factory insulation.
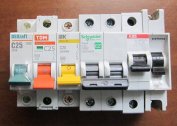
Circuit breaker installation
There are two types of devices - designed for outdoor installation and for indoor. Models of the first type can be mounted on different types of surfaces without additional devices for insulation. The latter need to be installed in the previously prepared rounded grooves.
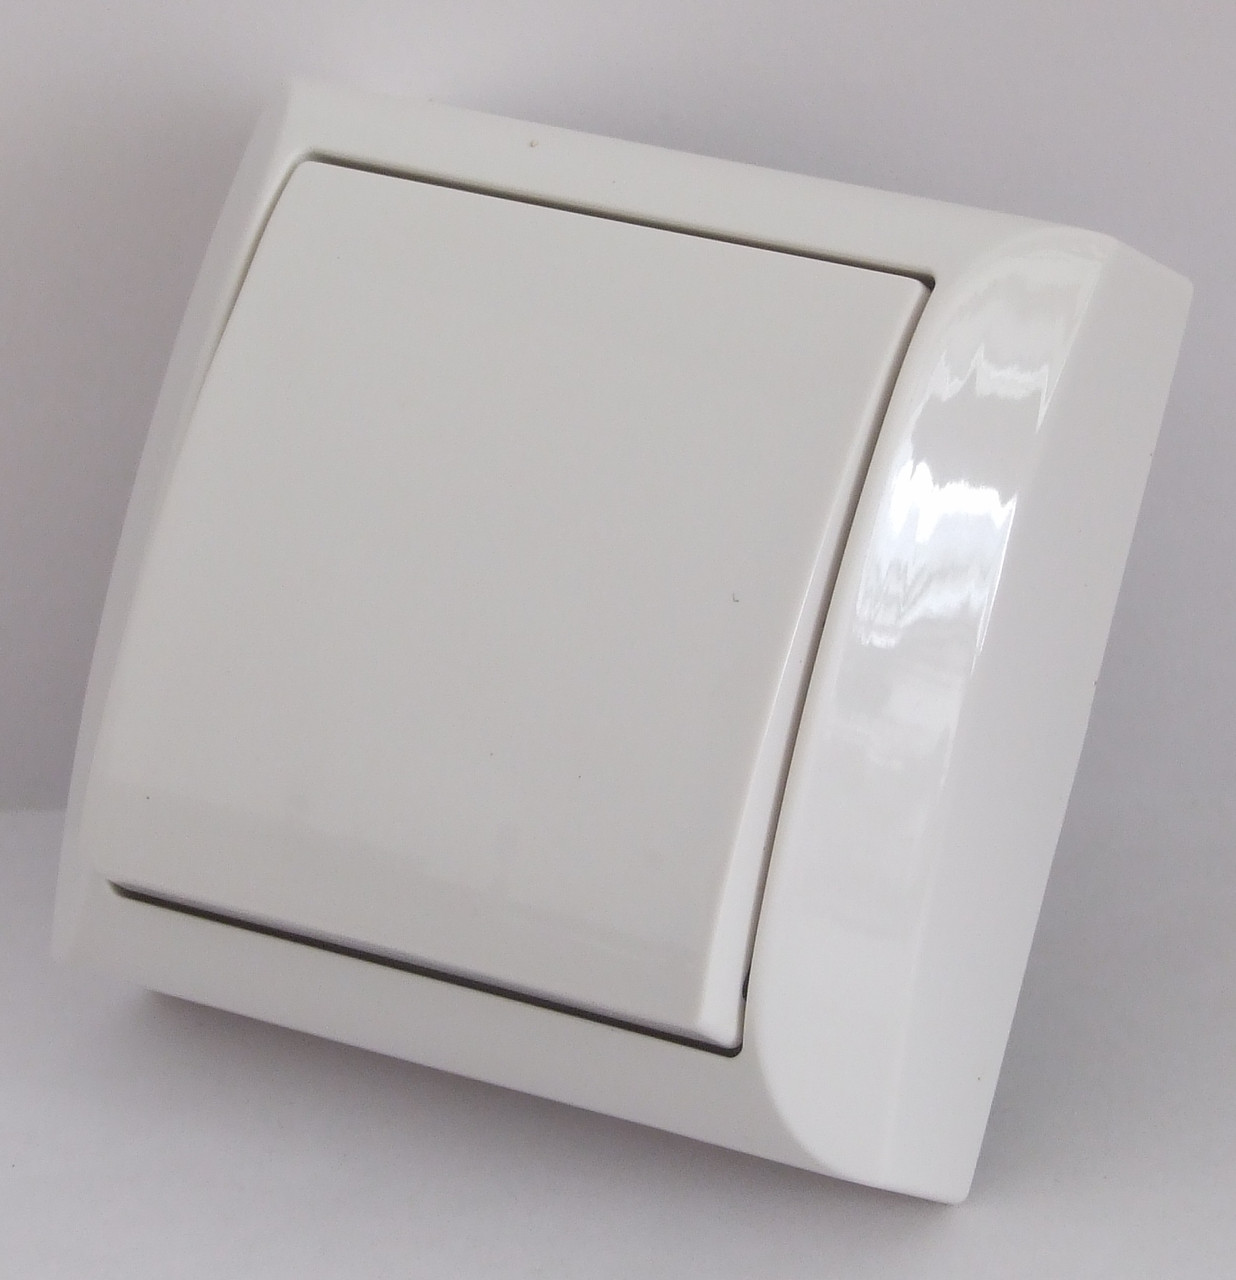
It is considered to be correct such a landing of the switch when the light is turned on by pressing the upper area of the key, and turned off using the lower. In this case, even a small tenant will be able to quickly turn off the lamp with a downward movement of the hand.
The switch from the distribution box must go wiring, serving as a phase. The main task of the device is to interrupt the phase circuit so that there is no voltage on the lighting device when it is off. If the switch device allows, inside it the phase cable is connected to the upper contacts, and the outgoing wires to the lower ones.
Varieties of household switches
Devices come with one and two buttons. The first works binary “on-off” and is designed to control a single lamp. The second allows you to control a pair of independent lighting circuits. There are switches sharpened for three circuits.
According to the internal structure, several varieties are distinguished:
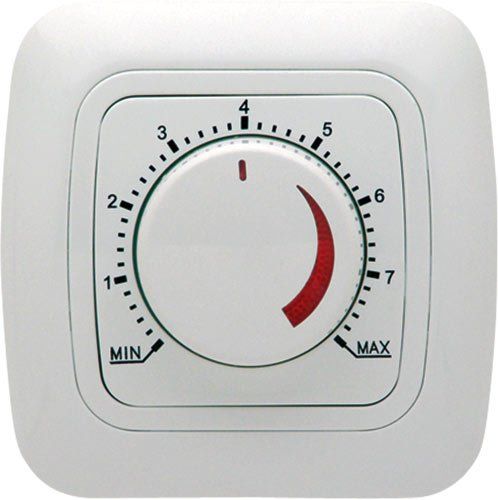
- Dimmers - perform on and off functions and control the degree of brightness of lighting by means of a button or knob;
- devices with a pair or three keys and step regulation of lamp burning;
- bushings with a single button, throwing the phase between two cables - when voltage is applied to one of them, it is cut off from the other;
- cross one-button, in which changing the position of the button allows you to connect the lines in a cross way instead of a direct one;
- sensory - are not equipped with lever mechanisms, electricity is supplied and turned off when touching the case with your fingers.
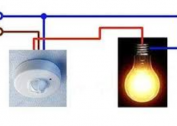
There are devices with a sensor that respond to a passing tenant.
Types of lamps for home use
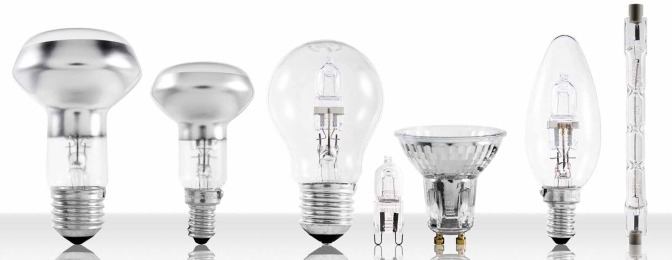
Traditional are round incandescent bulbs with a tungsten spiral mounted inside. Halogen devices differ from them in that the corresponding gas is pumped into the flask instead of creating a vacuum. This reduces the size of the lamp and extends its life. But it must be installed very carefully, in no case touching the glass with your hands.
Another category of lamps is energy-saving. They are luminescent and using grouped LEDs as lighting elements. The second type can be mounted in standard twist chucks.
Ways to power a light bulb through a switch
There are several options for connecting the lamp to the switch: a traditional one-key, with two buttons, two switches and others. The master needs to choose the most suitable for the purposes of the tenant and the device of the home electrical network.
The simplest connection of a lamp

The simplest wiring diagram is the connection of a lamp to a device with one button that performs exclusively the operations of turning on and cutting off the light. It is suitable for a single lamp fixture. To perform this configuration, you need a pair of wires. If the previous wiring has only two power cables sticking out, and it is difficult to rebuild the home network, it is permissible to connect a device with several lamps. But then when the light is turned on, all the bulbs will light up at once.
It is possible to use a dimmer with such a structure for controlling the brightness of lighting, but it cannot be used in combination with a number of types of light bulbs (energy-saving, daylight, LED devices). The switch should be suitable for use with a lighting fixture according to the power criterion.
It is permissible to install a sensor device with binary operation, limited inclusion and blocking of lighting. Such a switch is also powered through a pair of wires. You need to mount it in the socket.
Lamp one, two switches

Owners of long corridors often need to connect two switches to one light bulb in order to control the lighting device from two ends of the aisle.This configuration is also used when moving up a flight of stairs or in spacious rooms to control a lamp without getting out of bed. The disadvantage of this option is the uncertainty of the position of the on / off buttons.
If you install a third one-button switch in the space between floors, independent lighting of staircases is realized. Then, at the touch of a button, the previous device will turn off, and the next one will turn on.
Errors and malfunctions
Sometimes after the installation is completed, it is found that the lamp does not light up when the light is turned on. In this case, take a multimeter (or indicator screwdriver) and check whether the mains voltage is supplied to the switch by applying probes or by touching the ends connected with the device with a screwdriver. If there is no power, the wiring in the distribution box is incorrect. They are probably not well twisted. If the reaction occurs only on one of the contacts of the switch, the last one is defective, in its place you need to install a new one.
If you suspect a problem in the power distribution box, disconnect the line and re-twist the wiring connecting the phases of the switch and the main network, in compliance with safety requirements. At the end of the work, the current is again supplied and the operation is checked.
Connecting the lamp to the switch is a simple procedure from the point of view of installation work, moreover, it has several configuration options. The user can choose the option that suits their tasks.