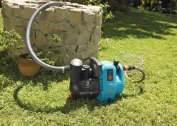
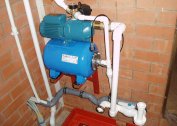
To maintain constant pressure, people buy a hydraulic accumulator. This is a special capacity with a membrane. He accumulates water inside himself, and then at a certain point in time distributes it. Now you can independently adjust the pressure, which saves money.
Pressure accumulator effect
 In general, there must be two environments inside. Usually it is air and water, but there are some models in which air is replaced by gas.
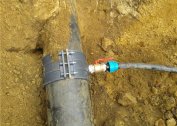
This device works as follows: when the pump is activated, water begins to pass from the rubber membrane to the tensile tank. The gas is compressed, and as a result of this, the pressure increases. The pressure moves the fluid into the piping. After the device reaches the set value, it will automatically turn off.
Water is taken from the stock of the accumulator. If the volume of the liquid drops strongly, this leads to a decrease in pressure. As soon as this starts to happen, the pump starts working again. The entire accumulator operation is controlled by a pressure switch.
The main function is to create the necessary conditions for the successful operation of the pump. But this installation can solve other problems:
- prevention of sudden changes in the pressure in the pipe, which gradually damage it;
- extends the life of pipes and pumps
- creates a reserve of water in case of a sudden outage in the house.
When choosing a similar installation, you should first pay attention to the power and type, and from these indicators, choose the tank volume. For example, a surface pump with a capacity of up to 1 kW requires a drive with a volume of 24-50 liters. But a 1kW submersible pump requires a hydraulic accumulator of 60-100 liters.
Types of accumulators
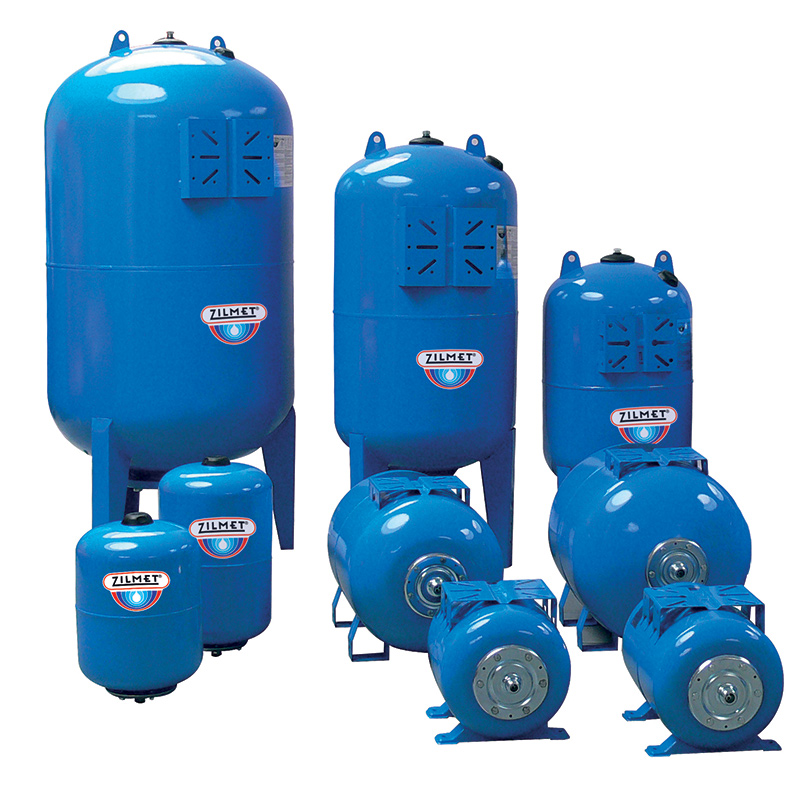 Hydraulic accumulators have several indicators by which they are divided into types. In most cases, the division criteria are size, purpose and performance. So, in size there are:
- small - up to 50 liters;
- medium - 50-100 liters;
- large - more than 100 liters.
Small instruments are best installed if the pump capacity in the well does not exceed 2m³ / h. Medium ones are ideal for a capacity of 3.5m³ / h, and large ones for pumps with a capacity of 5 cubic meters. By designation, this device is divided into only two types:
- for hot water;
- for cold water.
Accordingly, the first view is always painted red, and the second in blue or blue. In addition, tanks are often distinguished by the material of which the membrane is made. So, the tank for drinking water is made of safe rubber. The last criterion is the performance of accumulators:
- vertical
- horizontal.
The first type is established if there is not enough space in the room. In other cases, horizontal accumulators are used, complete with an external pump.
Optimal performance
In general, most of the indicators in the accumulator depend on the correct setting of the air pressure level, the minimum and maximum pressure at which the pump activation or deactivation system will turn on.
If you decide to independently check the performance of such a device, then try to adhere to the recommendations.
Firstly, the air pressure in the tank should be less than the minimum defect on the device. Typically, the difference in indicators should vary within 10%. If this condition is observed, then a certain volume of water will always remain in the tank before the pump switches on again. For example, if the pump is activated at 2 bar, then the air pressure should be 1.8 bar. Since: 2 bar / 100% * 10% = 0.2 bar.2 bar - 0.2 bar = 1.8 bar.
Secondly, the air pressure in the storage tank will never depend on its volume. For example, on average, 1.6 bar is enough for a capacity of up to 150 liters, and 2 bar is enough for a capacity of up to 600 liters. If the accumulator is installed in a one-story building, then its pressure can be reduced to 1 atmosphere, provided that not much water is consumed. If you do this, the wear of the water system will greatly decrease. True, you will have to limit the use of plumbing devices.
If you lower the pressure below unity, then the rubber bulb will stretch very much, and it will soon have to be changed. Raising the pressure of more than 2-3 bar is also undesirable. Since such a pressure of air will occupy a large part of the tank, and this will reduce water consumption. In addition, the load on the pipes will increase, which can lead to their rapid wear.
Verification Methods
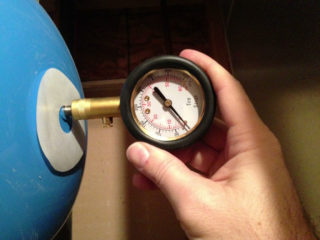
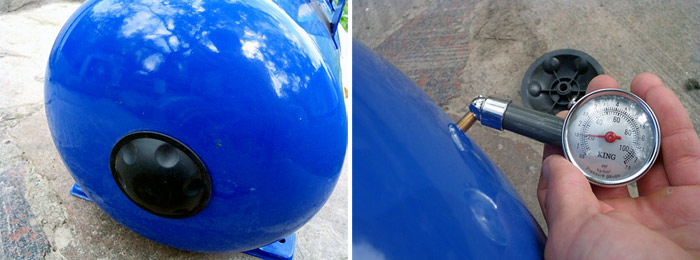 Check the accumulator with a pressure gauge. It is better to use electronic car gauges.
The number of checks is indicated for each model separately. You can find this information in the instructions or product passport. Usually enough 2-3 checks of the accumulator per year.
Before you begin the verification procedure, you must definitely drain all the water from the tank. After that, the pump is disconnected from the power supply network. Then:
- Unscrew the decorative cap that covers the nipple, it is located in the upper part of the product body.
- Next, connect the pressure gauge to the spool.
- In the accumulator instructions, the factory parameters must be indicated, it is necessary to compare them with the pressure gauge.
- If the level is lower than indicated in the instructions, it is necessary to pump air using a compressor. And if higher, then bleed air.
- After this, you need to wait about 24 hours, if the pressure level in the accumulator is normal, then you can assemble the device back and continue to use it for its intended purpose.
If the pump began to turn off and on often, then this is a direct reason to conduct an unscheduled check of the accumulator. In general, for any deviations, it is advisable to conduct a similar check of the pressure level.
How to properly adjust the pressure in the accumulator
 In order for the device to work properly and for a long time, you need to correctly adjust several parameters:
- pressure at which the pump starts;
- pressure at which the pump shuts off;
- air pressure in the membrane tank.
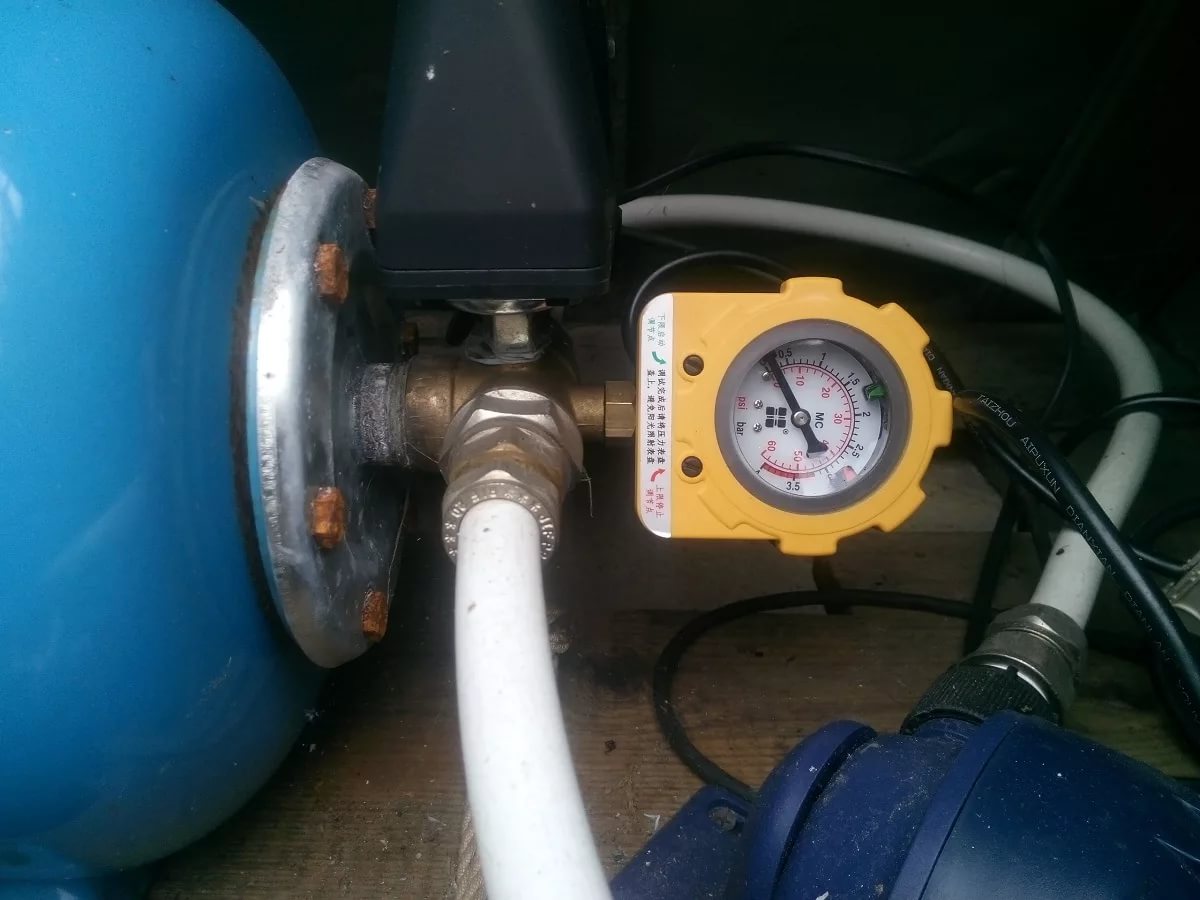
The first and second indicators regulate the pressure switch. It is better to adjust several times to minimize the error.
In the pressure switch, you need to find two springs that vary in size. They are both fixed with nuts. A large one is responsible for activating the pump, and a small one is needed to set and determine the minimum and maximum pressure. They are both connected to a special membrane, which closes and opens the contacts.
To adjust these springs, use the key to turn the nuts that secure them. If you turn the nut clockwise, the spring will compress more strongly, and this will lead to an increase in the threshold for switching on the device. Rotating in the opposite direction reduces the level at which the device is triggered. The adjustment of the entire device itself is as follows:
- The pressure level in the tank is checked, if necessary, it is better to pump up with a compressor.
- Turn the nuts on the large spring to the desired direction.
- Open the tap to reduce the pressure. At a certain moment, the pump will turn on, the pressure that was in this unit of time will be recorded by the pressure gauge. If this value does not suit, then repeat all over again until you reach the optimal value.
- Now you need to adjust the small spring. It is characterized by increased sensitivity, so it must be turned a maximum of half a turn.
- The indicator of a small spring is determined with closed taps and an active pump. The pressure gauge will show the value at which the device will turn off.If it is above 2.5-3 atmospheres, it is recommended to loosen the nut.
- Drain all water and start the appliance. If all indicators are normal, then everything worked out. If not, you will have to adjust again until it works.
Once again, all indicators must be taken in the product passport. Since they are usually different on different models.