In order to protect an autonomous source from debris getting into it, correctly place all pumping equipment near the mine, to prevent freezing of water in the column, it is necessary to do the well construction in a timely manner with your own hands. There are several options for upgrading the hydraulic structure. Each of them has its pros and cons.
How to arrange a source
Regardless of which well on the master’s site is artesian, sand, or Abyssinian, one of three construction options can be applied to it.
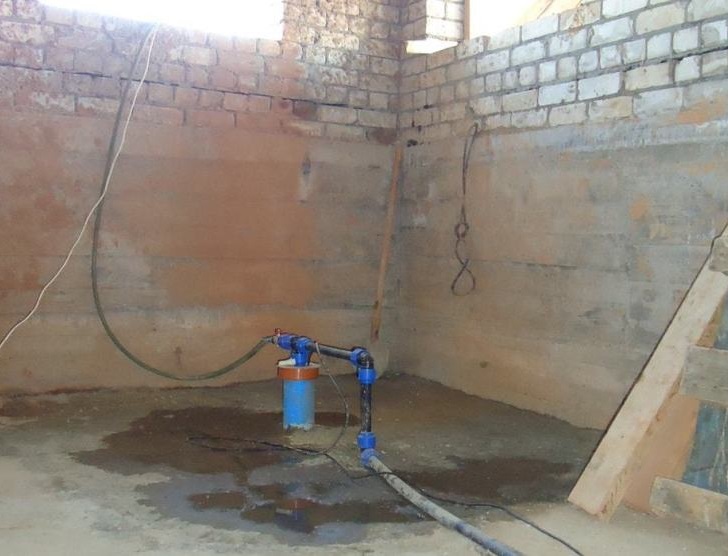
Location of the source in the house
At first glance, the easiest way to protect the source from the cold, garbage, vandals. But only if it comes to drilling the well before the construction of the house. Drilling inside a finished basement or cellar is technically difficult and costly. An exception is the Abyssinian source, for which a pipe is simply driven into the ground at a given depth.
The advantages of the location of the source and the necessary equipment in the house:
- All components for the well and the upper part of its casing are located in the heat. There is no need to insulate the water supply, bear the costs.
- The minimum footage required for the device trunk.
- Savings on the purchase of a powerful pump, which should transport water to long horizontal sections provided that the well is located on the street.
There are a number of disadvantages:
- High humidity from the basement. The risk of mold spreading around the house in the future or the need to carefully insulate the basement.
- Regular noise from a running pump or soundproofing work.
The most important minus in the internal location of the source is the inability to use special equipment for repairs or grouting of the source. Sooner or later, such events will be required.
House overhead
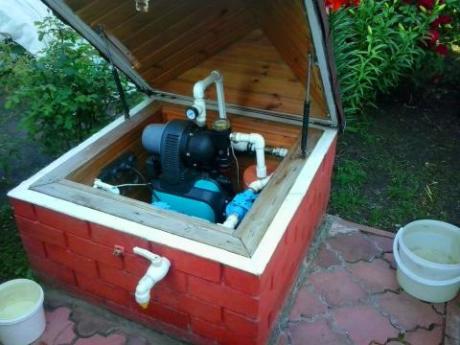
Using this method, you can equip a water well with your own hands. The solution is designer-interesting, but more costly than installing a simple caisson. The construction of an elevated house will require more consumables.
Structurally, the house is a structure deepened in its lower part. All work units are located below freezing, as if in a cellar. The upper part of the building can play the role of a shed for storing household equipment.
Caisson
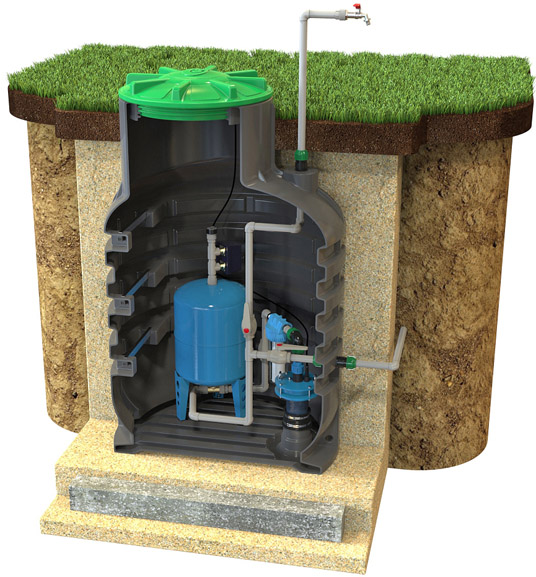
The best option for arranging the upper part of the casing string. Structurally, this is a chamber of approximately 1x1 meter and a depth of 1.5-2 m, which is located in the ground around the casing. Thus, the pit is an air gap protecting the source from the influence of subzero temperatures. Landscaping does not spoil such a structure. If the lid of the caisson is interesting to finish, it will add zest.
You can build a camera with your own hands from reinforced concrete rings, bricks or concrete. On sale there are ready-made factory caissons made of polymer.
Necessary tools and materials
To erect a caisson and improve a well on water, you need to prepare the following tool:
- shovel (bayonet and shovel);
- tamper;
- concrete mixer;
- tape measure and construction level;
- hammer drill;
- nails, hammer;
- hacksaw.
From the materials you will need:
- cement grade M-400;
- river sand;
- crushed stone of the middle fraction;
- formwork boards;
- reinforcing mesh;
- brick blocks or reinforced concrete rings (if the caisson will be built from them);
- sealant (roofing material, bitumen mastic).
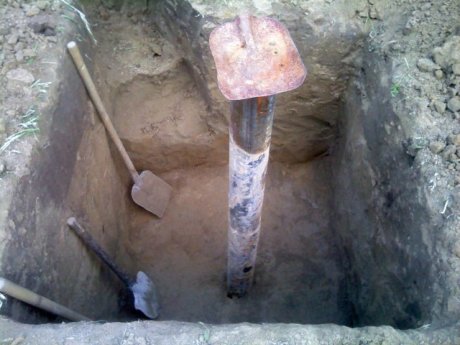
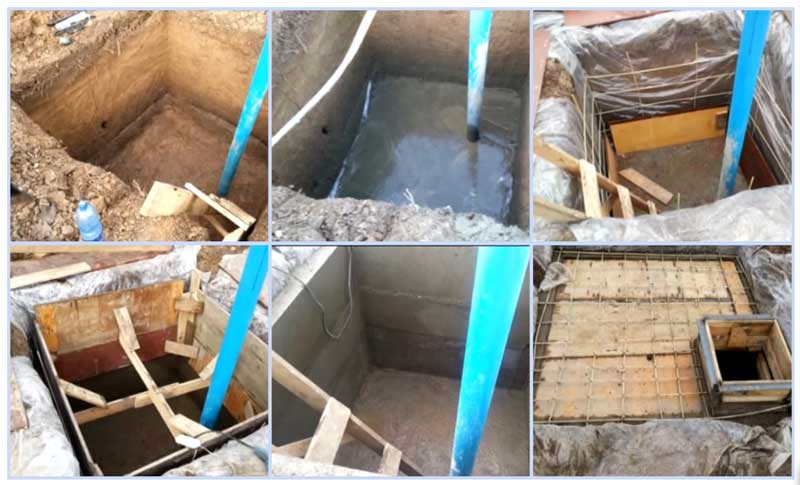
The initial stage of installation of any caisson is earthwork and preparation of the foundation. Immediately you need to dig a hole around the casing 1x1 m and a depth of 1.5-2 m (plus 30 cm on each side). The bottom is well rammed. If the installation of a polymer caisson is provided, you can pour a sand pad 10-15 and compact it. If the installation of the camera is made of concrete, brick, reinforced concrete rings, you will have to fill in a monolithic base.
A layer of mortar prepared from a mixture of cement, sand and gravel in the proportions of 1: 3: 5 is poured on top of the sand cushion. The mixture is brought with water to the consistency of thick sour cream. The concrete pad can be reinforced with reinforcing mesh.
Forcing the walls of the caisson
If the protective chamber for the well is made of reinforced concrete rings, you will have to hire special equipment. Each ring with a crane is lowered to the bottom of the pit so that it becomes even. The joints between the rings are thoroughly foamed and coated with sealant.
Using a puncher, make side technical holes for the outlet of the pipeline. All gaps are closed with sealant. The caisson roof can be made of concrete slab with a top hatch.
When installing a brick caisson, the laying of blocks begins from the corners. Previously, under the walls, lay sheets of roofing material. At the masonry stage, it is important to immediately provide technical gaps for the output of the trunk from the chamber.
Ready caisson plaster on both sides. After the solution has dried, the walls are coated with bitumen mastic.
When casting monolithic walls, you must first install the formwork. It is mounted to the whole height from wooden panels or in stages from 30 cm boards. The solution is poured, carefully tamping it. The walls of the monolith caisson can be reinforced with reinforcement.
After the concrete chamber is completely dry, technical side holes are made using a puncher with a crown. Then the walls on the outside should be thoroughly greased with mastic.
When the caisson is ready, backfill it. In this case, the soil must be properly compacted in layers. Instead of ordinary land, it is recommended to use a cement-sand mixture.
The device of a plastic box
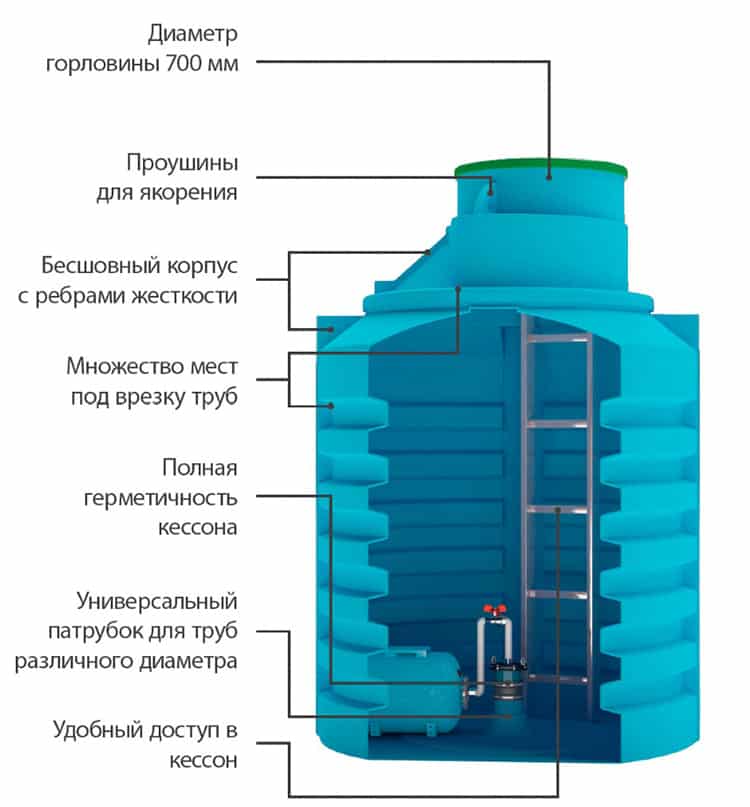
If the master decided to leave the polymer chamber, the layout of the source looks like this:
- A round hole is made from the bottom of the tank. Its diameter should correspond to the section of the casing.
- The caisson is put on the column and lowered to the very bottom of the pit.
- Using a hacksaw, they form lateral technical gaps and remove pipes of the trunk. Joints, open areas need to be well coated and sealed.
The installed polymer caisson is poured on the outside with soil or a mixture of cement and sand.
Equipment installation
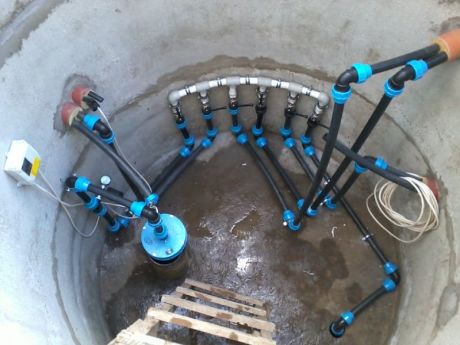
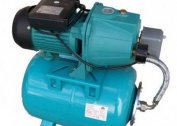
In order for the well to work smoothly and fully, it remains to install all the components of the pumping equipment. Here it is necessary to prepare the following elements:
- Submersible submersible pump. Especially relevant for artesian wells.
- Check valves, drainage and shut-off valves.
- Coarse filter.
- Hydraulic accumulator with a volume of 25 liters or more. The more people live in the house, the larger the tank should be.
- Pressure gauge and pressure switch. With their help, you can adjust the optimal performance parameters of the station.
All components must be connected in series. Dry start of the station is strictly prohibited. Therefore, first you need to fill the accumulator with water through a special technical hole. At the first start-up, the pressure indicators are regulated in the range from 1.5 to 3 atmospheres (lower and upper values). This is enough to provide a thirty-meter head of water.
A well-equipped well is an uninterrupted supply of water to the system, the absence of the need for complex repair work.
If you need to equip a summer version of the source, you can simply put on the top of the column head.