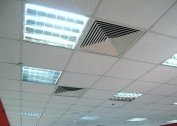
The main function of the ventilation system is to clean the air of dust, excess moisture. It is also needed to eliminate unpleasant odors that may remain in the kitchen after cooking or in the bathroom. Sometimes contaminated air masses penetrate back through the output shaft itself. To prevent this from happening, it is necessary to install a ventilation check valve.
Purpose of the check valve

Often an unpleasant odor appears in the bathroom or in the kitchen from the central shaft. Air may stagnate due to insufficient natural draft, lack of supply air, and clogging of the mine. Smells from the sewer or gas can penetrate from neighboring apartments. To prevent this from happening, a valve is installed on the ventilation duct.
Additionally, the product controls the speed of the air flow passing through it. The valve does not allow cold air from the shaft to enter the room, reduces the level of external noise.
Device and principle of operation
Air check valve - a device that is mounted at the outlet of the ventilation duct. It consists of a housing equipped with a damper that can open under the pressure of the air flow, and then return to its original position, and a grill.
Valves come in many sizes, so they are suitable for any ventilation system.
The principle of operation of the device is simple: dirty air is removed from the room and presses on the damper, as a result of which it opens. As soon as the pressure ceases, this element returns to its place and does not allow dust and odors to penetrate back into the house.
Varieties of check valves
Since hoods are used in every home, equipping them with a check valve is mandatory. Devices differ not only in the material of manufacture, but also in design, shape, and method of opening.
According to the material of manufacture
The check valve for ventilation in the kitchen or in the bathroom is made of silicone, plastic, galvanized steel. These materials have the following features:
- Plastic. Resists rust and corrosion, quickly installs. It is characterized by a long service life, low price. The disadvantage of this valve is its low mechanical strength and low resistance to low temperatures.
- Stainless steel. It is steady against influence of cold air, strong, has a big operational resource. It is necessary to install a steel valve if a powerful hood is used that provides high air pressure.
- Silicone Usually it is already integrated in a commercial exhaust fan. The item is a thin film attached to the back of the device. Since the silicone plug does not completely cover the fan, it is not suitable for heavy loads.
In a domestic environment, a plastic product will work perfectly. In addition, it is easy to care for.
By way of opening
According to the method of opening, the product is manual, mechanical and electric. The first view provides for the presence of a special lever through which the shutter opens and closes. The disadvantage of this product is incomplete tightness, as well as the inconvenience of operation.
Check valves for electric ventilation are included with the exhaust fan. They can be set if ventilation is forced, and there is no natural circulation.
An automatic mechanical valve is the most common, as it works due to the movement of air masses.
By design and shape
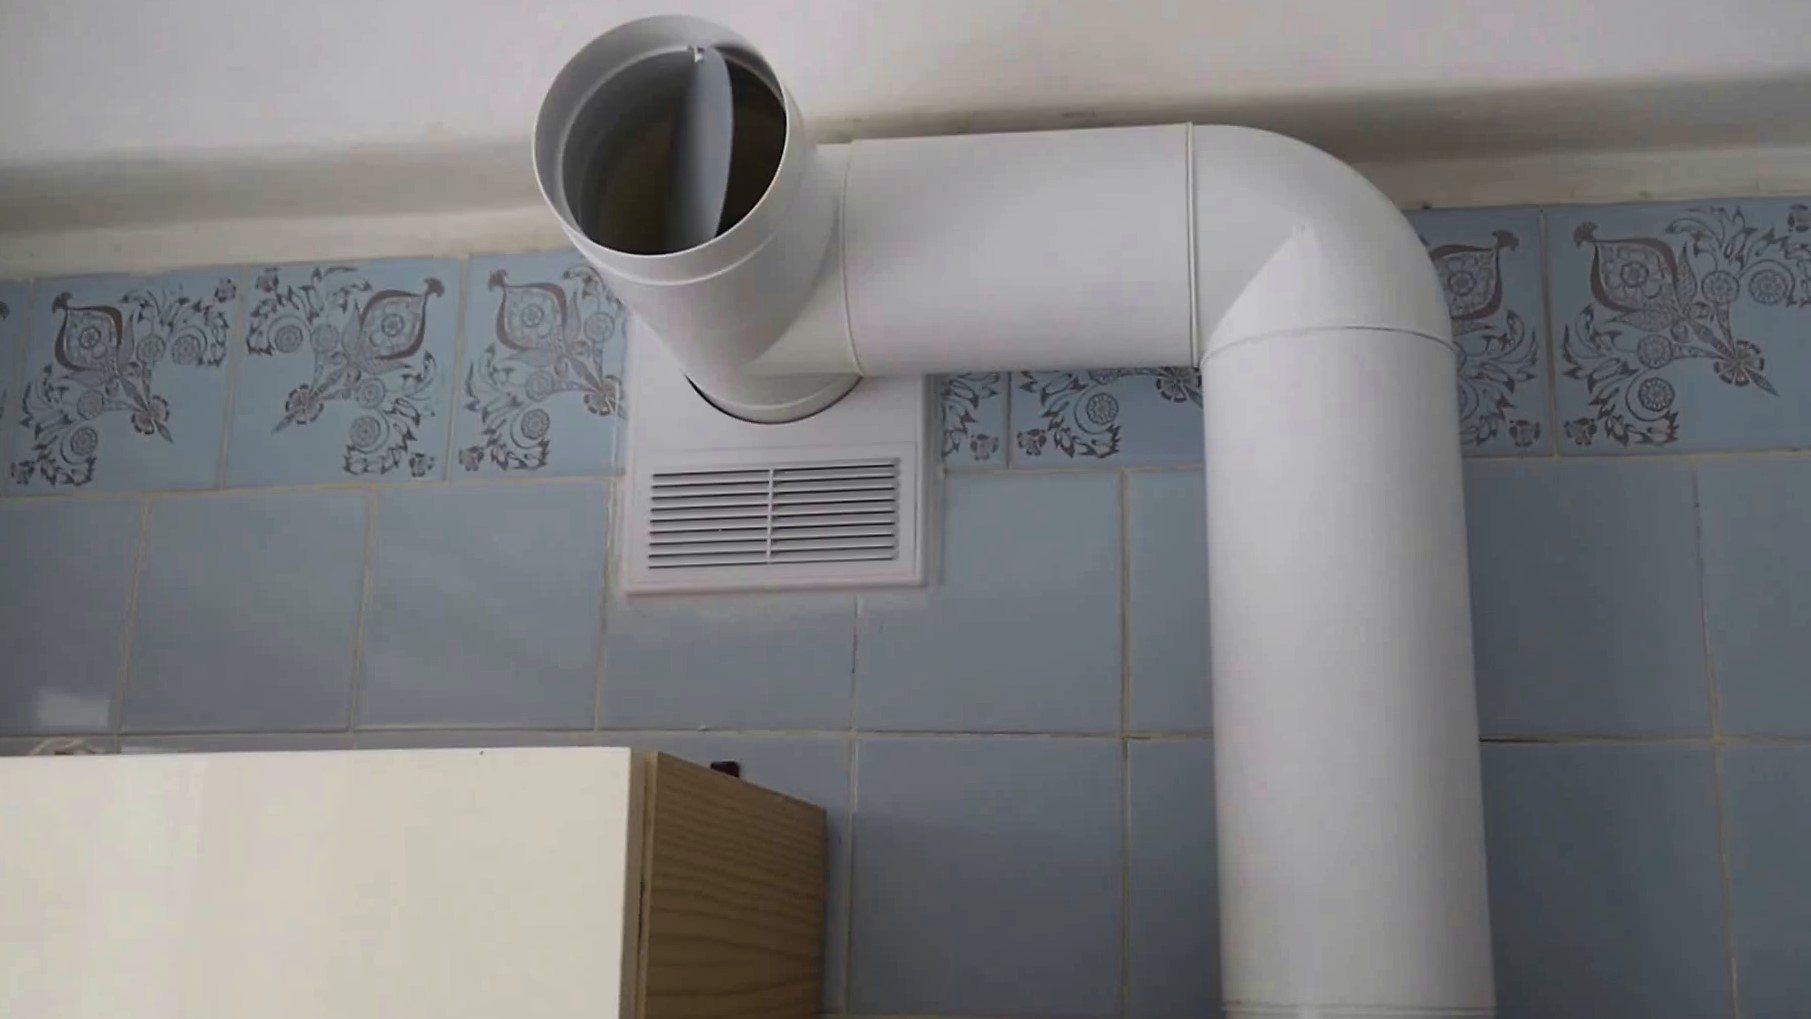
 Exhaust valves in the kitchen or bathroom are different in shape, it all depends on the ventilation pipe. For domestic use, round models with a diameter of 100 mm or more are used. Industrial options can reach a cross section of 100 cm. Rectangular ducts are often installed on high-performance ducts.
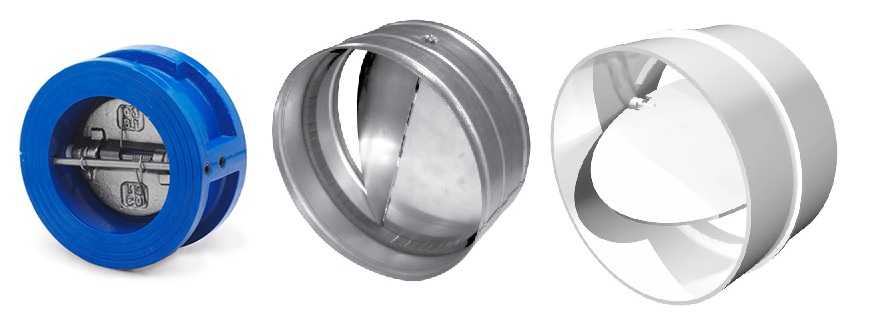
By design, such products are distinguished:
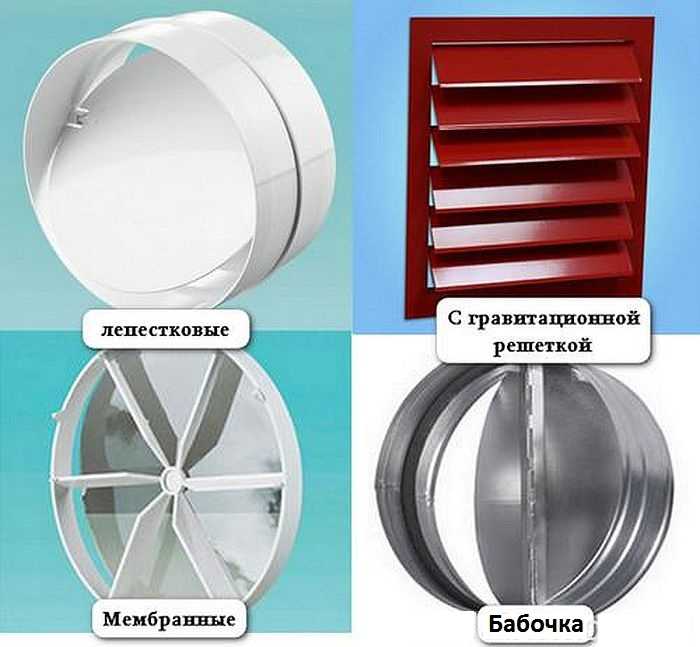
- Single-leaf (gravitational). Airflow presses on the valve flap and opens it. In the presence of reverse thrust, the plate closes under the influence of its own weight. This product is reliable and simple. It can be installed even with a natural ventilation system. The design has 2 versions: the displacement of the axis position occurs relative to the middle section of the duct duct or a counterweight is located inside the device.
- Bivalve spring. Equipped with two curtains that open at air pressure and slam shut under the influence of springs. Installation of such a product is possible at any angle. Good functionality is only provided with a forced ventilation system.
- In the form of blinds. The product has a gravitational type of action and is equipped with several wings. The device is compact, you can put it only on the hole for natural ventilation or on the entire grill. Most often used for outdoor parts of the duct.
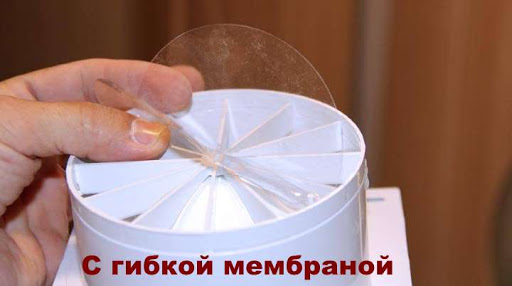
- Membrane In this case, a flexible plate is used, the position of which changes under the influence of air flow. Since reverse thrust can deform the membrane, it must be equipped with additional stiffeners.
The choice of the check valve depends on the shape and size of the duct, its throughput and the intensity of movement of the air masses.
Rules for the placement and installation of the check valve on ventilation
For the installation of the product to be correct, you need to consider the place of its localization in the system. Formation of back draft should be prevented with any ventilation systems and their combinations. If the system has one air intake, installing a single valve is sufficient.
If there are several hoods, placement is carried out according to the following rules:
- On each branch that connects the main duct and the point of intake.
- At the exit of the ventilation system.
Installation is carried out so that the grille has easy access. This is necessary for periodic cleaning of the device from debris and dust, grease. If the valve is mounted on an exhaust hood or fan, then its additional installation on the duct is not required.
In an apartment building, it is mandatory to install a check valve near the entrance to the shaft of the general ventilation system. Since humid air enters it, and there is no sunlight, pathogenic microorganisms can develop inside the structure. Birds or insects often settle in mines, so it is better to prevent the formation of backdraft.
Service Nuances
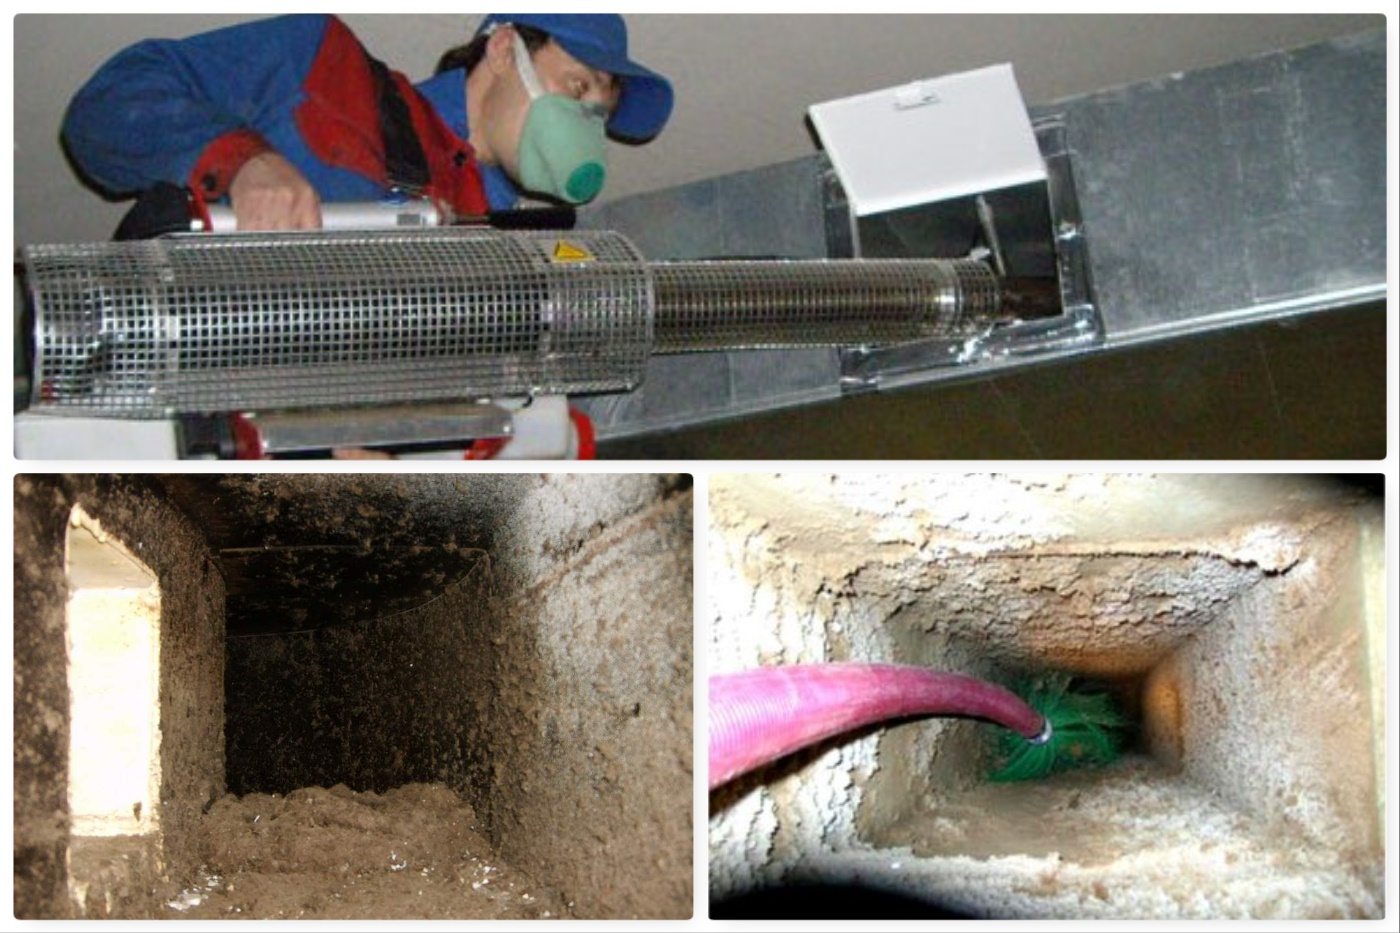
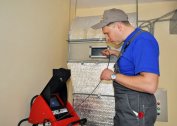
The non-return valve in the kitchen, bathroom or toilet requires careful maintenance. Dirt, dust, and grease often accumulate inside the device. All this does not allow the flaps to fit snugly to the grate and its functionality is deteriorating. To clean the product, you need to pull out the inner case, from which the noise attenuator and filter are removed.
The procedure is carried out in the warm season so that cold air does not get into the apartment. If the device is synthetic, it is enough to wash it with warm soapy water and dry it. At this time, the duct itself is cleaned using a conventional vacuum cleaner.
On the bars located on the street, ice often forms in the winter. It must be removed, as it prevents the full closure of the wings.You can use a heater that will soften the cold air. If the grille on the street is plastic, it will break quickly, so it is better to use the metal version.
DIY check valve manufacturing
There are a large number of check valves in the construction market, but you can make this device yourself, especially if the ventilation duct has non-standard dimensions. To work, you need a decorative lattice, a mylar film. Production involves the following steps:
- Making a sketch. To do this, a frame is outlined on a sheet of cardboard. A rectangle is drawn in the center of the workpiece, the width and height of which corresponds to the size of the ventilation hole. A line is drawn from the center of the figure at right angles downward. From it in both directions is indented by 7 mm (top and bottom). These points are connected by straight lines.
- Template preparation. Both parts of the rectangle are cut out, while the jumper remains intact.
- Sash making. 2 rectangles half the size of a large blank are cut from the film. Fragments with glue or a construction stapler are fixed on the side of the frame so that they go on the jumper.
- Sash installation. The product is attached to the wall with self-tapping screws and is located at the end of the ventilation duct. Sashes should open towards the duct.
- Mounting the grille and checking valve operation.
Make a homemade version of the device is not difficult, if you follow the instructions. Installation of such a product will ensure the normal functioning of the ventilation system, as well as prevent contaminated air and dust from entering the room in the event of a back draft.