Ideally designed, but illiterate mounted ventilation at home will bring a lot of trouble. Lack of consumables during the installation of ventilation can disrupt the delivery of a large object. Ignorance of the basic technological requirements for the installation of ventilation will nullify the efforts of the home master to create comfort in the house. These errors can be avoided.
Stages of installation of ventilation
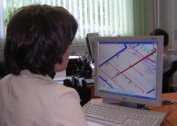
- Preparatory stage: drawing up and coordination of the work schedule.
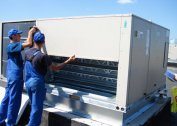
- Supply of equipment and components for the installation of a ventilation system.
- Installation and assembly in stages: installation of ventilation pipes, interconnection, installation of switchgears, installation of equipment: fans, air heaters, humidifiers, filters, etc., connection of air ducts to equipment, power supply.
- Testing and adjustment.
- Commissioning.
If the old system was dismantled before installing the new system, the “Dismantling” stage is added to the list.
Now more about each item on the list.
Preparatory phase of ventilation installation
Installation of ventilation equipment is carried out on the basis of the work schedule, after its approval and signing by the customer. The terms of reference always take into account the routing of ventilation pipes. The schedule of work indicates the timing, sequence of delivery and installation of equipment and components for the ventilation system.
In addition to the basic elements, consumables will be needed for installation:
- corner of various sizes;
- flange tires;
- bolts, nuts, washers;
- self-tapping screws;
- hairpins;
- anchor;
- mounting brackets;
- mineral wool;
- reinforced adhesive tape;
- copper pipes and hoses for drainage;
- fasteners with vibration isolation of various forms.
At the end of some stages of the installation of exhaust ventilation, intermediate tests are carried out, the results of which are recorded in the acts. Installation of the system is being completed with commissioning and signing of the relevant act. The customer receives a package of documents, including certificates for equipment, circuits, acts of hidden work.
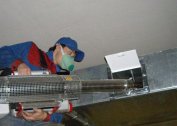
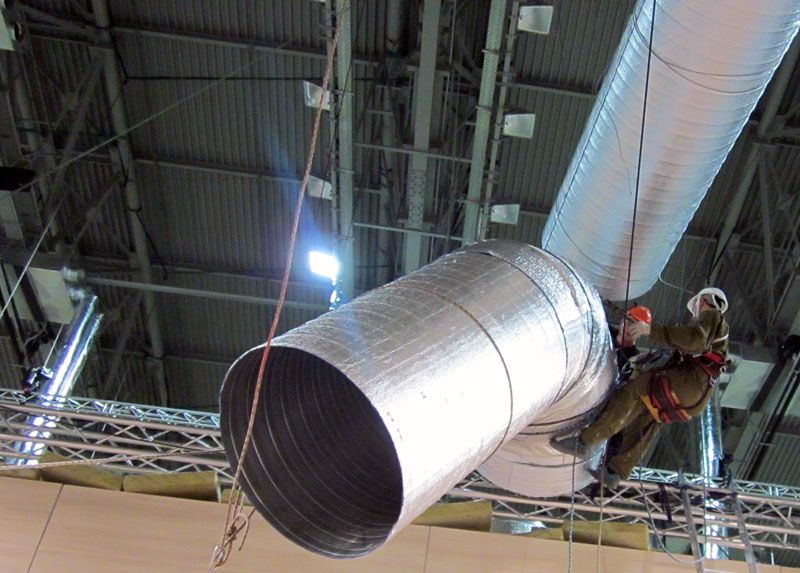
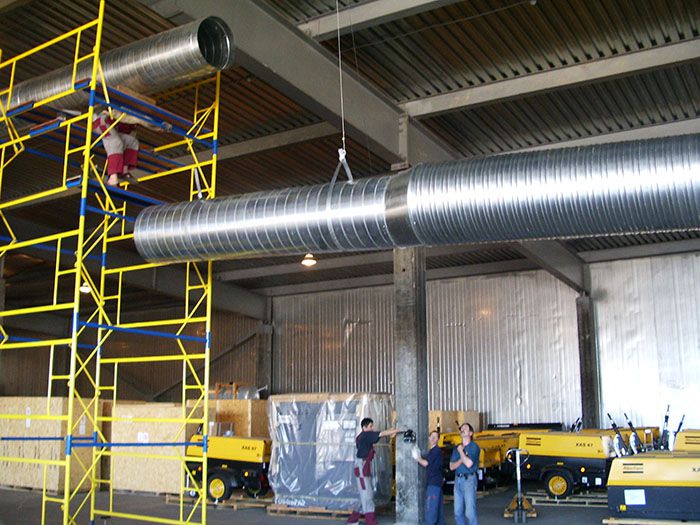
Duct installation
Work can be started subject to the following requirements:
- walls, ceilings between floors and internal partitions are installed;
- sites and foundations are ready to accommodate outdoor ventilation equipment;
- waterproofing was made in the places of wet filters and supply chambers;
- floors and special bases are ready for placement of ventilation mechanisms;
- supports for shafts, roof fans;
- holes for air ducts were drilled in partitions, ceilings and walls;
- design marks of the clean floor are applied to the walls;
- the walls along the ducts are plastered;
- glazed external openings, installed doors.
First, the project is attached to the real object. If during the binding there is a need for project changes, they are documented.
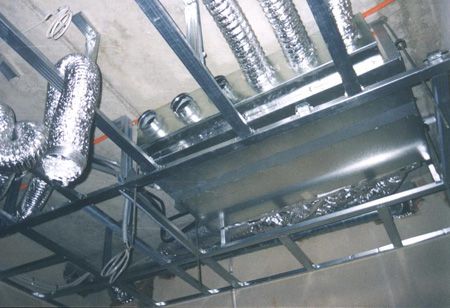
Stages of installation of air ducts of ventilation systems:
- designation of fasteners;
- mounting hardware;
- delivery of ducts and consumables for ventilation installation;
- assembly of air ducts in blocks;
- lifting blocks to placements and their attachment.
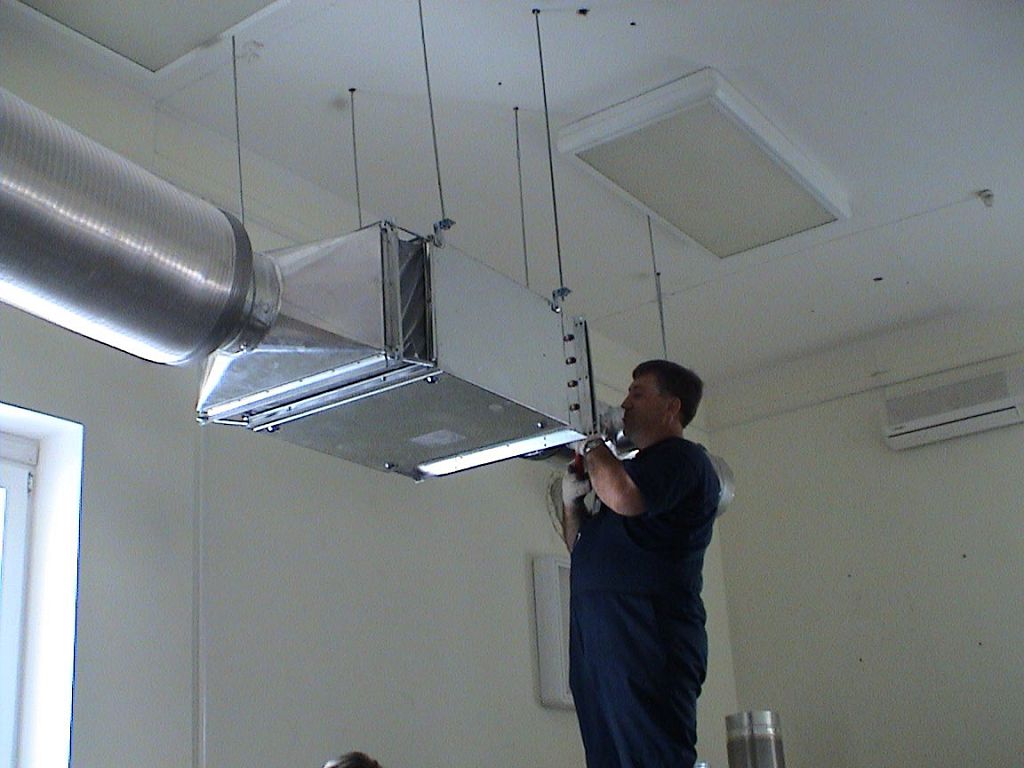
Most often, ventilation pipes are mounted to the ceiling. At residential and public facilities, air ducts are hidden behind suspended ceilings in which holes are made and switchgears are inserted. In production, ducts are usually left open.This facilitates access for repair and after-sales service.
The upper ends of the ducts located above 1m 50cm from the floor must be closed with caps.
Instead of hard corners, adapters and turns, you can use flexible corrugated tubes made of aluminum foil, fiberglass. During installation, they are stretched as much as possible. Corrugated pipes are not installed on straight sections.
Fixture to the ceiling
Before starting the installation of the ventilation system, it is necessary to examine the areas and determine the best ways of fastening. The equipment is attached to the ceiling using fasteners:
- hairpins;
- assembly punched tape;
- anchors;
- clamps.
Fasteners are selected depending on the severity of the pipeline and the length of the lines
Interconnection
When installing ventilation pipes, two connection methods are used:
- flanged;
- nipple.
The flange is sealed with special tape. And the finished compounds are additionally sealed with aluminum tape or silicone.
Installation of diffusers and ventilation grilles
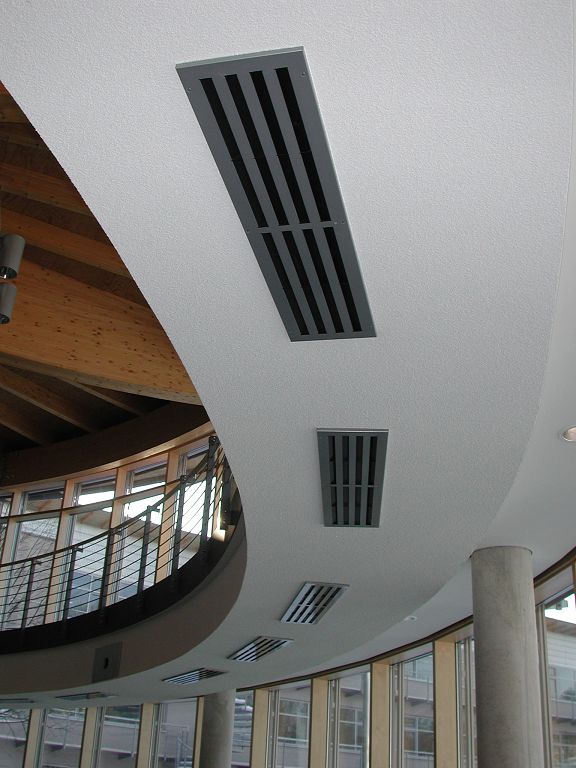
Switchgears are attached to the ducts in two ways:
- Direct or self-attachment - the grille is attached directly to the duct;
- Using an adapter.
When installing ventilation in private houses, apartments and offices, lattices are chosen as distribution devices, diffusers are used in production.
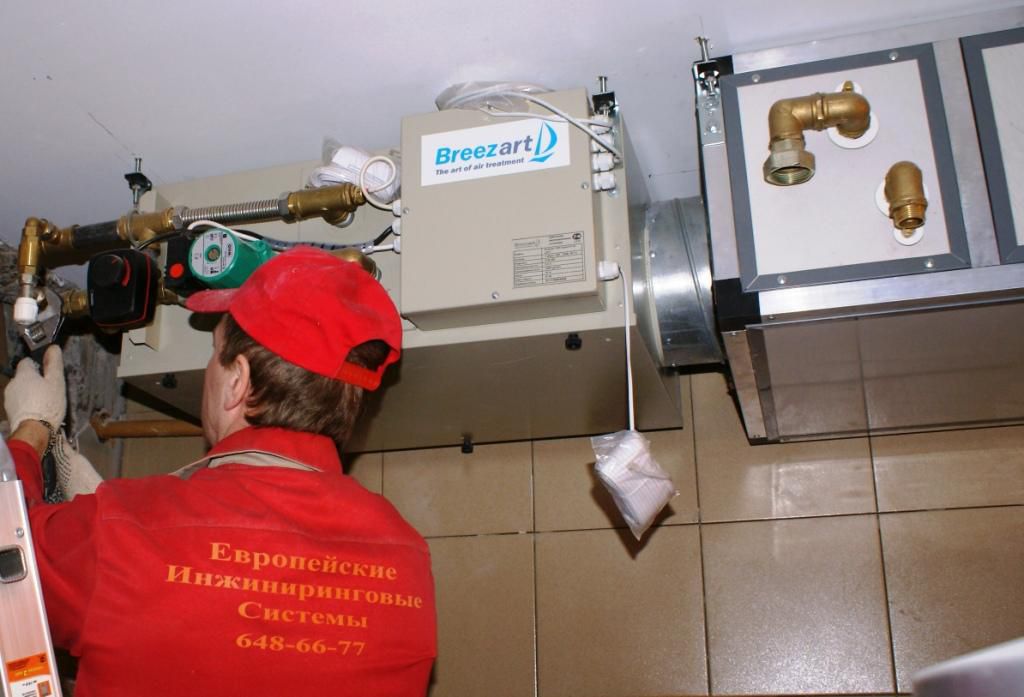
System connection to fans
The main task at this stage is to create tight and strong joints. Otherwise, during operation, the equipment will emit excessive rumble and the air distribution in the pipes will be disturbed.
An important stage of the installation of supply and exhaust ventilation is the connection of automated control systems. ACS provides the maintenance of air indicators within the required limits, monitors all nodes and signals malfunctions.
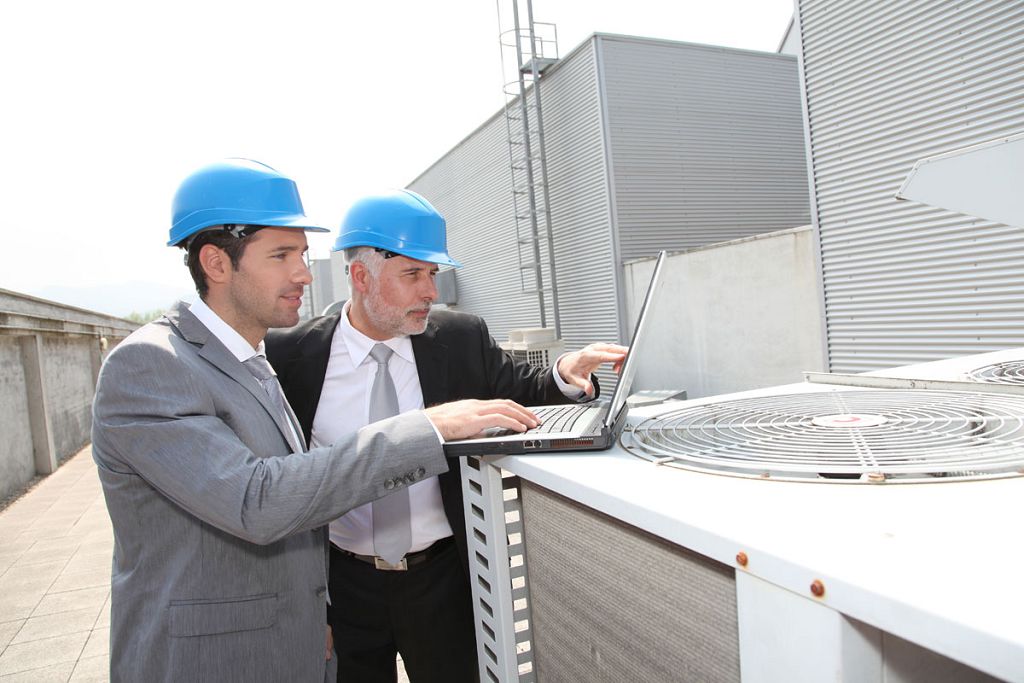
Testing and commissioning
At the end of the system assembly, it is tested, the equipment is adjusted to the design values and put into operation. It tests both the operation of the system as a whole and its individual components (valves, gates, etc.). For equipment that has passed all the tests, a passport is issued.
Installation Rules
Requirements for the installation of ventilation systems are set out in SNiP 3.05.01-85:
- System installation is carried out in accordance with the approved project;
- When installing ducts, longitudinal seams are placed up;
- All pipe bolts are tightened as much as possible;
- Ducts are attached to mechanisms only after installation;
- When placing an air duct, one should take into account: its mass should not be transmitted to mechanisms;
- At fastening of fans and air ducts vibration-isolating materials are used;
- Radial fans are mounted on rigid supports and are mounted with anchor bolts;
- Electric motors are attached to the fans after a careful fit;
- The filtering surface should be uniform, without sagging and creases;
- The fan wheel must rotate freely;
- Entrances to the system are covered by ventilation grilles with a mesh size of not more than 7x7 cm;
- When installing the ventilation system, it is desirable to minimize the number of turns, transitions and bends that create resistance.
Installation rules for ventilation systems are binding and guarantee stable operation of the equipment in the future.
Features of installation of ventilation at an existing facility
When working with existing buildings, it is important at the initial stage to determine the dimensions of ventilation units in order to immediately assess the scope of work.
If the building has already been commissioned, the installation of the ventilation system is somewhat complicated. In some cases, it is not technically possible to lay ventilation shafts of the required diameter.We have to change the project and choose the appropriate option.
Installation of ventilation in the apartment
Installation of ventilation in the apartment is somewhat easier. First, owners need to decide on the type of system that they would like to see at home:
- supply;
- exhaust;
- supply and exhaust.
Then, based on the apartment plan, a ventilation project is drawn up and equipment is selected.
Stages of supply ventilation installation
The layout of the ventilation in the apartment may vary slightly depending on the configuration. Having certain skills, you can do the installation of the ventilation system with your own hands.
Stages of installation of apartment ventilation of supply air type as standard:
- select the installation location;
- denote future holes;
- we grind openings for an air duct with a diameter of at least 12.5 cm. The hole is drilled at a slight angle into the street, for a condensate stack;
- we measure the duct of the desired length (wall thickness + fasteners) and cut it off;
- install the duct, we fix the valve from the outside. The axis of the valve must be combined with the vertical;
- we foam the gaps between the wall and the duct;
- we fix the case of the ventilation unit to the wall using the recommended fasteners;
- we insert filters into the supply air duct;
- Now we insert the air heater and connect it to a special socket;
- outside we attach a protective grill;
- bring and connect the wiring.
DIY installation of a supply valve
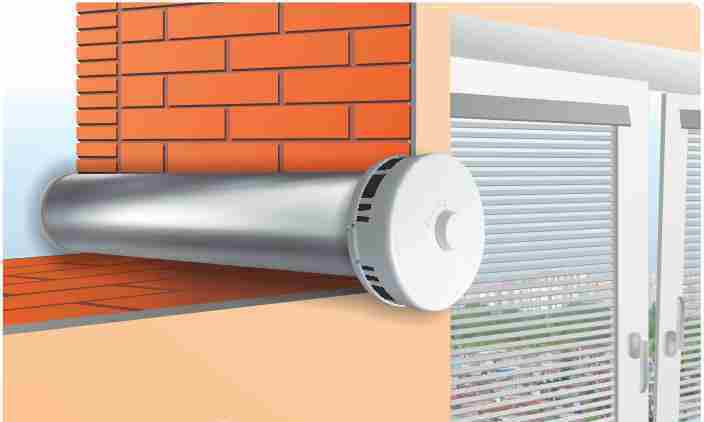
The simplest model of forced ventilation is a valve that is easy to install with your own hands.
Such a stitch consists of the following components:
- duct made of plastic;
- external air distributor;
- filter;
- sound insulation;
- thermal insulation;
- control valve;
- internal air distributor.
Since the effectiveness of the supply valve depends on the serviceability of the building ventilation, you should make sure that it works.
Installation of the supply ventilation valve is carried out as follows:
- choose the installation location. The best is between the radiator and the windowsill.
- we drill a hole for the duct with a slight slope towards the street, usually with a diameter of about 5 cm, insert the pipe;
- outside, the distributor and the intake device are attached;
- the valve body is installed from the inside.
The supply valve must be cleaned and the grilles and filters washed once every 6 months.
DIY exhaust ventilation installation
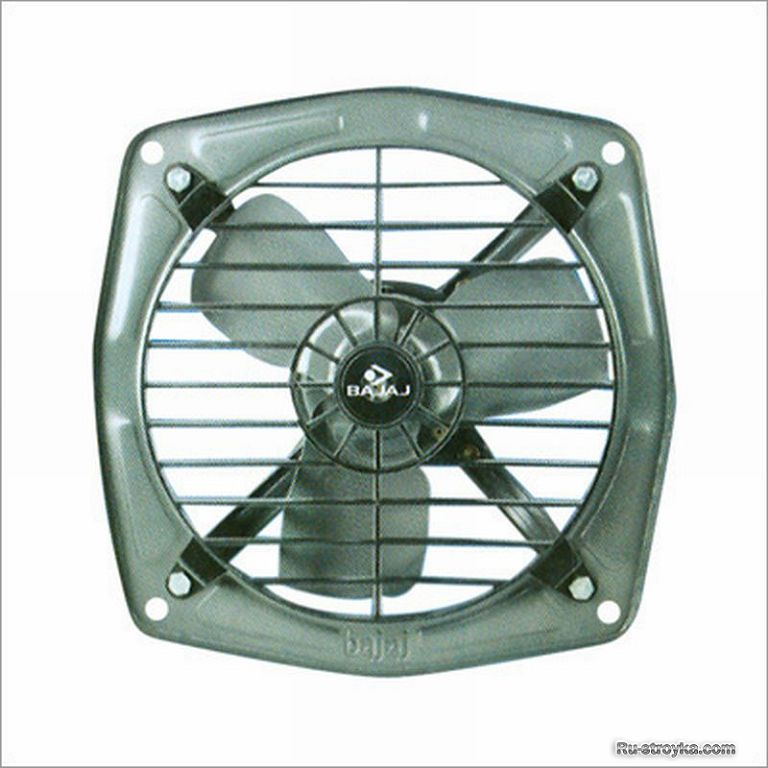
- In the kitchen, the hood should cover the space above the hob. In this case, it is impossible to completely overlap the exhaust grill located in the upper part of the wall;
- In the bathroom, it is advisable to power the exhaust device from the light switch. This will save energy;
- In apartments, the ventilation of the bathroom is a single duct that goes into a common shaft. To prevent air from the bathroom from being drawn into the toilet and vice versa, the fans are equipped with check valves. This simplest device is a light plate on a horizontal axis. It allows air to freely leave the room, but does not let it back;
- When choosing a fan for the bathroom, you should pay attention to the degree of protection against moisture;
- Silent models of modern exhaust fans use more electricity than standard ones;
- More reliable and durable fans in the case of polyisopropylene (ABC) or acrylic.
Private house ventilation
In modern cottages, installation of supply and exhaust ventilation systems is preferred. This turnkey solution fully provides a comfortable atmosphere in the premises.
Roof ventilation
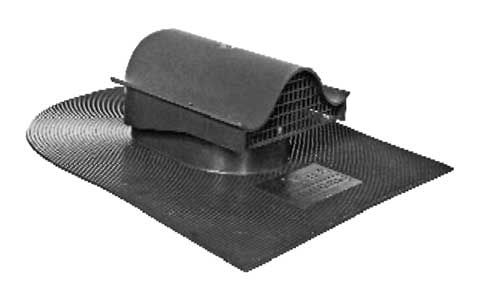
Installation of roof ventilation consists in the installation of roof and ridge valves and aerators.These devices are specially designed for roof and attic ventilation. They can be continuous and point.
On average, one point aerator serves 20 square meters. m. of the roof.
Aerator Design:
- branch pipe;
- roof mounts;
- a cap and nets covering the pipe from rain, dry leaves, birds.
For exhaust ventilation of the attic, a special adapter is attached to the valve, to which a pipe is installed that opens to the attic.
- The number of aerators depends on the shape and area of the roof, between the devices there should be spaces of 10 - 12 m;
- With a pronounced skate and valley, the roof valves are installed on the watershed in the valley, as well as along the entire skate;
- For buildings with high humidity, the number and location of valves should be calculated by specialists;
- When installing ventilation in a private house or apartment, it is necessary to check the position of the air ducts using the building level fixed to the rail.
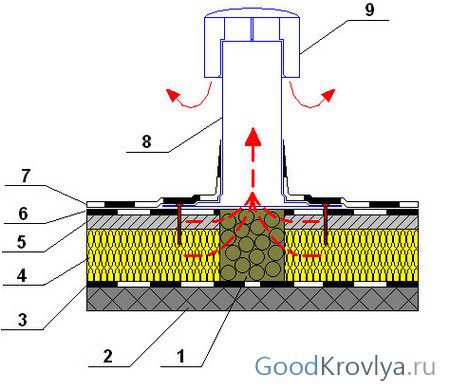
Installation of ventilation on a soft roof
- In the intended place, we make a hole through the insulation, screed, without affecting the vapor barrier layer. Hole size 8 - 12 cm;
- fill the hole with expanded clay;
- we process the sole of the aerator with sealant, install it on the prepared place, fix it with screws;
- we attach the cover layer of the roofing material so that the valve is located at the junction of the panels, with an overlap of 15 cm;
- at the installation site of the valve, the roofing material is freely laid, after which a patch is made that completely covers the valve base, with a 15 cm approach to the roof on each side.
Installation of attic ventilation and roofing is completed. Whatever type of ventilation is chosen, it is important to professionally approach the installation of equipment. And purchase components from trusted suppliers.
Video instruction for installing a walk-through roofing element: