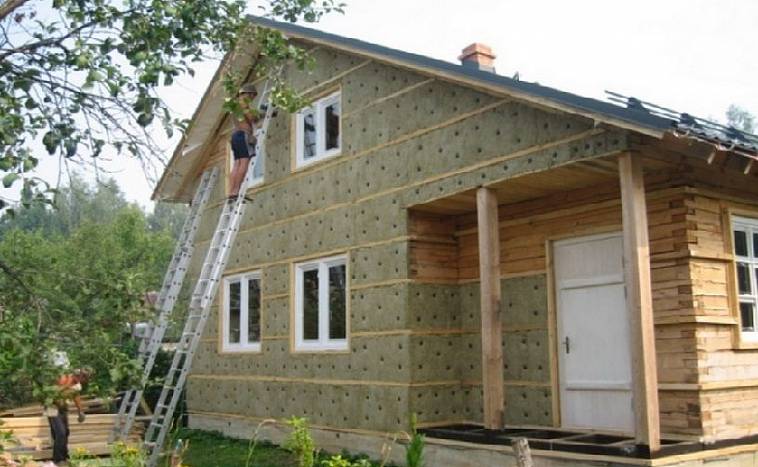
Insulation of a timber house outside is a necessary measure. With a standard wall thickness of 200 mm, buildings will freeze in winter, and the use of additional heating appliances will cost too much. It is much more profitable to invest once in the thermal insulation of a building and forget about the cold and space bills for utilities forever. Warming a house from a bar outside is a fairly simple procedure that can be done with your own hands. To achieve the desired result, you should familiarize yourself with the varieties of heaters, technologies for their application and choose the right way to solve the problem with cold.
The benefits of warming a timber house outside
In order to make the right decision on the method of warming a timber house, you should consider the pros and cons of indoor and outdoor options.
In an effort to preserve the beauty and representativeness of the facades of their wooden houses, many finish them from the inside. There are few advantages in this - external aesthetics and ease of work. The disadvantages are much more significant advantages - the narrowing of usable space and the destruction of wood from moisture.
Warming a house from a bar outside has the following advantages:
- The dew point is placed on the outside of the structure. The tree is not exposed to moisture and temperature changes. This helps to extend the life of the property.
- Protecting the building from the effects of damaging weather factors, which include rainfall, ultraviolet radiation, insects, animals and microorganisms.
- Stable conditions. Due to the presence of an external insulation barrier, the wood maintains a constant temperature and humidity. This prevents deformation of the material and the formation of cracks in it.
- Preservation of usable space. There is no need to move or take out furniture, temporarily relocate and carry out laborious general cleaning.
- The ability to provide high-quality ventilation of the room provided that the right choice of insulation materials.
External thermal insulation provides comfortable accommodation for people in the building at any time of the year, regardless of weather conditions.
What to consider when insulating walls
When planning to insulate a timber cottage, it is necessary to take into account a number of nuances that are inherent in the material from which the walls are built. This will help to avoid mistakes that can cost a property owner.
The following features should be taken into account:
- The houses erected from a massive bar within 2-3 years after construction give tangible shrinkage. It is necessary to wait until the end of this process. Glued beam practically does not change its dimensions.
- Before starting work, you need to carefully inspect the wood for mechanical damage and foci of decay. Affected areas should be removed, plug holes and cracks with jute, tow or flax.
- Since after finishing access to the timber from the side of the street will be closed, it is necessary to prepare it for conservation. The material is abundantly impregnated with an antiseptic that will protect the walls from microorganisms and insects.
- Installation is best done in dry weather, when the tree contains a minimum amount of moisture. Otherwise, when dried, the beam will lead, and the insulation will get wet.
It is necessary to think over a way of warming in advance so that the house can breathe after finishing. This is the main advantage of wooden structures.
Do-it-yourself insulation options
Thermal insulation technology is determined by the choice of material. Depending on its ventilation characteristics, a decision is made to create a particular system, how to install and finish it. There are options for gluing, spraying and creating a vertical surface with an air gap. Each of them has its own characteristics that must be considered when planning.
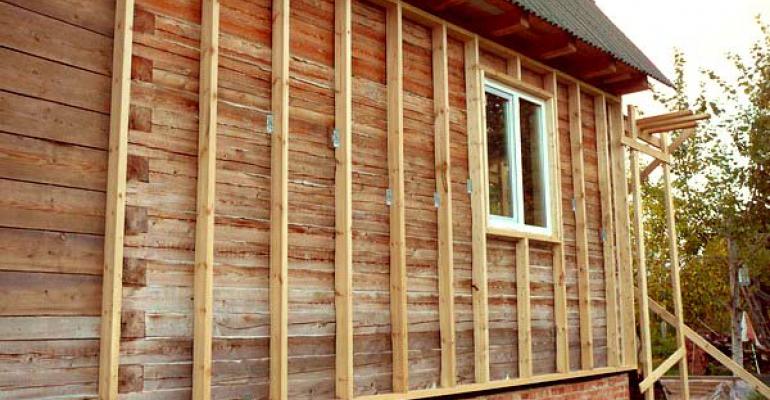
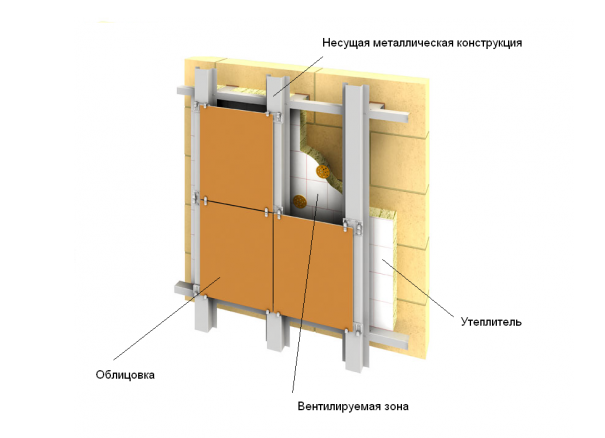
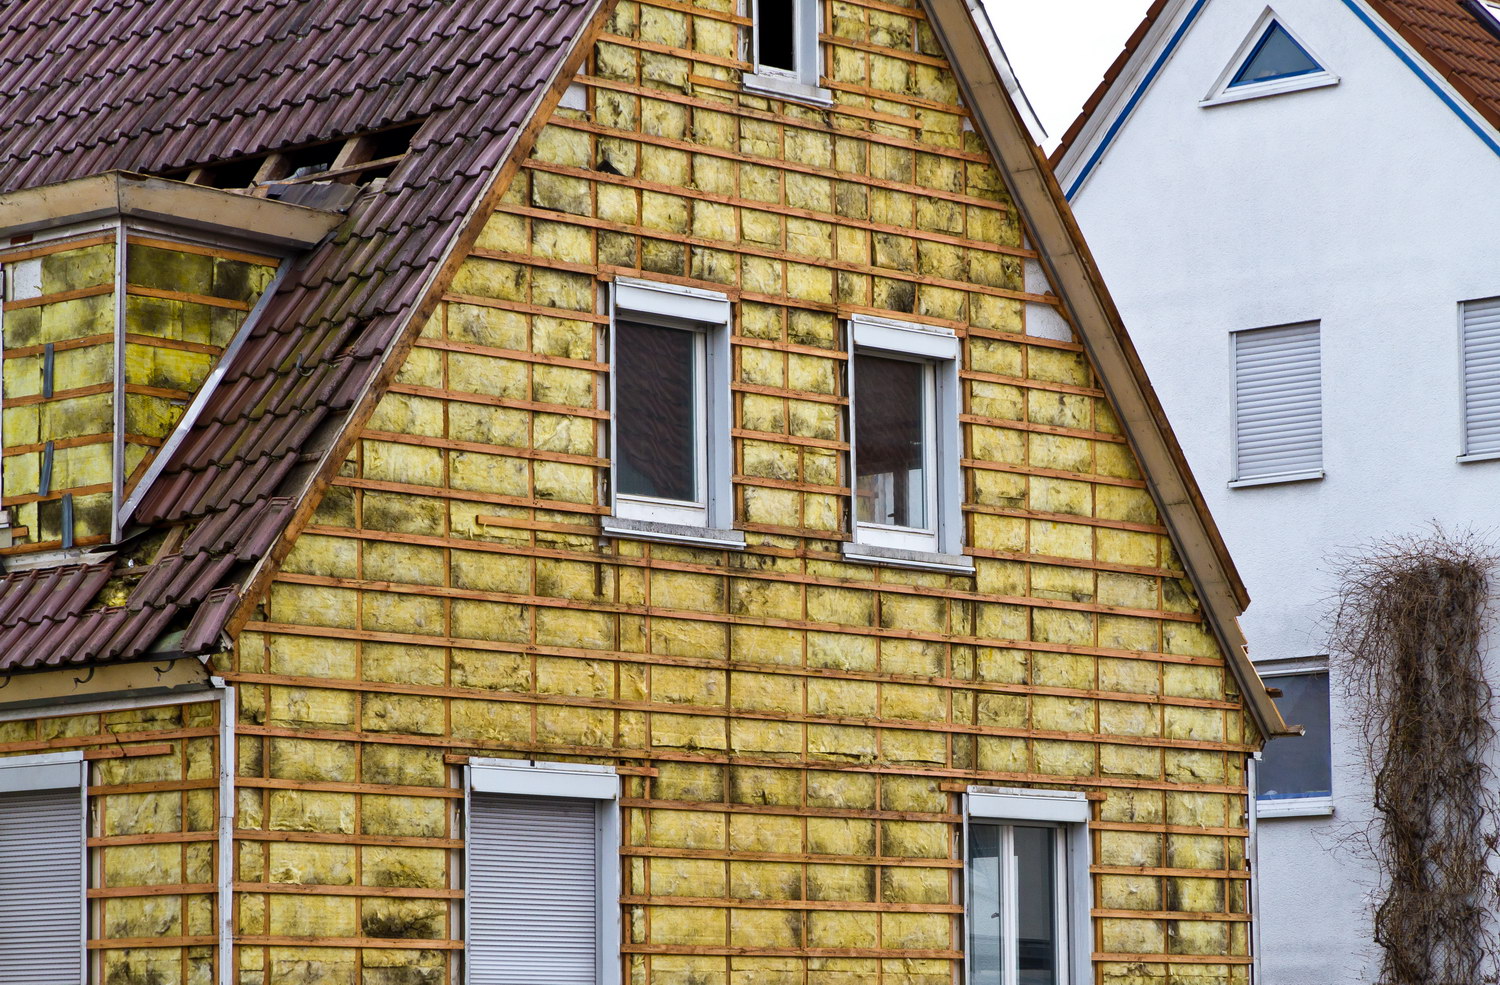
Ventilated facade
This design allows you to protect the wood from external factors, while leaving moisture free to leave the room. The system is a heat shield mounted at a distance of several centimeters from the wall.
The ventilated facade is assembled in the following sequence:
- Production of a vertical block frame 50 mm high. On top is a horizontal visor from the board. This part is designed to protect the gap from precipitation. Pre wood is treated with an antiseptic.
- Covering the structure with a vapor barrier fabric. Slack should be made up to 10 mm per section so that the fabric does not tear when cooling and shrinking.
- Creating a crate for insulation. For polystyrene foam, a width of 100 cm is set, and for mineral wool - 10-15 mm narrower than the slab.
- Laying heat-insulating material in the crate. Polystyrene is inserted and immediately fixed with foam. Wadded slabs are installed and held by elasticity.
- Installation of a windproof film. Also done with slight slack.
The final step is the exterior design. For this, metal and polymer panels, waterproof plywood or boards are used. The created cake will protect the house from sun rays, winter cold and summer heat.
Polyurethane spraying
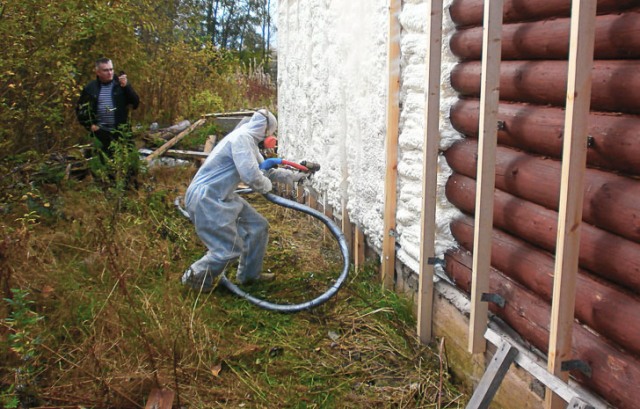
This is a good insulation, characterized by low weight and durability. It should be borne in mind that for the decoration of a wooden house, it is necessary to use polyurethane foam with open voids. This type of material conducts steam well and provides natural ventilation to the building. If you use PUF with a closed cellular structure, it will hermetically clog the wood, which will lead to the appearance of a thermos effect in the house.
Polyurethane insulation is carried out according to the following procedure:
- The wall is covered with a vapor-permeable membrane fabric.
- At a distance of 80-100 cm, antiseptic-treated boards are attached to the wall in a vertical orientation. Their width is selected based on 2 cm more than the planned foam layer. Given the low thermal conductivity of the foam, 5-8 cm of insulation is enough.
- The mixture is being prepared. Both compounds are mixed in turn, then merged into one tank, to which a hose with a spray gun is connected.
- Processing of inaccessible places is carried out - every corner, holes, openings. Then the foam is applied from the bottom up, evenly distributed over the space of the frame. Layer thickness should not exceed 50 mm.
- If necessary, apply the next coat. This can only be done after the previous one has completely dried.
- Cutting off sagging beyond the level of the crate. You can perform this operation with a two-handed saw or a long cutter with a thin and sharp blade.
- Installation of a windproof membrane-type film.
After the insulation surface is leveled, it must be sheathed with one of the finishing materials that do not allow ultraviolet radiation.
Foam insulation
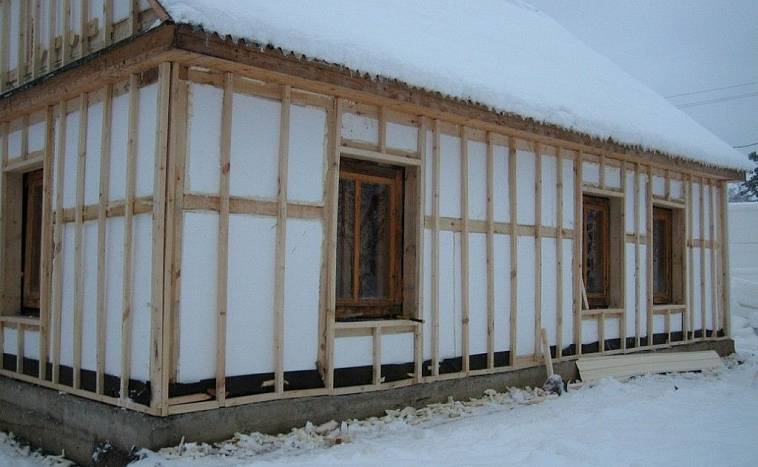
Polyfoam is produced in the form of plates 100x100 cm, 5 cm and 10 cm thick. The material is characterized by high insulating characteristics, ease and ease of installation. The downside is that this insulation and its analogues - foam and isoplat - practically do not conduct air. When bonded directly to the walls in the building, natural air exchange is disturbed.Therefore, it is advisable to take such a decision if the ventilation of the building is no longer working due to the hermetic interior decoration.
Warming is carried out in the following sequence:
- The layout of the plates is drawn up, the marking is applied.
- A wooden plank or metal profile is fixed to the base.
- The adhesive is mixed. Application to the slabs is carried out precisely to provide ventilation clearance.
- From one of the corners, the fastening of the plates begins. Each subsequent row is glued with an offset of half the plate.
- Fixing polystyrene with self-tapping screws with wide caps at 5 points.
- Gluing the surface with a mounting grid.
- Application of plaster insulation.
If ventilation materials were used, the surface is coated with paint having similar properties.
Mineral wool insulation
Mineral wool is characterized by excellent insulating properties, lightness and durability. But along with gas permeability, stone, slag and glass material absorbs moisture well. This feature must be taken into account during installation.
Insulation is carried out in the following order:
- Bearing surfaces are covered with a vapor-permeable fabric.
- Wooden or steel frame is made.
- Close to the inside of the frame, slabs are inserted with a small seal.
- The remaining slots are filled with foam.
- A windproof film is pulled onto the frame.
- The crate is made. For this, wooden battens or steel profiles are used.
- Finishing is underway.
Another option for insulation is gluing boards directly on the wall. After that, steel or plastic mesh is attached to them, plaster and paint are applied.
Warming under siding
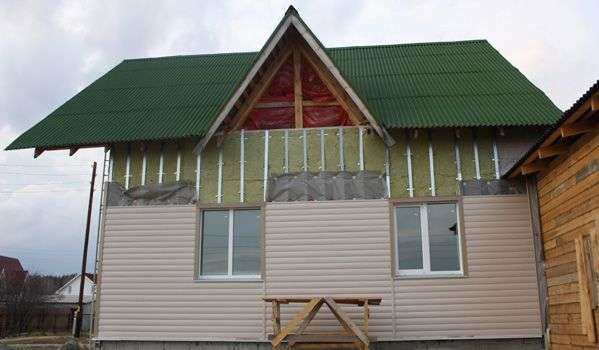
Insulation for siding involves the manufacture of a frame that meets the parameters of the panels and components. In addition, the dimensions of the materials used in the work are taken into account. The slats are fastened in such a way that hard slabs fit end-to-end between them, and soft slabs with compressive force. Depending on the composition of the filler, a decision is made to use a vapor-permeable and windproof fabric. Siding can be finished with all structures having a frame - ventilated, sprayed and glued.
Wall Cladding
The finish must be strong enough to withstand mechanical stress, contact with biological organisms, ultraviolet radiation, temperature and humidity fluctuations for a long time.
The following materials are used for cladding:
- block house;
- lining;
- plastic panels;
- vinyl siding;
- metal rails;
- engineering board.
The choice of finish is determined by the financial capabilities, landscape design of the yard and the aesthetic priorities of the property owner.