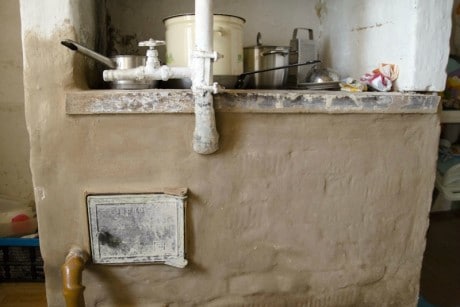
Regardless of whether people live in a city or a village, many use a Russian stove at home, in the country and in baths. The stove heated by wood and coal gives heat, serves for cooking, thanks to the decorated tiles and art painting is the decoration of any home. Before the heating season, it is advisable to whiten the stove to clean it of impurities and give a fresh look.
How to prepare the oven for whitewashing

There are various ways to whitewash the surface of the furnace, which they do with their own hands. In practice, chalk, lime, shpakril, tooth powder are used for the stove. Which method the owner wants to choose depends only on personal preferences. Each of the coloring options is suitable if the components are mixed correctly, in proportion.
Do not use a water-based solution of purchased paint, since as the focus is heated, vapor harmful to human health will form.
Before whitening the stove, it is necessary to wear protective clothing, work gloves made of rubber, perform preparatory work in the form of cleaning and plastering the surface, and grout the brick. It is important to prepare a place of work:
- cover the floor and furniture with plastic wrap;
- clean the surface of the hearth from debris and dust;
- grout masonry with clay, cement or asbestos by wetting the surface with water.
It is necessary to whiten the furnace only after plastering, in order to avoid the ingress of smoke through cracks into the room and for a good appearance. So that the solution does not crack, hold on for a long time and do not stain things, the home master must adhere to certain rules:
- Inspect the surface of the stove, remove old whitewash, soot, grease stains and cracked plaster to apply a fresh layer of a new heat-resistant mixture. The soot stains are well removed by a brush or metal washcloth. In this case, the tool must be moved carefully so as not to make additional cracks. Fat spots are thoroughly washed by soda ash.
- If the previous whitewash is clean and in good condition, you do not need to remove it. Just wipe it with a damp cloth to remove dust. Surface wetting is useful for better plastering.
- The layer of plaster should not be thick. Apply the composition with a spatula or brush so that there are no bumps. Additionally wet the surface with water.
- Melt the stove several times to dry the plaster. Many masters recommend not heating up the surface too much, especially on the 1st day of drying. Gradual drying will fix the solution and prevent cracking.
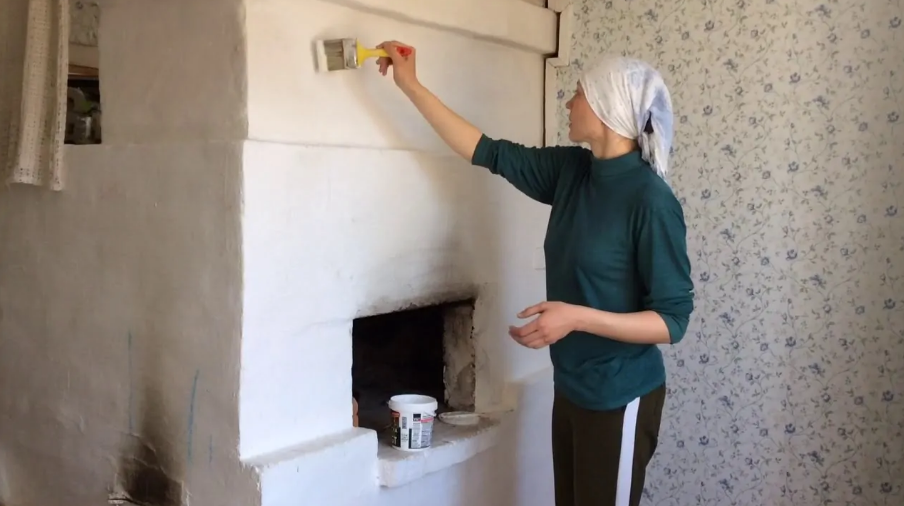
- Then you can whiten the oven.
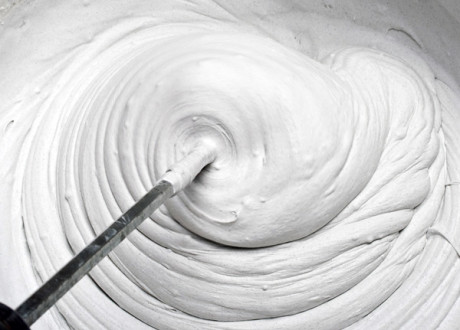
Stucco is sold in dry finished form. It is mixed with water and used. You can purchase a heat-resistant mixture, for example, "Emelya". The best home-made refractory putty for the stove: clay, sand, cement, lime (1: 1: 1: 1). The ingredients are thoroughly mixed with water and used.
Compliance with tips for preparing the surface of the stove and the rules for applying whitewash contributes to long-term use without frequent staining.
Recipes for whitewash solutions

You can quickly whiten the stove in the traditional way or in a modern way. The main thing is that the applied paint lay evenly, you could not accidentally get dirty about it. The traditional means for whitewashing the furnace is lime, chalk and white powder for the teeth. To the modern method include the mass in the form of a paste - shpakril.It is found in many repair shops.
The stove-makers with experience praise the product and note that it does not fade, serves for a long time and does not stain things. Shpakril for whitewashing the stove is very easy to prepare: it is diluted with water (2: 1). On the packaging of the product it is written how to properly knead the mass without lumps.
Before you start whitening, it is advisable to melt a stove in the house a little - two hours will be enough. So l
the coloring agent will lie better.
Mortar
To lime the stove, precautions must be taken to avoid contact of the solution with exposed parts of the body and eyes. On hands it is better to put on long rubber gloves. You need to work slowly and without making sudden movements.
Lime burns are a rather unpleasant phenomenon. But despite the danger, lime is considered a good tool for whitewashing and has been used in everyday life for many decades. Lime stains and disinfects the oven from fungi, harmful microorganisms and insects. The following solution recipes are used:
- Lime powder is mixed with water and salt (35-40 g). Salt gives strength and prevents cracking of the surface. After staining, it is recommended to flood the oven to dry.
- Lime, chalk powder and carpentry glue are mixed with water, then bleached. Enough 100 g of glue.
To increase the durability of the coating, some masters recommend adding “Oxol” drying oil to the lime solution (2 tsp).
Chalk whitewash
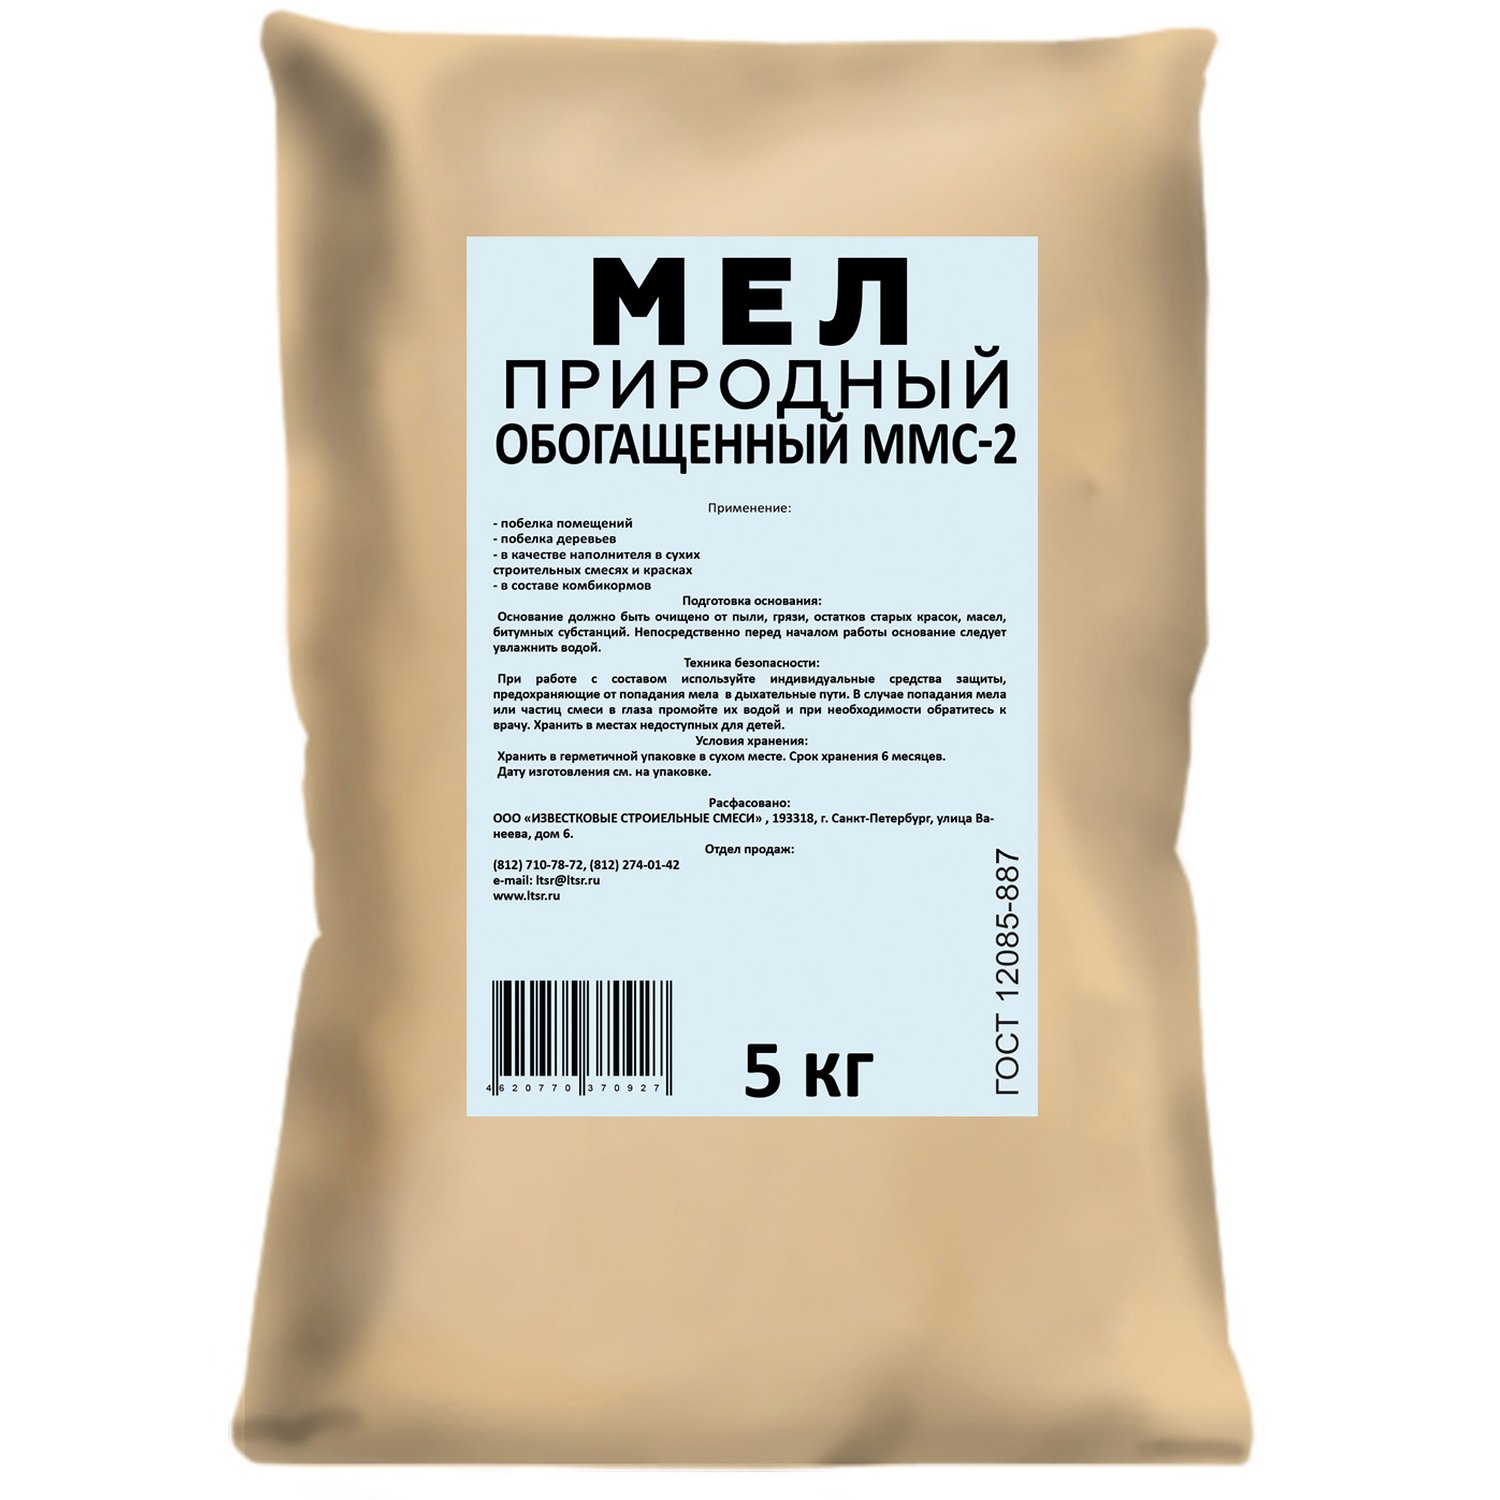
A good effect is obtained when staining with an inexpensive natural material - chalk, which creates a saturated color on the surface. The disadvantage of this method is white marks on the hands and clothes with each touch. There are several recipes for chalk solutions. Most Popular:
- Chalk with water is diluted (2: 1), stirred and immediately applied.
- Take dry chalk powder, water or skim milk. Mix the mixture until smooth, add natural grated warmed soap and 100 g of wood glue.
- The composition of chalk with milk is considered ancient. Proportion of components: two parts of milk and one part of chalk.
Whitening the stove with chalk solution is cheap and fast, but this method often gives stains and requires several layers.
When liquid is added, the chalk turns gray. When the focus is dry, it will become snow-white. Up to 50 ml of blue can be added to the chalk mixture, which will prevent yellowness.
Tooth Powder Solution
This tool makes the surface white for a long time, does not stain things, you can heat the hearth on the same day. To whiten the Russian stove with this product, you will need 4 packs of tooth powder, 1 tbsp. milk and 4 chicken proteins. The components are thoroughly mixed and left to infuse for 20 minutes, so that the consistency resembles oil paint. Then carry out the necessary work. If the mixture was not enough, make a new serving.
This method is used for a heated surface - so the ingredients, in addition to staining, will give strength. The method contributes to quick drying, flat and smooth surface.
How to whiten a stove without streaks and cracks
To whiten the stove in the country or in the house without stains and cracks, if you properly mix the plaster and the coloring solution, observe the proportions and consistency. The following points must be considered:
- The mixture should not stain clothes. After drying, touch the oven. If there is no trace of whitewashing, then everything is done correctly. If it gets dirty - it’s better to overdo it again.
- Whitewashing must withstand a high heating temperature. At the end of work, the stove is heated. Then they look so that the coloring solution does not turn yellow, does not darken, does not give stains. If deficiencies are identified, the work needs to be redone.
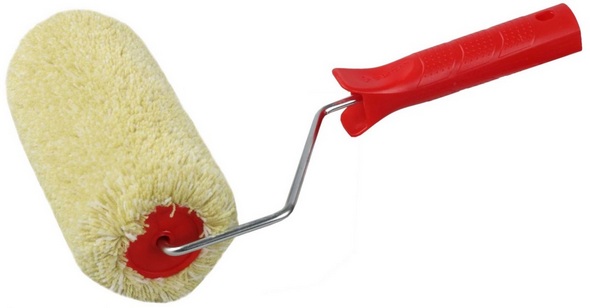
- You can whiten the stove with rollers, brushes, spray guns.The brushes are pre-soaked in water. You can whiten in two directions - along and across. This ensures uniformity. If desired, staining is repeated.
- Best of all, the solution lies on a chilled surface moistened with water.
Masters recommend working with a natural fly brush. At the same time, movement on the surface must be carried out confidently. When working with this method, the applied layer does not wait for drying. Re-staining with a second layer is carried out immediately.
DIY painting
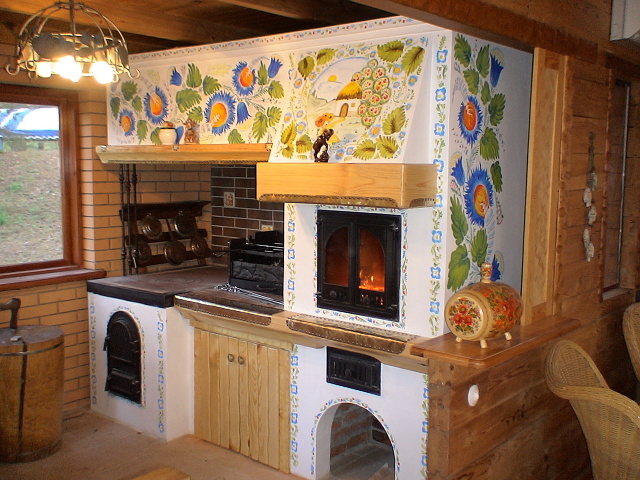
If desired, the oven can be decorated with a pattern. Folk motifs will add personality to the hearth. Art painting is easy to complete. Coloring composition:
- Dilute multi-colored gouache with water.
- Add 1-2 raw egg yolks to the mixture.
- Stir well until smooth.
- Use as directed within 12 hours.
Drawing can be applied with a brush for drawing, as well as a sponge. Stencils are allowed. Painting depends on personal imagination. Beginners are better off using simple ornaments.
In addition to the egg coloring mixture, the remaining whitewash is used - gouache is added to the solution. High temperature oil paint can be used.
All furnace work is best done before autumn. Cast iron parts (oven, doors) are best treated with fire-retardant or silicon-organic enamels. This will protect them from corrosion.