Before you start wall insulation in your apartment or house, you need to familiarize yourself with many of the issues surrounding this event. Among them, the choice of material for thermal insulation of rooms, as well as the use of known methods of protection. It will be necessary to master the existing methods of warming the walls of the house from the outside and from the inside.
Materials for thermal insulation
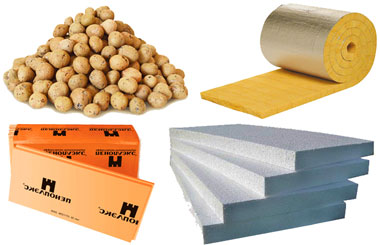
The following materials are traditionally used for wall insulation from inside the living room:
- mineral wool;
- extruded polystyrene foam;
- Styrofoam;
- polyurethane foam or cellulose.
Each of the proposed materials has its pros and cons, so the final choice is left to the user.
Particular attention is paid to the effectiveness of the heat insulator, its cost and ease of installation. Most preferred in this sense are light artificial heaters made on the basis of polymeric materials: polyfoam and polyurethane foam. However, very often mineral wool is used for this, which has proven itself in the most diverse operating conditions of protected objects.
Pros of warming
Wall insulation in the rooms of residential buildings is usually organized in two ways: by thermal insulation of the internal surfaces or the outer side of the structure. Each of these approaches has its pros and cons, which will need to be considered separately.
Exterior finish with a protective layer
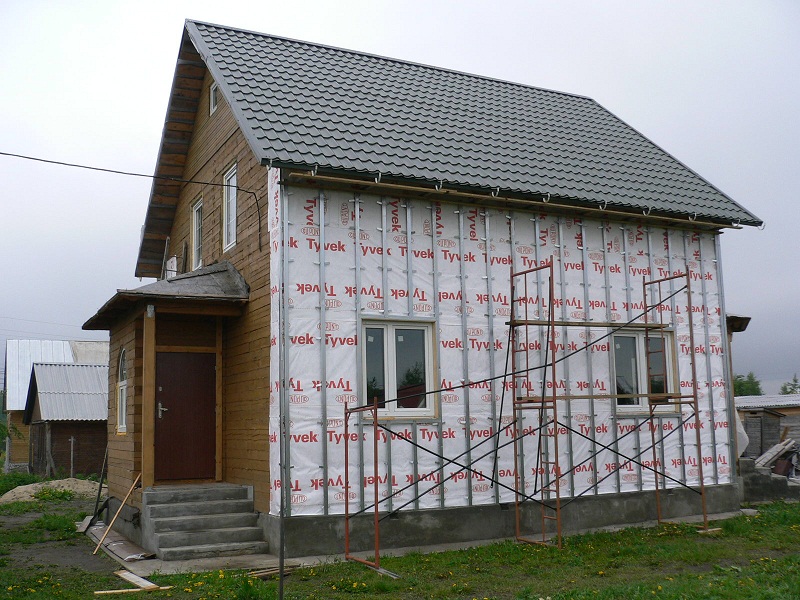
The external method may seem rather complicated and costly. However, it has the following indisputable advantages:
- additional hardening of the facade of the house, which is under the constant influence of bad weather;
- extension of the total life of the building;
- the opportunity to design the facade in the style that the owner liked;
- maintaining the volume of usable space, which decreases with internal insulation of the home.
The disadvantages of the external method are the need to work in not very comfortable conditions, as well as additional material costs for the arrangement of forests.
Insulation from the inside
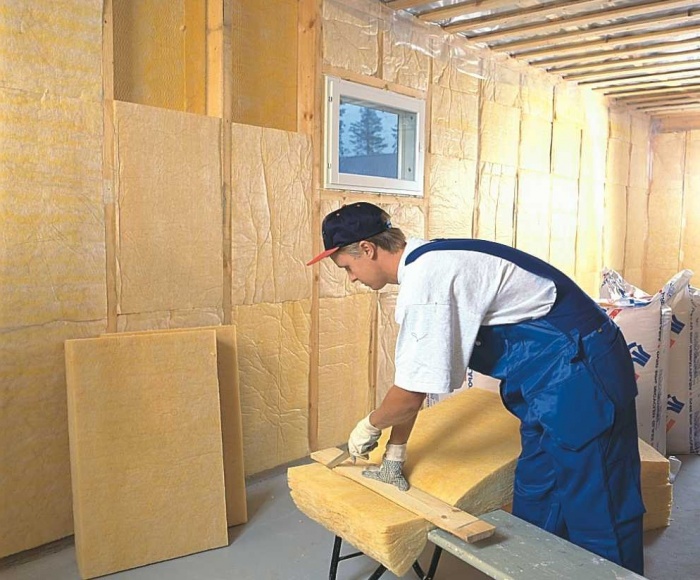
Arrangement of thermal insulation from the inside is most common among amateurs, since it seems quite easy and effective. However, in reality, the only plus of this approach is the ability to carry out work yourself without leaving your home. The disadvantages of this method include the following points:
- When protecting the load-bearing walls of a building along their inner surface, condensation can accumulate under the insulation.
- Wet surfaces lose their heat-insulating properties, as a result of which mold and fungus appear on them.
- The walls in the apartment will begin to hold heat worse.
- Due to the thickness of the insulation, square meters of living space, important for many users, are lost.
The unpleasant side of the option of arranging thermal insulation for the walls from the inside is the remaining "cold bridges" that require additional protection measures.
Warming Methods
There are three ways to insulate walls from the outside:
- arrangement of a “wet” facade mounted directly on plaster;
- insulation of structures consisting of 3 non-ventilated parts;
- thermal insulation with arrangement of a ventilated facade.
In the first case, the protective material is simply glued on the outside, and then additionally fastened by means of dowels for reliability. It is allowed to apply other types of coatings, including intermediate, reinforcing and decorative finishes. This method needs experience in carrying out such work or in the help of specialists. It is unlikely that a novice user can independently insulate the facade using this technique.
When using the second method, the heat insulator is placed in the inner niche formed by two piers - it is locked between the fences. This method is quite effective, but suitable only for an already rebuilt residential building.
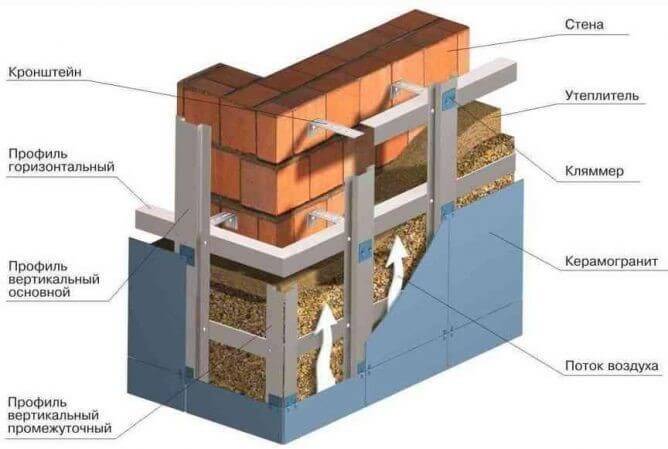
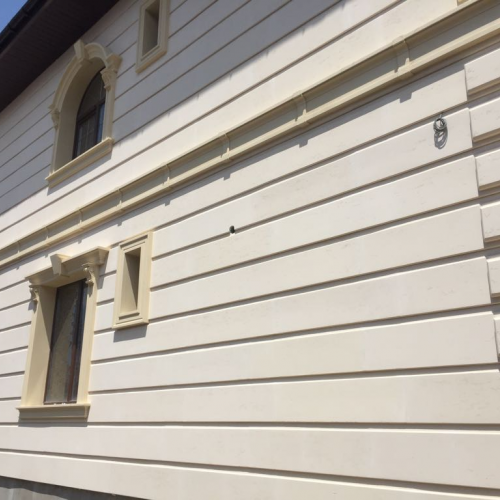
The ventilated facade in its structure is similar to the “well” masonry, in which the facing material acts as the outer layer: siding, drywall, tile, etc. Additional measures will have to be taken, which include preparing the frame on which the insulation blanks of the selected type are mounted. This method should be attributed to the most effective approaches, which many manage to do with their own hands. It will cost much cheaper when compared with the "wet" option.
Preparing walls for insulation
The preparation of internal and external surfaces for insulation has the following objectives:
- to get absolutely dry planes suitable for subsequent finishing;
- provide the necessary level of isolation from fumes generated indoors;
- create conditions for laying or subsequent sticker of insulation blanks on the prepared surface.
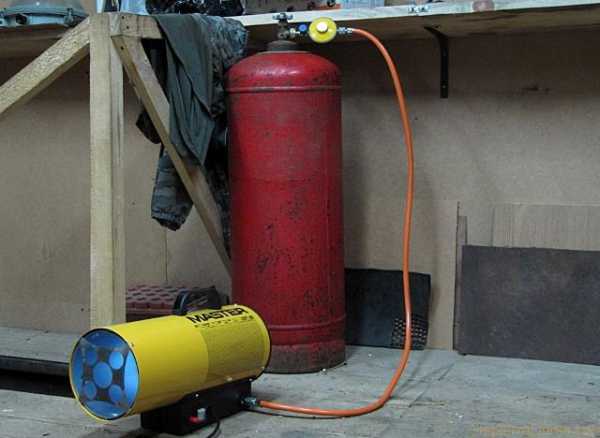
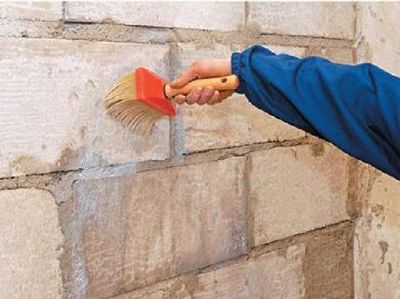
To solve these problems, you must first clean the walls of the remnants of the old finish and extraneous pollution, then in any convenient way to increase the temperature in the rooms. After the walls dry well, you can do insulation.
It is recommended to prepare the plastic film in the right amount, used as the simplest means of isolation from vapor fumes.
The ideal preparation option is the construction of an additional wall of foam blocks, which allows you to create a protective air gap (heat pad). However, in most modern homes with limited space, this option is unacceptable.
DIY warming process
Step-by-step instructions for arranging high-quality thermal protection in the house:
- At the stage of preparation of the surface, it is necessary to treat with drugs that prevent the spread of fungi.
- After the walls have dried, they proceed to the construction of the frame base, on which sheets of the heat insulator are subsequently mounted. For its manufacture, metal profiles of the required length are most often used, fixed on the wall with screws or dowels with a step equal to the width of the sheets. It is allowed to use a wooden crate, equipped in exactly the same way. If you plan to lay a soft heat insulator, the distance between the racks should be reduced by 1.5-2.0 centimeters.
- Sheets of the appropriate size are placed between the previously fixed frame elements.
- The resulting cracks are carefully filled with foam.
- After drying, the remnants of the aggregate are cut with a sharp cutter so that the cut is aligned with the plane of the base.
- A layer of waterproofing is laid on top of the insulation and all this is closed with sheets of drywall.
Then you can proceed to the final decoration of the walls using a decorative coating selected at the discretion of the user.
Finish finish
The effectiveness of the insulation procedures to a certain extent depends on how well the final decoration is organized.This point needs to be taken into account throughout all measures for arranging thermal insulation, starting from the stage of surface preparation.
It is important to consider the following:
- To close the resulting “rough” coating, it is allowed to use any finishing materials that are easily mounted on top of insulation blanks. Both gypsum boards and modern finishing panels can be used.
- When using decorative plaster, it is important to follow the basic rules for the formation of a protective layer and apply it only with a special tool (grater). In this case, it is imperative to use preliminary and finishing putty, which is arranged directly along the plaster layer.
At the final stage, the walls are primed, which will subsequently allow them to be processed with any decorative and protective dyes.
Professional advice and existing alternatives

To get the best result, experts advise you to consider the following points:
- Regardless of what type of insulation is chosen for the work, before they start, the walls should be thoroughly cleaned of mold and other layers. It is strictly forbidden to mount the insulation on untreated surfaces.
- In order to keep the plaster applied on top more firmly on the insulation and not crack with time, a polymer reinforcing mesh is gently pressed into its first layer.
- It is possible to eliminate the appearance of condensation inside the coating if, during installation, a small gap is left between the heat-insulating plates and the wall.
- In the areas adjacent to the finishing material to the frame lattice, on the contrary, no gaps are left. Otherwise, moisture can get inside the insulating “pie”, significantly increasing the likelihood of mold formation.
Immediately before starting work, it is recommended to calculate the required thickness of the insulation, which is done taking into account the basic laws of heat engineering. Too thin a layer of thermal insulation such as penofol will lead to low efficiency of the insulation procedures, and its excessive thickness will slightly reduce the usable area.
Alternatives
The considered methods of wall insulation from the outside and from the inside are not the only options for maintaining heat in an apartment or in a private house. In practice, other methods are often used:
- The use of "warm plaster", which is a special mixture that, when insulated, is simply applied to the surface.
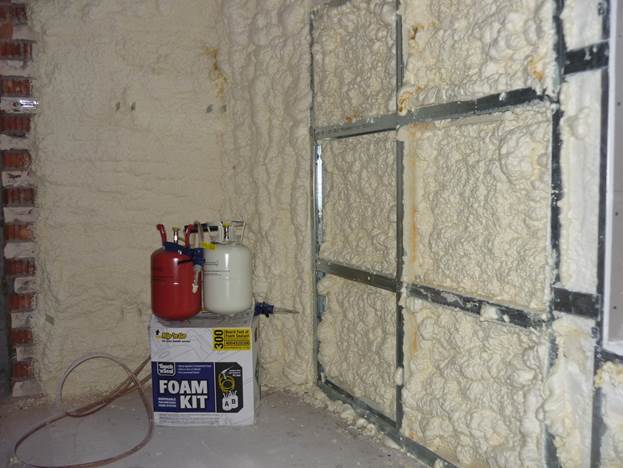
- The use of foamed polyurethane foam, prepared in liquid form.
The first method is optimal for thick brick or aerated concrete walls of capital buildings. In this case, there is no need for the construction of a frame base and preliminary preparation of surfaces. A similar pattern is observed when using foamed polyurethane foam, applied like a mounting foam.
Before insulating the walls of the house from the outside and from the inside, it is important to familiarize yourself with all the materials suitable for this event.