A high-quality drainage system is the key to reliable protection of the facade and foundation of the building from atmospheric moisture. To properly remove water from the roof, you need to install all the elements of communication, including the installation of drainpipes with your own hands. More often, craftsmen prefer to work with PVC (plastic) systems. But there are those who pay tribute to galvanizing. The principle of system design is almost the same here.
DIY installation of a gutter system
When installing gutters, it is important to comply with the technology. This will allow you to do the job without common mistakes.
Calculation of the number of brackets and methods for their fastening
Hooks (they are also holders or brackets) are the very first important part of the drainage system. They are intended for reliable fixation of trays (gutters). The brackets are attached either to the rafter system or to the windshield. In the first case, long hooks are used. In the second - short.
To calculate the required number of supports for each roof slope, you need to summarize the length of the walls under them and divide by the estimated step of the location of the holders. This value can be from 60 to 80 cm. The larger the cross section of the water intake tray, the smaller the step should be.
Example: we have two slopes with a length of 10 m each. Summarize and get 20 m. Divide the value by 70 cm (allowable step). The result is 2,000 cm: 70 = 30 pcs. Additionally, add 2-3 hooks to mount them in the indentations from the drainpipe (and just in reserve).
The first brackets are fixed at a distance of 10-15 cm from the drainpipe. Next step is done as standard.
At what level to mount
The drainage system must be fixed so that in the end the receiving trays are located under the roofing material, protruding from under it by half or 2/3. This technology provides a full outflow of water from the roof into the gutters and further into the pipes.
Trough installation angle
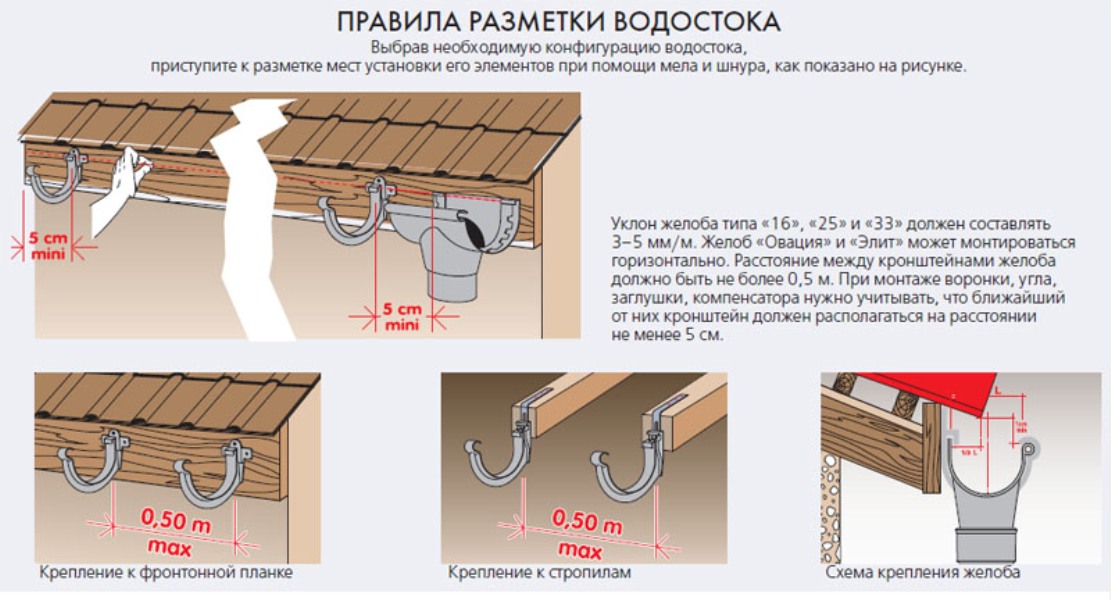 For atmospheric precipitation to be transported by gravity to the receiving funnel, it is important to observe the slope angle in its direction from the opposite edge of the ramp. Masters recommend to withstand 0.3-0.5 cm per linear meter of communication.
To ensure that the slope is even, the brackets for the trays must first be laid out side by side and numbered in ascending order - their approximate location from the lowest point to the highest. Then a bend line (an angle of inclination) is drawn along them and, using a special tool, the desired configuration of the hooks is formed according to the marked markings. After that they fasten.
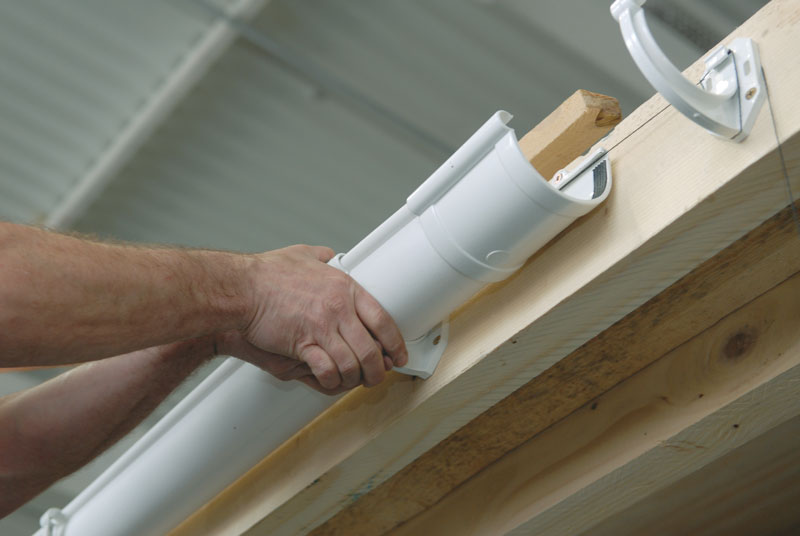
The trays are driven into the brackets until they click. Then they are joined using connectors. An additional sealant can be used to eliminate the risk of leaks. Each subsequent trough is installed in the direction from the lower slope to the highest.
Funnel mount
A water intake funnel is used for quick collection and removal of sediment from trays. It is mounted at the bottom of the slope of the gutter line.
If it is planned to form a hole for a funnel in one of the trays, mark the desired place. The hole is cut with a hacksaw. All burrs are removed. With the help of mites, the funnel is shaped and joined with the tray.
This element of the drainage system is always installed first. Later, a line of trays is pulled from the funnel.
Installation of drainpipes
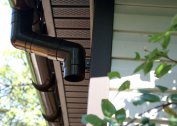
The pipe is a vertical element of communication. It is attached to the wall with the help of special clamps - rings along the diameter of the pipe with a central pin. It is important to make sure that the vertical pipe is at least 8-10 cm from the wall.This eliminates the impact of the element on the facade of the building when the water converges.
If you need to bypass the architectural bay windows, use special transitional elbows. The bottom of the drainpipe must be equipped with a drain. Its extreme lower point should be located at least 25-30 cm from the ground. If you set the drain too low, ice will form in it in winter.
Installation of a gutter on the finished roof
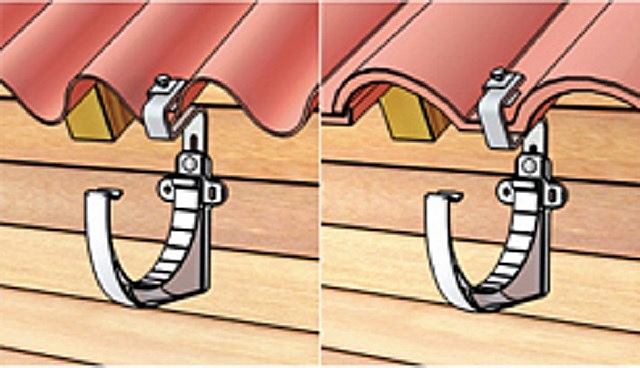
Sometimes it happens that you want to install a metal gutter system on finished roofs with your own hands. With the seeming impossibility to do this, it is quite real. There are several ways of such installation:
- You can put boards under the bottom sheets of the roofing material that protect the slate or ondulin from deformation. At the same time, you need to carefully unscrew their fasteners with pliers.
- Fix the brackets to the windshield. At the same time, it is really possible to trim it as an interesting decorative element of the roof.
- If you do not have time and desire to mess with the boards, you can mount the trays directly on special crutches that are embedded in the wall of the house under the roof level. It is important to comply with bias.
- You can install the gutters on special clips. They are attached directly to the wave of roofing material.
In any case, the gutter system will perform its functions fully.
Common mistakes
When installing a metal or polymer water drainage system, masters often make the following mistakes:
- Lack of slope of drainage trays. In this case, the water will simply collect in the gutters and overflow. In addition, small debris (sticks, leaves) will always be present in the canal. Under regular water pressure, the trays can break off, especially if ice forms in them in winter, which is not excluded in channels without a slope.
- Improper gutter throughput. If it is small, even if there is a slope, the water will overflow. Too large a cross-section of the gutters is impractical to the costs incurred.
- Incorrect bracket pitch. With large indentation, the gutters can sag under the weight of the liquid and break with time. In addition, deflections will invariably lead to stagnation of water at these points, the formation of ice in them, and then breakage of the line. If the hooks are too close, this is also an inappropriate waste.
- The gutter is too close to the wall. In this case, the vertical riser will beat against the facade under the influence of vibration. Plaster, masonry will suffer, moisture will constantly affect the walls.
- Incorrect placement of trays relative to the roof slopes. If they protrude excessively from under the roofing material, the waste water will forcefully beat against the edges of the gutters and overflow over the edge. An incorrect (reinforced) load will be applied to the brackets.
- Lack of protective grilles. Such simple elements prevent clogging of the system with garbage, branches, leaves do not fall into a vertical pipe, which will be more difficult to clean if something happens.
Subject to the installation technology of the drain, the system will function fully for many years.