Installation of sewage in a village house involves the conduct of internal and external highways. The first covers all plumbing fixtures and a toilet, and the second contains elements that ensure the discharge of wastewater to the sump tank. The system can be either autonomous or connected to a central sewage system. In villages, the first option is usually installed with the drainage of sewage into a cesspool or sewer well.
Basic principles of a sewage system in a wooden house
In Russian villages, most residential buildings are wooden. When assembling the sewer system, it must be borne in mind that the main problem is the significant shrinkage characteristic of frame houses, and especially log houses. Therefore, the installation of an internal sewer line in a private house made of wood is carried out especially carefully.
To make the internal sewage system in a rural house correctly, the following points must be taken into account:
- In areas where the sewer system passes through the load-bearing walls or partition walls, compensatory gaps are necessary to protect the fan pipes from damage during shrinkage of the structure.
- With a pile foundation, the main sewer line is usually drawn between piles.
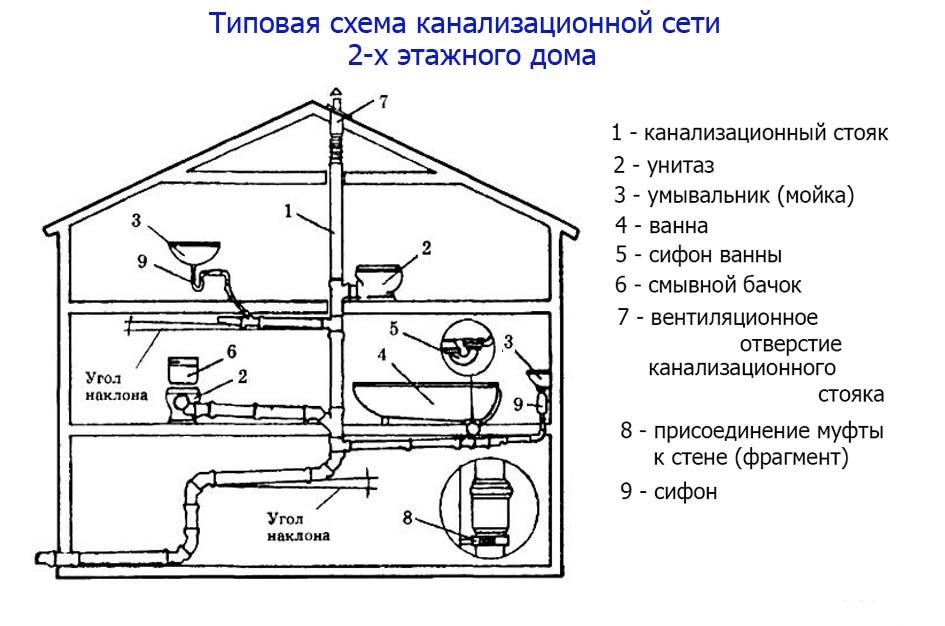
- The main parts of the horizontal wiring are installed in the ceilings. At arrangement of a network violation of integrity of bearing beams is not allowed. Therefore, the sewage project should be implemented so that the length of such sections is the smallest. The best option is to install plumbing fixtures near the risers.
- Be sure to equip fan ventilation, which prevents the breakdown of water gates and eliminates unpleasant "aromas" in the house.
- When laying the system in a horizontal direction in a wooden house, they provide an inclination towards the risers for moving water at an optimal speed (30 mm per 1 meter for a pipe with a cross section of 50 mm, and 20 mm for a pipe of 110 mm).
It is not necessary to rigidly fasten the details of the sewer pipeline to the walls or supporting beams of the ceiling. It is best to use suspensions or other fixing elements to ensure the immobility of the line during shrinkage of the structure.
All other aspects of the installation of the pipeline in a residential building made of wood are identical to the sewer line in a city apartment. With regard to the street system, special attention will need to be paid to the selection of treatment wells. A device with a productivity of 400-700 liters per day is quite enough for a one-story house.
Design Nuances
 Before starting work, it will be necessary to draw up an individual pipeline scheme taking into account the characteristics of the building and the location of the premises. When designing the internal trunk, an accurate calculation of the location of the fan pipe is required. Only after that it is possible to establish where the rest of the sewage system will be laid.
Stages of drawing up a drawing:
- On a piece of paper, preferably in a box, draw a plan of the building to scale.
- Choose a place where the riser or collector pipe will be located.
- Put marks on all floors of the house where sanitary appliances will be installed, and make the fan pipes from the riser, taking into account the connecting nodes.
- Measure the length of each part of the sewage system in the house and summarize the dimensions obtained to calculate the exact number of building materials.
The final step will be to outline the external system: the release of pipes and their laying before the treatment plant.In this case, it is required to take into account all the requirements that are specified in SanPiN 2.1.4.1110–02, and in SNiP 2.04.03–85.
The choice of sewer pipes
For sewage in a residential building, it is better to select polymer pipes. Cast iron models are more durable, but they are much more expensive and eventually become deformed due to corrosion, “overgrow” from the inside, which reduces their functionality.
Products made of PVC and polypropylene have greater reliability and ease of use. Do-it-yourself mounting is a lot easier.
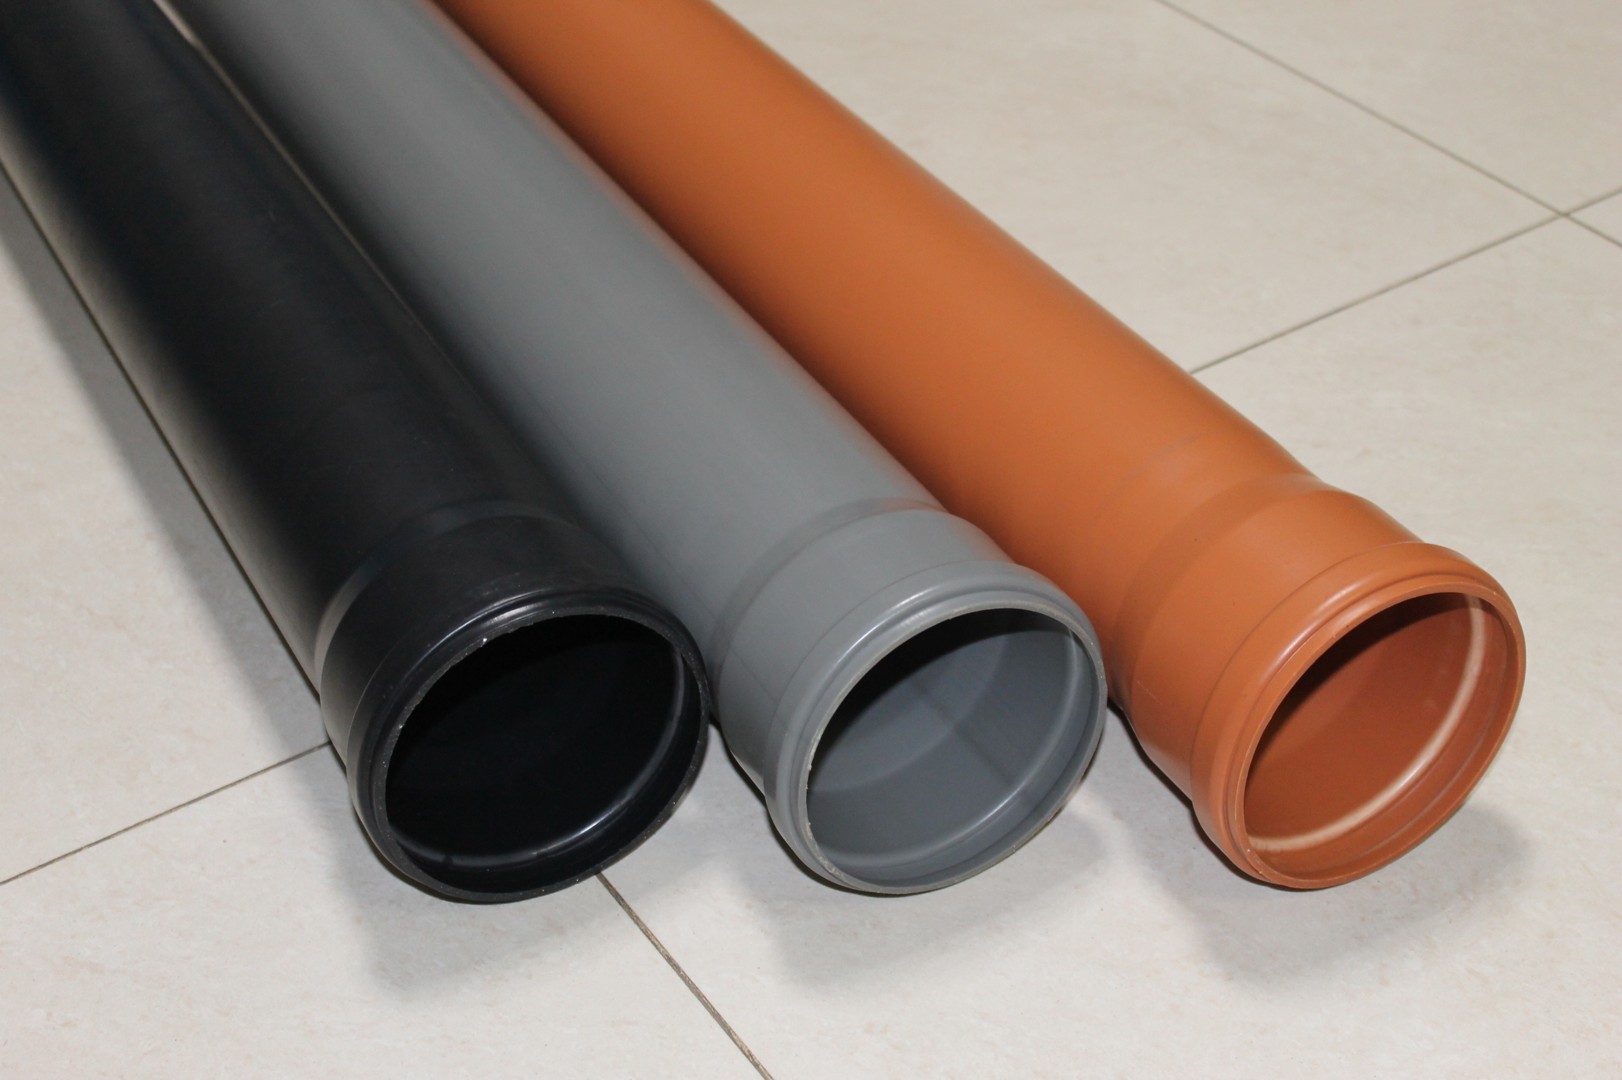
For the internal and external piping, different models are used. The latter are tougher and stronger, because they have to withstand serious loads when buried in the ground. They are usually a bright red tint to stand out from the ground. The outer ones made pipelines - gray or white.
- To divert water from the toilet, pipes with a cross section of 100-110 mm will be needed. Their total size in length is not less than 1 meter.
- For wastewater entering the common riser from the kitchen and bathroom, pipes made of polypropylene or polyvinyl chloride with a cross section of 50 mm will be required.
- In places where the sewer turns, you need to apply several fitting elements, bent at 45 degrees. This helps reduce the risk of blockages during system operation.
To conduct external sewage in a wooden house, pipe sections with a cross section of 11 cm are used. This is enough for normal drainage.
If necessary, warm the pipeline. For these purposes, heat-insulating materials or a special cable are used. Thermal insulation for the sewage system is available in two types: rolled and molded. If you are inclined to use a cable, you can buy pipe sections on which it is already installed.
Installation Steps
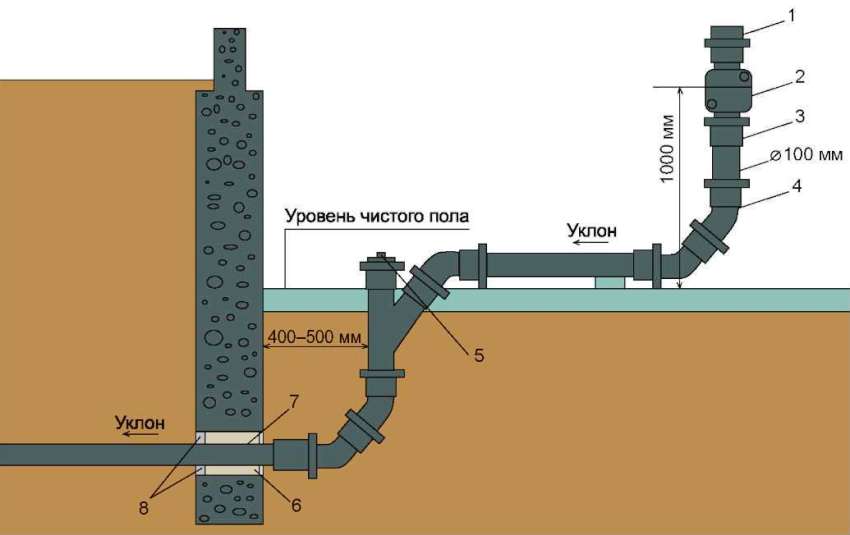 The installation of the pipeline begins with the release - the border section connecting the home and street highways. It is usually mounted below the freezing level of the earth, in the thickness of the foundation. The cross section of the release is 140–150 mm. A sleeve is installed inside it, and already through it a fan pipe with a cross-section of 100-110 mm is passed through which sewage will be discharged to the external system. Release necessarily insulated. If you mount it above the freezing depth of the earth and do not make insulation, in the winter the sewage system will simply not be able to work, and its repair will be postponed until spring.
Do-it-yourself sewer installation in a village house:
- The connection of pipes from the toilet and sinks, installed under a slight slope, is carried out on a common riser, which is securely attached to the wall.
- The outer end of the pipe line is discharged into the hole in the base of the house.
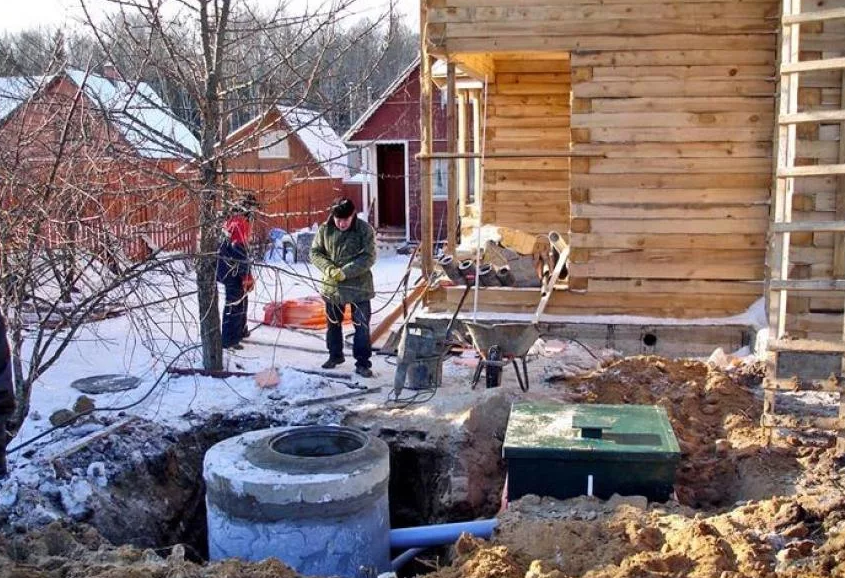
- A trench is equipped with a pillow of sand and gravel, where an external system is installed.
It is laid below the level of freezing of the soil (not higher than 0.7 m, but not deeper than 3 meters). The slope of the horizontal pipe going to the sewer well should be approximately three degrees. - A pit is excavated for a cesspool or two or three for a sewage treatment plant (depends on the total number of chambers). The septic tank must be at least 5 meters from the farmhouse. But to lay the highway further than 15 meters is also not recommended - this will lead to frequent blockages.
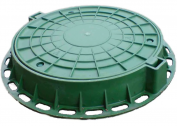
- The selected version of the treatment device is equipped and connected to the highway.
Before burying the pipes, you should check the correct installation by performing a test run of the system.
If you observe the technological nuances, it is quite possible to make a sewer in the village yourself. Living conditions in a private house will be no worse than urban.