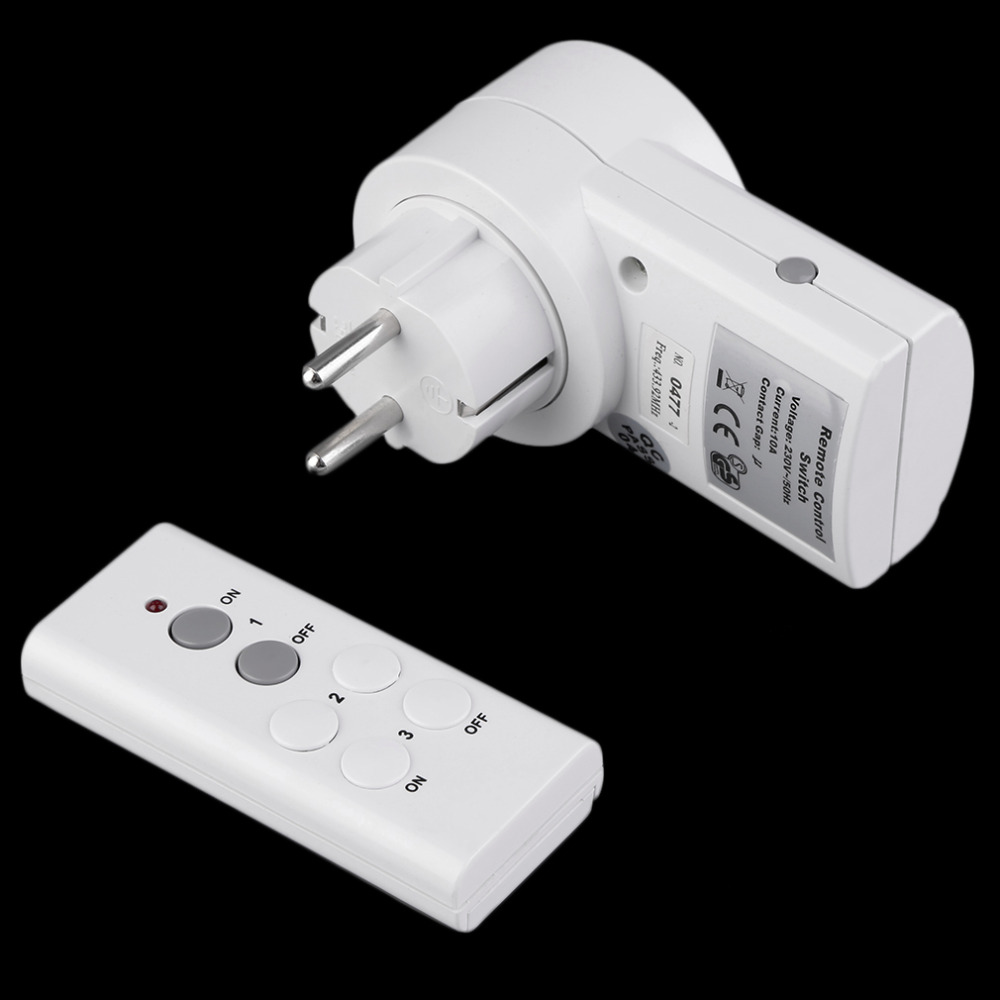
A relatively new solution in the world of wiring devices was a socket with a remote control. With its help, you can connect household appliances even where free access to the network is architecturally or interiorly limited. The device and the principle of operation of such an outlet are extremely simple.
Purpose of the socket with the remote control
A remote-controlled outlet is used in the following cases:
- Difficult access to the power point in the room, which is located behind the cabinet. In order not to do dirty construction work such as gating and outlet of a new outlet, you can use a remotely controlled wiring element.
- The need to preserve the original interior and hide an unsightly food point behind the furniture. It can only be controlled using the remote control.
- The ability to remotely enable communications in the apartment (heating, boiler, kettle, etc.).
- Climate control in the house. Air conditioning, ventilation control. Temperature adjustment of convectors.
- The ability to remotely organize lawn watering using a smart outlet.
Using the power point with the remote control allows you not to worry about forgetting to turn off the iron, kettle, hair dryer when leaving the house. In addition, such a power point protects stationary sockets. When installing and removing plugs, the sockets are constantly loosened, which over time leads to weakening of the contacts.
Remote Socket Device
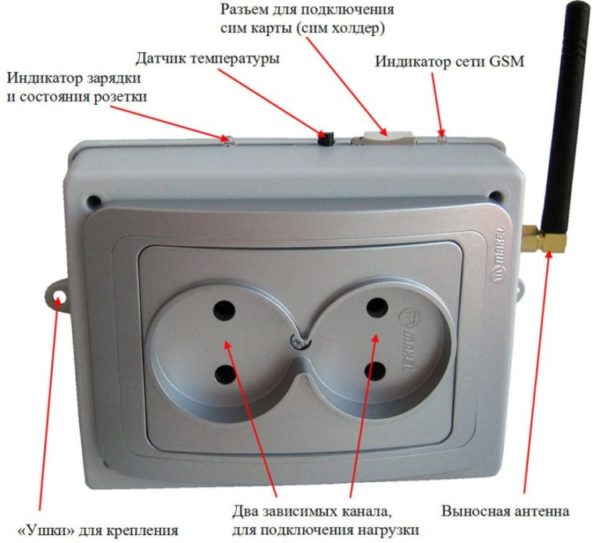
Unlike a standard outlet, which has only terminals with contacts, a housing, and hardware, a remotely controlled power point has two additional nodes:
- switch (supplies current to the necessary connectors);
- receiving unit, which receives signals from the remote control (remote control) and sends them to the switch.
It will not be a mistake to consider the remote control as the third working unit of the new wiring element.
Management principle
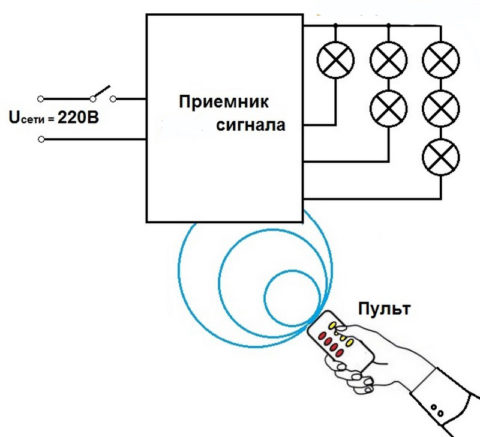
There are several ways to manage an electronic power point:
- Wired channel. Not the most convenient method, since it requires additional cables.
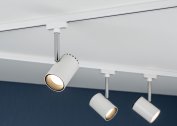
- Acoustic control - the reaction of the mechanism to sound. Such sockets are not the best, because they can work on false commands (music, singing, etc.). Acoustic sensors are good for controlling light.
- Infrared radiation (IR channel). This principle is enclosed in most remote controls. This system is convenient, but requires direct contact of the emitter with the receiver. And this is difficult to achieve if the outlet with control is hidden behind a cabinet.
- Radio control. More often, this implies the principles of WiFi or Bluetooth. With excellent sensor sensitivity, you can control the power point from several tens of meters or more.
- GSM channel. Allows you to set the power point teams from anywhere in the world. If only there was coverage of a mobile operator. Then the remote outlet will perform any task, even by SMS.
You can assemble a controlled outlet with your own hands using the module of an old mobile phone.
Schemes for self-assembly
It is quite possible to make a socket with a remote control yourself. Masters use one of the popular schemes.
Using ready-made modules
This is the easiest method. You can make a food point in just 2-3 hours. To do this, you just need to buy ready-made modules via the Internet or from a trusted seller. Quality products are considered to be “Master Kit”. To build, you need to prepare:
- MP910 remote control.
- Receiving module MP912.
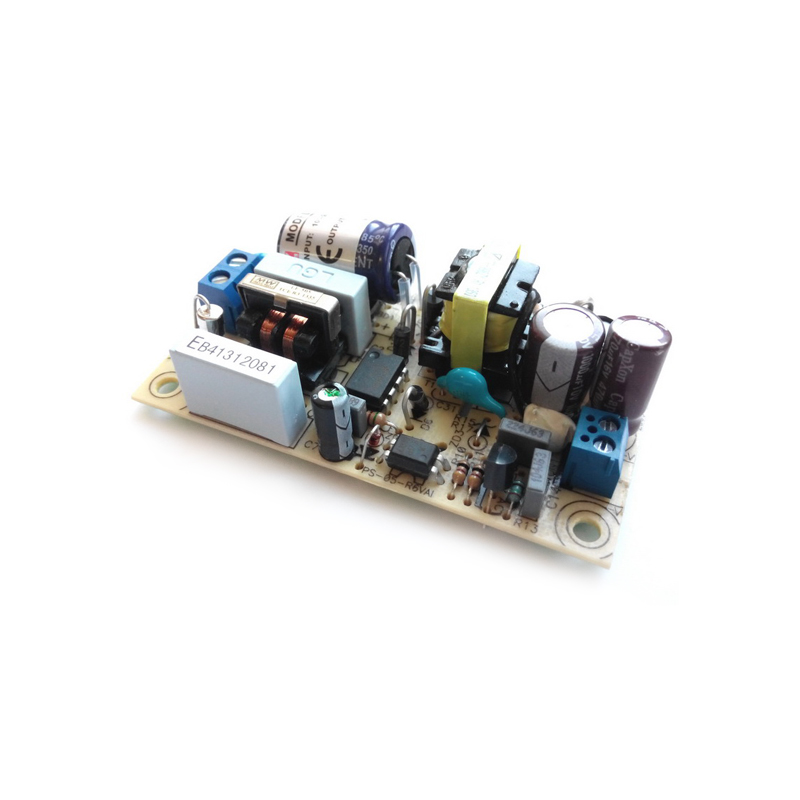
- Power supply WP1245. Some craftsmen assemble it themselves, but it is better to buy it.
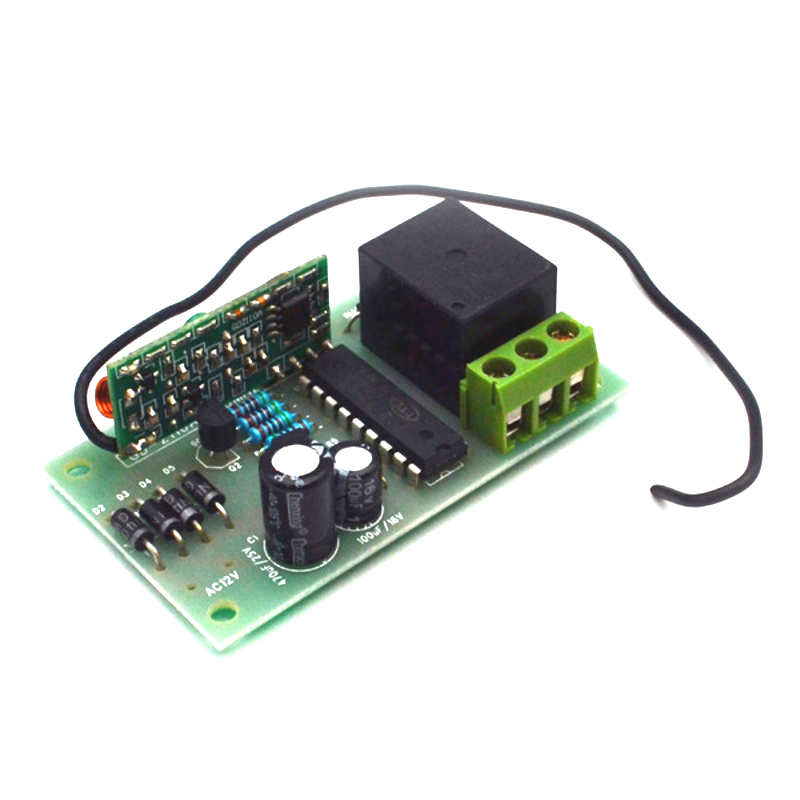
-

- Remote control receiver
-
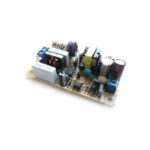
- Impulse power block
-

- Remote control keychain

The total cost will be comparable to the purchase of a ready-made managed outlet. But some masters are attracted by the idea of self-assembly.
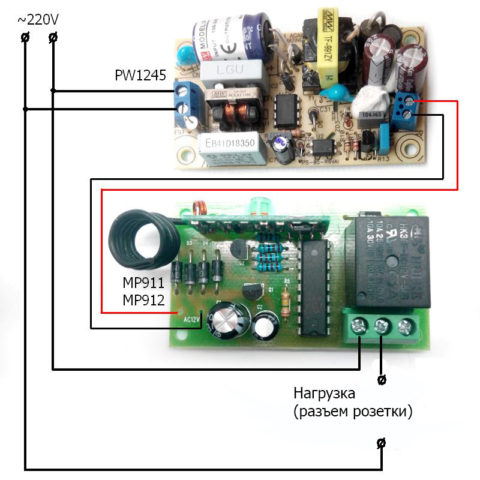
The work is performed in the following sequence:
- A drop of solder is applied to the base of the board and, by doing so, two so-called piglets are connected. This allows you to choose the encoding option of the sent signal.
- The transmitter is disassembled and a patch is closed on its board by analogy above. The body is assembled back.
- Connect the power supply to the receiver.
- At this stage, the receiver relay and the power supply are connected to the 220 V network. If the outlet works according to the adapter principle, it is connected to a plug or cord. If it is built-in, right through the switch.
- The finished design is tested. When the button is operated, a relay click is heard at a working power point.
- It remains to put the power supply and receiver in the housing.
Even an expert without experience can collect such an element.
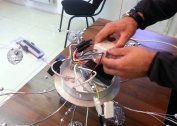
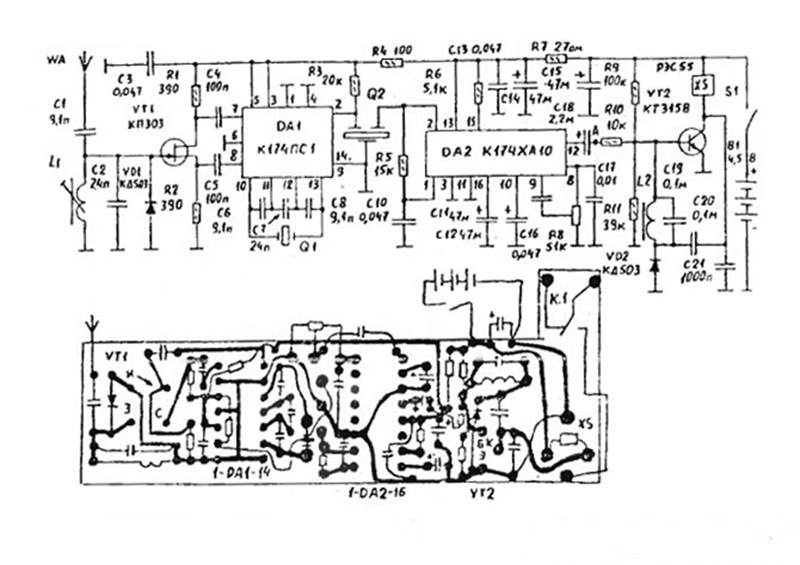
Assembly without the use of off-the-shelf modules
Only an experienced master who knows and understands radio engineering will cope with the work. Fully assembled from scratch, a controlled outlet responds to commands from a distance of 5 km. Such a device is especially convenient if the user is working near the house. It is enough to have a control panel with you to control the operation of the equipment remotely.
Socket with GSM control
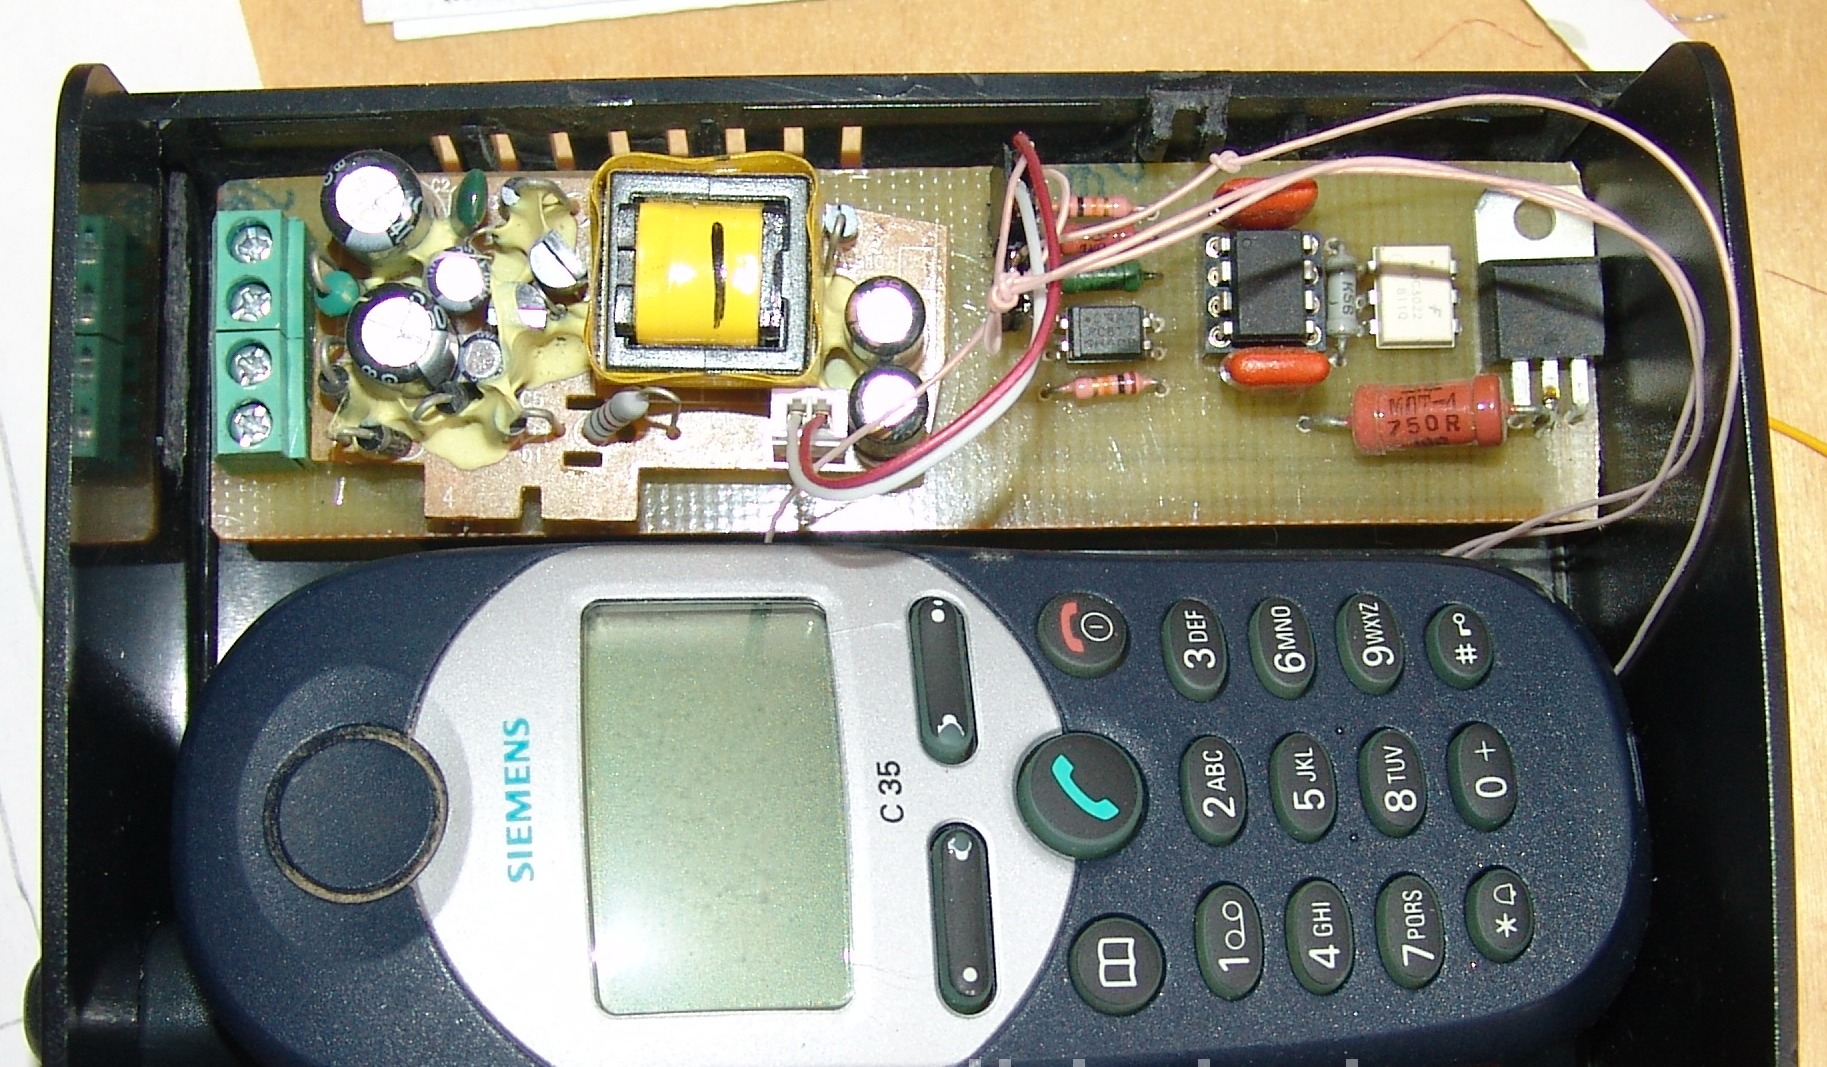
To build such a smart outlet use any old mobile phone. The main thing is that the signal reception chip should work. The transmitter is also a cellular device. The convenience of such a scheme is that it does not require disassembling the phone. The control principle looks like this:
- You need to dial the number of the receiving module.
- As soon as the connection has occurred, use the keys 1-7 to set the status of the outlet connected to the relay. Using the 0 key, the power points are turned off.
When connected, the cellular device enters the DTFM dial tone mode. It is read by the unit connected by X1 to the headphone jack on the phone. When it receives a command, the relay is turned on / off, which changes the load at the power point.