Ensure a comfortable location of portable lighting devices and household appliances allows the correct installation of outlets. To complete the work, you need to know the principles / safety rules and correctly plan the location of power points.
Important conditions for safe installation
SNiP, GOST and PUE regulate a number of rules that must be observed when performing electrical work.
- Before installing switches and sockets, according to the rules, you must turn off the common input circuit breaker for the whole house or apartment. Thus, the master breaks both phase and zero, which provides greater security.
- Before starting installation, use an indicator to check the absence of voltage of 220 V.
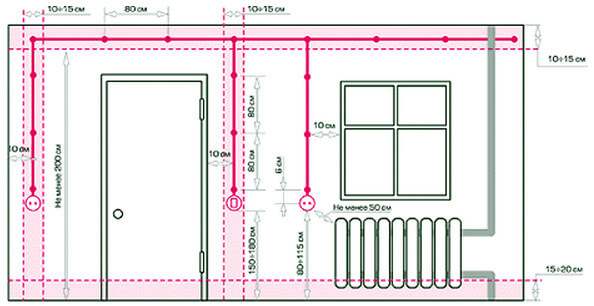
- Power points in the rooms are located 60 cm from the floor (minimum). If there are children of any age in the house, the installation height changes to 1.8 m. In places of public catering, the outlet is placed 1.3 m from the floor.
- For the above-plinth design with a cover according to European standards, it is allowed to withstand a height of 30 cm from the bottom of the room.
- It is undesirable to carry out installation work and make power points less than 50 cm from the grounded equipment in the bathrooms (radiators, fittings, sink, PVC pipes).
- In plumbing rooms, wiring should only be hidden.
- According to the rules, for every 8-10 m2 of the room there should be one element of electrical power.
- Switches are mounted at least 90 cm from the floor and 10 cm from the door jamb.
- If the work is carried out in the kitchen, from the gas line sockets and switches have a minimum of 50 cm.
Violation of established norms and requirements threatens the master with the creation of emergency situations.
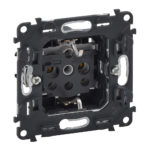
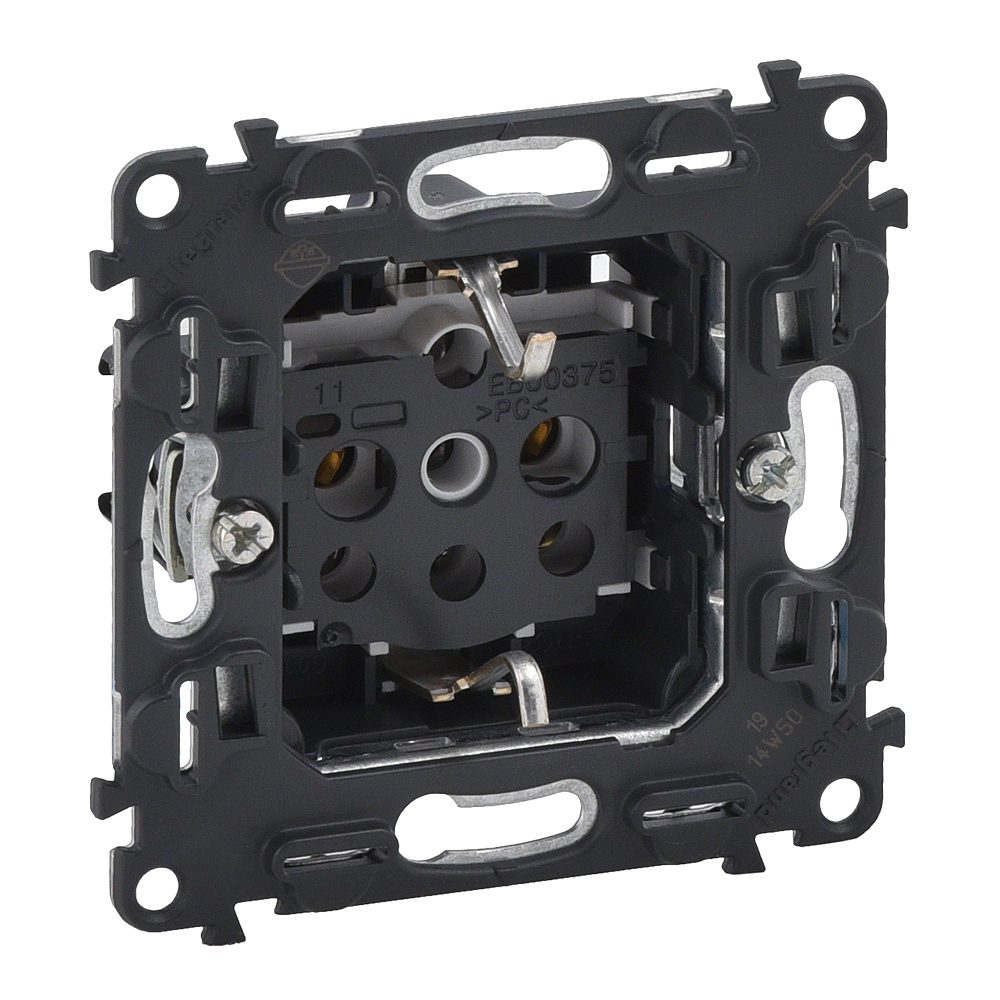
Types of Outlets
For the arrangement of a single-phase electricity line with a voltage of 220, the following types of structures are used:
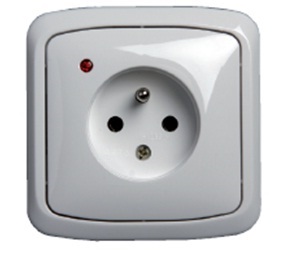
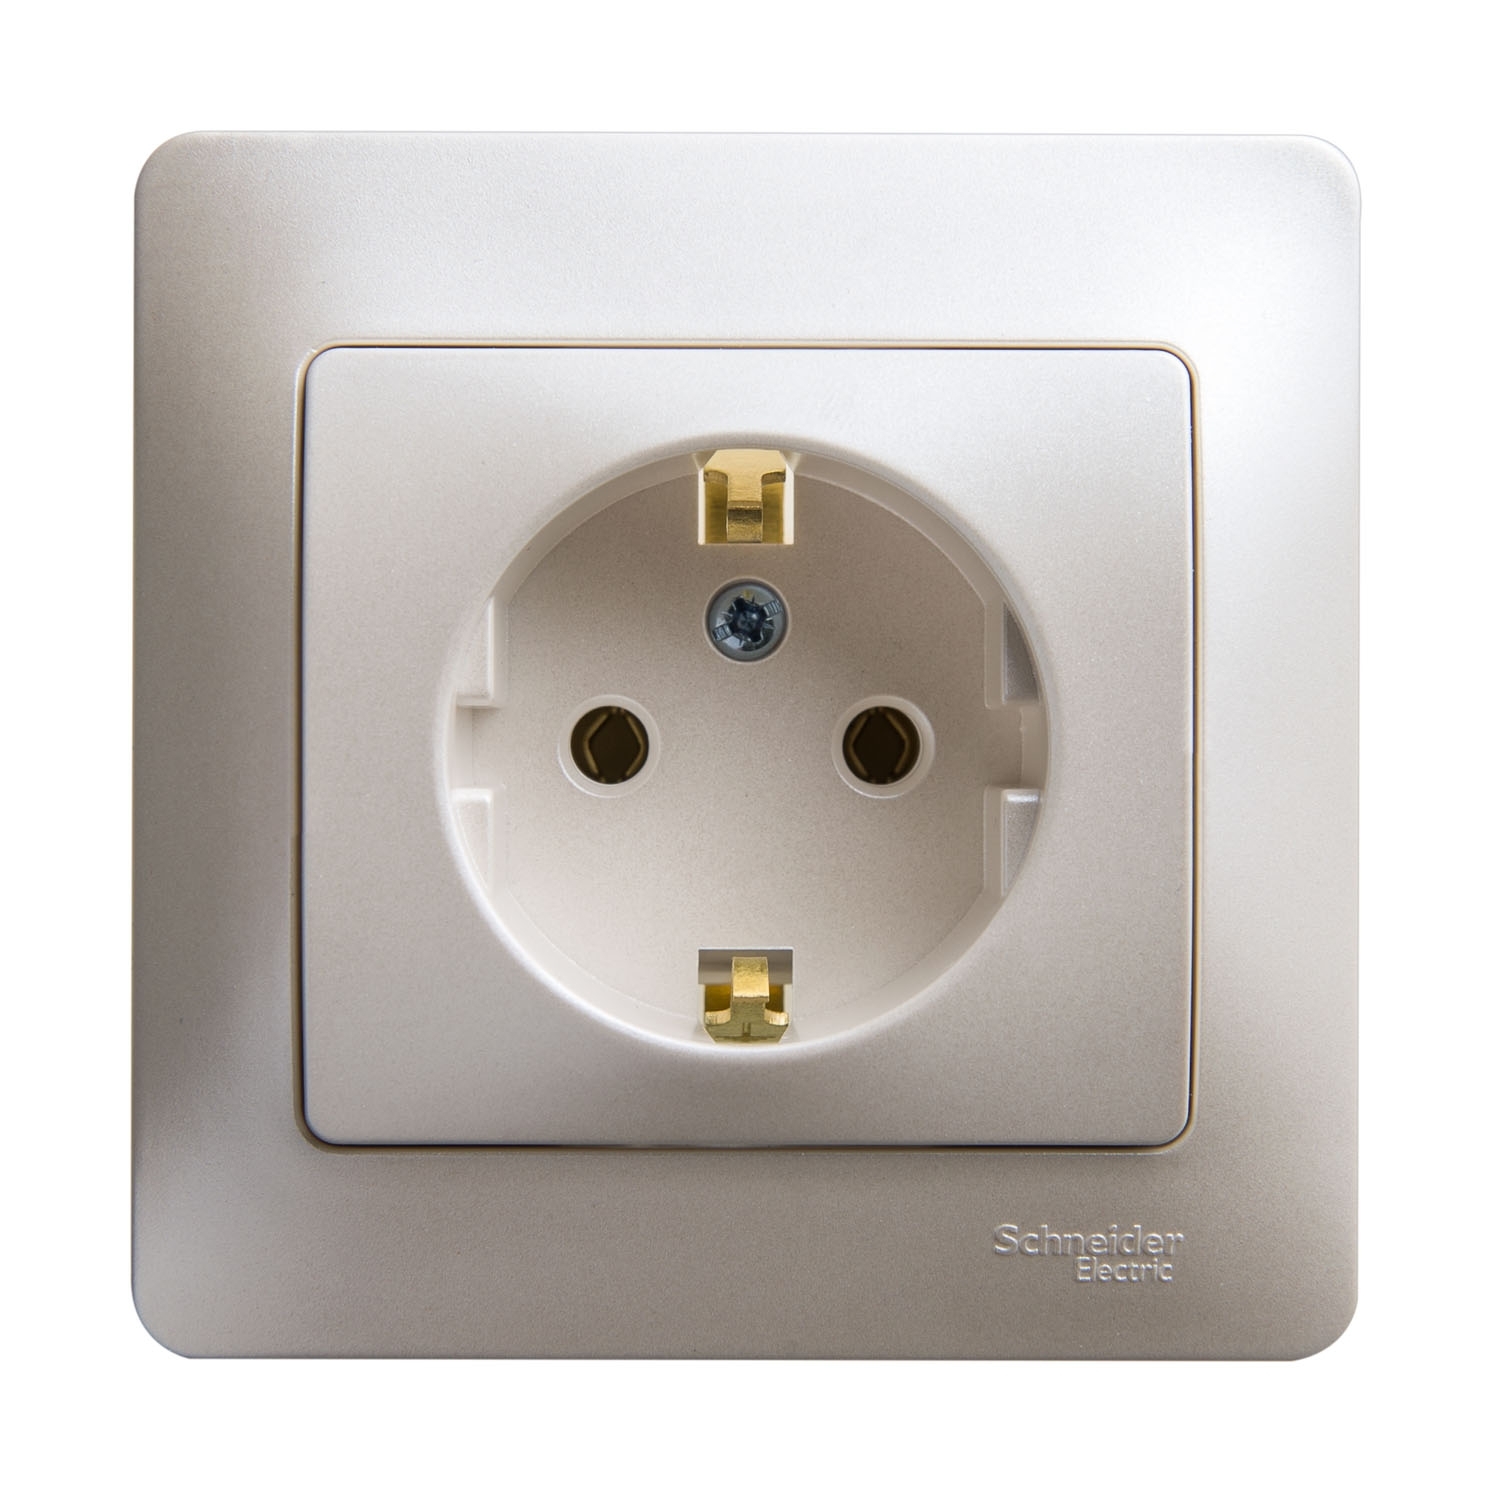
- With side grounding contact (C 2a). Their design assumes the presence of an additional terminal, to which a green core is connected. More often, installation of an outlet of this type is performed under powerful household appliances (electric stove, boiler).
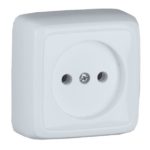
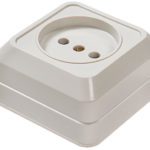
- Without grounding (C 1a). Conventional sockets designed for a maximum operating current of 10 A. They are able to withstand voltages up to 250 V and do not need grounding.
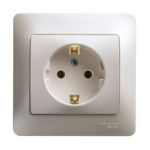
- Devices with a pin grounding terminal. It is mounted depending on the type of plug. Such elements have standard C 3a.
-
- Pin with earthing pin
-
- Socket without grounding contact
-
- Grounding socket
Additionally, sockets are classified into types according to the type of design:
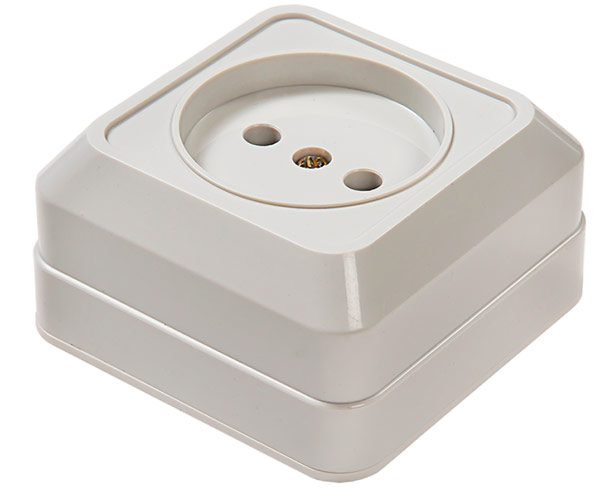
- External (consignment notes). Designed for self-installation on the walls of wooden log cabins, panels. If the master does not know how to install the outlet in such buildings, it is worth following the fire safety rules. Cutting power points into the tree is strictly prohibited.
- Built-in (internal). Used for installation in walls made of monolith, brick, foam concrete, drywall.
-
- Overhead outlet
-
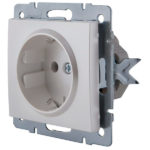
- Built-in socket

Additionally, sockets are divided into types according to the method of fastening the wires in them:
- With spring terminals. The stripped wires are inserted into a special technical hole and fixed automatically.
- With a screw. The wires are pressed to the terminals by tightening the small fasteners.
-
- Screw-in socket
-
- Spring-stamped socket
There are also floor mini-columns with which you can output from 2 to 6 power points at the same time. They can be added if you need to connect a large number of equipment in one place.
Before you make the outlet, it is important to consider that the installation of the power point without grounding can be carried out using a two-core double cable (with two wires inside). Installation of the element with grounding is performed using three-core (triple) cables. The yellow wire is designed to connect the desired terminals to the apartment ground.
Mounting technology
Before installing the sockets, you need to prepare all the necessary tools:
- screwdrivers (flat and cross);
- a puncher and a crown for it 70 mm;
- shtroborez or grinder;
- side cutter or sharp knife to remove the braid of the cable;
- building level for installing outlets;
- tape measure and marker;
- hammer and chisel;
- putty knife;
- container for the preparation of mortar (alabaster, gypsum, putty).
Noisy dirty work on gating walls is best done on weekdays from 10:00 to 17:00. In this way, possible conflicts with neighbors can be minimized. If there are young children nearby, it is worth interrupting for a lunch break.
Sockets are installed in one of the ways - overhead or built-in.
Outdoor mounting

To put the outlet on a wooden wall, you need to adhere to the following scheme of work:
- Using a cable channel, an electric cable is connected to the area of the future power point. It is important to trim its length with some margin for installation.
- To the wall, you need to attach the socket to the special panel using self-tapping screws.
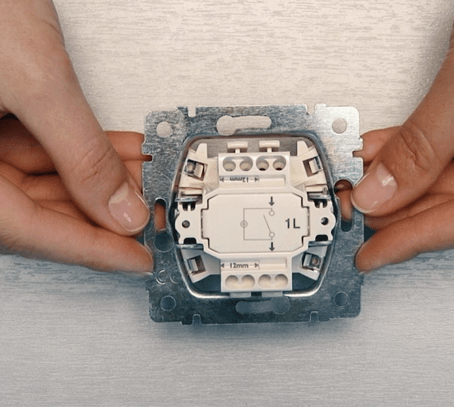
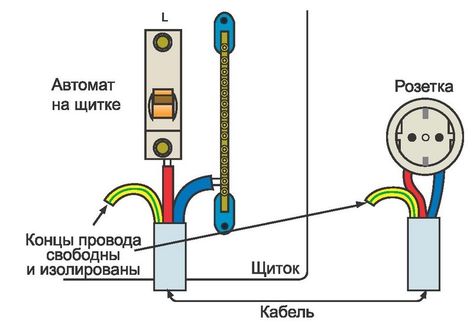
- The cover-panel of the structure is removed and connected to the desired terminals of the core of the cable freed from the braid. Here it is worth considering the marking: “L” means a phase wire, “N” - zero.
- With the help of special ears, the polymer housing of the socket is attached to a self-tapping screw to an installed socket. So that he does not pinch the power cable, you need to break the technical window on the side. The whole structure is fixed with a screw.
It remains to close the wires on the wall with a lid from the cable channel.
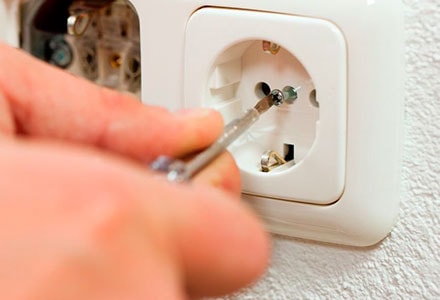
Indoor installation
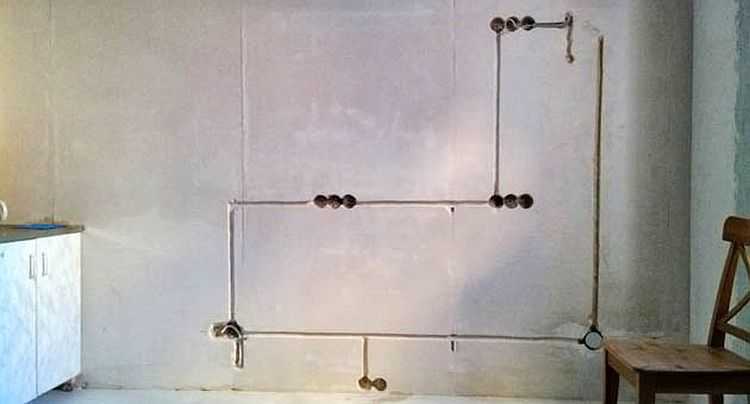
To install the outlet in the wall, first you need to prepare a nest for it: grind the walls and form a recess in the partition. Before starting work, mark the walls if the power point is installed in a new place. Stages of further work:
- The channels for the cable are made strictly along the intended lines. First, cuts are formed on both sides, and then the remaining concrete is knocked out with a hammer and a chisel.
- The nest for the glass is made with a perforator with a crown. The remnants of the monolith are again knocked out, in parallel trying on the element in depth. It should not protrude above the wall plane.
- A finished cable is pulled by a supply cable and its end is inserted into the technical connectors of the glass, leading the end to 10-15 cm. This should be enough to connect.
- Using an alabaster solution, a glass is mounted in the nest, controlling the level of its protrusion above the wall plane. All gaps around the glass are closed with a building mixture, leveling the surface of the partition. Alabaster dries for 20-30 minutes. Putty and gypsum longer (up to a day, depending on how much solution was used).
- Release the power cable from the braid by 10 cm, and each opened wire (red / brown, blue / white, yellow / yellow-green) by 1 cm.
- They are led to the terminals of the outlet according to the phases. By zero - blue or white (depending on the manufacturer). To the phase - red (brown). To ground - green (yellow-green).
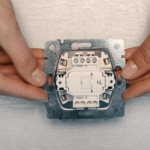
- Insert the socket into the glass and fix it by means of the sliding tabs. It is also important to control the levelness of the element. Otherwise, the power point will be skewed.
- It remains to install the outer panel and frame on the screw.
Inserting a wall outlet into a drywall is very simple.It has special pressure clips. The socket is inserted into the socket. The gypsum plasterboard base is quite fragile, so when working with a punch, you should not put much pressure on it.
Removing an old outlet
When carrying out repairs, it is often necessary to change the old supply points to new ones, especially in Khrushchev or Stalin, old-type panel houses. Sometimes such sockets are mounted in a wall without a socket. Here the master should act in the following sequence:
- The power on the switchboard is turned off.
- The socket panel is removed by unscrewing the fasteners.
- Using a screwdriver, the master disconnects the wires from the terminals and removes the old structure.
- It is important to free a part of the power cable in order to freely form a socket for installing a new glass.
- Otherwise, all actions are performed by analogy with the installation of an internal (built-in) power point.
If the power cable is short, you can extend it. All compounds are carefully insulated.
How to make do-it-yourself grounding
Sometimes you have to do grounding at the outlet with your own hands. The work is performed in this way:
- A three-core cable stretches from the common junction box or from the shield along the gates to the intended area. The cross section of each wire must be at least 2.5 mm2.
- The terminal strip must be fixed to the special DIN rail. The vein of the "earth" will be connected to it. The color of the ground wire is always green or yellow-green.
- The joints of the wires when installing outlets are well insulated.
After the work, it remains to fix the socket with grounding.
Installation of sockets and switches in a panel house

If you have to mount power points on concrete walls in prefabricated houses, it is important to consider that monolithic blocks contain reinforcement inside. Therefore, when gating, it is better to use a metal detector. Doing channels in supporting structures is prohibited.
To screw the new outlet into the place of the old one, which is connected to the power point in the neighboring apartment through the wall, experts recommend acting in this way:
- Move the location of the new one a little, and foam or plaster the place of the junction with the neighbors. Their feeding point may remain in its old place.
- Extend another power point along the gates from the existing one.
- Pull the new cable from the junction box for the installation of outlets.
- Connect power to the new power point from the switch.
- Plant the glasses in their old place on a layer of alabaster.
In the same way, you can connect the light in the room, bring the wiring to the switches.
All electrical work should be carried out extremely carefully. If the master understands that he can’t cope with the task, it is better to install an electrician with the help of an experienced professional who has permission to provide such types of services.