The kitchen is the busiest room in terms of electricity consumption. At the disposal of the hostess is an extensive arsenal of household appliances and various appliances. On the one hand, it is very convenient, on the other - the load on the line increases, many outlets are required. It is easier to entrust the design and installation of wiring to professionals, but it is expensive, but you still need to find a good specialist - there is a risk of running into an illiterate employee. You can install sockets on the kitchen apron yourself. To do this, you need to familiarize yourself with the features of the calculations, installation rules and safety measures.
What to consider when arranging outlets
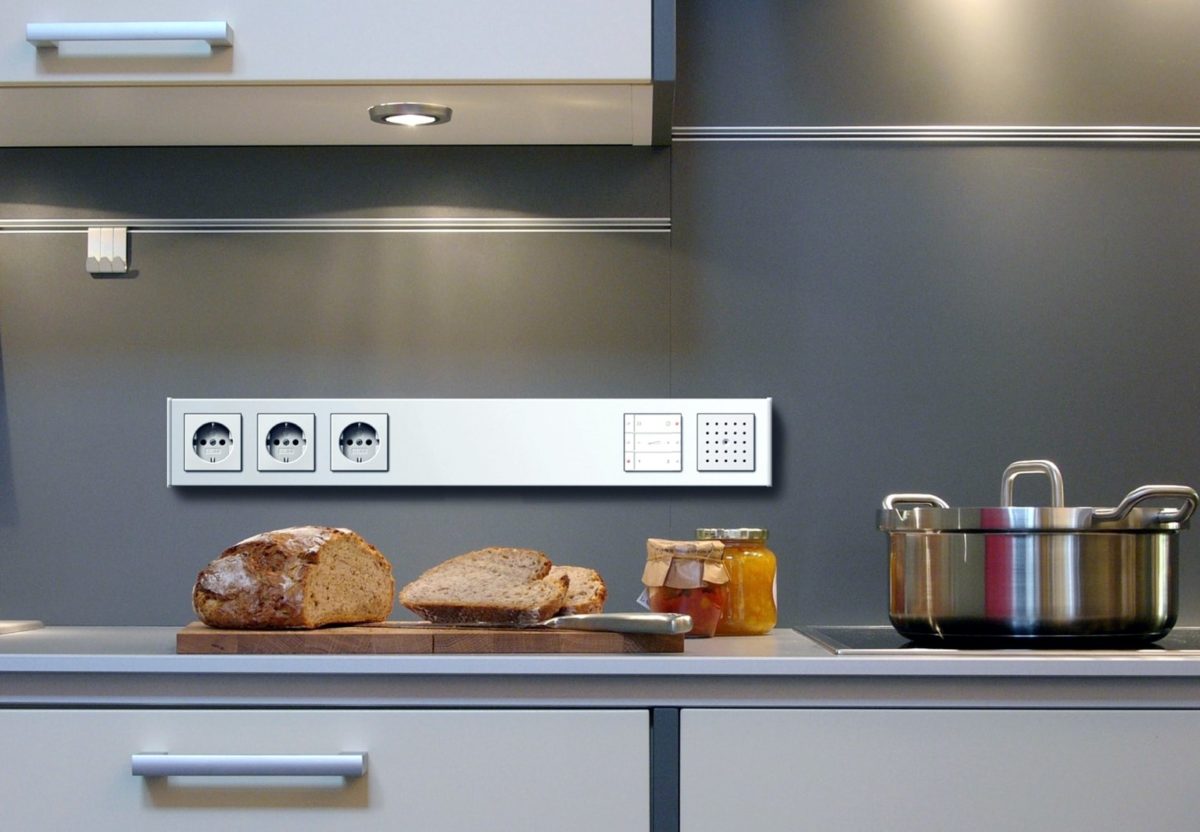
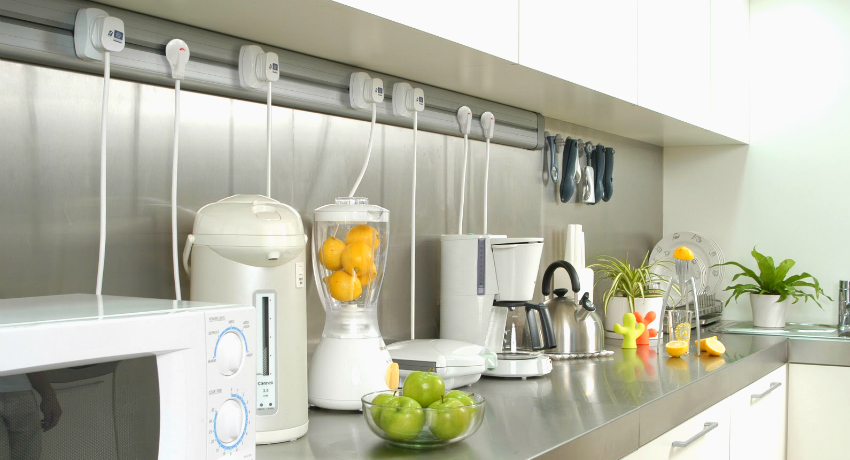
Outlet layouts provided by typical projects are not suitable for modern kitchen interiors. While energy sources are fixed in the side walls, the bulk of consumers are in the area of the countertops. Powerful household appliances are installed along with cabinets and inside them, and no less powerful appliances are on top.
When drawing up a connection diagram for electrical equipment, it is necessary to take into account the following nuances:
- At the initial stage of installation, a three-core cable should be laid, even if grounding is not provided. Subsequently, this defect can be eliminated. Then you do not have to change the wiring.
- When choosing a power cable, you need to stop at maximum power consumption when several consumers are connected to one block.
- Sockets on the kitchen apron should be placed at such a distance so as not to move appliances around the countertop when it becomes necessary to connect them to the network.
When choosing outlets, it is better to stay on spray-protected options. This will prevent moisture from reaching the terminals.
Socket Counts
When determining the required number of outlets in a kitchen apron, you need to use simple mathematical rules.
The required indicator will consist of the following terms:
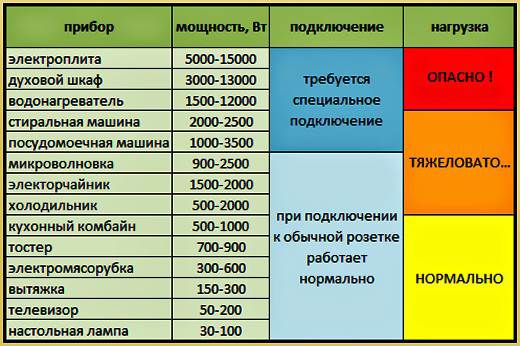
- Devices that are constantly connected: stove, microwave, coffee maker, range hood, lamp, kettle.
- Devices used as needed: washing and dishwasher, bread machine, slow cooker, toaster, food processor, coffee grinder.
- Reserve. It is provided for connecting a soldering iron, vacuum cleaner or other products for occasional work.
You should not make many sockets for each of the available devices - this will lead to unnecessary costs and clutter up the headset. The best option is the presence of nests with a maximum load of the kitchen, plus 1-2 backup entrances. It is better to have a small margin, because after installation it will not work to change anything, and the use of extension cords and tees is not the best solution.
Location Rules
When drawing up a scheme for installing outlets on an apron, you need to be guided not only by practicality, beauty and design. The focus should be on security issues.
The following rules should be followed:
- Pads need to be fixed at a distance of at least 5 cm from the countertop. This will prevent them from getting wet in case of accidental spillage.
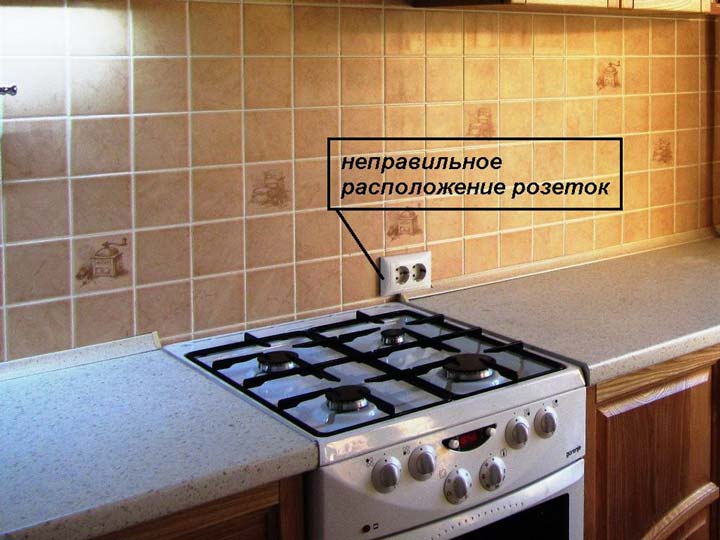
- Do not install switches and sockets above the sink and stove. This may result in a short circuit or molten product.
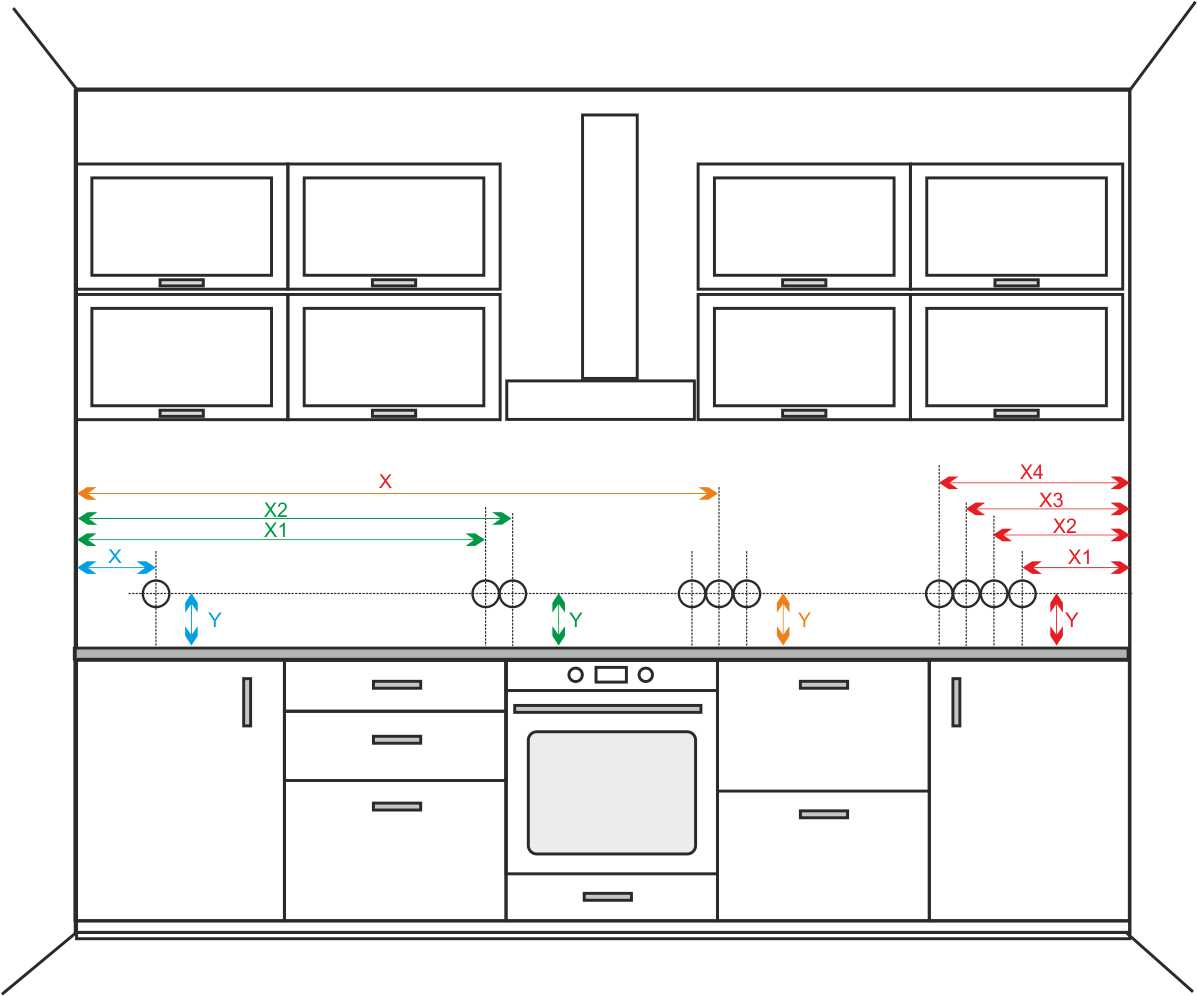
- Sockets should be placed symmetrically, at the same height and distance from each other. This approach reduces material costs and allows you to know exactly where the hidden wiring is.
- The distance to any device should not be more than 100 cm. From stationary devices, sockets should be at a distance of the length of their standard cable minus 20 cm.
Since the work in the kitchen is associated with fatty fumes, it is advisable to choose pads with covers that protect the terminals from pollution.
The height of the sockets on the kitchen panel
 Installing pads directly on the apron is the most simple and budget option for electrifying the workspace. There is no need to carry out expensive and dirty plastering, as communications and strobes will be covered with a decorative panel.
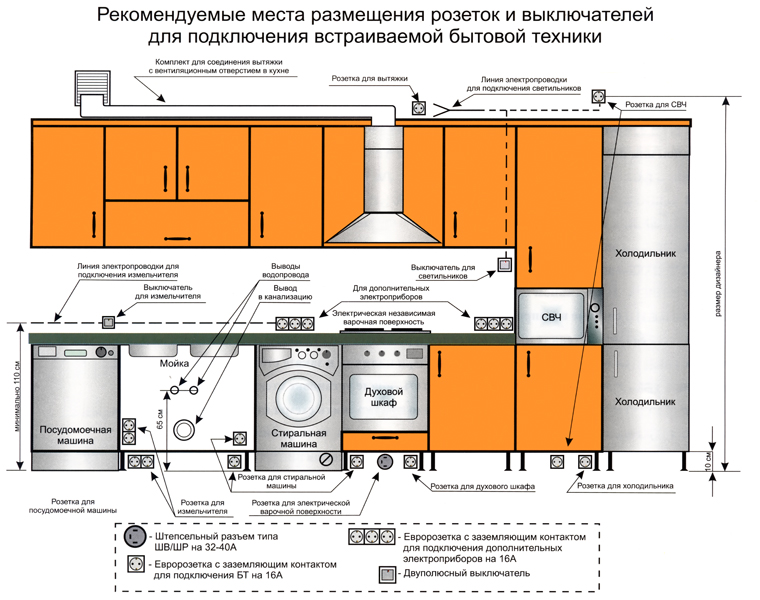
When making an electrical layout, you should adhere to the following recommendations:
- According to SNiP, the maximum height of the outlets from the floor should not exceed 200 cm. If intermediate devices of the hidden type are installed, they should not be closer than 30 cm from the baseboard. At this level, water and drain pipes are laid, their breakthrough can cause a short circuit.
- If large household appliances are on the countertop, the block should not be mounted directly behind it. This will cause the device to protrude beyond the edge of the work surface.
- When installing outlets in the kitchen on an apron, it is advisable to adhere to a height of 100 cm from the floor. This corresponds to SNiP and is convenient for the hostess.
- Do not lift outlets under wall cabinets. If they are placed high, such a decision will lead to a loss of aesthetics, since all the wires coming from the devices will be visible. It is better to stay at the level of 15-25 cm. So the sockets can be disguised as one of the small devices.
If massive household appliances are planned to be installed on the countertop, the block should be raised above it by 5-10 cm so as not to remove a heavy thing to connect other devices.
Preparation for installation
The beginning of the process of electrification of the kitchen is to draw up a project, conduct calculations and purchase everything necessary.
To work, you need such tools and materials:
- puncher, grinder, soldering iron;
- pliers, nippers, knife;
- screwdrivers;
- roulette, level;
- VVGng-Ls copper cable 3 × 4mm²;
- putty knife, putty;
- corrugated plastic tube.
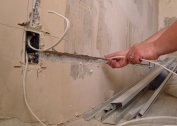
Preparation of the base is carried out in the following sequence:
- Marking is applied to the walls. Lines are drawn only in the vertical and horizontal directions. Marks places where there will be sockets and mounting boxes.
- With the help of a grinder and a puncher, strobes and holes for glasses are made.
- Plastic tubes with a cable pre-stretched inward are laid in the gates. After this, the grooves are sealed with putty.
You can continue to work after complete setting of the solution. To avoid subsequent stripping, the solution must be laid so that it does not form a convex layer after solidification.
How to make a socket on a kitchen apron
Depending on the style and design of the kitchen, the apron outlet can be internal or laid on. The choice depends on the material of the walls, the size of the room and the priorities of the hostess.
To make an internal outlet, it is necessary to make a hole even before installing the panel and wrap a sleeve in it. After that, a block with terminals and contacts is fixed in it.To put the outer cover in the apron, a hole is made in the shape of the terminals.
The mounting standard for overhead products is to pre-mount the bracket in the wall for fixing the case. For this, a wooden block is used, fixed in a niche. To fix the outlet, 3 holes are made - for the output of the cable and self-tapping screws.
The best option is indoor installation. So the products will not protrude above the countertop, and appliances and appliances can be placed close to the wall.
How to cut a socket outlet on a kitchen apron
In MDF, making holes is easiest. To do this, use a sharp knife, a manual or electric jigsaw. After sawing, the edges must be treated with any sealing substance to protect them from moisture.
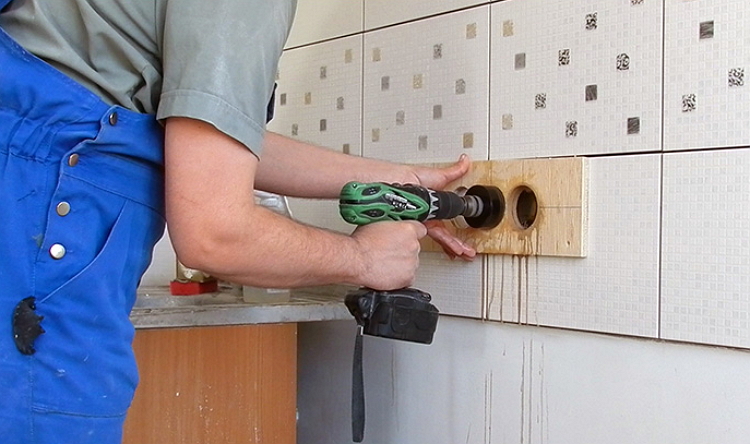
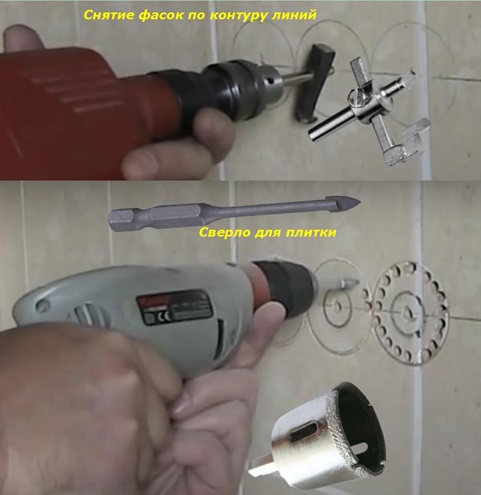
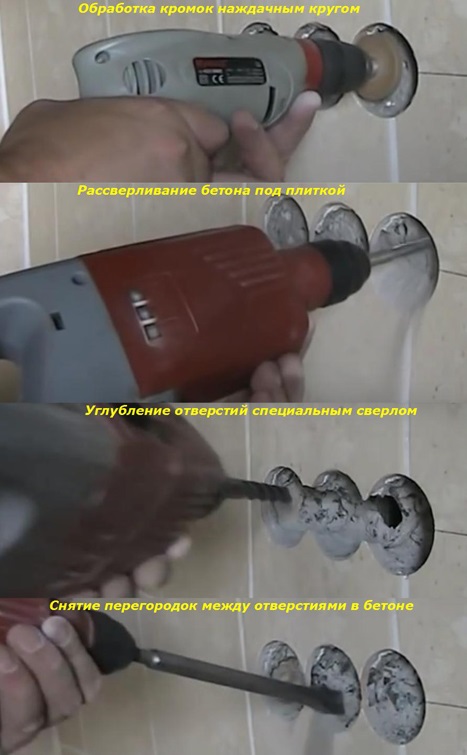
In the ceramic tile, the holes can be made with a diamond crown, a hand torch or a string after preliminary drilling of the contour.
The most difficult to work with glass. It is almost impossible to make a hole in the hardened material on your own. It is advisable to include this procedure in the order for the manufacture of an apron at the company. To do this, you need to accurately measure and calculate everything in order to achieve complete coincidence of the holes and wires.
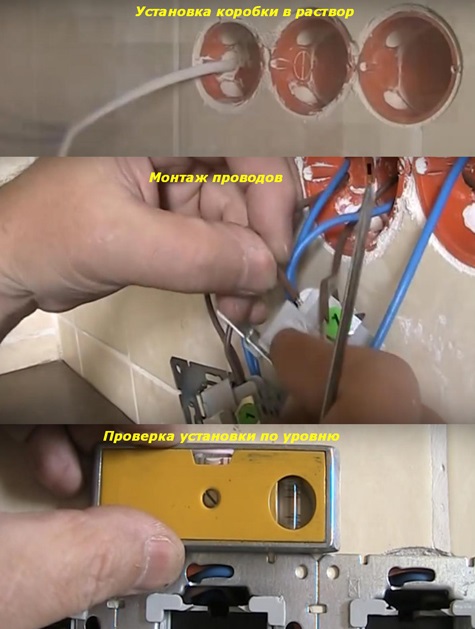
Step-by-step connection algorithm
Installing outlets on the kitchen panel is performed in the following sequence.
- Cable cores are stripped and soldered with tin.
- The ends of the cable are inserted into the mounting boxes and pads. They are being tightened. The quality of the contacts is checked by pulling the wires.
- The block is fixed. In the glass, it is fixed by screwing in the bolts that adjust the position of the legs. To make sure that the block is fixed securely, you need to insert the plug into the terminals several times and pull it out.
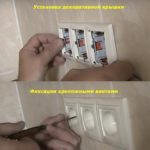
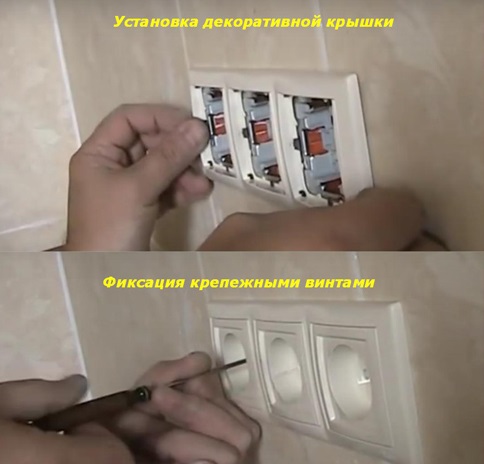
- The outer cover is fixed. The room is de-energized, the cable is connected to the network.
-

- 1. Drilling holes in a tile
-

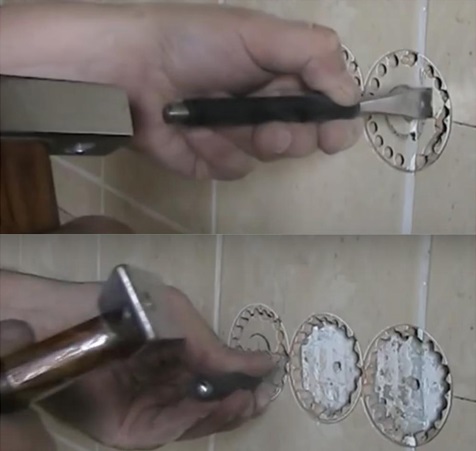
- Knocking out holes in a tile
-

- Drilling holes under the tile
-
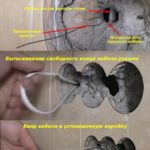
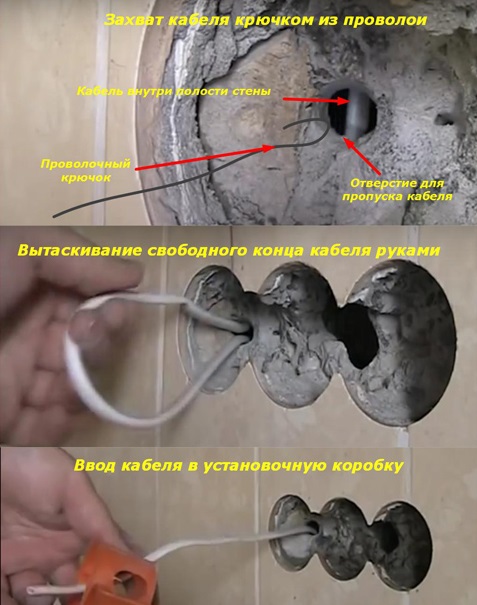
- 4. Entering the cable into the installation box
-
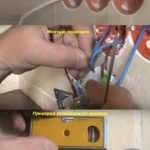
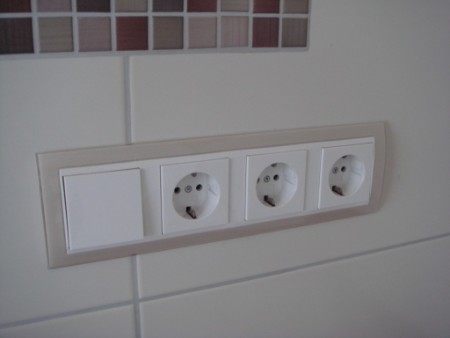
- Mounting the installation box and outlets
-
- Installing wall sockets in a concrete wall
Before turning on the voltage, you must once again visually inspect the circuit in order to exclude the possibility of a short circuit.
Additional recommendations
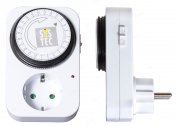
During operation, sockets can overheat, which leads to oxidation of contacts and terminals, burning of wires. In order not to disconnect the entire apartment for the period of repair, it is advisable to equip the line with its own batch switch for 16-25A. This device will prevent the possibility of short circuit.
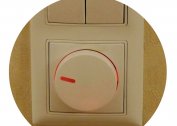
A good solution is to install switches with hidden wiring to control low-power devices - an exhaust hood, a lamp, a toaster, a slow cooker.
When installing outlets, you need to choose the places that are most convenient for use and comply with safety rules. It is advisable to choose a device installation height such that they provide maximum comfort for their use in a wide variety of situations. If the kitchen has a large area, energy sources must be installed with an interval of not more than 100 cm. This will provide the hostess with complete freedom of action.
Common mistakes
During the design and installation process, inexperienced masters make the following mistakes:
- Design Errors. After installing the furniture, the sockets are behind the cabinets and large household appliances.
- Savings on the cable, which leads to its overheating and melting of the insulation.
- Connection of washing and flowing devices through simple machines.
- Incorrect placement of outlets (above the sink and stove, right next to gas pipes).
- Cable placement in gates without using plastic tubes.
Following the technology of work and using high-quality materials, you can easily make reliable and durable wiring on the apron.