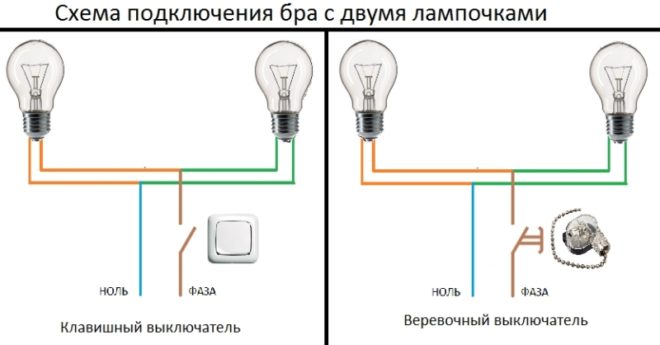
Lighting devices in the form of wall sconces have an interesting design. Unusual ways to connect them enhance the decorative effect. So, the switch for sconces can take the form of a touch panel, cord, keyboard device, etc. You can select an electrical wiring element for the general style of the room.
Types of switches for lamps and sconces
All such electrical elements are classified according to several parameters. According to the mounting technique, they distinguish:
- external (laid on) which are mounted without tapping into the wall;
- internal (built-in), requiring gating of panels.
By the method of connecting the switches for the lamp, the following elements are distinguished:
- With screwless clamps. Quickly and simply mounted, the wires in the terminals hold securely.
- With screw clamps. A less reliable element in which the terminals periodically weaken. We have to regularly tighten them.
Wiring elements also differ in the way they are turned on:
- Key. The most familiar type of switch for all. It can be one-, two-, three-keys. Thanks to this design, you can control individual bulbs in the lamp.
- Push-button. The lighting device drives the mechanism from the spring of the movable contact. As a result of the action on the button, the circuit is closed and opened. A striking example of a button element is a switch on a wire for a sconce. Often fixtures are already equipped with it.
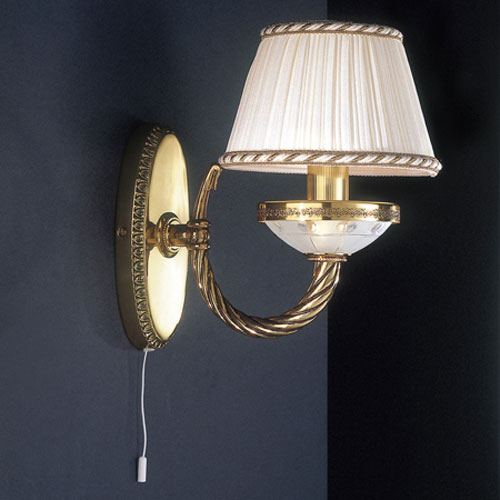
- A switch with a chain or rope. This type of element works on the principle of push buttons. During the initial tension of the cord, the circuit is closed (the lamp is lit). Re-tensioning the chain opens the circuit (the lamp goes out). The switch for sconces with a chain or rope is convenient to use and performs an additional decorative function.
- Turning. It looks like a toggle switch that can be moved up / down or left / right. Such an element is used to create a retro design.
- Sensory. It is based on microcircuits. The main difference from all previous models is the complete absence of protruding parts on the panel (buttons, keys, toggle switches). The switch responds to palm movement. Additionally, sensor elements can respond to temperature, light level.
-
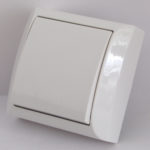
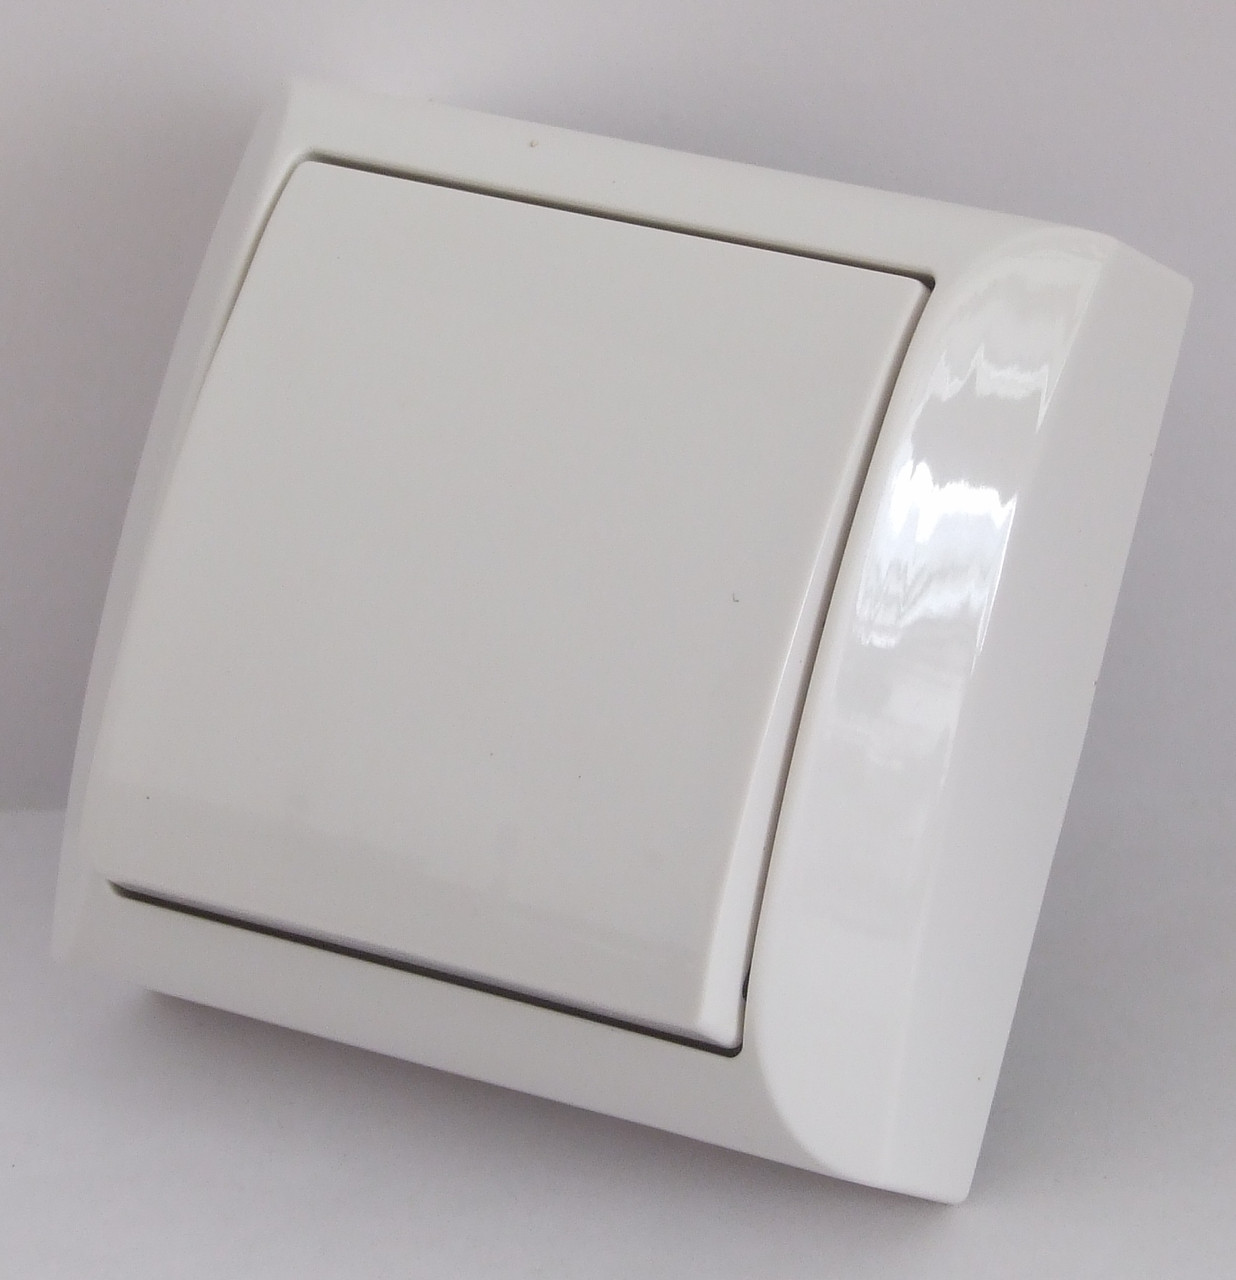
- Overhead key switch
-
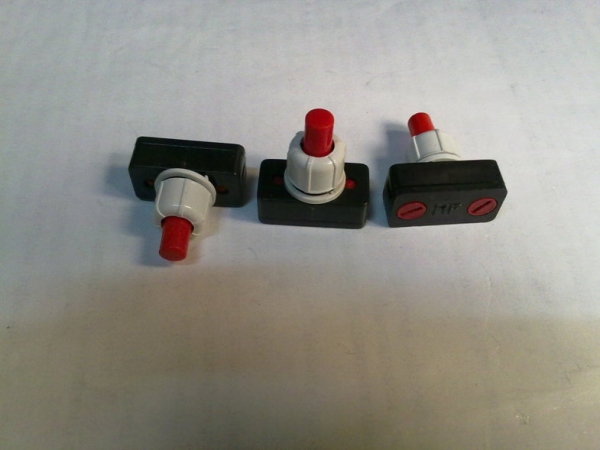
- Push-button
-
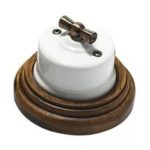
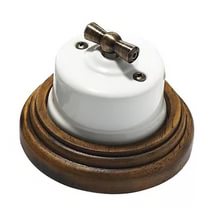
- Turning
-
- Sensory

In mechanisms with electrical circuits, it is possible to block the operation of sensors if necessary.
Externally, the wall switch for sconces is no different from the keyboard, but it is capable of transferring power from one circuit to another. When an open occurs in one section of the network, its next section immediately closes. Such elements are especially good for narrow long rooms (corridor, hallway, etc.). Feed-through switches are single, double and even three-key.
Options for connecting a sconce through a switch
 The sconce switch can be mounted in one of three ways:
- Through a wall element (internal). The wiring to the lamp stretches in the strobes or cable channels. Under the switch, you need to make a special socket, in which they put the glass first, and then the wiring element itself. Strobes need to be done even before the walls are finished. If the repair has already been completed, the wiring is parallel to the baseboard and then to the lamp.
- Direct connection to the electrical network at home. So mount the switches for sconces with a chain or rope. In this case, the closing and opening mechanism is located in the lamp.Such devices are arranged by attaching to the wall a special plate into which the cable wires are output. The wires are twisted together by color or marking - L for phase, N - for zero, PE - grounding.
- Connection with standard plug. In this case, the lamp is simply plugged in. For work, you just need to add the sconce cable with an additional current lead with a plug at the end.
The connection method is selected depending on the circumstances: the presence or absence of the finish, a nearby outlet, etc.
Mounting a sconce with a rope switch
The circuit breaker is installed as follows:
- Marking is applied to the wall for the installation of the future lamp. These are just two points located at a certain distance from each other in accordance with the technical clearances on the back of the locking bar.
- To avoid the fall of building dust on the floor, you can attach a plastic bag under the marking on the tape.
- Drill holes with a puncher. Dowels are driven into them.
- Now you need to screw the bracket fixing the lamp. It is important to tighten the nails well.
- From the strobes, a cable is brought to the plate to connect it later to the lighting device.
- On the lamp housing in its lower part, strictly in the center, you need to make a mark. A hole of 8 mm is drilled here for the outlet of the lace switch for sconces. At one end there is a button that will work as a hidden stimulator for closing / opening the circuit. The main thing is not to exceed the cross section of the clamping ring, which acts as a switch lock.
- A chain is passed into the finished hole and the button is clamped using the aforementioned bolt (nut).
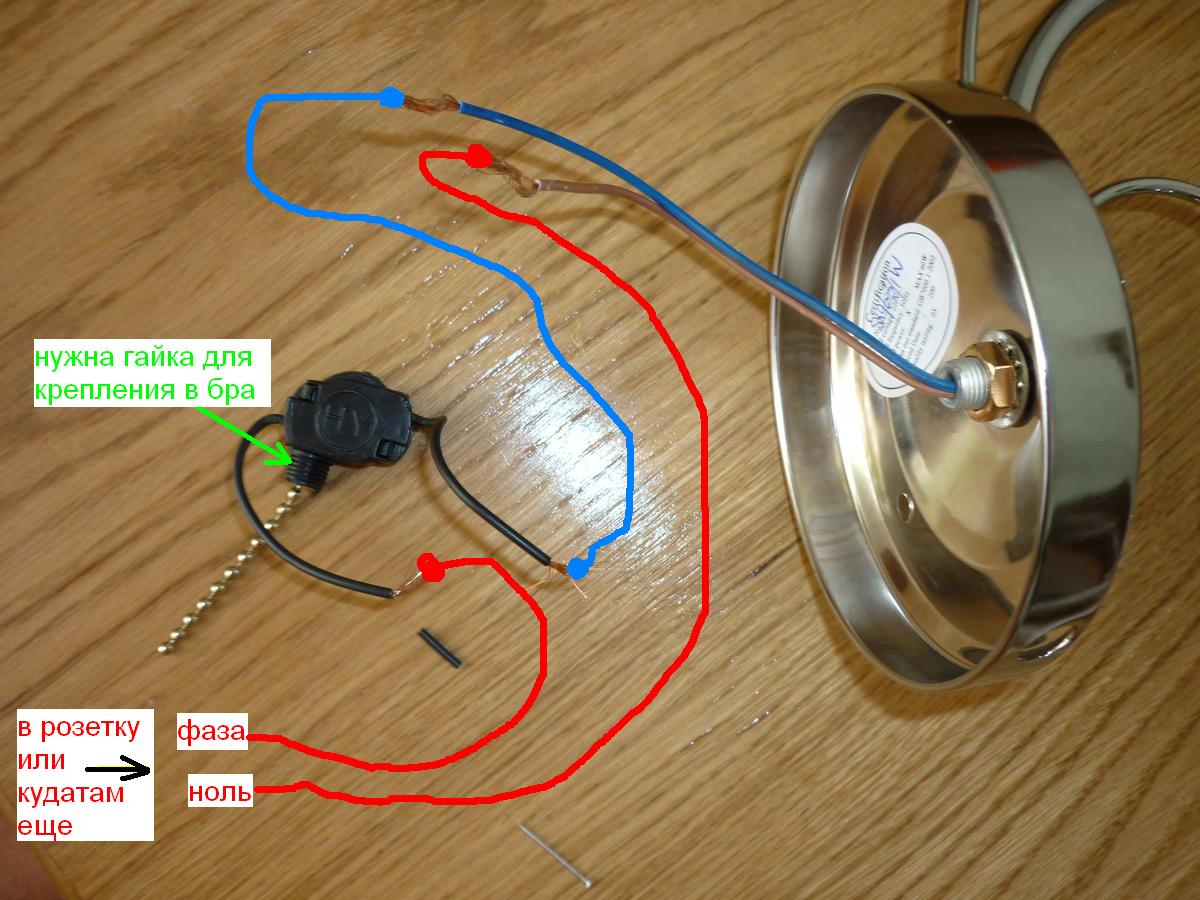
- When connecting the wires, the phase must always be docked for shutdown. Thus, if a finger accidentally hits the empty cartridge, the person does not get injured. In Soviet apartments, this rule was often neglected, and when a hand came in contact with a light bulb, an electric discharge could be obtained.
- With the help of the vag, the wires are joined. The brown phase cable is connected to the off button. The blue wire at 0 leads to the wiring in the wall, and the second wire from the button (on) to the phase cable here. Using an indicator screwdriver, check the power.
- The base of the lamp is mounted on the plate, to which the cord switch for the sconce is already connected.
- It remains to screw a bulb into the lamp holder and put on a shade.
- They pull the rope and see a full, elegant backlight after the correct connection.
All work is preferably carried out only after a complete blackout of the apartment / house.