In many ways, the comfort of living in an apartment and a house depends on the type and quantity of household appliances and electrical appliances installed in it. Lack of sockets is becoming a common occurrence, causing the use of many extension cords and tees. These actions help solve the problem, but have side effects - the wires get tangled underfoot, additional pads spoil the interior of the room. In some cases, a double outlet will help to solve the problem of the lack of connection points. Modern products are compact, powerful enough and presentable appearance. There is no need to invite specialists to carry out the re-equipment of the electric facilities. You can do the work yourself after familiarizing yourself with safety measures, the rules for choosing and installing electrical appliances.
When it becomes necessary to put a double outlet
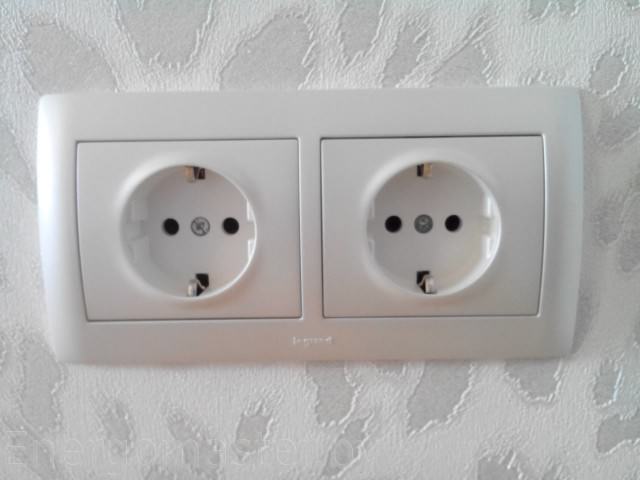
In some cases, a socket for 2 sockets is a necessary measure, especially for apartments built in the middle-end of the last century. Their feature was an extremely inconvenient arrangement of electrical appliances. In most cases, one of them ended up behind cabinet or upholstered furniture, and the owners had at their disposal one point in the corner of the room. Installing long outdoor pads in such places is impractical and not aesthetically pleasing. This will lead to the fact that over time a cable of wires that do not fit into the interior will reach them. The best way out in such situations is to install double built-in sockets.
The advantages of this solution are as follows:
- Products have one case. There is no need to make inserts and jumpers using twists. The cable retains its integrity after installation and connection of the device.
- Common cover for both sockets. It is not only aesthetically pleasing, but also practical. To place covers when installing double sockets, you will need to expand the holes in the wall to increase the distance between the mounting blocks. In any case, there will be a gap between the external overlays, which does not decorate the wall.
- There is no need to drill a hole for a double socket. Double constructions fit perfectly into standard glasses in the walls. Their mounting blocks correspond to the sizes of single products.
- Easy to install. Connecting a socket to two sockets is as easy as a single-input device. The caliper and spring-loaded paws provide precise positioning and firm fixation of the mechanism.
If the cable has a ground wire, it is recommended to purchase electrical double internal sockets that have the appropriate contact. Grounding electrical appliances is recommended not only for safety reasons. Connecting this wire will allow you to get rid of the background and the cod emitted by the speakers of household appliances.
How to choose a good double outlet
When choosing a product, you should pay attention to the following criteria:
- Corresponds to the size of the mounting box with standard openings in the walls. It is advisable to put a double socket in one socket without additional drilling work to expand or deepen it.
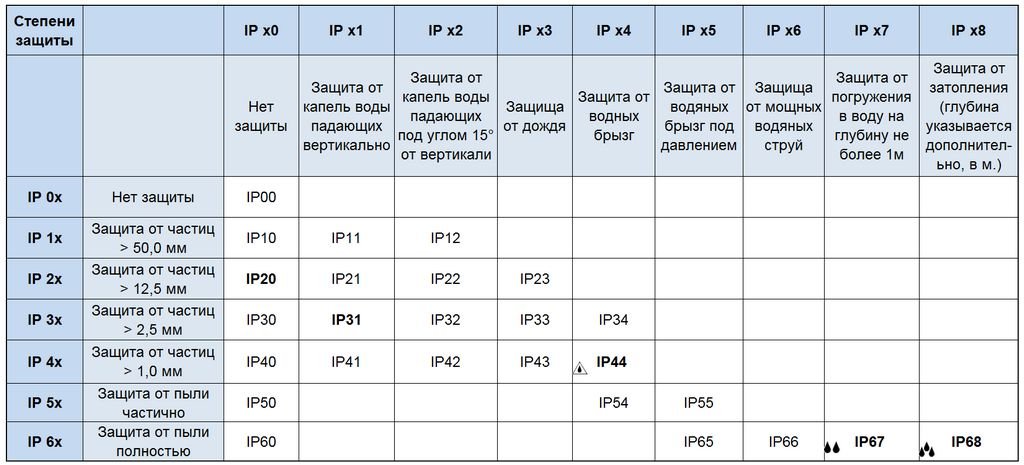
- Degree of protection. For a family where there are no children, ordinary models with an IP22 rating are enough. Products with degrees of protection IP33 and IP43 are equipped with shutters that protect contacts from splashing and penetration of solid objects. For the bathroom and kitchen, it is better to take IP44 sockets, which are not afraid of splashes and streams of water flowing on the wall.
- Standard contacts. Should stop at F or C.Products of this type are adapted for all types of plugs, equipped with a contact for grounding.
 Table for calculating the power of outlets for the energy consumption of electrical appliances
 - Power. Sockets for 10A (2.5 kW) and 16A (4 kW) are on sale. It is advisable to purchase a more powerful model for the possibility of connecting such consumers as a welding machine or a washing vacuum cleaner.
- Internal organization. Preference should be given to models that are equipped with a protective pad for the contact group. The terminal tightening screws should be on the outside. This will help maintain the device without dismantling it. Products with terminals equipped with spring clips should be selected.
- Mounting feet. They should be made of thick steel, which will not bend when the mechanism is installed in the socket.
- Limit access to terminals. It is necessary that each wire has its own hole, which eliminates installation errors.

The color of the product matters. It is not necessary to take standard white sockets. To originally beat the interior, you can buy goods in blue, red, yellow or any other color.
Brief overview of features and prices
In the domestic market of electrical goods a wide selection of models of sockets with two inputs is presented. Products vary in design, specifications and prices.
Most popular products:
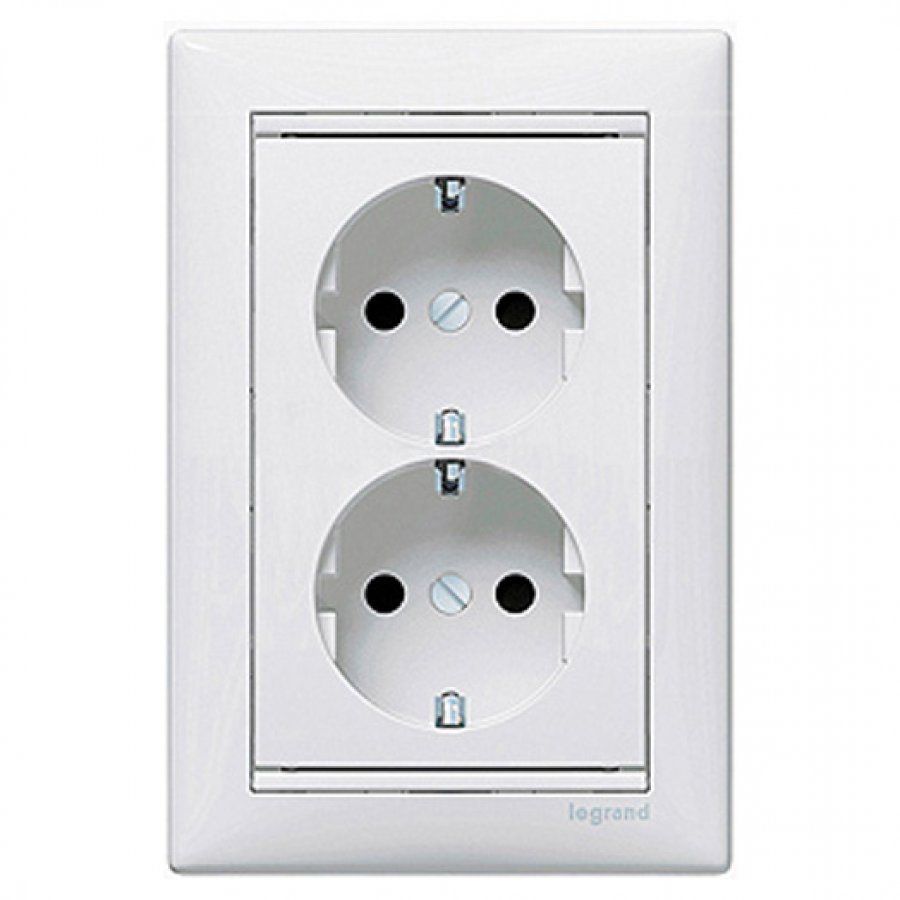
- Legrand Valena - grounding, screw terminals, 16 A, IP20, 375 rub;
- Legrand Valena Allure - grounding, spring terminals, protective curtains, 16 A, IP21, 650 rubles;
- Legrand Etika - grounding, screw terminals, 16 A, IP20, 185 rubles;
- Legrand Quteo - grounding, spring terminals, safety shutters, 16 A, IP21, 220 rub;
- Legrand Quteo - grounding, screw terminals, water protection, 16 A, IP44, 525 rub;
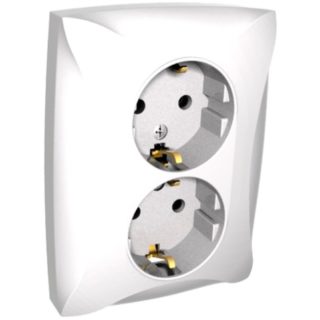 Schneider Electric DUET WDE000124
 - Schneider Electric Duet WDE000120 - without grounding, screw terminals, 16 A, IP20, 110 rub;
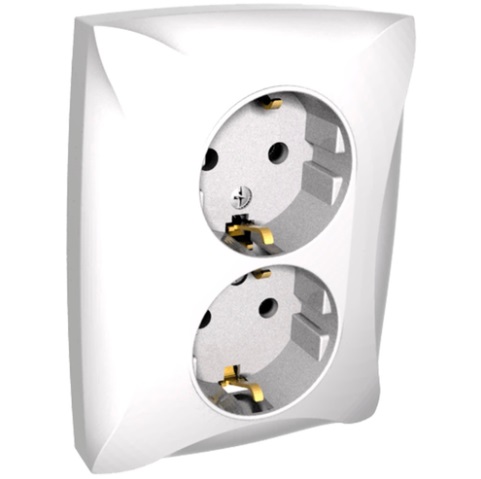
- Schneider Electric Duet WDE000226 - grounding, spring terminals, safety shutters, 16 A, IP20, 130 rub;
- Schneider Electric W59 - without grounding, screw terminals, 16 A, IP21, 100 rub;
- Schneider Electric Rondo RA16 - grounding, screw terminals, water protection, 16 A, IP44, 250 rub;
- Viko Yasemin - grounding, screw terminals, 16 A, IP20, 85 rub.
The product range consists of mechanisms with white and colored covers.
Installation of a double outlet
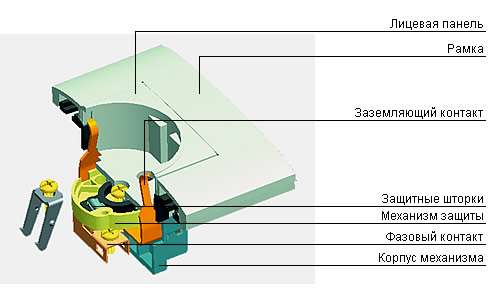
To figure out how to install a double outlet in the wall with your own hands, you need to study the device of this design.
Conventionally, it can be divided into 3 parts:
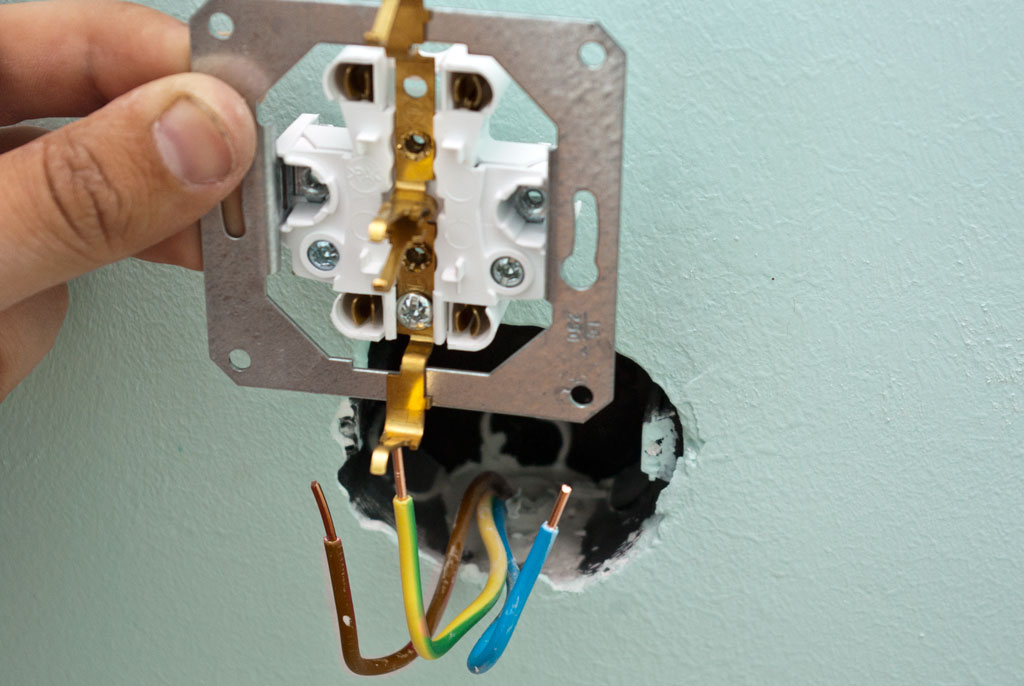
- Cable. Depending on the design of the building, it can consist of 2 or 3 cores. In old buildings, wiring with white insulation is installed. It is necessary to find zero and phase empirically using measuring instruments. In the new houses, a three-color cable is laid, where the earth's insulation is green-yellow, the phase is brown, and the zero is blue.
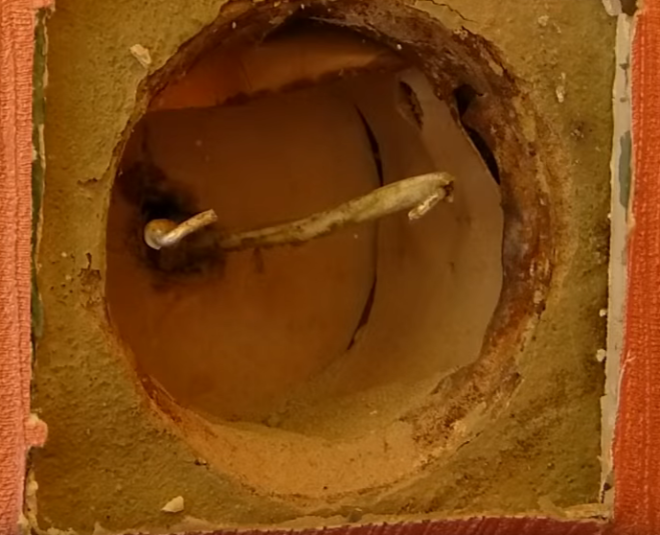
- Mounting box, in conversation - a sock. It is a plastic cup with holes for wires. The depth of the cylinders is 40 and 60 mm. The second option is more convenient, as it makes it possible to make a hidden installation of additional equipment (dimmers, sensors, relays). In the wall, the mounting box is held due to the adhesive properties of the plaster.
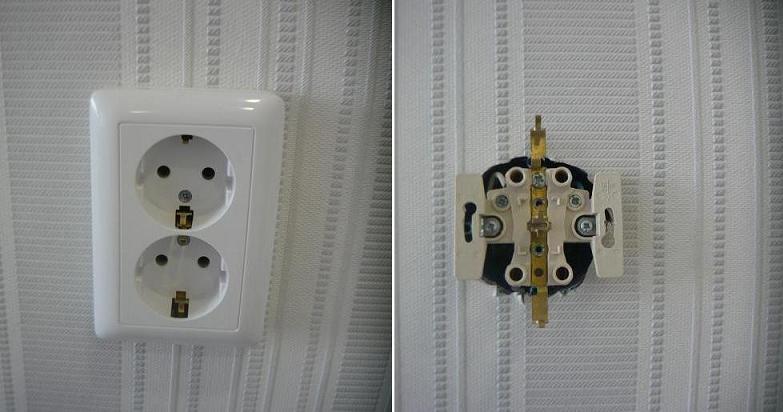
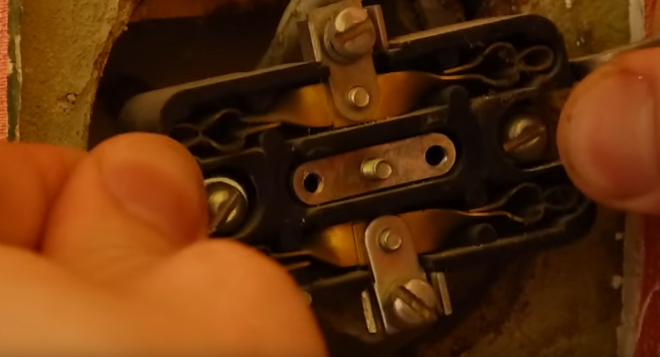
- Housing with cover. The case is made of heat-resistant plastic. A caliper, a tire of two brass plates forming contacts, nuts, screws and terminals is fixed to it. On each side are spring-loaded tabs with position adjustment screws.
To properly assemble the outlet, you must have an indicator, a straight and Phillips screwdriver.
In one socket
This process is not particularly difficult even for a novice master. If the product is manufactured according to international standards for the width and depth of the case, installation problems should not arise. It is necessary to determine where the phase is, and clean the glass from debris. To prevent the penetration of domestic insects from neighboring apartments, it is recommended to seal the channel in which the cable is laid with silicone. If space permits, the bottom of the glass can be covered with felt for better sound insulation.
After preparatory work, the mechanism is connected to the network, inserted into the mounting box, positioned and fixed.
In two sockets
If there are two holes in the wall, in each of which wires are laid, in this case there are the following solutions:
- Insert into them two devices with one socket for each. You need to choose them so that the covers do not overlap one on one or there is an opportunity to grind them around the edges.
- Purchase an internal outlet with a long cover. Connect the two holes into one. After that, you can drown out the excess line and insert the mechanism in the middle of the created opening.
The choice depends on the residents' needs for electricity outputs. One of the options may be to install on top of the holes of the external horizontal block for 4-5 sockets.
With grounding
To get a grounding point, you need to purchase the appropriate product, which provides a contact for the third wire. In three-core cables, it is located in the middle. Connect the ground by tightening the bolt firmly. This line is designed for extreme conditions, poor contact is unacceptable here.
If a two-core cable passes through the wall, it is not necessary to change it. As an alternative to this expensive process, you can extend one copper wire directly from the shield. For laying, you can use the space under the skirting boards or colored plastic boxes.
Installation of a double outlet instead of a single
When deciding to replace the outlet, you need to take into account that the double product has a total power that is distributed to both inputs. If marked 16A, the total power of consumers connected to sockets or to an extension cord from one of them should not exceed 4 watts.
It should also be noted that due to the spacing of the inlets on the sides, the thickness of the double structure will be greater. Because of this, the risk of damage to it by any hard and heavy object increases.
Dual Socket Installation Sequence
To work with electricity, it is necessary to use tools with insulation that protects against voltages of 1000 V. It is advisable to put a rubber mat with the same level of protection under your feet. Before turning off the electricity, you should check its presence on the wires passing in the walls. This is necessary so as not to do unnecessary work on a faulty line.
The following is a step-by-step algorithm for installing a double outlet.
Removing an old device
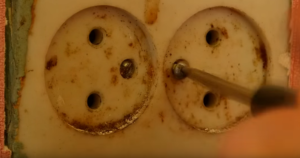
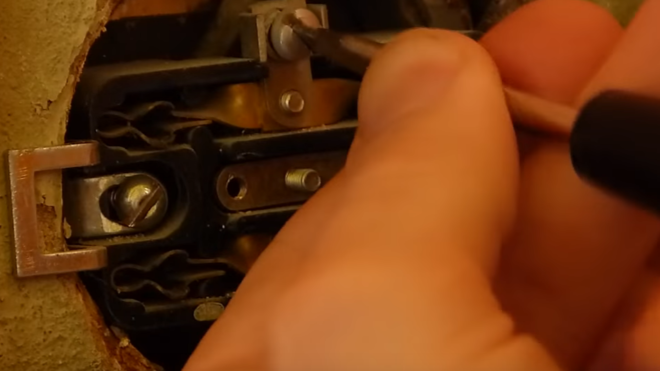
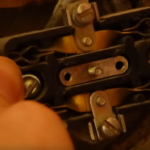
Removing a used outlet is carried out in the following sequence:
- The cover is removed.
- Gently removes the influx of plaster and the edges of the wallpaper.
- The legs are loosened, the body is removed from the glass.
- It remains to loosen the contact bolts and remove the wires from them.
-
- 1
-
- 2
-
- 3
-
- 4
The old product is thrown away or put into parts.
New Socket

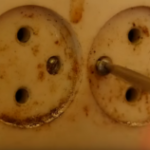
If the undersocket is rusted or deformed, it should be replaced.
- The wall of the glass must be bent inward, grabbed with pliers and pulled out of the hole.
- Insulate the ends of the wire and clean the opening of debris.
- Carry out measurements, if necessary, adjust the hole size to the desired parameters.
- Insert the wire into the holes of the mounting box, and then insert it into the opening into which the putty is applied in advance.
- Drown the glass to the desired depth, level it horizontally.
You can continue to work when the solution has completely hardened.
Preparing to Connect
Before connecting the housing to the line, it is necessary to align the wall and grind the protruding fragments of the mounting box. Then you need to trim the worn sections of the veins, remove the insulation from the ends of the wires. If they are copper, it is necessary to solder them. Aluminum conductors are treated with contact paste, which removes the oxide film from aluminum and further protects against re-oxidation
How to connect wires
Before connecting the wires, their ends must be shaped so that they freely enter the contact holes.
The connection diagram is as follows:
- phase - on the left;
- the earth is in the middle;
- zero is on the right.
Fastening should start from the center, tightening the bolts on each terminal tightly.After this, the cable must be shaped into a spiral so that it folds compactly when the housing is installed.
Product Installation
The body of the product is carefully inserted into the mounting box and grabbed to it with screws. After that, the mechanism is leveled, the screws are tightened. The bolts for adjusting the position of the legs are tightened. The final step is to install the cover. After that, you can apply voltage and use a new outlet.