The circuit breakers have a sufficiently long operational period, which makes it possible to refrain from regular repairs and structural analysis. But if nevertheless such a need arose, the dismantling work must be done extremely carefully, adhering to the algorithm. Otherwise, the probability of damaging the structure and its details increases significantly, since 90% of the circuit breakers are made of plastic.
Reasons for dismantling the circuit breaker
Switches, if they are treated with care, will last for more than one year, perhaps a dozen years. Most often, the need to dismantle the device appears during the repair. Switches and sockets are taken out of the wall so that the latter can be puttied, equalized, painted, glued, etc.
The second common reason is the failure of the device. Before dismantling the switch, it is important to make sure that the problem lies in it.
There is a wide range of sockets and switches, which are decorated in different styles. Taking advantage of this, households are replacing traditional electrical appliances with new, more creative ones.
Tools and materials
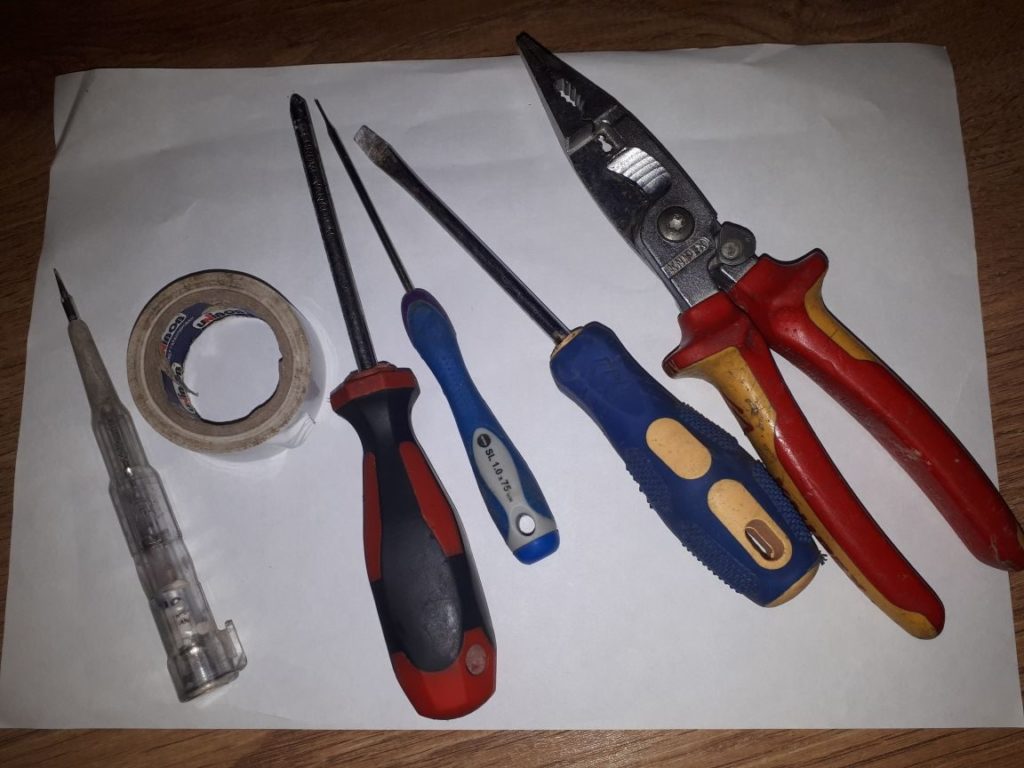
Before you remove the switch from the wall, you need to prepare the required working equipment. For repair you will need:
- knife for removing the insulating layer;
- indicator screwdriver equipped with a rubberized handle;
- sandpaper;
- Phillips screwdriver
- insulation tape.
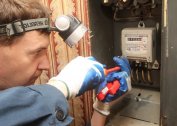
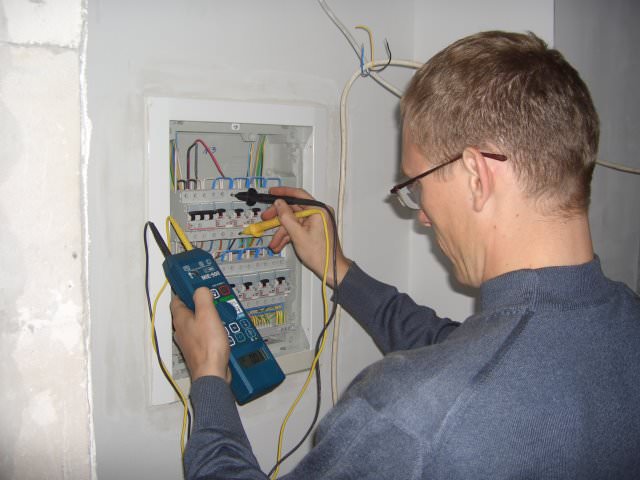
When working with electrical appliances, it is important to observe personal safety precautions. Dismantling is carried out in personal protective equipment, pre-checking the voltage in the work area.
Circuit breaker removal steps
The dismantling algorithm is the same for all types of switches. So that there are no difficulties in the process, you need to monitor the technology and act consistently.
Training
First you need to make sure that the cause of the flickering light or its absence in the switch. To do this, check the lighting in neighboring rooms. If there is no light in the entire apartment or house, the permissible load on the electrical network may have been exceeded. This is due to the simultaneous inclusion of appliances: iron, kettle, microwave, refrigerator, water tank. In this case, you need to check the introductory machine.
If there is no light in only one room, the list of possible causes is narrowed. First of all, you need to make sure the integrity of the bulb and the performance of the cartridge. If the lighting device is working, it remains to dismantle the switch and carefully examine it.
First you need to determine the type of switch. Devices are divided into the following varieties:
- single-key, double and three-keys;
- checkpoint;
- Dimmer;
- impulse;
- sensory.
The most common switches in Russia are keyboard switches.
Mains disconnection
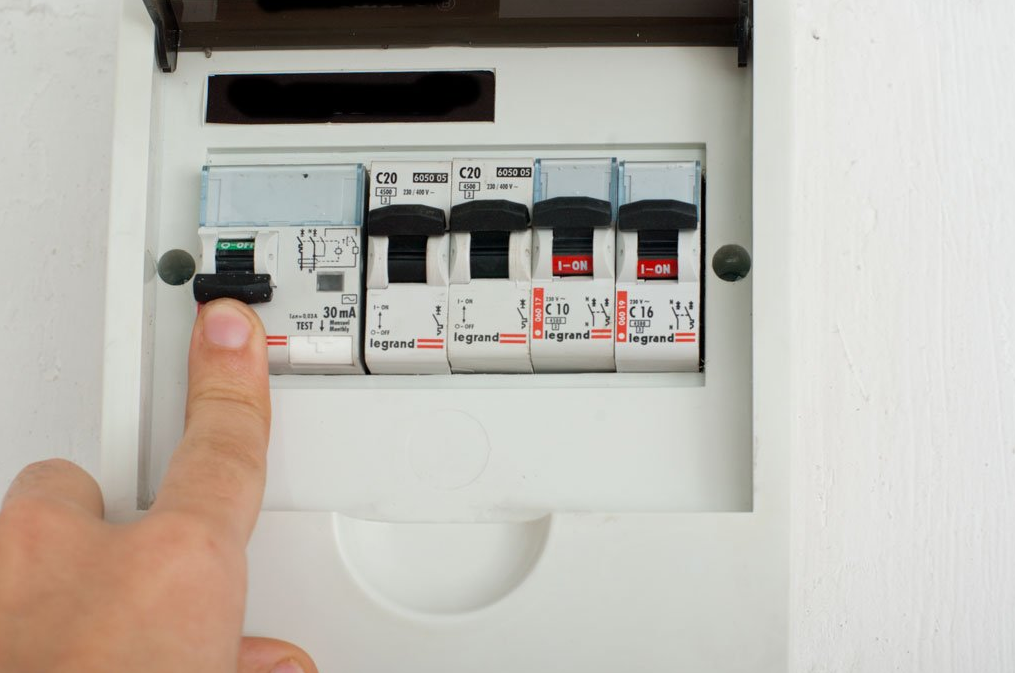
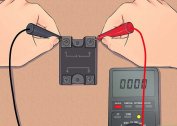
Before you pull out the switch from the wall, you must turn off the electricity. In each residential and office building, electrical wires branch into several lines: leads to an electric stove and other powerful household appliances, as well as sockets and switches. On the distribution panel, the lighting power is turned off automatically, however, the voltage must be checked at the output.
Cases are common when, after turning off the machine, the output voltage remains. This is due to the fact that a neutral wire is connected to the machine, and not a phase wire.Most likely, an unskilled electrician assembled the shield circuit. Such a scheme is quite functional, however, the wiring of the lighting will always remain energized, therefore, it will wear out faster and fail.
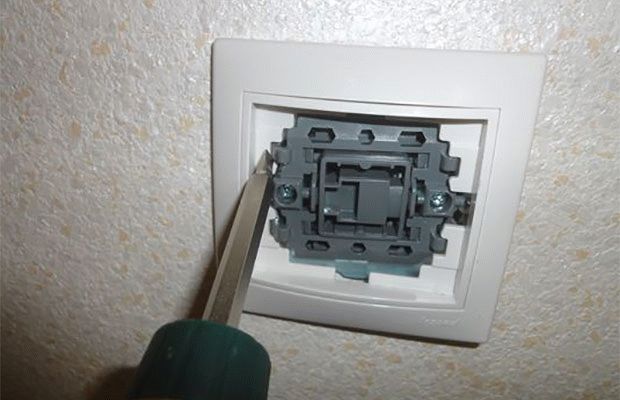
Removing the keys from the switch
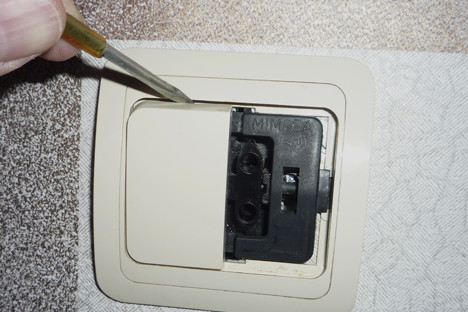
To remove the keys, you need a flat or Phillips screwdriver, as well as a portable light source and voltage indicator. Using a flat-blade screwdriver, keys are carefully removed. To do this, a point is inserted between one of the keys and the frame. In this case, the screwdriver serves as a pressure lever. With a little effort, the key pokes off and is removed from the grooves with your fingers. The second and third keys (if available) are easier to remove.
Using the indicator, the presence of voltage at the output is checked, for this a screwdriver is applied to each of the contacts. If the switch is located in a darkened place, alternative light sources are used to avoid breakage and for convenience.
After removing the keys, they begin to check the integrity of the contacts, as well as the presence of voltage on them. Based on the data obtained, you can verify the operability of the device or its absence.
Frame removal
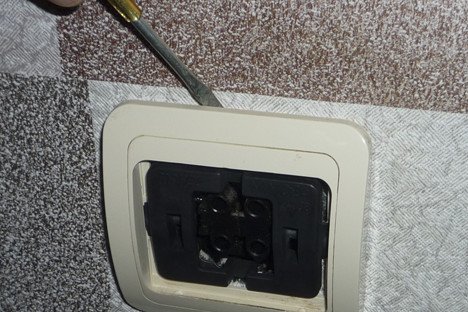
When the operability of the device was checked and it became necessary to completely dismantle it, they remove not only the keys, but also the fixing frame, which holds the decorative frame.
Work equipment will need the same as in the previous case. If the switch is attached to the wall using Phillips screws, a Phillips screwdriver is used.
The locking frame is located immediately below the keys, dismantle it with a screwdriver. It is held thanks to the latches installed on the case. The teeth are pulled off and pulled over by the fingers. Also, along with it, the frame is simultaneously held, otherwise it will fall down.
Care must be taken: if the force is not calculated correctly, the structure may break.
Common mistakes and their consequences
The main thing is to act carefully so that the plastic structure does not crack. The circuit breakers are not subject to repair, if the integrity of the case is violated, you will need to purchase a new device. This error is the most common when dismantling wall switches.
The second mistake is the most dangerous, its meaning is to neglect the rules of personal security, which poses a threat to human health and life. Before starting work, you need to turn off the power supply to the apartment and check the voltage at the output in the work area. If it is absent, you can safely get to work.
If there are no skills in such matters and the master is not sure that he will cope with the task, you can turn to a qualified electrician for help.