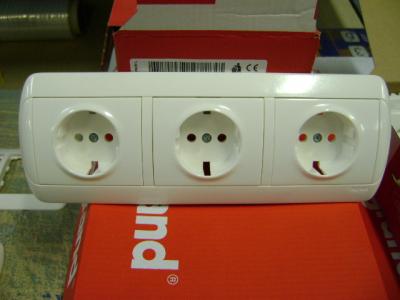
A set of three outlets in one housing provides the connection of a large number of devices to a single power source. The three-module device also reduces the number of wires used. A triple socket is in demand in the kitchen, in the bedroom or in the office.
The need to install triple outlets
The use of a three-module outlet allows you to use household appliances and electrical appliances with comfort. The joint mechanism has several advantages:
- low cost in comparison with single-module products;
- strong and safe fixture;
- lack of costs for the organization of additional posting;
- speed of repair in case of breakdowns;
- quick and easy installation.
When installing triple devices, you will need to drill a three-module socket. This technique will significantly save space in the apartment and increase the functionality of the wiring.
Variety of products
By shape, size and installation method, there are the following sockets with three sockets:
- internal - suitable if the apartment has a hidden type of wiring;
- external - a built-in cover prevents dust from entering the openings, the housing has increased protection;
- built-in and laid on - recessed into the surface of the wall.
Modern manufacturers produce models with grounding, without it, as well as with a fuse that provides shutdown at the time of a short circuit.
Triple sockets have two types of contacts:
- petal during operation lose their properties of rigidity and elasticity, can spark;
- spring ones are characterized by increased wear resistance.
The optimum contact material is brass.
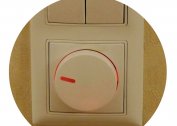
Features of an outlet with a switch
Devices for three consumers with a shutdown button are convenient in that the switch de-energizes part of the circuit. This eliminates short circuits or accumulation of static electricity. A feature of the device is a one-piece housing with three sockets and a power button.
Combined designs differ:
- universality - are installed on concrete, stone, wooden and plasterboard type of walls;
- profitability - a minimum of mounting trenches and holes will be required;
- ease of connection - a common wire is stretched, and not a separate cable for each point;
- surface marking speed due to the same product sizes;
- the ability to simultaneously control light sources and turn on electrical appliances.
If one element fails, the entire unit must be replaced.
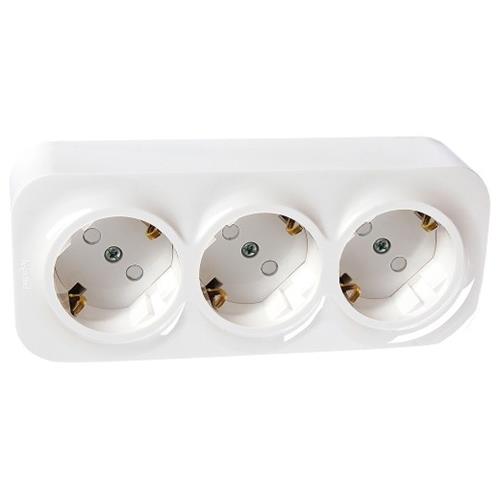
Triple Outlet Design
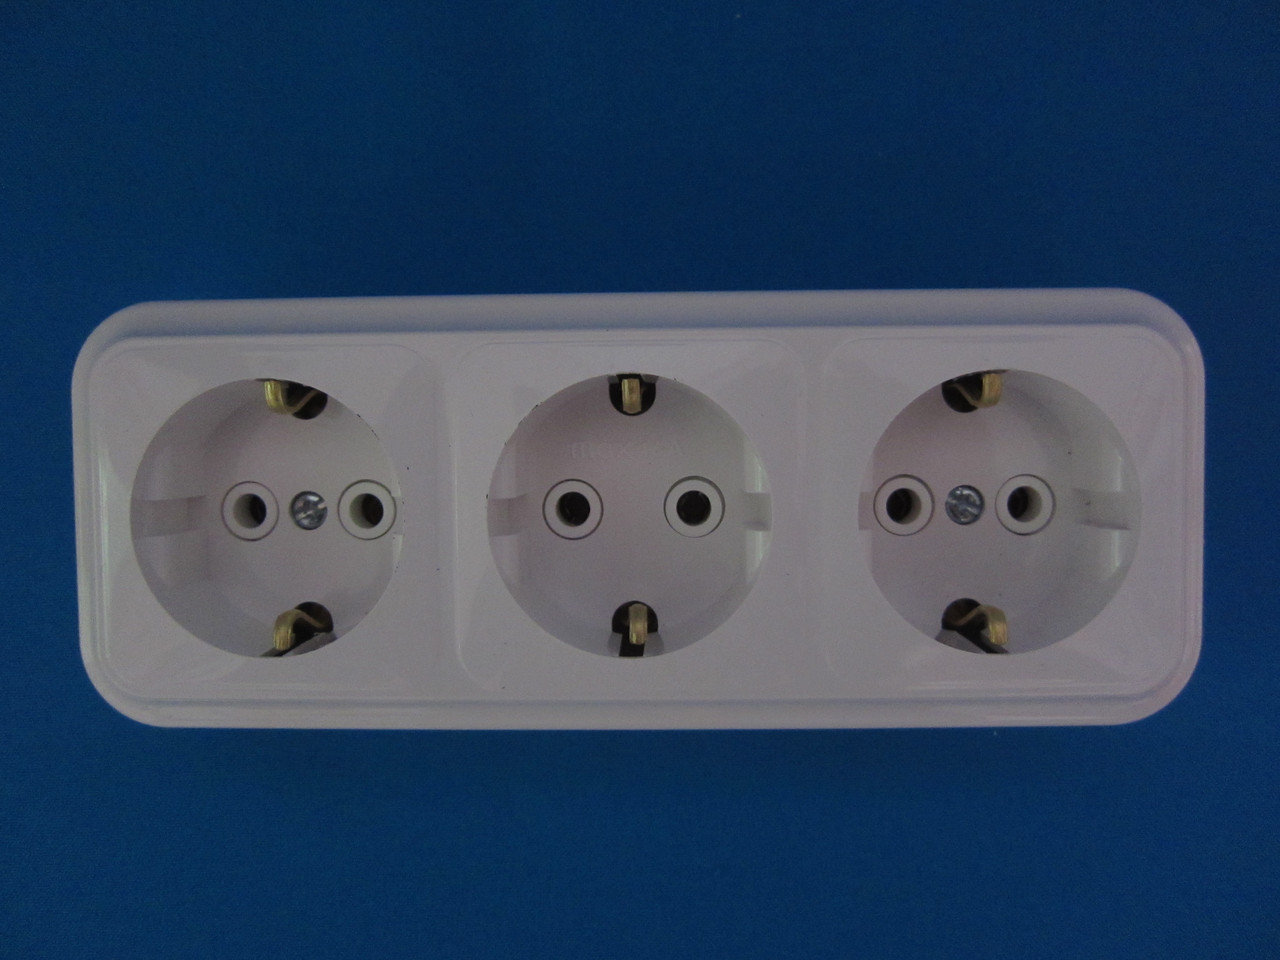
Products are made on the basis of the housing and the working part - terminals with springs for plugs and contacts, grounding device. Modern Euro sockets can withstand currents up to 16 A, standard ones up to 6 A. Sockets in one housing have a large diameter of round holes for fork rods. The device cover is made of heat-resistant plastic, the core is made of ceramic. For installation, a special horizontal and vertical panel is used.
The modules are located on a common frame or on 3 independent, connected by a common panel. To date, two modifications of the triple outlet block are used:
- C5 Design without grounding in a square case. It is placed under old Soviet appliances, connected to a 220 V network.
- C6. Euro outlet withstanding voltage 230-380 V.Compatible with appliances with Euro connectors and plugs.
Blocks are suitable for arranging two types of wiring. The internal for the hidden trunk is mounted with the help of a cylindrical socket in the wall. The external one is suitable for an open power line; it is mounted on a lamellar socket on the surface.
Depending on the manufacturer, the triple module has a width of 212 to 220 mm, a height of 72 to 80 mm. The size of the device along with the overlay frame is 160 mm in height.
Connection of electric points

The design should be connected taking into account the cross-section of the wire. With outdoor installation, the ability of the wiring to withstand 3 consumers is checked. The presence of separate sockets provides for laying an additional cable vertically or horizontally. After these works:
- Separate sockets are connected to the cable clamps and pressed using the terminals.
- The ends of the conductors are twisted inside the device.
- The central part is installed and the cover plate is fixed.
When installing the outlet to an existing group, the machine is replaced.
Assembly parts
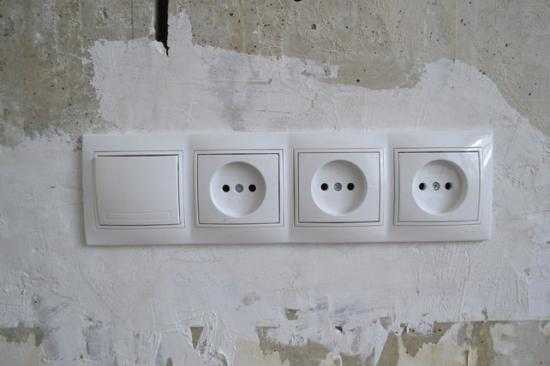
A socket suitable for three mounting sockets does not always meet the needs of the buyer or is notable for its high cost. The way out of the situation is the independent assembly of the block from single-module products.
You can make a three-module from the inside of standard sockets with a rated current of 16 A. The overhead frames are removed, the remaining elements are planted in a special overlay with three niches. It turns out a solid block.
Installation of a socket
Installation of the unit begins after choosing the location of the structure:
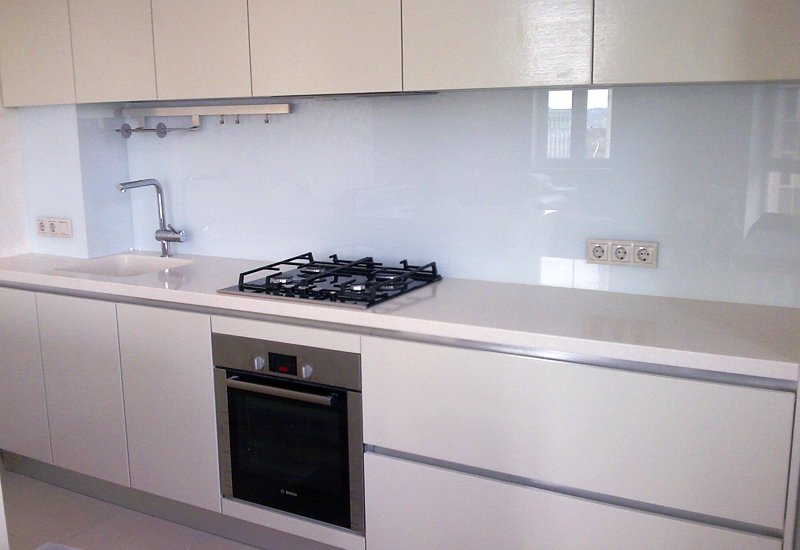
- in the kitchen for a one-time connection of equipment, it is better to put the device over the countertop;
- in the bedroom a three-module product can be installed behind the TV - the wires behind the screen will be invisible;
- when installed in the bathroom, a sealed, moisture-proof block is required, located 60 cm from the water.
After choosing the installation zone, you will need to prepare the tools - level, tape measure, marker or pencil, a perforator with a nozzle-crown and a nozzle for making a strob.
Perform installation work before finishing the room.
Wall surface marking

The geometry of the structure and the convenience of wiring organization depend on the correct layout. To identify the mounting points, start from the number of outlets in the unit. When working, use the level - it will ensure the evenness of the device.
The distance of the outlet from the floor is 20-40 cm. Between the centers of the sockets - 72 mm. Otherwise, it will not be possible to precisely plant the decorative panel. Strobing is carried out strictly horizontally or vertically - it is better to draw a contour of the hole.
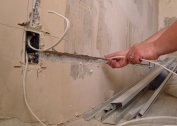
Drilling holes in the wall
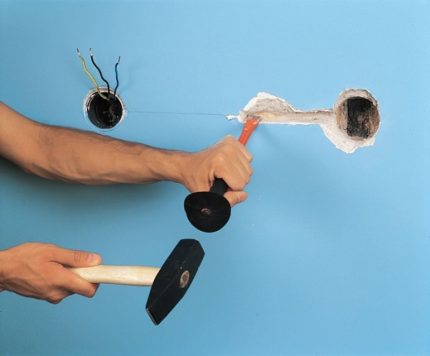
You can make seats for the outlet by means of a hammering with a perforator with different nozzles. A hammer, a chisel and several screwdrivers are used to refine the sites.
Drilling is carried out in stages:
- A round hole is made with a drill or hammer drill with a nozzle. The crown should be completely immersed in the wall.
- The strobes lead strictly vertically or horizontally.
- The width and depth of the channels are made under the cable section or the size of the corrugated pipe.
- Residual concrete is removed with a chisel.
- For GCR or other soft materials, a special nozzle or a sharp construction knife is used.
- Three holes are made for the wires on the back of the case.
- Between them, 2 holes are drilled for auxiliary wires.
The permissible cable cross-section for the outlet is at least 2.5 mm2.
Fixing a broom in a concrete wall
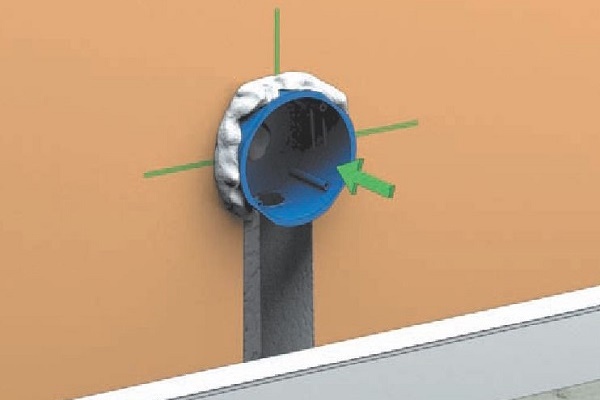
In order for the triad to sit tightly in the nest, white alabaster is used.Due to the quick setting of the material, the mixture is prepared in small portions. Density is controlled visually.
The planting niche for the undergrowth is smeared with a solution from the inside and its attachment is checked. The product will sit firmly on a dense mixture. If it fails, add more alabaster and apply the composition again. After installation, the solution should dry for 2-3 hours. The outer layer of material is leveled with sandpaper.
Before mounting the outlet on the alabaster, check the horizontal and vertical mounting screws.
Connecting Triple Outlets
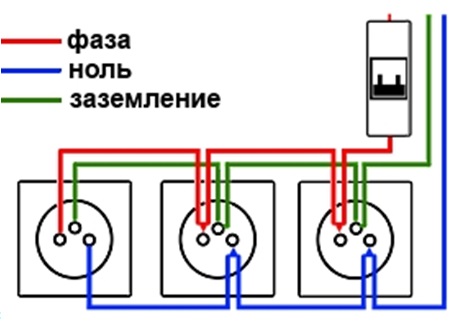
The built-in triple socket and the overhead device are connected according to the parallel principle:
- A diagram is drawn in which the neutral, phase and grounding cables are marked in different colors.
- Indicator screwdriver find phase and neutral.
- Turn off the power from the shield.
- Make jumpers from one outlet mechanism to another.
- The protection cable is thrown to the ground contacts (yellow-green).
- Zero (blue wire) and phase (red / brown wire) are connected to the power contacts.
- Connections are fixed with screws.
- Veins are twisted inside the box.
- Level the device by tapping the case.
After tightening the fixing screws, decorative covers are placed.
Features of connection with grounding and without
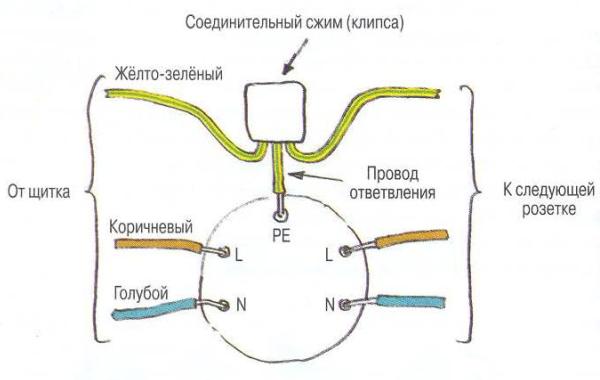
In the presence of grounding, a triple outlet in one socket is connected as follows:
- De-energize the room and check the current flow with an indicator screwdriver.
- Dismantling the old outlet. The central screw is unscrewed, the clamps are loosened, the product is carefully removed from the socket, the wires are disconnected or cut.
- Garbage will be removed from the niche.
- The upper insulation is removed from the cable with a layer of 20-40 mm from the end and stripped by 3-5 mm.
- The bare ends of the phases must be connected to the terminals and pressed with screws.
- The yellow-green cable is connected to ground and clamped with screws.
- The socket is put in place and fixed.
At the last stage, the housing cover is installed.
In houses of the old construction, two-wire TN-C wiring with phase and ground ground (PEN conductor) is laid. Connect outlets without grounding only after checking the voltage with a multimeter. Electric current is not supplied to the apartment at this moment. For installation, it is better to choose models equipped with a grounding mechanism. Complete safety will only be ensured by wiring replacement.
Safety instruction
When deciding to connect a built-in module, follow the safety requirements:
- Turn off the electricity and break the circuit.
- Use appliances, tools with rubber or plastic insulation on the handles.
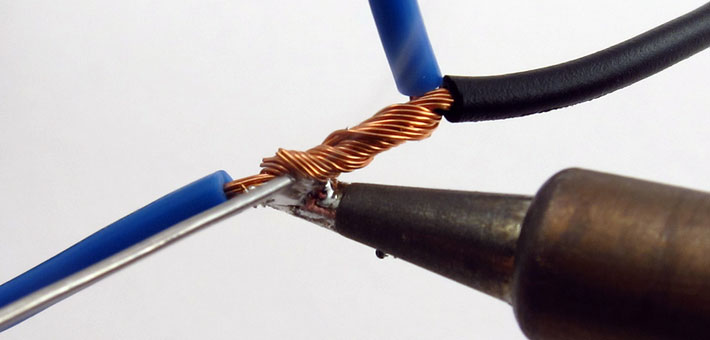
- Connect the wires by soldering.
- Check the insulation of the cable, if necessary, put it in a plastic tube.
- Cut a long core or twist it into a ring, hiding it in the wall.
- Grow a short wire by hiding the contacts.
- To prevent a short circuit, check that the outlet and power cord match the current in the circuit.
- Install the triple module in a wooden house only in a metal socket.
- Position the module at the door so that the switch is closer to the opening than the outlet.
Compliance with safety regulations will help to carry out installation work in a high-quality manner.
The built-in power outlet block is convenient to use. If you have the skills and knowledge, you can connect the switching device yourself. The main thing is to follow the sequence of work.