LED sources cope with the functions of accent, functional and background light. Small lighting elements are used in groups, which allows you to adjust the brightness. The advantages of LED are low power consumption, low heat and high light output. They can perform additional functions: color adjustment, delayed or smooth shutdown, wireless speaker, light alarm.
Chandelier Selection
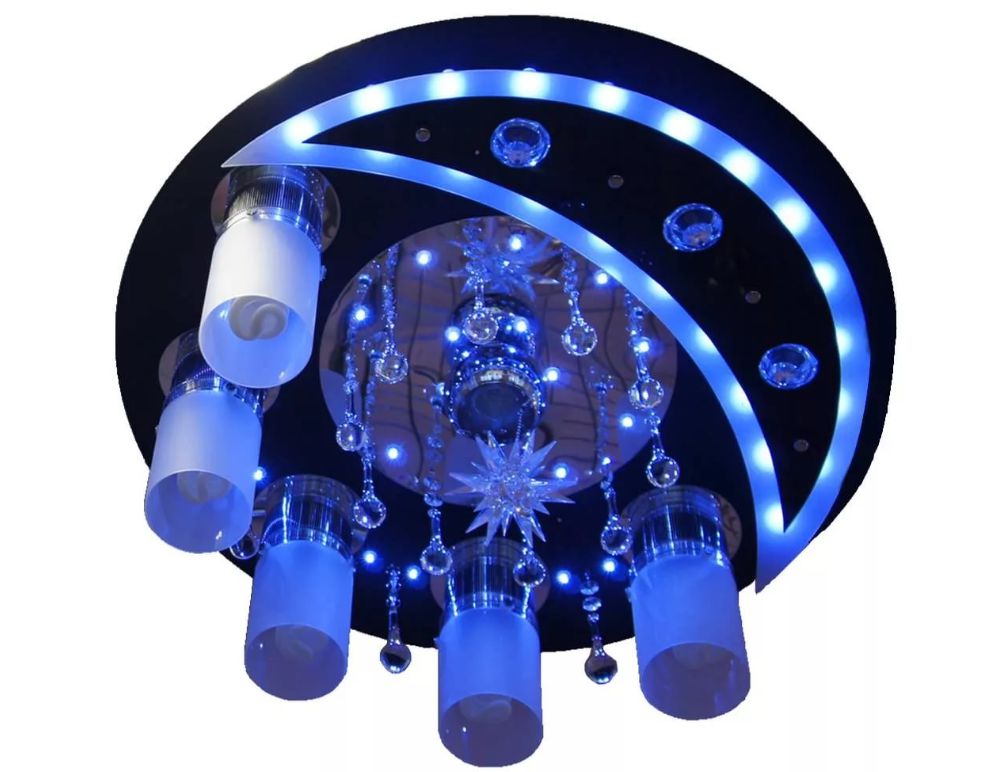
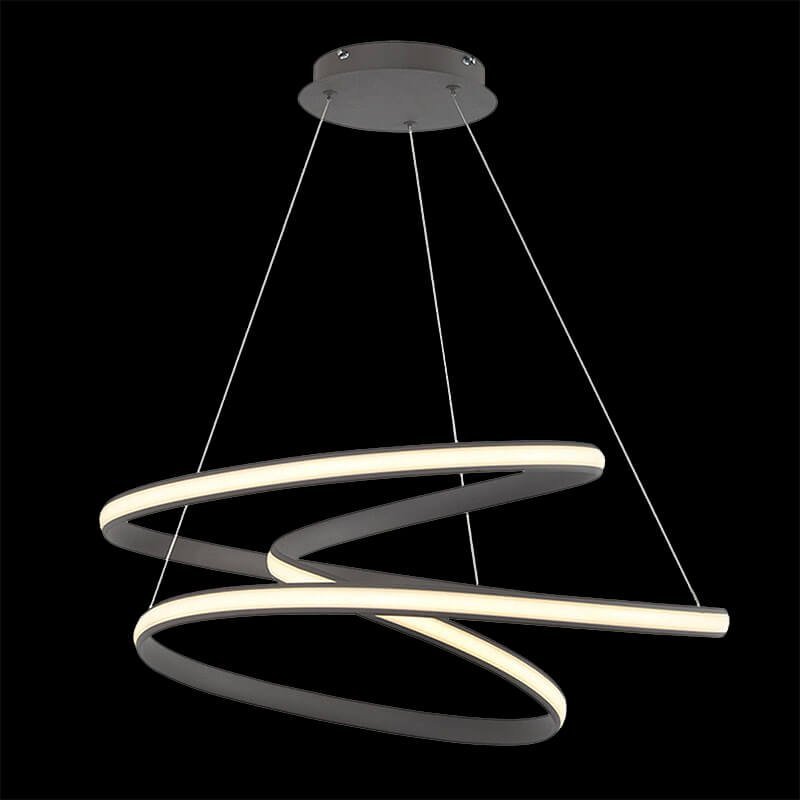
Lighting is a useful tool for designers and decorators. LED chandeliers do an excellent job of creating the atmosphere and situational zoning of the room. In the design of the fixtures used brass, bronze, stainless steel, plated with chrome, nickel and silver, crystal, crystals, porcelain. The choice of a chandelier is based on the acceptable dimensions, area and the required lighting power: living room and kitchen - 200 Lx, children's room and bedroom - 150 Lx, hallways and bathrooms - 100 Lx. For your own safety, pay attention to the documentation. The seller must provide a quality certificate, a sanitary permit describing the materials used, a warranty card.
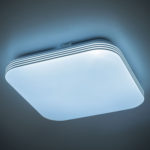
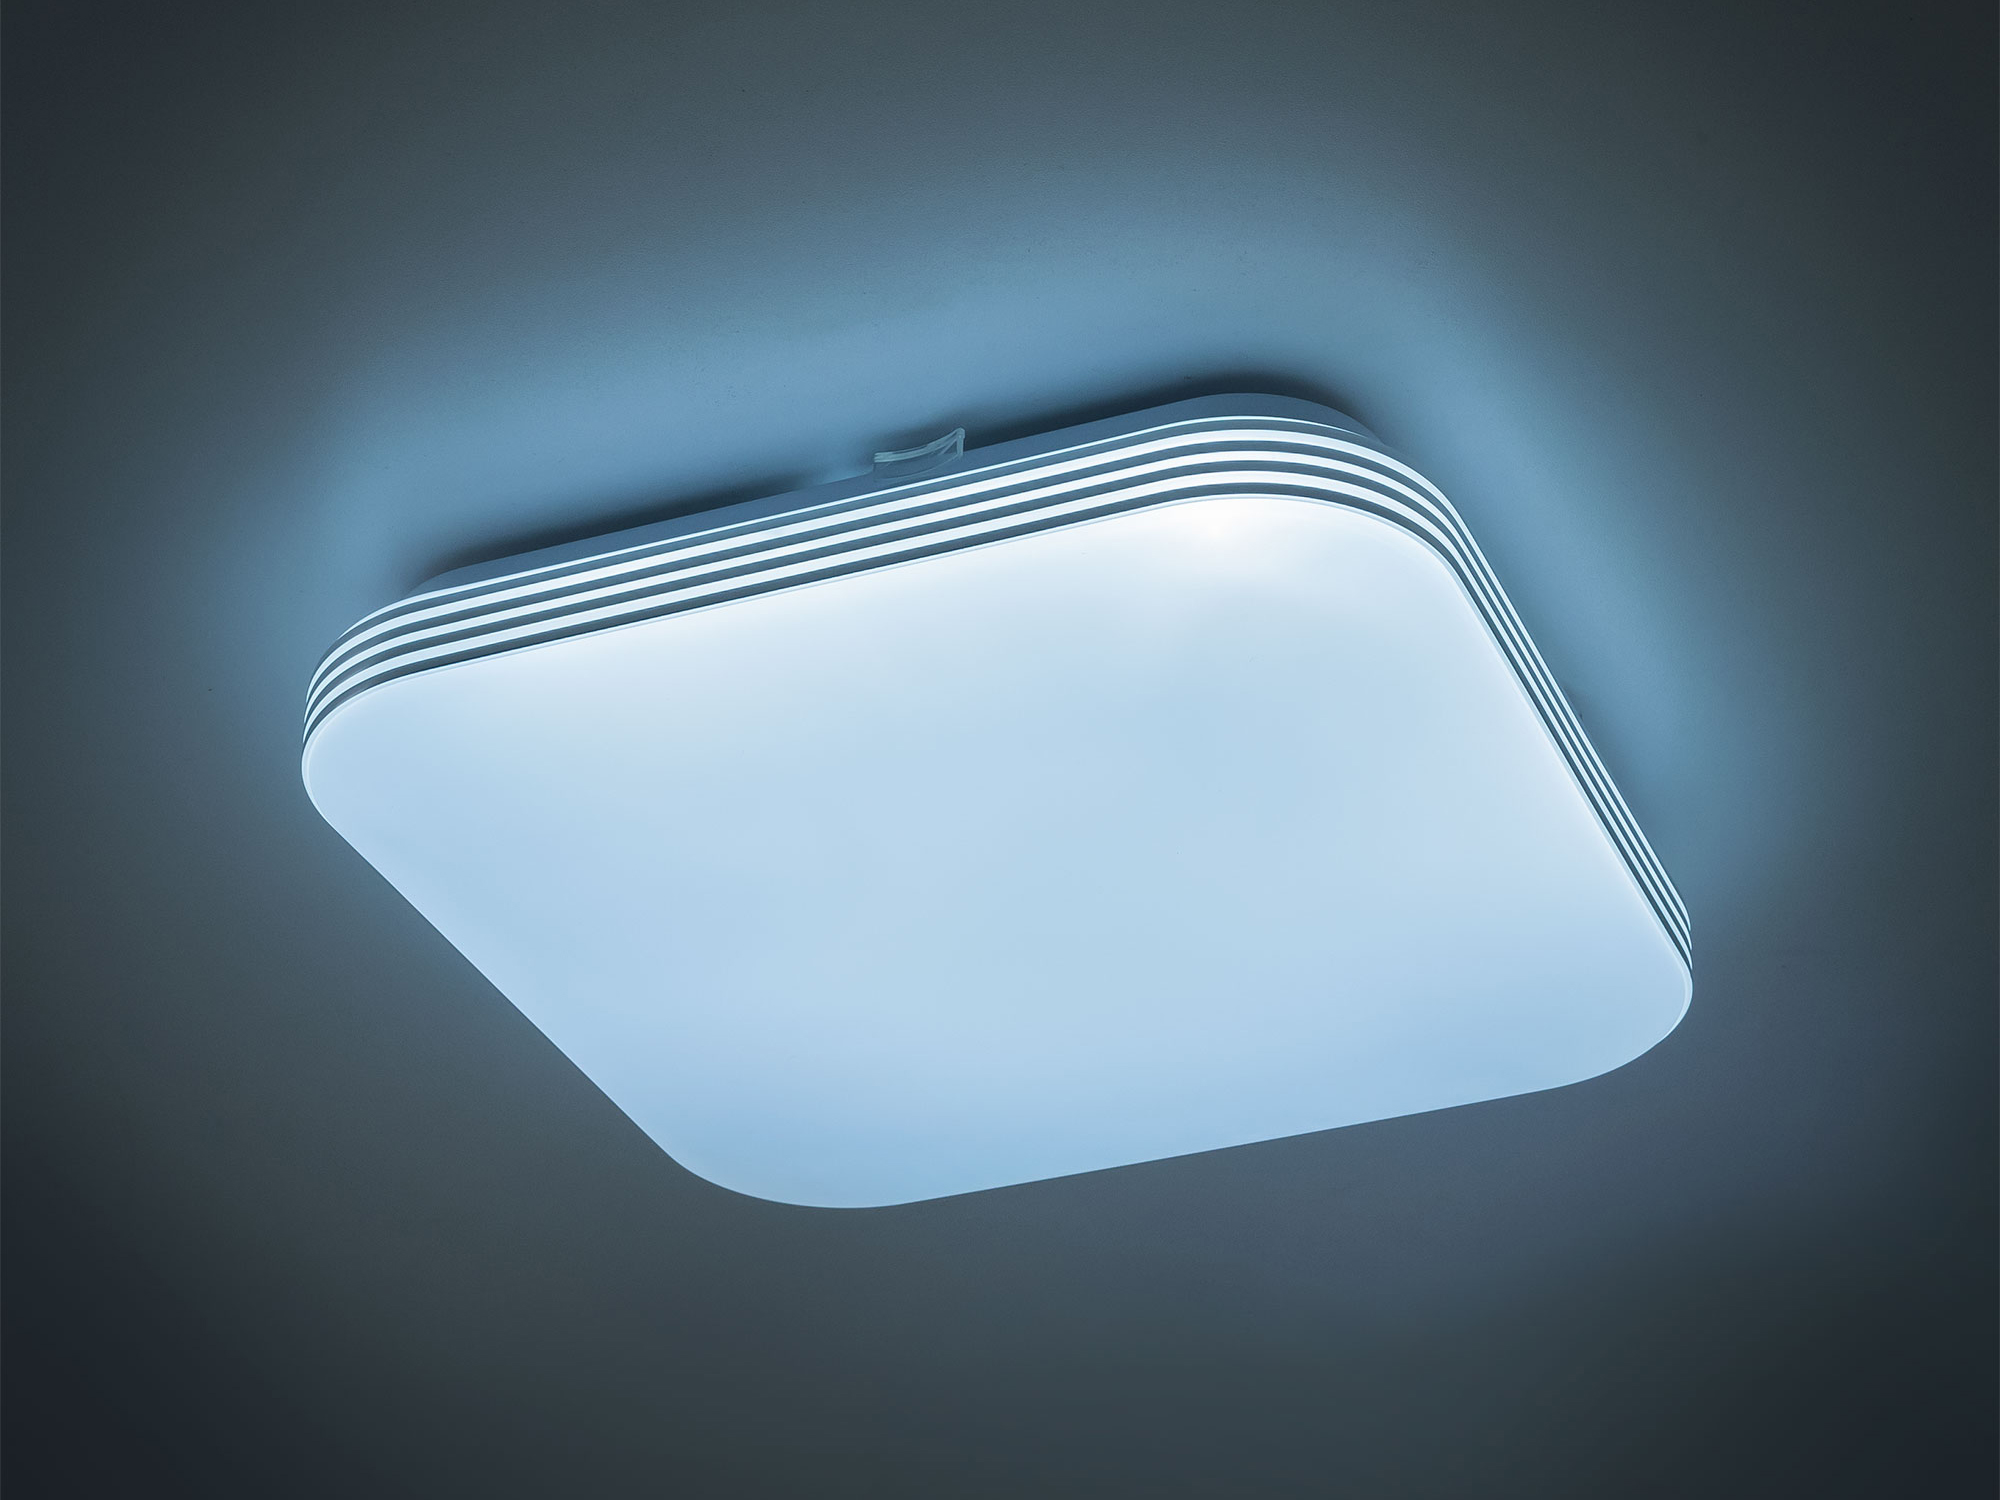
Ceiling lights are distinguished by the type of mount:
- built-in (in the box of drywall, under suspended ceilings) - the hole is mounted according to the parameters;
- consignment notes - small lamps of simple shapes or voluminous chandeliers of the most intricate designs;
- suspended - more suitable for halls and halls with ceilings above 2.7 m, in residential buildings less popular.
The type of appliance can be selected to space in any style. There are carob (complemented by lampshades and shades) and bezkorochnye models.
-

- Hanging
-
- Recessed
-
- Waybill
The light supply can be carried out only by LED lamps or halogen with LED backlight.
Lighting fixture

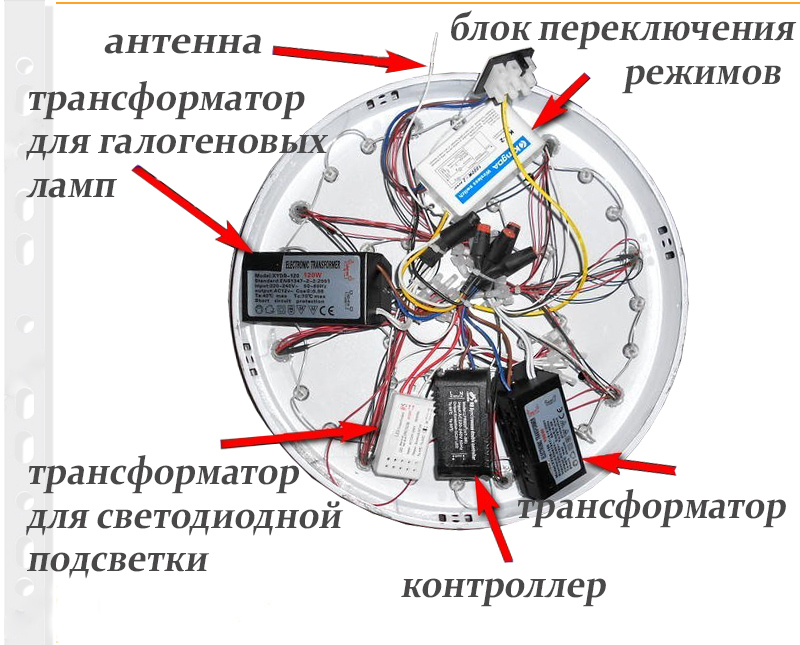
Familiar lights are equipped with hooks. Modern options are equipped with a mounting plate. Many wires and plastic boxes can cause confusion. To understand which side to approach the chandelier, you need to understand its design features.
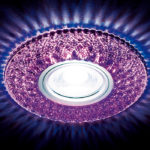
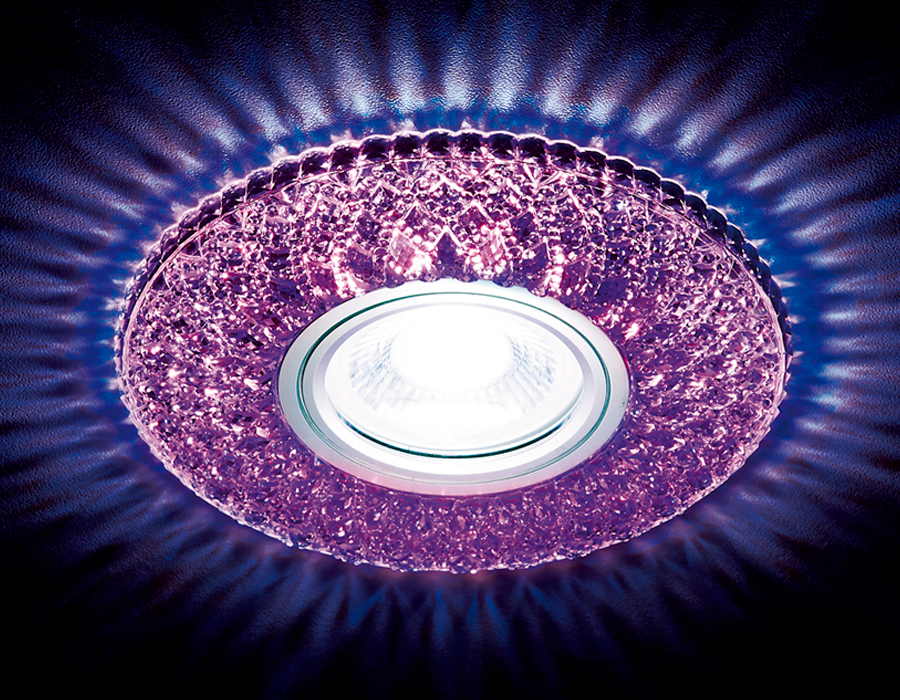
Recessed spotlights are easy to install. The diameter of the illuminator body determines the size of the hole (usually 68 mm). The outer skirt is slightly wider to fix the device from the outside. Inside this task is performed by special springs. The average step is 1 m.
The location of the chandelier on the ceiling is included in the design project or is chosen independently. The casing of the new electrical appliance can close the old hole, including.
 Installation steps:
- The perforated strip is fixed under the ceiling.
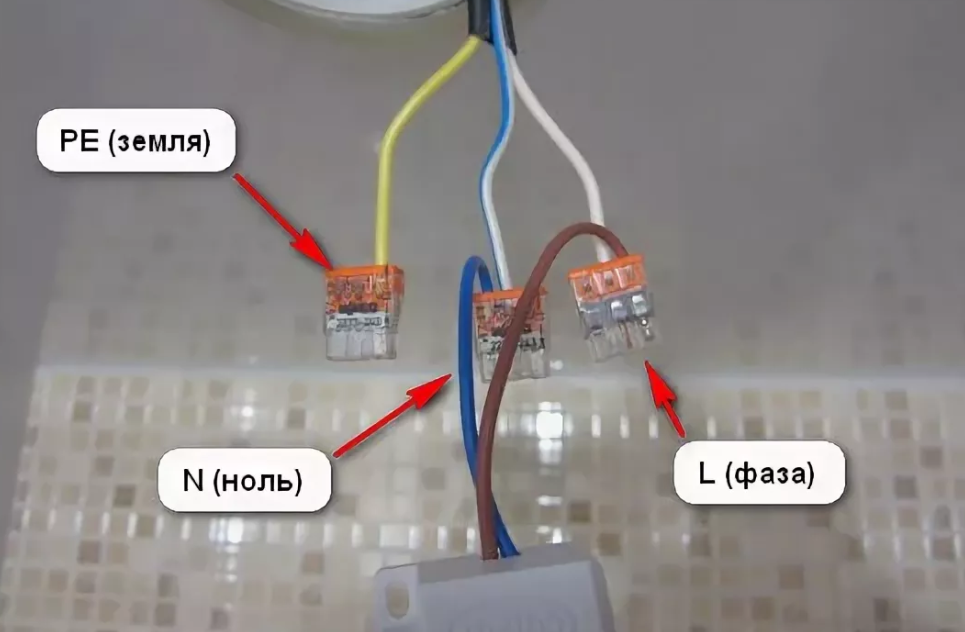
- Before connecting the LED chandelier, the power on the shield is turned off. Wiring can only be done in a de-energized system.
- It is easy to understand the cores by the color marking of the insulation: yellow-green - grounding, blue - neutral, other colors - phase. If for some reason this cannot be done, a tester will come to the rescue. An excess phase wire may come from the old double switch, which is removed and insulated. The communicator is replaced by a single-key or touch. The controller with receiver is located in the upper chandelier. For LED sources, power must go through a step-down electronic or induction transformer. Lead wires enter the terminal block according to the designations: L - phase, N - zero, PE - protective earth.
- On the chandelier block with a control panel, the wiring for the groups of illuminators is shown in the diagram. If not, you need to find it in the manufacturer's instructions. If desired, the distribution can be changed, remade for yourself.
- All decorative elements are assembled, lamps are installed, the lampshade is fixed.
After checking the correct assembly, turn on the power and check the operation of the chandelier.
Selection of the control panel (PU)
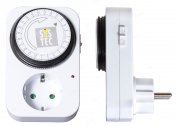
The presence of a remote control saves when you need to ditch the walls or damage their appearance with cable boxes to display the switch. Although a conventional switch is often left to supply power. Only after turning it on will it be possible to use the remote control. PU can come with a chandelier, but universal wireless adjustment panels are produced that connect to any lamp or control several devices at once. Lighting in the apartment is combined with the "smart home" system.
The controller with the antenna is placed in the housing of the lighting device, in the cavity of the ceiling near the suspension or in the mounting box. Power is supplied from a 220 V network. A stationary remote control is mounted on the wall and is equipped with a sound search for a remote controller.
Wireless equipment can work on different types of signal:
- infrared - the most budget option, works at short distances up to 8 m, only with direct visibility;
- radio - the most common, can work through partitions at distances up to 30-100 m;
- Wi-Fi - has the widest possibilities, including control from a mobile device, the range of action has been expanded to 300 m.
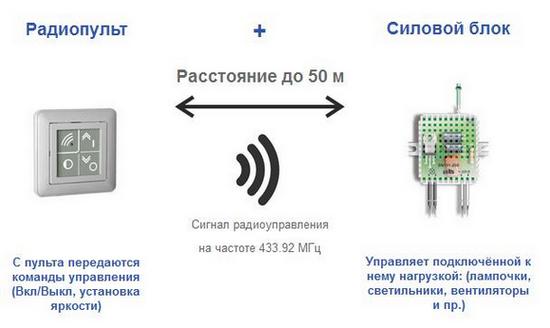
The number of control channels depends on the number of fixtures and ranges from 1 to 4. Typical scheme: buttons A, B control modes, C - full power on, D - full power off. The total switching power of the lamps is 1 kW. LED sources are controlled via a 0.2 kW channel.
To avoid interference in the radio remote controls, the sensor and receiver are tuned to the same frequency. For the functioning of the mobile part of the equipment, enough power from batteries or replaceable AA, AAA batteries.
Device weaknesses
LED lights with remote control have a lot of advantages, but malfunctions still occur. Some problems have an understandable reason.
If the power line from which the chandelier is powered is two-wire, the risk of burnout of the device increases.
The conclusion of a large number of electronics in the body of the chandelier provokes overheating. The technique does not stand up, it breaks. This is especially the case with budget Chinese models. It is necessary to carefully monitor the incoming voltage and continuous operation time.
Common Malfunctions:
- The chandelier does not respond to commands or turns off spontaneously. The circumstances do not change after replacing the batteries - you need to check the buttons using the phone’s camera, which will show the beam when pressed. If found, you can clean the contacts or change the remote control completely. If the buttons are okay, the problem is most likely a malfunction of the wireless switch. The circuit of the device contains a metal film capacitor designed to suppress overvoltage. After 1–1.5 years of operation, its capacity drops, the voltage drops to 6–7 V, the electromagnetic relay stops closing, and the microcircuit does not work correctly. The problem is solved by replacing the capacitor. It is better to opt for an expensive imported model.
- Bulbs when moving the chandelier can glow when there is little contact with the power cable. In this case, check the wiring components.
- The lamp group does not function. If one LED fails, the entire tape stops working. You can try to find and replace a non-working item or buy a new tape. The reason may be a transformer. If the multimeter at the terminals shows a lack of voltage, the part is changed.
- The failure of the lamp to work is an occasion to check the voltage of a suitable cable with a voltmeter, eliminate a short circuit between phase and zero, and check the integrity of the lamps.
- Noticeable flashing or turning off the lamps when adjusting the lighting. Standard dimmers are not suitable for adjusting the brightness of LED sources; connecting an LED chandelier requires special equipment based on pulse-width modulation (PWM).
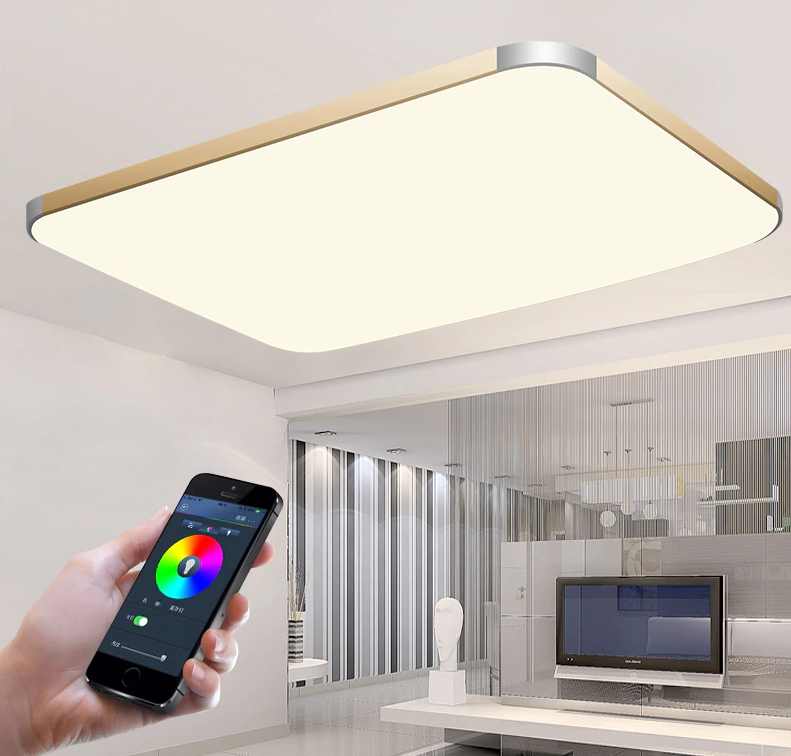
A chandelier with a control panel combines background light, a night lamp and a disco ball. At the same time, you can change modes while sitting on the couch, sometimes even in another room. The new generation of fixtures is finding more and more fans.