In almost any house, a call is installed that signals the owners of the arrival of guests. Despite the simplicity of the design, the equipment is being upgraded every year and is complemented by various functions. You can see who came, even at a great distance, select a specific melody and take advantage of a number of other useful things. The more complicated the device used, the more difficult it is to connect an electric bell in the apartment.
What are doorbells
There are many models, each of which has its own connection method, the principle of operation, available functions. All these parameters will ultimately necessarily affect the cost of the purchased device.
According to the connection method, there are three main options:
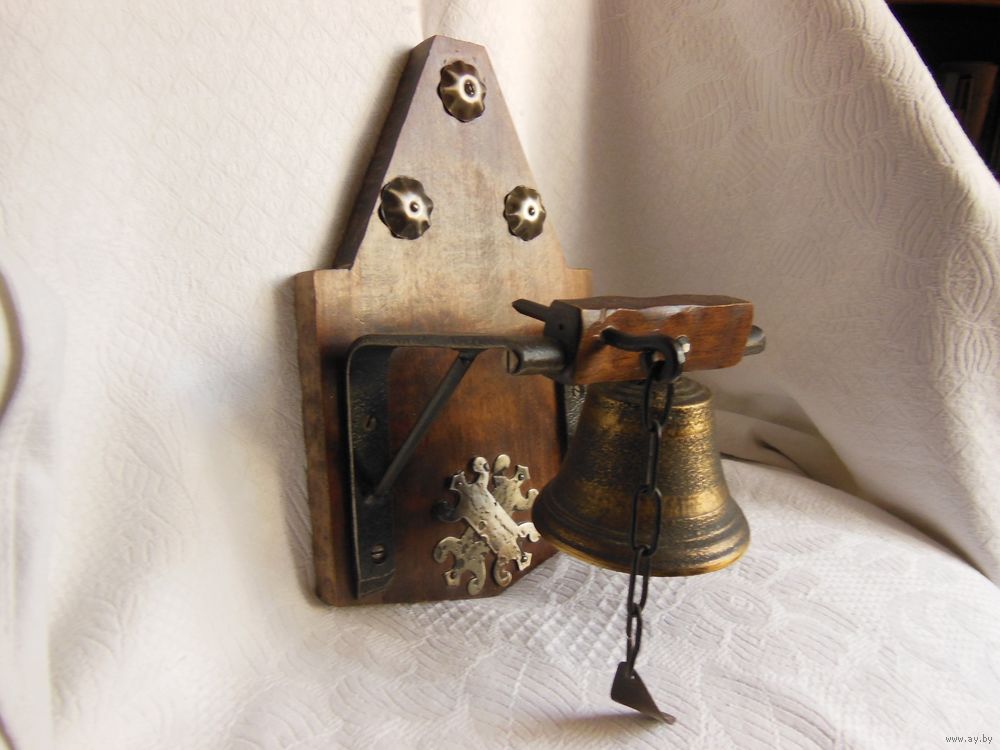
- Mechanical. In the predominant majority of cases, they perform a decorative function. Located in the hallway or on the facade. They make themselves felt when a person tries to open the door or touches the tongue of a bell.
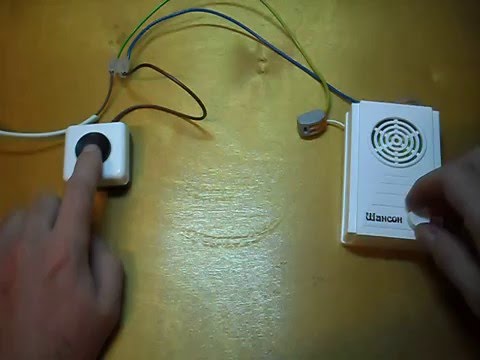
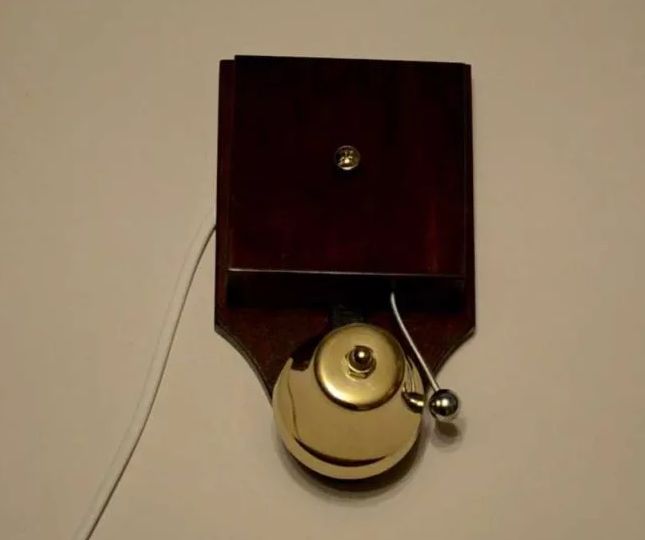
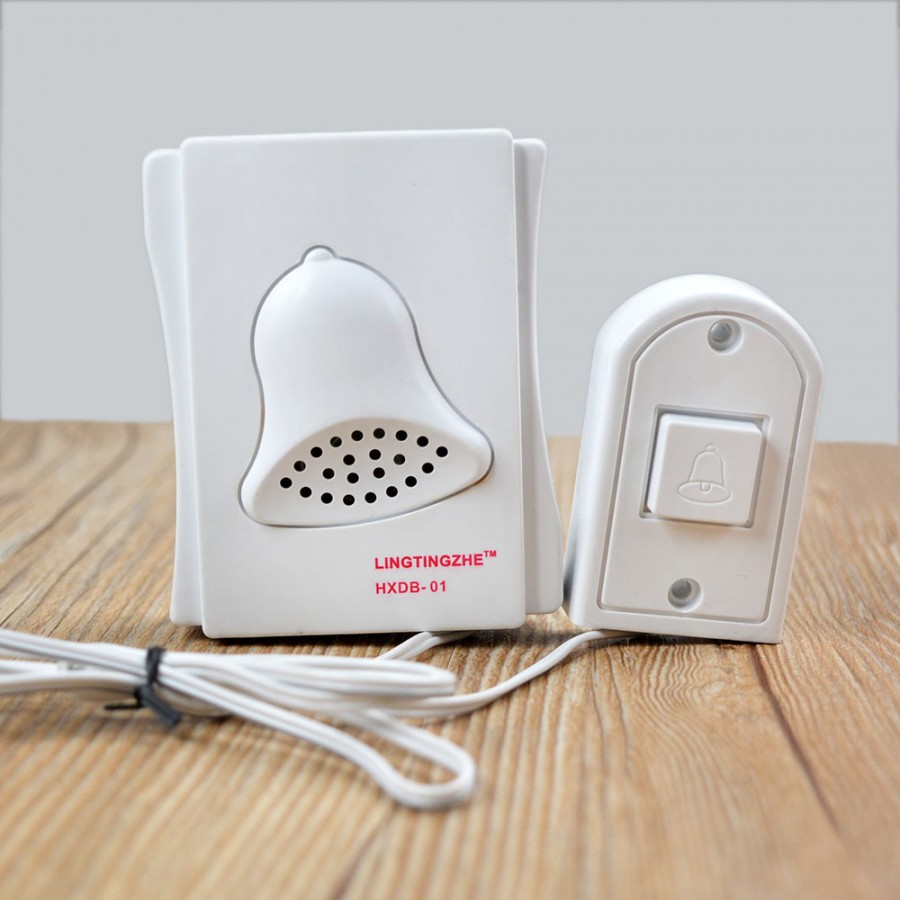
- Electromechanical. A more perfect model of the previous type, which is characterized by a rather simple but more convenient design, which provides for the presence of a button for signaling, which is located outside the house or apartment. There is also a resonator that is mounted in a living room, and an electric cable that combines both parts of the device.
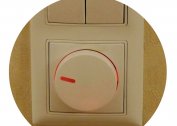
- Electronic. The most advanced version, which is assembled on the basis of microcircuits and equipped with a built-in speaker. The variety of sounds that such equipment can make is not limited to anything. Through the use of electronics, the available list of functions of such devices is also expanding.
-
- Mechanical
-

- Electromechanical
-
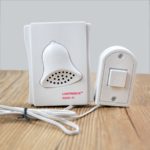
- Electronic
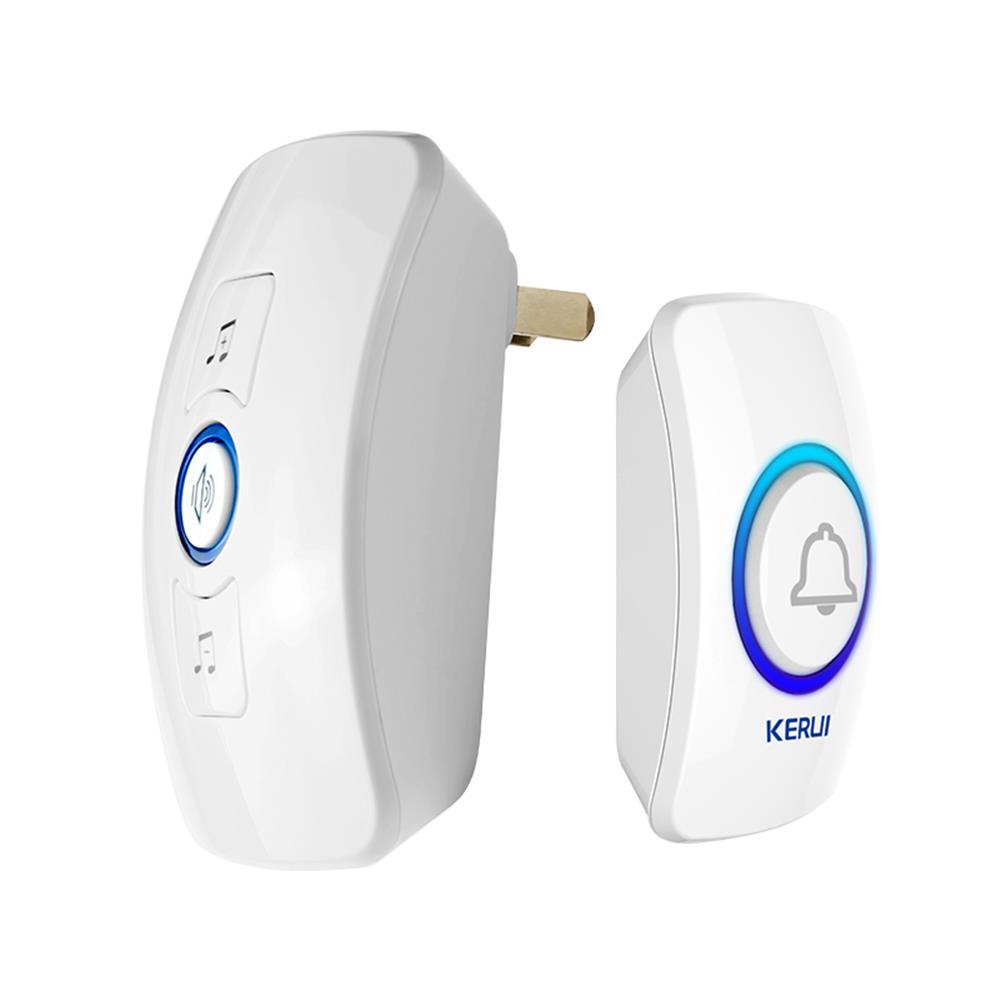
On sale you can find wired and wireless electronic calls. The first type is connected in almost the same way as most electromechanical devices. However, you can find models that are additionally protected in the form of power from a voltage of 12 volts or using batteries. They must be connected via a dedicated step-down transformer or power supply. On the button in such devices, a low-voltage signal is broken instead of a phase.
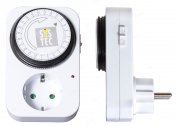
Wireless calls are convenient in operation, but the button-transmitter often requires constant updating of autonomous power supply, and at the same time should be in an area that will not interfere with signal transmission to the device. Some wireless models work when you connect them to a standard 220V network, to an ordinary outlet, while the button will need to periodically change the batteries. Other models have both self-powered items.
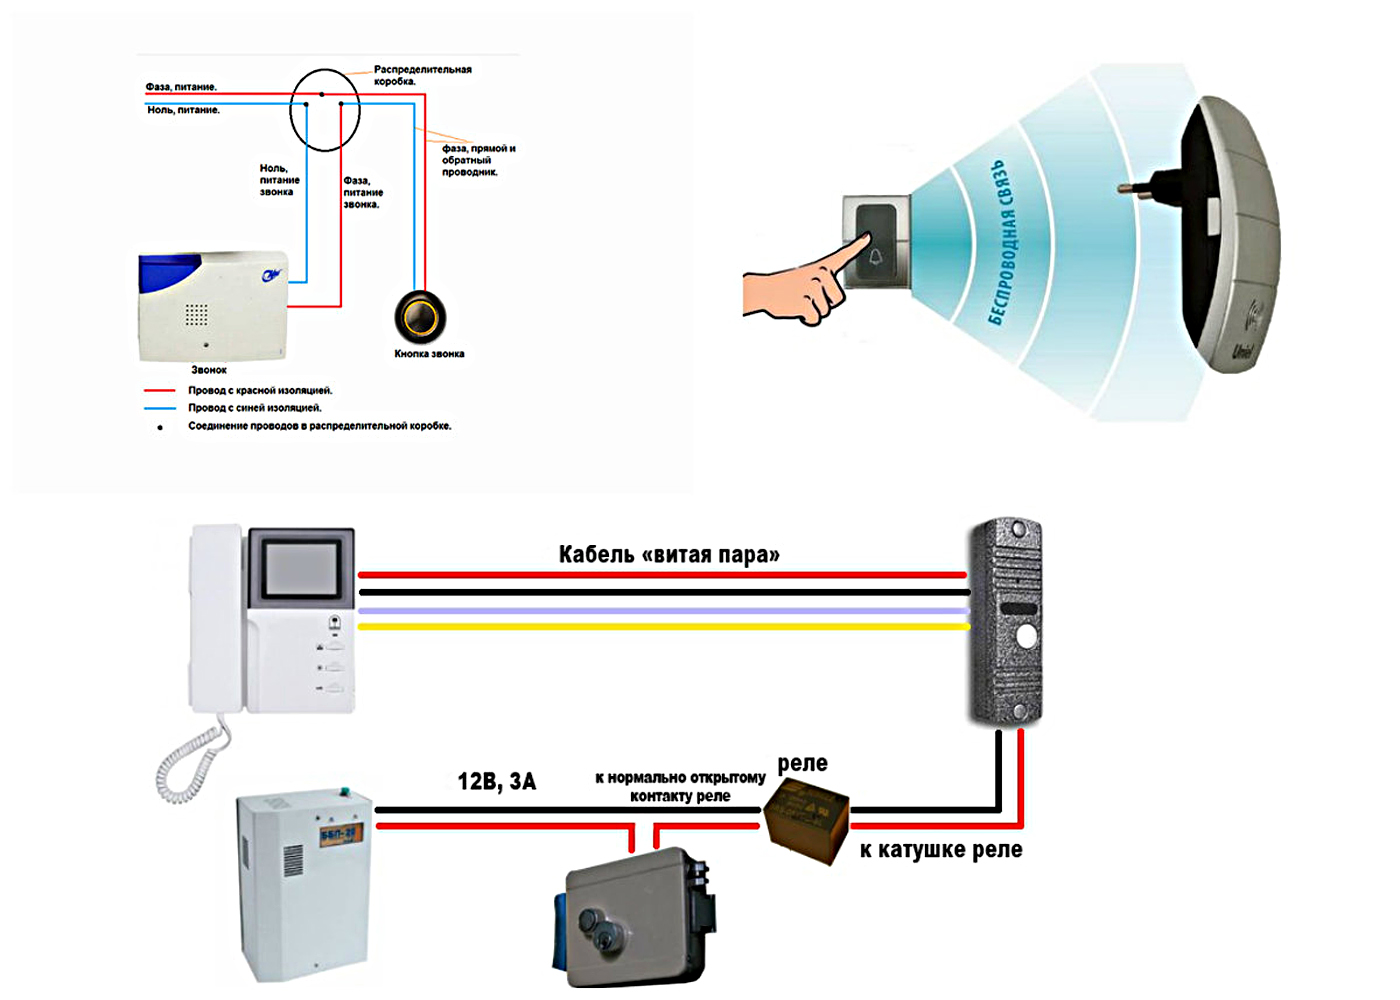
Modern wired and wireless calls have become a full-fledged security system, which provides for the use of devices for sound recording and video surveillance in their design. In this regard, the wired call connection scheme will vary depending on what additional devices will be used in conjunction with it.
There are a number of models that open the gates remotely or open the front doors. This is a fairly convenient feature for a private home.
If you need to connect a wireless call to an apartment with video surveillance, the procedure will be much more complicated. It is better to entrust the work to specialists who will continue to be involved in the maintenance of equipment.
How to install and connect a call
To connect a wired call or a wireless device, you need to study the features of the selected design, as well as the type of room.
Wireless
It’s easiest to connect wireless devices, especially if you plan to install a device that will be connected directly to an electrical outlet. In this case, you will need to fix the button on the wall or door jamb near the front door. Depending on what material the base is made of, for fastening it will be necessary to use self-tapping screws or appropriate dowels.
It is enough to determine where in the house is the most convenient place for the button. After that, the device itself is applied to the surface of the wall, labels are placed through the holes for fasteners. Holes are drilled with a puncher, into which it will be necessary to drive the fasteners and fasten the button with all the batteries. If the button is mounted on a wooden surface, the procedure is simpler, since only self-tapping screws need to be used.
The main unit is plugged into an outlet. Usually one of the outlets in the hallway is selected at a minimum distance from the button.
A wireless call is the best solution for a private house, since the installation of such equipment does not require the installation of wiring through the entire yard. In this case, some restrictions must be taken into account:
- The choice of device must be carried out taking into account that the button will be on the street. If the degree of protection is insufficient, the button itself or its batteries may break due to high humidity or strong temperature changes.
- There should not be any metal or concrete obstacles between the button and the bell, since they can block the signal flow, the bell will not work.
- In the process of choosing a wireless call, it is important to carefully familiarize yourself with all the technical characteristics of the model, see the range of reliable signal reception, which in most cases is within 80-100 meters, which is quite enough for normal operation in a private home.
Installing a wireless doorbell is straightforward, but in some cases these devices are less reliable. They also require periodic replacement of the power source.
Wired
The difference between an apartment and a private house when installing a wired call is solely in the length of the cable. If you plan to put such a device in the apartment, you need to fix the button near the door, as in the case of the wireless option. However, it must be connected to the cable brought into the housing through the hole made in the wall or door frame. You need to make sure that the wires are protected and there is no open access to them.
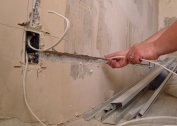
If the wire is passed to a wooden box, on a section of the wall that goes between them, a strobe is carefully made, which is then closed up. The main unit, if desired, can be fixed in any convenient place in the room. As a rule, this is the wall of the hallway. Inside the apartment, all the wires can also be hidden in the made strobes, but sometimes the option is used with a cable channel in the form of a kind of plastic box designed for the safe arrangement of electrical wiring.
It is more difficult to carry out installation of equipment in a private house, if you need to install a button on the gate. You will have to pull a very long wire, equipped with insulation in the form of a special corrugated tube that provides protection from moisture, temperature extremes and sunlight. When buying a cable in a store, you should ask the seller if it is designed for use in an open area. Some manufacturers make products exclusively for indoor installation.
Connection Procedure:
- The house is completely de-energized through automatic machines on the switchboard.
- The main unit body opens.
- The ends of the connecting cable are carefully cleaned, after which one of them is laid in the strobe to the bell, and the second to the place where you plan to install the button.
- The zero wire is connected to the one that will go to the call through the terminal.
- The phase wire is likewise combined with the wire that goes to the button. The second conductor of this cable will need to be switched with the second wire going directly to the call itself.
- Both cables that go to the button are carefully stripped, and then clamped in its terminals. The button itself is going to, since you don’t need to work with it anymore.
- Cables to the bell from the junction box must be clamped in the terminals and combined with those that come from the bell housing.
Some masters prefer to use twists instead of terminals, but this option is optimal only with contact caps. The terminal option is more accessible and reliable, since calls do not differ in heavy loads.