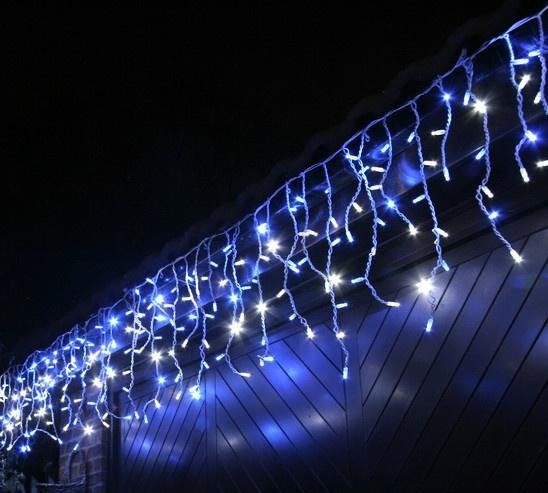
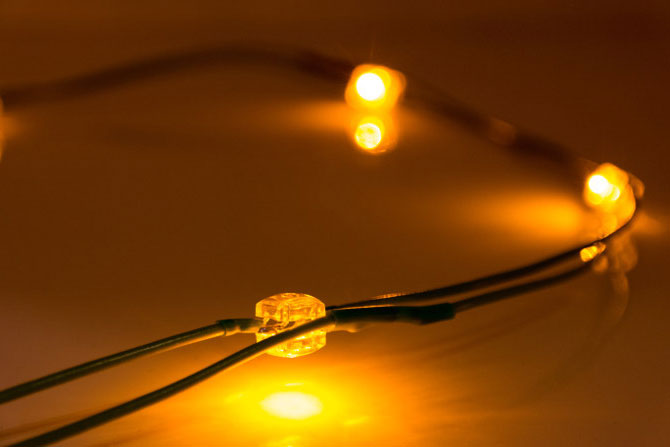
LED garlands have replaced conventional ones. They compare favorably with obsolete incandescent lamps by their characteristics - long service life, reliability, efficiency and safety. LED RGB garlands are used in festive illumination, illumination of buildings and trees, in advertising. Garlands are distinguished by their design, characteristics and wiring diagram. You can repair the LED garland with your own hands - for this you need to familiarize yourself with the design features of the product.
Types of LED Lights
LED electric garland is characterized by such parameters as power, number of LEDs, structure, length.
By product design there are:
- Traditional. They are a thread on which diodes are mounted. They are 5-12 meters long.
- Light curtains - “rain” or “waterfall”. Several luminous threads are fixed at a certain interval on one.
- Fringe. LED curtain garland for a window is a kind of rain, it is distinguished by a shorter length and different level of threads.
- Light grids. Threads are networked.
- Garlands for trees called clip-light.
- In the shape of balls and icicles.
Each of the listed species finds its application in various fields.
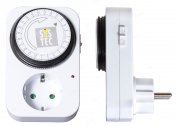
Garlands can also be classified by type of food. There are devices that are powered from the network - they just need to be plugged in. Products of the second type require connection via a step-down transformer, since they operate on 12 V or 24 V. They are safer - even if the insulation is damaged, the person is not in danger.
The design and layout of the garland
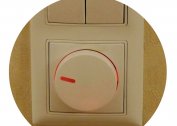
Externally, the LED garland is no different from the usual. It also has wires, lamps and a control unit, which is an essential element.
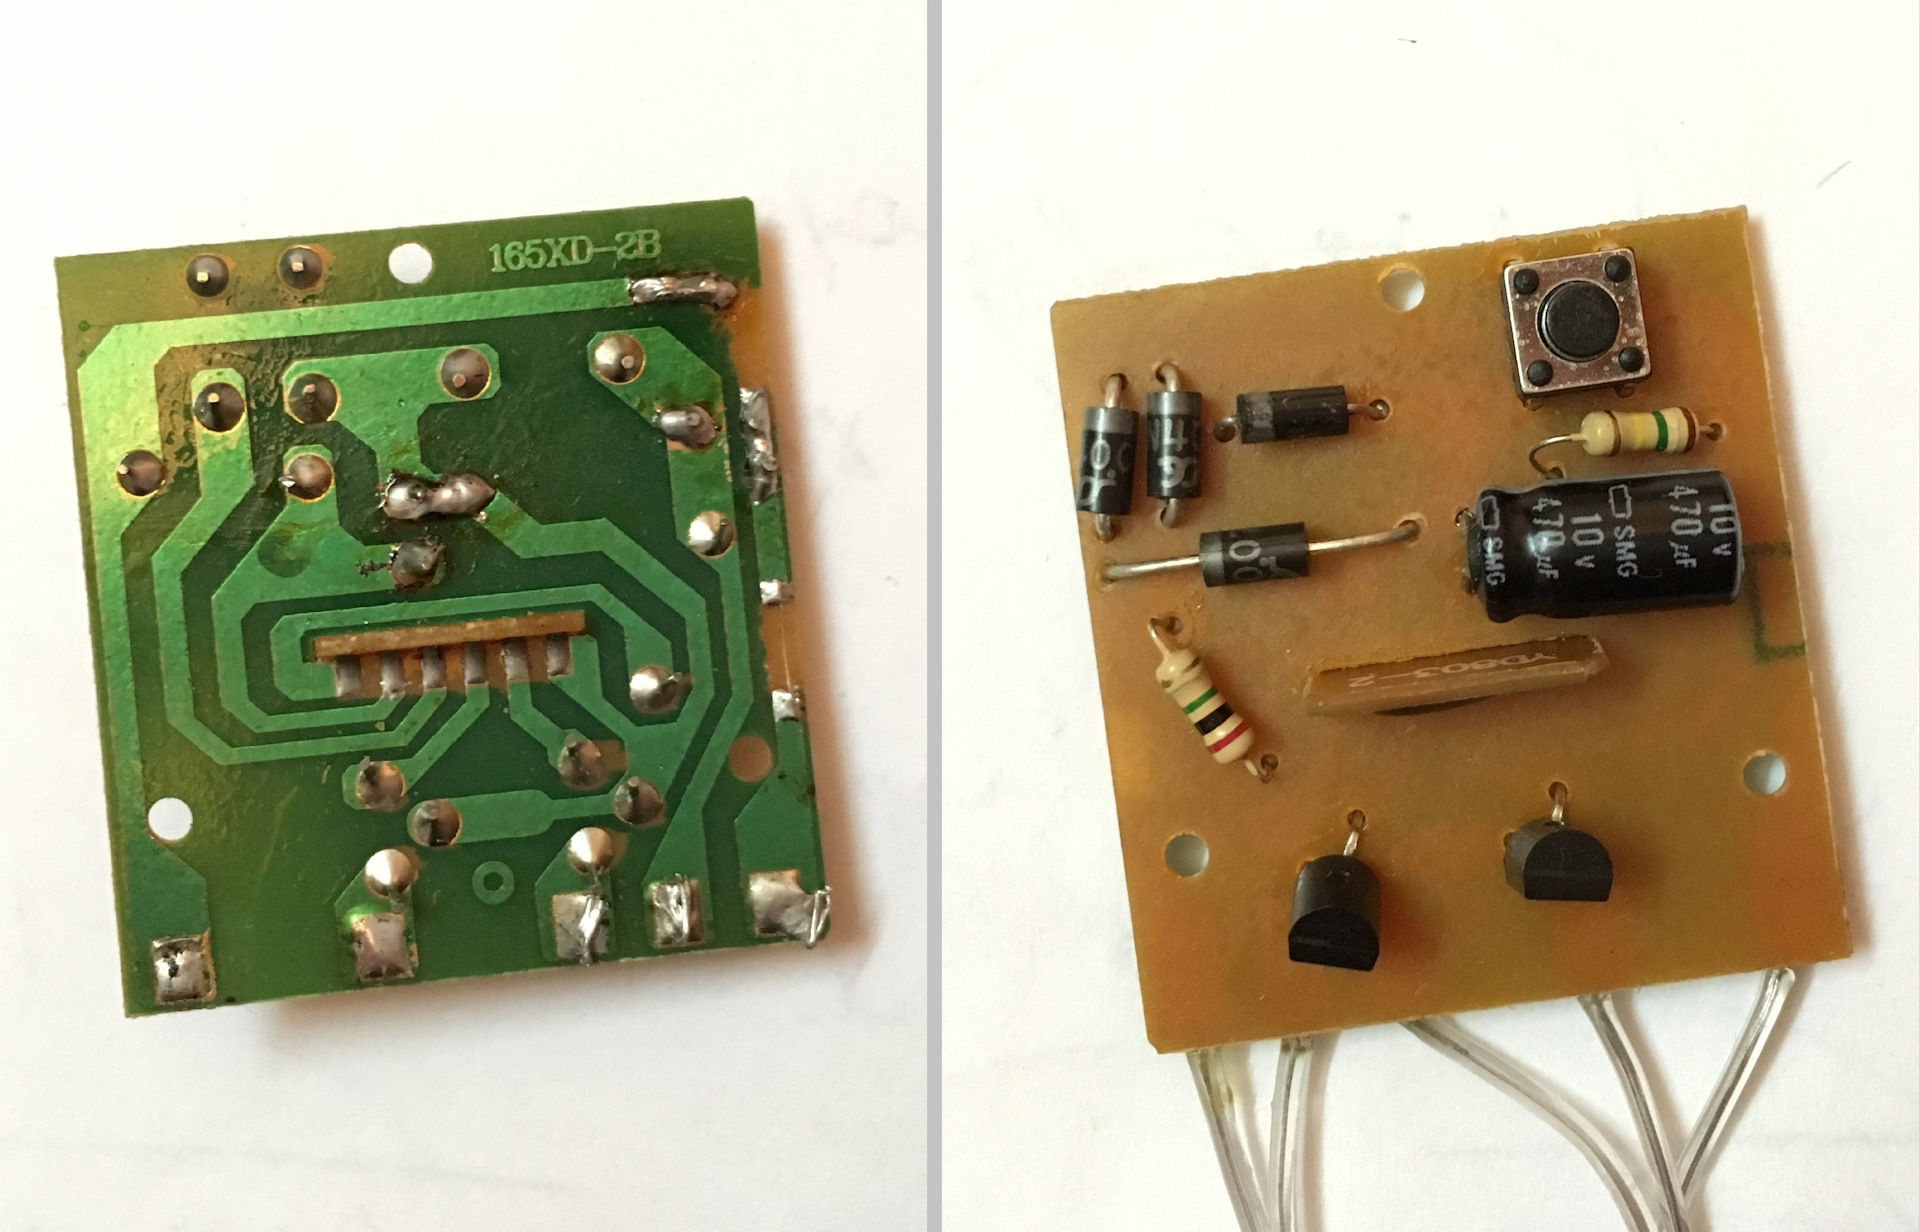
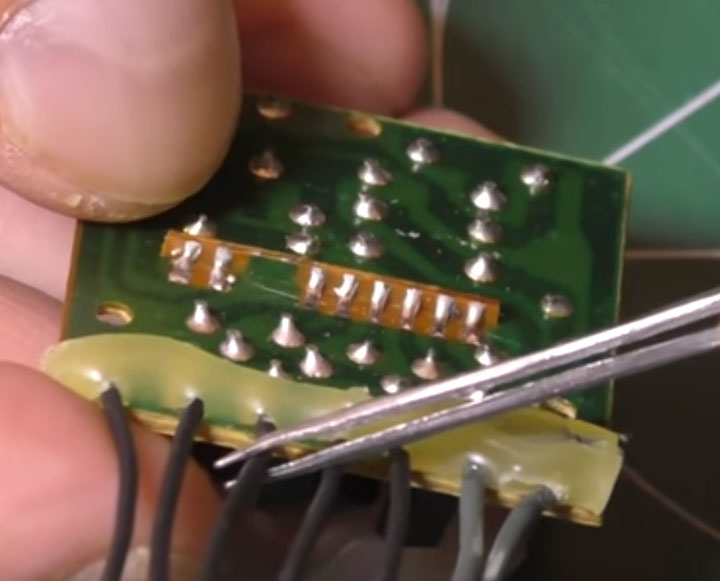
The block is a small plastic box with buttons, with which you can change the operating mode. It is usually made in a high-quality case with IP44 protection level. The level of protection depends on the room in which the garland will be installed. On the street frost-resistant products will be required. Soldered wires are located inside the unit. Also inside there is a board on which the controller, thyristors, resistors, capacitor and diode bridges are soldered. Expensive models can be equipped with a fuse.
LED garland diagram
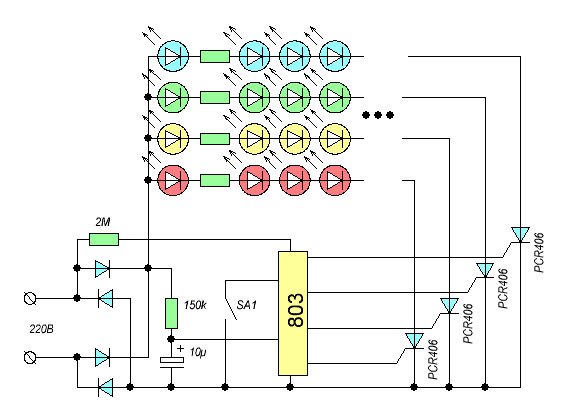
The power supply receives mains voltage. It passes through a diode bridge and resistors, then it is smoothed by a capacitor, after which voltage is supplied to the supply controller. When the button closes, the mode switches. The controller controls the thyristors, the number of which depends on the number of backlight channels. After the passage of the thyristors, the voltage is supplied to the LEDs.
The variety of backlight colors depends on the number of outputs. If there are only 2 lines, the garlands will work in two modes - in turn dim and light up. More expensive products may have more channels.
The main causes of malfunctions
The microcircuit, which is the main working element, rarely burns out. The most common breakdowns include:
- Poor contact on the wires.
- Damage to one of the LEDs.
- Malfunctions with a capacitor.
- Blown resistor.
- Problems with the diode bridge or thyristors.
The Chinese light bulb scheme may use cheap low-quality components that will have to be replaced.
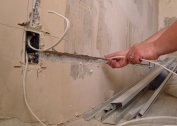
Poor soldering
If the garland stops working, first of all, the quality of the connections of the supply and outgoing wires is checked. If the contact is weak, the device will not receive voltage. This problem is common in cheap Chinese garlands. They are made using thin strands that break easily at junctions.
To ensure a reliable connection, the contact point must be filled with a thick layer of hot-melt adhesive.
Burned out LED
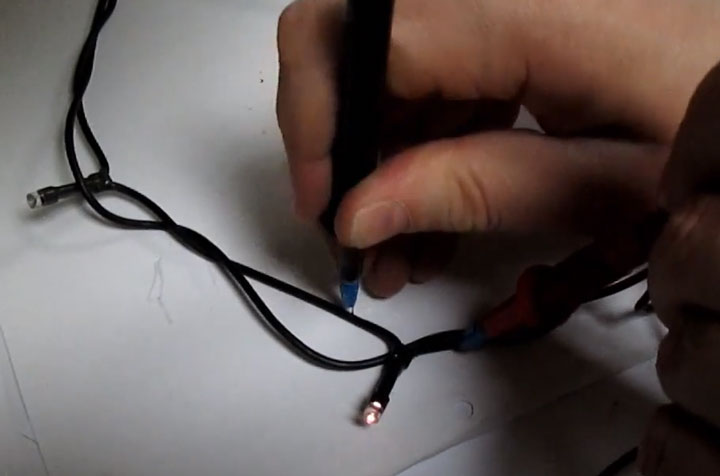
In a garland, the LEDs are connected in series. If one element burns out, the whole chain will stop working. Repair the circuit by replacing a broken component. A multimeter is required to identify a broken bulb. Thin needles should be wound to the ends of the probes to check the diodes. The tip should protrude 5-8 mm. From above, you need to wrap everything with a dense layer of electrical tape.
First of all, the garland must be disconnected from the electrical network. The test begins with the last diode, since it is to it that the power wire from the control unit is directly drawn.
The LEDs are soldered, so just pulling them out like a normal light bulb will not work. To check, you will have to pierce the insulation before the appearance of copper cores. The multimeter should be put into dialing mode. Then you need to sequentially pierce the power wiring next to each suspicious LED along the entire length of the circuit.
If a 12 or 24 V garland is used, the diode should light up when touched with probes. When powered by 220 V, you need to check the readings obtained with a multimeter. They will be almost the same for the working elements, an open circuit will be fixed on the faulty diode. With this method, the integrity of the insulation is violated. If a street garland was checked, it can only be used indoors.
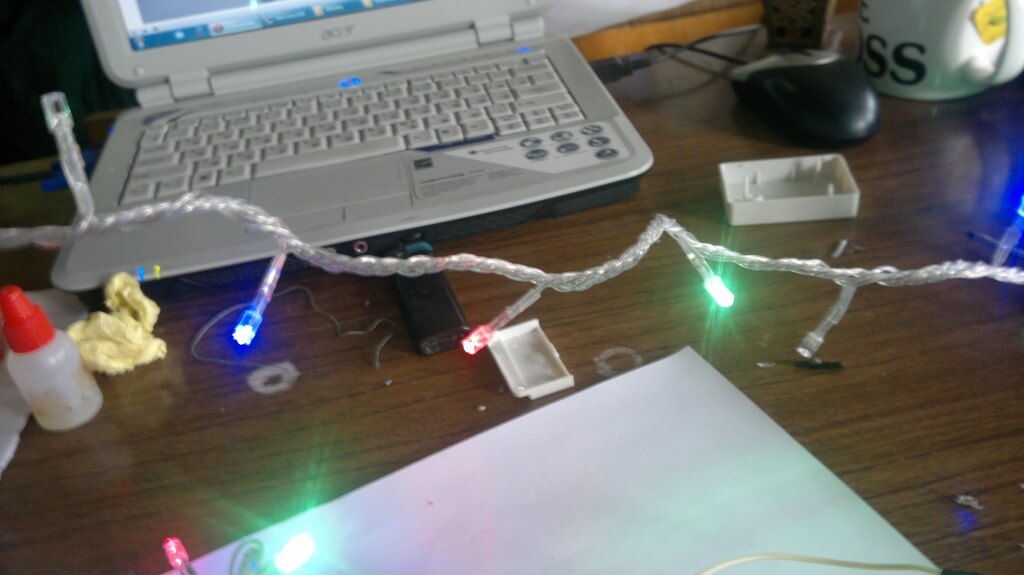
Chaotic light flashing
When the garland is turned on, a situation may occur when the diodes randomly light up with different brightness. Such flickering is not connected with the operating modes and factory effect, but is caused precisely by problems in the garland itself.
The probable cause of this effect is a breakdown of the electrolytic capacitor. He can swell, and this will be clearly visible to the naked eye. A broken component must be replaced with a similar one at face value. The capacitance value is indicated on the cell body.
If replacing the capacitor did not help, the resistor could burn out. To check it, you need a tester. By marking, you need to find out the nominal resistance, and then check with the measured value. If the parameters do not match, the resistor must be replaced with a new one. After replacing the bulbs should stop flashing.
The part of a garland does not burn
The lack of operability of one of the channels can be caused by two reasons. These problems are associated with the components of the circuit - a breakdown of the thyristor or diode. For verification, you need to separate one posting from a non-working channel and connect it to a neighboring, obviously working. If it also does not work, the fault is due to the thyristor or diode. They need to be checked with a multimeter and replaced with new ones.
Low light
The LEDs on a separate channel may dim dim compared to others. This is not related to the operation of the controller circuit; the components will also fail to produce results. The most likely cause is wires. They need to be examined for cliffs and kinks. After finding the problem area, you need to take a soldering iron, disassemble the wires and install new pieces. The contact point must be securely insulated with a heat shrink tube.
DIY garland
DIY LED garland can be no worse than a store. Creating it is easy.To do this, you will need:
- soldering iron;
- insulating tape;
- heat-shrink tubing;
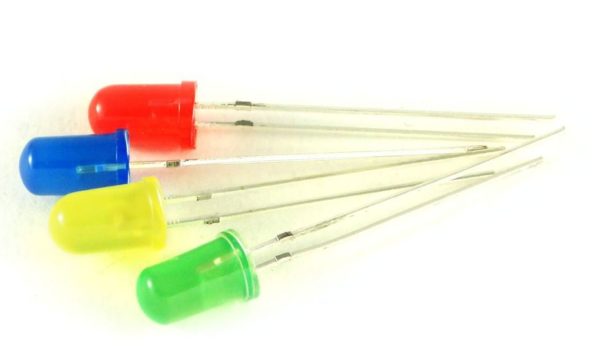
- LEDs
- resistors;
- Power Supply.
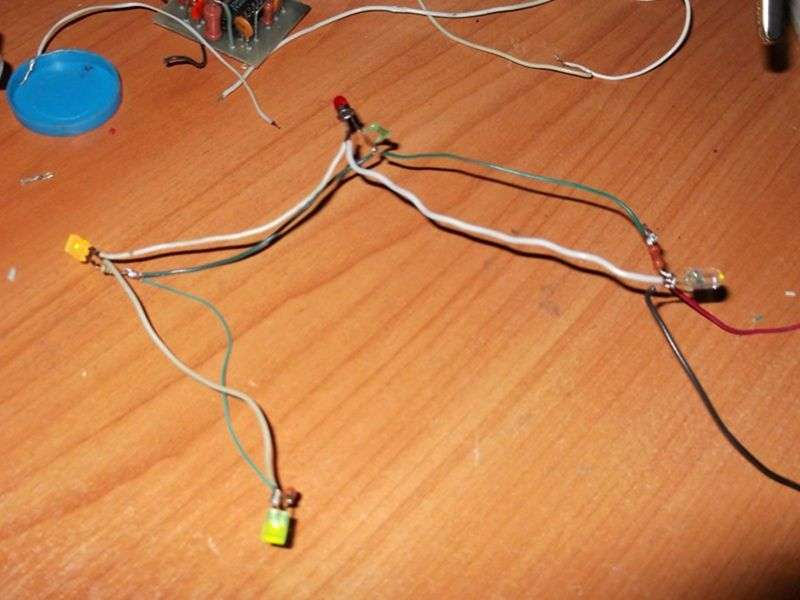
The operation algorithm is as follows:
- Determination of the distance between the diodes.
- Drawing marker marks on the wire in those places where the lamp will be installed.
- Removal at marked isolation locations.
- Application to areas of solder.
- Fixing to solder LEDs.
- Isolation of compounds. It is also necessary to make a seal with silicone sealant.
- Connection of a current-limiting resistor and a power supply.
To check the system, you can connect the batteries or the power supply from charging the smartphone.